I figured these witch’s broom breadsticks would be cute but maybe a little fussy—the kind of thing that looks great on Pinterest but drives you crazy in the kitchen. It took about five minutes of shaping the first batch for that assumption to fall apart completely. These are almost embarrassingly easy.
My niece walked in while I was twisting the first few strips of dough. She’s eight, which means she has zero patience for anything that takes longer than a TikTok video. She grabbed a piece of dough before I could stop her, and within minutes she was cranking out little brooms faster than I could. That’s when I knew this recipe was a winner—if a kid can nail it on the first try, it’s not complicated. It’s just clever.
The magic is all in the shaping. You take a simple breadstick, make a few strategic cuts, and suddenly it looks like something a witch might leave leaning against her cauldron. No special tools, no fancy ingredients. Just store-bought pizza dough (or homemade if you’re feeling ambitious), some melted butter, and a little garlic salt. That’s it.
I’ve made a lot of Halloween snacks over the years. Some are impressive but take forever. Others are fast but look like an afterthought. These witch’s broom breadsticks hit that sweet spot where they actually look like you tried—without requiring you to try very hard. And honestly? That’s my favorite kind of recipe.
These ended up becoming the thing I bring to every Halloween party, the thing my friends text me about in October asking for the link. They disappear fast, and people always do that double-take where they lean in closer and go, “Wait, how did you do that?” That little moment of surprise—that’s why I keep making them.
Why You’ll Love This Recipe
- Ridiculously Easy : You’re looking at about 20 minutes of hands-on time. The hardest part is slicing the dough, and I promise you can handle that.
- Kid-Friendly Fun : Let your kids help shape these. It’s practically foolproof, and they’ll feel like little kitchen wizards. I’ve seen toddlers manage the twisting part.
- Made with Pantry Staples : Pizza dough, butter, garlic powder, and salt. That’s the whole grocery list. You might already have everything.
- Perfect for Halloween Parties : These stand out on any snack table. They’re conversation starters, and they pair perfectly with a bowl of Halloween popcorn mix for a full spooky spread.
- Customizable for Any Diet : Use gluten-free pizza dough or whole wheat. The shape works no matter what dough you choose.
- Seriously Delicious : Buttery, garlicky, crispy on the outside, soft on the inside. These aren’t just cute—they taste amazing.
What makes these different from every other Halloween snack out there? It’s the combination of visual impact and actual flavor. So many holiday recipes sacrifice taste for looks. These deliver on both. The first time I made them, I watched a grown man eat six in a row without stopping. He wasn’t even pretending to be polite—he just couldn’t stop.
This is the kind of recipe that makes you feel like a hero at a party. People will ask you for the recipe. Kids will crowd around the table. And you’ll get to shrug and say, “Oh, it’s nothing,” while secretly knowing you just pulled off something brilliant with almost zero effort.
What Ingredients You Will Need
This recipe keeps things simple. You don’t need anything weird or hard to find. Here’s what you’ll need to make about 16 witch’s broom breadsticks:
- 1 pound pizza dough (store-bought or homemade—I use store-bought for convenience, and it works perfectly. Look for a brand that uses simple ingredients if you can.)
- 3 tablespoons unsalted butter, melted (salted butter works too, just reduce the added salt slightly)
- 1 teaspoon garlic powder (not garlic salt—we’ll add salt separately so we can control the amount)
- ½ teaspoon salt (flaky sea salt is nice here, but regular table salt works fine)
- Optional: 1 tablespoon sesame seeds or everything bagel seasoning for sprinkling on top (adds a nice crunch and visual texture)
- Optional: Marinara sauce or ranch dressing for dipping (I’m team marinara, but my kids prefer ranch)
A few notes on ingredients. I’ve tested this with both homemade pizza dough and the refrigerated tubes from the grocery store. Both work. The refrigerated dough is a little softer and can be trickier to shape, but it’s totally doable. If you’re making these with kids, I actually recommend the store-bought stuff because it’s more forgiving. For a richer flavor, try brushing the baked breadsticks with garlic herb butter instead of plain melted butter. And if you want to add a little heat, sprinkle on some red pepper flakes before baking.
Equipment Needed
- Baking sheet (standard half-sheet size works best—line it with parchment paper for easy cleanup)
- Parchment paper (non-negotiable for preventing sticking and making cleanup a breeze)
- Sharp knife or pizza cutter (a dull knife will squish the dough instead of cutting it cleanly)
- Pastry brush (for brushing the melted butter—a silicone one is easiest to clean)
- Small bowl (for melting butter in the microwave)
- Ruler or bench scraper (optional but helpful for cutting even pieces—I just eyeball it, honestly)
- Cooling rack (optional but helps keep them crispy if you’re making a big batch)
If you don’t have a pastry brush, you can use a spoon to drizzle the butter. It won’t be as even, but it’ll still taste good. And if you’re using a dark non-stick baking sheet, keep an eye on the bottoms—they can brown faster than on a light-colored sheet.
Preparation Method
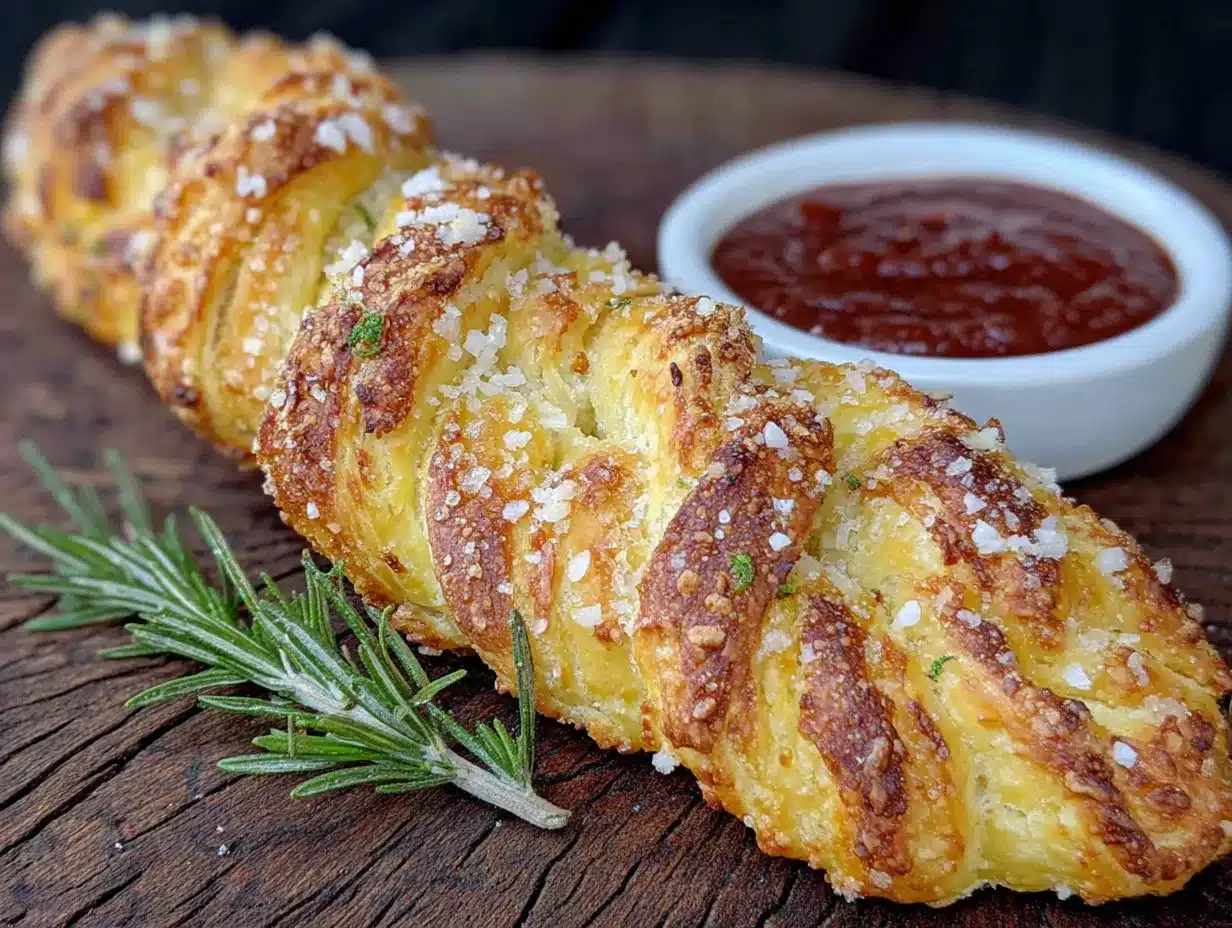
- Preheat your oven to 400°F (200°C). Line a baking sheet with parchment paper and set it aside. Getting the oven hot before you start shaping is key—cold dough that sits around gets sticky and hard to work with.
- Prep your dough. If you’re using refrigerated pizza dough, let it sit at room temperature for about 15 minutes. Cold dough is springy and fights back when you try to shape it. Room temperature dough is cooperative. If you’re using homemade dough that’s been in the fridge, same deal—let it warm up a bit.
- Divide the dough. Cut the dough into 16 roughly equal pieces. Don’t stress about perfection here. Some will be a little bigger, some a little smaller. That’s fine—it adds character. Each piece should be about the size of a golf ball.
- Roll each piece into a rope. On a lightly floured surface, roll each piece into a rope about 6 inches long and ½ inch thick. Don’t use too much flour or the dough won’t stick to itself when you shape it. A light dusting is all you need.
- Shape the broom handle. Take one rope and pinch the top third gently to create a slightly thinner “handle” section. The bottom two-thirds will become the bristles. This step is subtle—you’re just creating a visual distinction between the handle and the broom part.
- Cut the bristles. Using a sharp knife or pizza cutter, make 3 to 4 lengthwise cuts through the bottom two-thirds of the dough rope. Don’t cut all the way through the top—leave about an inch intact for the handle. The cuts should be about ¼ inch apart. If your knife is sticking, dip it in flour between cuts.
- Twist and separate. Gently separate the cut strips and twist them slightly so they look like actual broom bristles. Don’t overwork them—just a gentle twist and a little spread. The dough will puff up when it bakes, so the cuts will open up more on their own.
- Place on the baking sheet. Transfer each shaped broom to the prepared baking sheet, spacing them about 1 inch apart. They’ll expand slightly but not a ton, so you can fit all 16 on one sheet if you arrange them carefully.
- Brush with butter. Mix the melted butter, garlic powder, and salt together in a small bowl. Brush this mixture generously over each breadstick. Don’t skip this step—the butter is what gives them that golden, glossy finish and rich flavor. If you’re using sesame seeds or everything bagel seasoning, sprinkle it on now.
- Bake for 12 to 15 minutes. Keep an eye on them around the 10-minute mark. You want them golden brown on top and slightly darker on the bottoms. If your oven runs hot, check early. I’ve had batches go from perfect to overdone in about 90 seconds.
- Cool slightly before serving. Let them rest on the baking sheet for 2 to 3 minutes, then transfer to a cooling rack or serving platter. They’re best warm, but they’re still good at room temperature. Serve with marinara sauce or ranch dressing for dipping.
Cooking Tips & Techniques
I learned a few things the hard way so you don’t have to. Here’s what I wish someone had told me before my first batch:
Don’t over-flour your work surface. I made this mistake the first time. Too much flour and the dough won’t stick to itself when you try to shape the brooms. The cuts just slide back together. Use a light dusting and no more.
Keep your knife sharp. A dull blade squishes the dough instead of cutting it cleanly. Those squished cuts close up when the dough bakes, and you lose the broom effect. I ruined half a batch before I switched to a sharper knife. A pizza cutter actually works great for this.
Work in batches if you need to. If your kitchen is warm and the dough starts getting sticky, pop the shaped brooms in the fridge for 5 minutes while you finish the rest. Cold dough holds its shape better in the oven.
Watch the baking time carefully. These go from golden to burnt fast. Every oven is different, so start checking at 10 minutes. You want them golden brown with slightly darker bottoms. If they’re pale, they need more time. If they’re dark brown, you’ve gone too far.
Double up the butter brush. I brush once before baking and then again as soon as they come out of the oven. That second brush of melted butter makes them extra glossy and adds another layer of garlic flavor. It’s a small step that makes a big difference.
Make extra. Seriously. I thought 16 would be plenty for a party of 10 people. They were gone in 15 minutes. Double the recipe if you’re serving a crowd. These things disappear.
Variations & Adaptations
One of the best things about this recipe is how flexible it is. Here are some variations I’ve tried and loved:
- Cheesy Witch’s Brooms : Before cutting the bristles, sprinkle a little shredded mozzarella or parmesan along the bottom two-thirds of the dough rope. Then cut and bake as directed. The cheese melts into the bristles and gets all crispy and delicious. My kids beg for these.
- Herb-Infused Brooms : Add dried rosemary, thyme, or oregano to the melted butter mixture. It gives the breadsticks an earthy, savory flavor that pairs beautifully with marinara sauce. I did this for a Halloween dinner party and everyone raved.
- Spicy Brooms : Add ½ teaspoon of red pepper flakes to the butter mixture. The heat builds slowly and works surprisingly well with the garlic. These are great for adult gatherings where you want a little kick.
- Gluten-Free Version : Use your favorite gluten-free pizza dough. The texture will be slightly different—gluten-free dough is usually more delicate—but the shape still works. Handle it gently and don’t overwork it.
- Whole Wheat Brooms : Substitute half the white flour with whole wheat flour if making homemade dough, or buy whole wheat pizza dough from the store. They’ll be a little denser but still delicious and slightly healthier.
- Sweet Brooms : This one sounds weird but hear me out. Skip the garlic and salt, brush with melted butter and cinnamon sugar instead. They turn into sweet breakfast or dessert breadsticks. My niece calls them “fairy brooms” and they’re a huge hit at Halloween brunches.
I’ve also tried making these with crescent roll dough. It works, but the texture is flakier and less breadstick-like. They’re still good, just different. If you’re in a pinch, crescent rolls will do the job.
Serving & Storage Suggestions
These breadsticks are best served warm, right out of the oven. The butter is still glossy, the garlic hits your nose before you even take a bite, and the texture is perfectly crispy on the outside and soft inside. I like to arrange them on a wooden board or a Halloween-themed platter with a small bowl of marinara sauce in the center for dipping. They also go great with ranch dressing, especially if you’re serving them alongside mummy hot dogs for a full spooky spread.
If you’re making these ahead of time for a party, here’s what I’ve learned. You can shape the brooms completely and refrigerate them on the baking sheet for up to 4 hours before baking. Just cover them loosely with plastic wrap. When you’re ready to bake, brush with butter and pop them in the oven. They might need an extra minute or two since they’re starting from cold.
For storage, leftover breadsticks keep well in an airtight container at room temperature for up to 2 days. They’ll lose some of their crispiness, but they’re still tasty. To reheat, pop them in a 350°F (175°C) oven for about 5 minutes. The microwave will make them soggy—don’t do it. I speak from sad experience.
You can also freeze these. Bake them as directed, let them cool completely, then freeze in a single layer on a baking sheet. Once frozen, transfer to a freezer bag. They’ll keep for up to 3 months. Reheat directly from frozen in a 350°F (175°C) oven for 8 to 10 minutes. The texture comes back almost perfectly.
One more thing—these flavors actually develop a little overnight. If you have leftovers, try them cold the next day. The garlic mellows out and the butter soaks into the bread. It’s different from fresh, but still really good.
Nutritional Information & Benefits
Let’s be honest—these are a treat, not a health food. But here’s the breakdown if you’re curious. Per breadstick (based on 16 servings using standard pizza dough and butter):
- Calories: Approximately 110-130
- Carbohydrates: 18-20g
- Protein: 3-4g
- Fat: 3-4g
- Fiber: 1g
- Sugar: 1-2g
These numbers will vary based on your dough and butter amounts. If you’re watching your intake, you can reduce the butter or use a lighter brushing. Using whole wheat dough adds fiber and nutrients. And if you’re gluten-sensitive, the gluten-free version works great.
The garlic in this recipe does offer some health benefits—it’s known for supporting immune function and has anti-inflammatory properties. So at least there’s that. These breadsticks are also a fun way to get kids involved in the kitchen, which is a win for family bonding if nothing else.
For a slightly lighter option, serve them with a veggie-heavy dip like roasted red pepper hummus instead of marinara. It adds nutrients and keeps the Halloween theme going with a pop of color.
Conclusion
These witch’s broom breadsticks are the Halloween snack you didn’t know you needed. They’re fun to make, impressive to serve, and genuinely delicious. The first time I brought them to a party, I watched a grown woman take a photo of them before she even grabbed one to eat. That’s when I knew this recipe was special.
The best part? You don’t need to be a skilled baker or have any special equipment. If you can roll dough into a rope and make a few cuts, you can make these. They’re forgiving, customizable, and they always get a reaction. Whether you’re hosting a Halloween party, packing school lunches with a spooky surprise, or just looking for a fun weekend activity with the kids, these breadsticks deliver.
I’ve made these every Halloween for the past three years now, and they never get old. Every time I pull a tray out of the oven, someone says, “Wait, those are so cute!” And every time, I smile and say, “They’re even easier than they look.” Because they are.
So go ahead—grab some pizza dough, melt some butter, and make a little kitchen magic. Your Halloween table will thank you. And if you try them, I’d love to hear how they turned out. Drop a comment below, share a photo, or tell me your favorite dipping sauce. Happy Halloween, and happy baking!
Frequently Asked Questions
Can I make these ahead of time for a party?
Yes! You can shape the brooms up to 4 hours ahead and keep them refrigerated on the baking sheet. Brush with butter and bake just before serving for the best texture.
Can I use pre-made breadstick dough instead of pizza dough?
Absolutely. Canned breadstick dough works fine. Just cut each breadstick into three pieces and shape from there. The texture will be slightly different but still good.
How do I keep the bristles from closing up while baking?
Make sure your cuts are clean and deep enough—about ¾ of the way through the dough. A sharp knife or pizza cutter makes a big difference. Also, don’t press the cut strips back together when placing them on the baking sheet.
Can I freeze these after baking?
Yes. Bake, cool completely, freeze in a single layer, then transfer to a freezer bag. Reheat from frozen in a 350°F oven for 8-10 minutes. They come back beautifully.
What’s the best dipping sauce for these breadsticks?
Marinara sauce is my go-to, but ranch dressing, garlic aioli, and even cheese sauce are all fantastic. For a Halloween twist, try serving them with a “blood red” marinara or a “ghostly white” ranch.
Pin This Recipe!
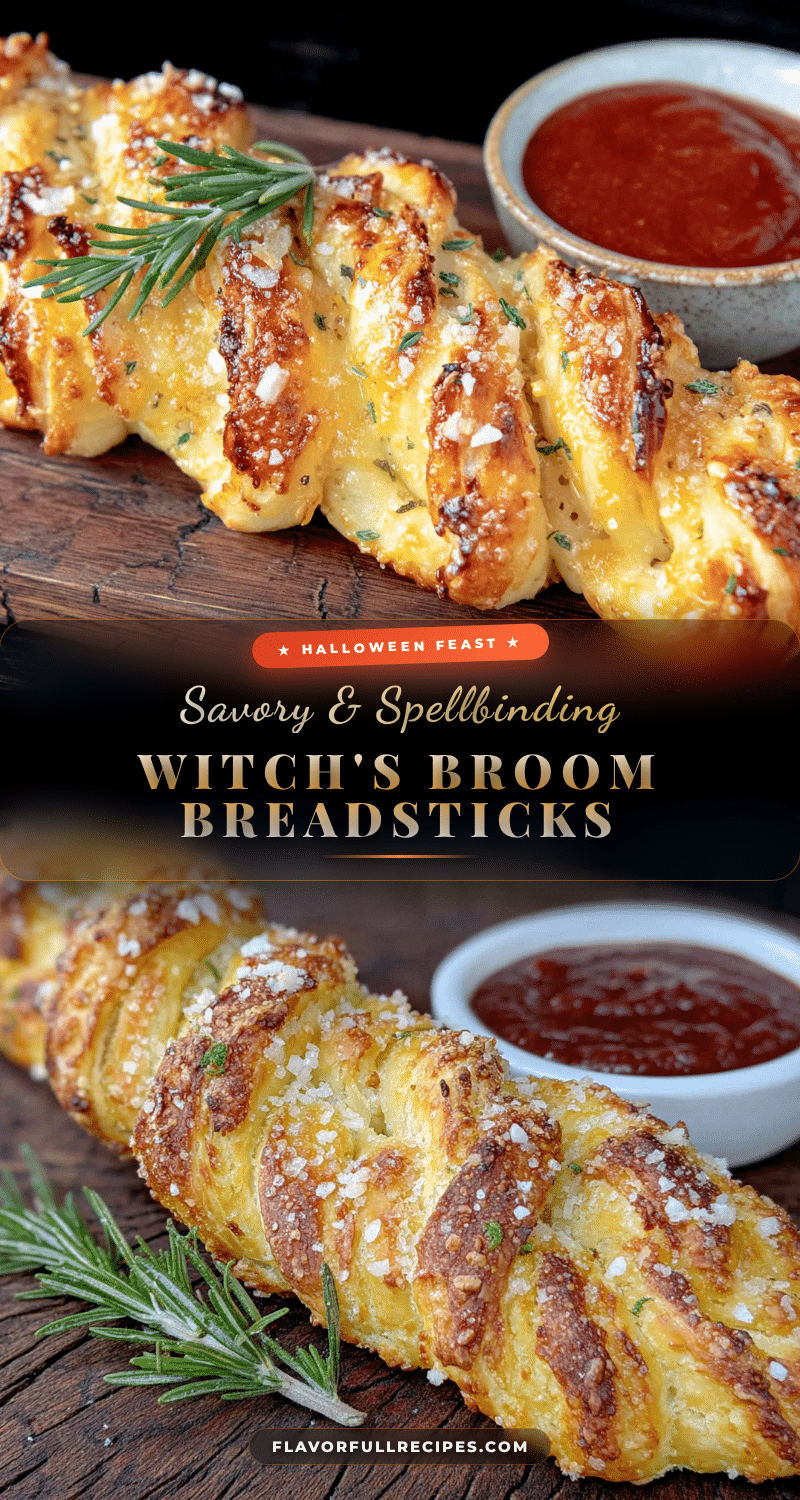

Easy Witch’s Broom Breadsticks – Best Halloween Snack
- Total Time: 35 minutes
- Yield: 16 servings 1x
Description
These witch’s broom breadsticks are ridiculously easy to make and perfect for Halloween parties. Made with simple pantry staples, they’re buttery, garlicky, and fun to shape—even kids can help.
Ingredients
- 1 pound pizza dough (store-bought or homemade)
- 3 tablespoons unsalted butter, melted
- 1 teaspoon garlic powder
- ½ teaspoon salt
- Optional: 1 tablespoon sesame seeds or everything bagel seasoning
- Optional: Marinara sauce or ranch dressing for dipping
Instructions
- Preheat your oven to 400°F (200°C). Line a baking sheet with parchment paper.
- If using refrigerated pizza dough, let it sit at room temperature for about 15 minutes.
- Cut the dough into 16 roughly equal pieces, each about the size of a golf ball.
- On a lightly floured surface, roll each piece into a rope about 6 inches long and ½ inch thick.
- Pinch the top third of each rope gently to create a slightly thinner ‘handle’ section.
- Using a sharp knife or pizza cutter, make 3 to 4 lengthwise cuts through the bottom two-thirds of the dough rope, leaving about an inch intact at the top.
- Gently separate the cut strips and twist them slightly to look like broom bristles.
- Place each shaped broom on the prepared baking sheet, spacing them about 1 inch apart.
- Mix melted butter, garlic powder, and salt together in a small bowl. Brush this mixture generously over each breadstick. Sprinkle with sesame seeds or everything bagel seasoning if desired.
- Bake for 12 to 15 minutes, until golden brown on top and slightly darker on the bottoms.
- Let them rest on the baking sheet for 2 to 3 minutes, then transfer to a cooling rack or serving platter. Serve warm with marinara sauce or ranch dressing for dipping.
Notes
Don’t over-flour your work surface or the dough won’t stick to itself. Keep your knife sharp for clean cuts. Work in batches if dough gets sticky. Watch baking time carefully—these go from golden to burnt fast. For extra gloss, brush with melted butter again as soon as they come out of the oven. Make extra; they disappear quickly.
- Prep Time: 20 minutes
- Cook Time: 15 minutes
- Category: Appetizer
- Cuisine: American
Nutrition
- Serving Size: 1 breadstick
- Calories: 120
- Sugar: 1.5
- Sodium: 200
- Fat: 3.5
- Saturated Fat: 2
- Carbohydrates: 19
- Fiber: 1
- Protein: 3.5
Keywords: witch's broom breadsticks, Halloween snack, easy Halloween recipe, breadsticks, garlic breadsticks, kid-friendly Halloween