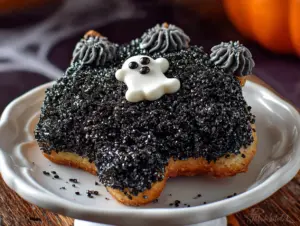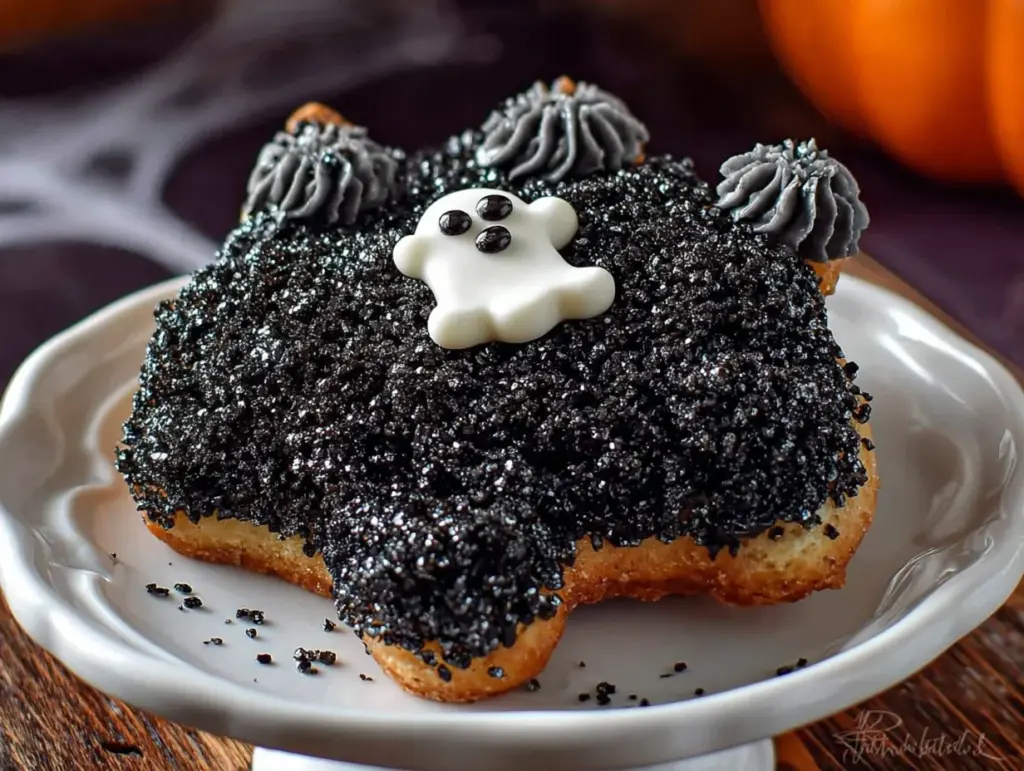
The cookie tray came back to the kitchen with exactly two cookies left on it. Not the ones I’d bought from the bakery—those were still sitting there, untouched. It was the black cats that had vanished. My niece had asked me to bring “the spooky cookies” to her Halloween party, and honestly, I’d almost said no. I was tired, it was a Tuesday, and store-bought seemed easier. But she’d given me that look, you know the one. So I threw together a batch of Easy Black Cat Halloween Sugar Cookies after dinner, using a dough I’d messed around with a few times before. I didn’t even chill it properly. I just shaped them, baked them, and piped on some faces while half-watching a scary movie. The fact that they outshone the fancy bakery cookies? That still makes me smile. These cookies have become my secret weapon for Halloween, and they’re not fussy at all. They’re the kind of recipe that makes you look like you tried way harder than you actually did. And honestly, that’s my favorite kind of recipe to keep around.
Why You’ll Love This Recipe
Let me tell you why these black cat cookies are about to become your Halloween MVP. First off, the prep is genuinely fast—we’re talking 15 minutes to get the dough together. No chilling required, which is huge when you’re juggling costumes and last-minute decorations. The ingredients are things you probably already have in your pantry: butter, sugar, flour, eggs, and cocoa powder. No weird specialty items you’ll never use again.
- Quick & Easy: From start to finish, you’re looking at about 30 minutes. That’s faster than a trip to the store.
- Simple Ingredients: No fancy extracts or hard-to-find decorations. Just basic baking staples.
- Perfect for Halloween Parties: These little guys steal the show every single time. Kids love them, adults sneak them.
- Crowd-Pleaser: I’ve brought these to school parties, office potlucks, and family gatherings. They disappear fast.
- Unbelievably Delicious: The texture is soft in the middle with slightly crisp edges. The cocoa flavor is rich but not overpowering.
What makes these different from every other sugar cookie recipe? It’s the texture. I spent a few batches figuring out the right balance of butter and cocoa so the cookies stay soft without spreading into blobs. The black cat shape is forgiving—you don’t need a special cutter. I’ll show you a trick using a basic circle cutter and some dough scraps. These cookies are the kind that make you close your eyes after the first bite. They’re comfort food with a spooky twist, and they’re perfect for impressing guests without any stress.
What Ingredients You Will Need
This recipe uses simple, wholesome ingredients to deliver rich chocolate flavor and a soft, tender crumb. Most of these are pantry staples you probably already have on hand.
- Unsalted butter (1 cup, softened) — I use Land O’Lakes for consistent results. Softened butter is key for creaming properly with the sugar.
- Granulated sugar (1 cup) — Regular white sugar gives the cookies that classic sweetness and helps with spreading just the right amount.
- Large egg (1, room temperature) — Room temperature eggs incorporate better into the butter mixture. Set it out 15 minutes before starting.
- Vanilla extract (1 teaspoon) — Pure vanilla adds warmth. I prefer Nielsen-Massey, but any brand works fine.
- All-purpose flour (2 cups) — Spoon and level your flour. Scooping directly from the bag packs it down and makes cookies dry.
- Unsweetened cocoa powder (½ cup) — Use natural cocoa powder, not Dutch-process. Hershey’s is reliable and affordable. Dutch-process can make cookies too dark and slightly bitter.
- Baking powder (1 teaspoon) — This gives the cookies a little lift without making them cakey.
- Salt (½ teaspoon) — Salt balances the sweetness and enhances the chocolate flavor. I use fine sea salt.
- Powdered sugar (1 cup, for icing) — For the white faces and whiskers. Sift it first to avoid lumps.
- Milk (2-3 tablespoons, for icing) — Whole milk works best, but any milk including non-dairy options like oat milk will do.
- Black gel food coloring (optional, for icing) — If you want the faces to be white, skip this. I sometimes add a tiny drop to make the icing slightly gray for an aged look.
- Candy eyes (optional) — These are fun for kids but not necessary. I often just pipe the eyes with icing.
Substitution note: For a dairy-free version, use vegan butter sticks (I like Earth Balance) and oat milk in the icing. The texture will be slightly different but still delicious. For a gluten-free option, swap the all-purpose flour with a 1:1 gluten-free baking blend. I’ve tested this with Bob’s Red Mill and it worked well—just add an extra tablespoon of milk to the dough.
Equipment Needed
You don’t need fancy tools for these cookies, which is part of why I love making them. Here’s what you’ll need:
- Mixing bowls — One large bowl for the dough, one small bowl for the icing. Glass or metal works fine.
- Electric hand mixer or stand mixer — I use my trusty KitchenAid hand mixer. A stand mixer with the paddle attachment works too. You can do this by hand with a wooden spoon, but your arm will get a workout.
- Baking sheets — Two standard half-sheet pans. I like Nordic Ware because they don’t warp.
- Parchment paper — Non-negotiable. It prevents sticking and makes cleanup effortless. Silicone baking mats work too.
- Round cookie cutter (2.5 to 3 inches) — For the cat’s head. A drinking glass works in a pinch.
- Small knife or offset spatula — For shaping the ears and tail. A butter knife works perfectly.
- Piping bag or ziplock bag — For the icing. A ziplock bag with a tiny corner snipped off is my go-to because it’s disposable and easy.
- Cooling rack — Wire racks let cookies cool evenly. If you don’t have one, a clean cutting board works.
Budget tip: Don’t run out and buy a special cat-shaped cookie cutter. The round cutter and hand-shaping method gives each cookie its own personality. I actually prefer the handmade look—it’s cuter and more authentic.
Preparation Method
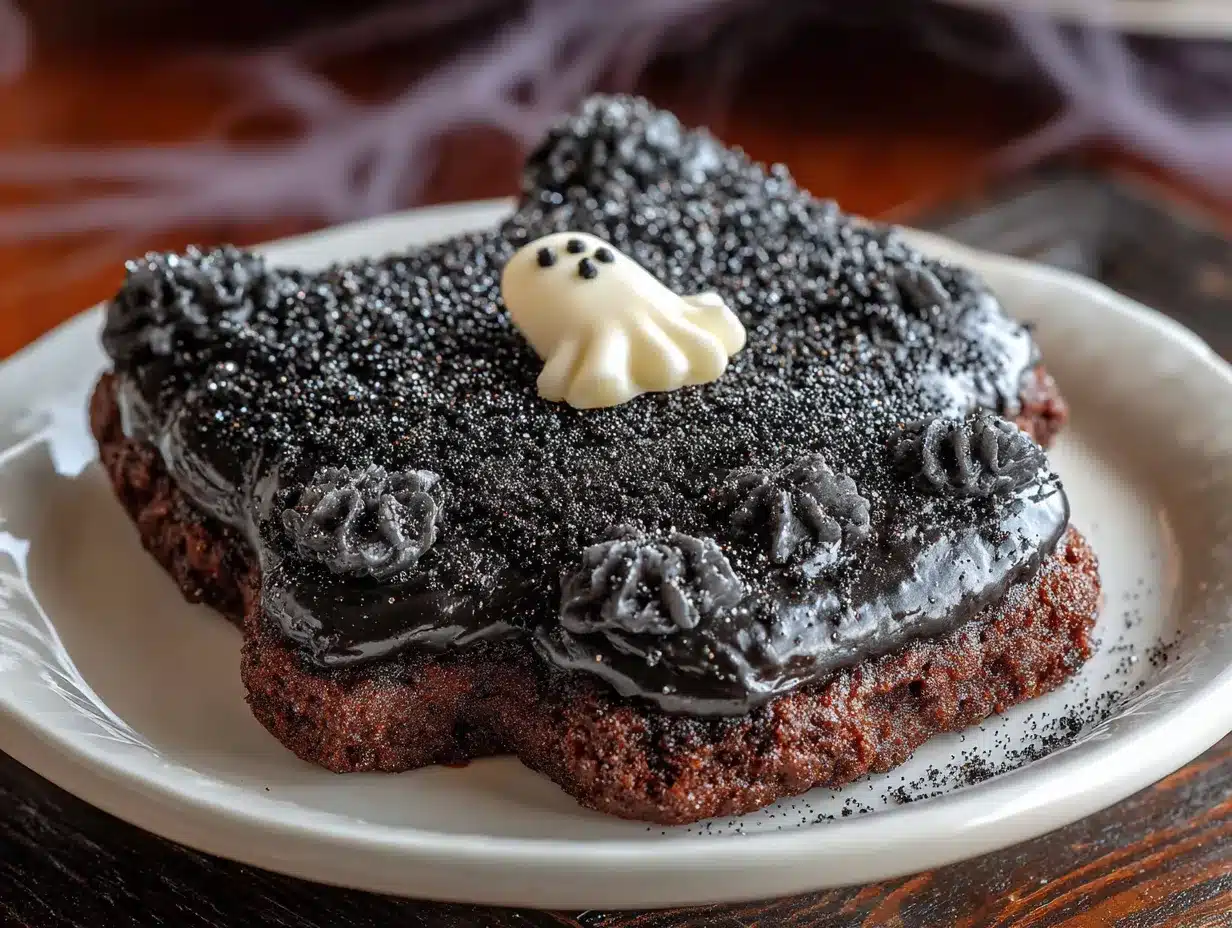
Let me walk you through this step by step. I’ve made these cookies at least a dozen times, so I’ve learned a few tricks along the way.
- Preheat your oven to 350°F (175°C). Line two baking sheets with parchment paper. Do this first so the oven is ready when your dough is.
- Cream the butter and sugar. In a large mixing bowl, beat the softened butter and granulated sugar together until light and fluffy, about 2-3 minutes. Scrape down the sides halfway through. The mixture should look pale and slightly increased in volume. If it looks greasy, keep beating—it needs more air.
- Add the egg and vanilla. Crack in the egg and pour in the vanilla extract. Beat on medium speed until fully combined, about 30 seconds. The mixture might look a little curdled at this point—that’s totally normal. Don’t panic.
- Mix the dry ingredients separately. In a medium bowl, whisk together the flour, cocoa powder, baking powder, and salt. This ensures the baking powder is evenly distributed. I learned this the hard way after biting into a cookie with a pocket of baking powder. Not pleasant.
- Combine wet and dry ingredients. Gradually add the dry mixture to the wet mixture, mixing on low speed. Stop as soon as the flour disappears. Overmixing develops gluten and makes cookies tough. The dough will be soft and slightly sticky—that’s perfect.
- Shape the cookies immediately. No chilling! Scoop tablespoons of dough and roll them into balls. Place them on the prepared baking sheets about 2 inches apart. Flatten each ball slightly with the palm of your hand until it’s about ½ inch thick.
- Create the cat shape. Using a round cookie cutter or the rim of a glass, gently press into the center of each dough circle to define the head. Don’t cut through—just make an impression. Then, pinch two small triangles at the top for ears. For the tail, roll a small piece of dough into a thin log (about 2 inches long) and place it next to the body. Curve it slightly. Press gently to attach.
- Bake for 8-10 minutes. The cookies are done when the edges look set and the tops are slightly cracked. They will look underdone in the center—that’s good. Overbaking makes them dry. Let them cool on the baking sheet for 5 minutes, then transfer to a wire rack to cool completely.
- Make the icing. While the cookies cool, whisk together the powdered sugar and milk in a small bowl. Start with 2 tablespoons of milk and add more until the icing is thick but pipeable. It should hold its shape when drizzled but still flow smoothly. If it’s too thin, add more powdered sugar. Too thick, add a drop of milk.
- Pipe the faces. Transfer the icing to a piping bag or ziplock bag with a tiny corner snipped off. Pipe two small dots for eyes, a tiny triangle for the nose, and curved lines for whiskers. If you’re using candy eyes, press them into the icing while it’s still wet. Let the icing set for about 20 minutes before serving.
Pro tip: If the dough feels too sticky to handle, lightly dust your hands with cocoa powder instead of flour. Cocoa powder won’t alter the color or flavor like flour does. I keep a small bowl of cocoa powder nearby when shaping these cookies.
Cooking Tips & Techniques
I’ve had my fair share of cookie fails, so let me save you some trouble. The biggest mistake people make with chocolate cookies is overbaking. Because the dough is dark, it’s hard to tell when they’re done. Trust the timer, not your eyes. Pull them out at 8 minutes for soft cookies, 10 minutes for slightly crispier edges.
Another thing I’ve learned: don’t skip the salt. Salt doesn’t just season the dough—it enhances the chocolate flavor and balances the sweetness. I once forgot to add salt and the cookies tasted flat and one-dimensional. A pinch makes a world of difference.
For consistent cookie sizes, use a cookie scoop. I use a 1.5-tablespoon scoop and it gives me exactly 24 cookies every time. If you don’t have a scoop, measure heaping tablespoons and roll them into even balls.
Timing tip: While the first batch bakes, shape the second batch. This keeps the process moving and prevents the dough from warming up too much on the counter. If the dough gets too soft, pop it in the fridge for 5 minutes to firm up.
I also recommend baking one test cookie first. This sounds fussy, but it takes 8 minutes and tells you exactly how your oven behaves. Every oven runs differently—mine runs hot, so I bake at 345°F. Adjust based on your test cookie.
One more thing: don’t press the candy eyes into the cookies before baking. I tried this once and the eyes melted into weird, blurry blobs. Always add decorations after baking, while the icing is still wet.
Variations & Adaptations
This recipe is super flexible, so feel free to make it your own. Here are some variations I’ve tried and loved:
- Gluten-Free Version: Swap the all-purpose flour with a 1:1 gluten-free baking blend. I’ve used King Arthur Flour’s measure-for-measure blend with great results. Add an extra tablespoon of milk to compensate for the drier gluten-free flour.
- Vegan Option: Use vegan butter sticks (not tub margarine) and a flax egg (1 tablespoon ground flaxseed mixed with 3 tablespoons water, let sit for 5 minutes). The cookies will be a bit more delicate, so handle them gently.
- Spooky White Chocolate Drizzle: Melt ½ cup white chocolate chips and drizzle over the cooled cookies. It adds a ghostly, marbled effect that looks amazing for Halloween.
- Orange Flavor Twist: Add 1 teaspoon of orange zest to the dough along with the vanilla. The orange-chocolate combo is incredible and gives the cookies a subtle fall flavor.
- Peppermint Black Cats: Swap the vanilla extract for ½ teaspoon peppermint extract. These are perfect for a winter-themed party or a Christmas twist on Halloween cookies.
- Air Fryer Method: I’ve tested these in my air fryer and they work great. Preheat to 325°F, place cookies in a single layer in the basket (work in batches), and bake for 6-7 minutes. The edges get slightly crispier, which I actually love.
My personal favorite variation is the white chocolate drizzle. I did this for a Halloween potluck at work and someone asked if I’d bought them from a bakery. I just smiled and said, “Nope, homemade.”
Serving & Storage Suggestions
These cookies are best served at room temperature. The icing sets firm but not rock-hard, so they’re easy to stack on a platter. I like to arrange them on a black or orange platter for maximum Halloween vibes. Add some fake spiderwebs or plastic spiders around the edges for extra spookiness.
For a Halloween party, I pair these with a glass of cold milk or a warm mug of spiced apple cider. They also go great with my Spooky Witch’s Brew Punch—the cookies and punch together make a killer dessert table.
Storage is simple. Keep the cookies in an airtight container at room temperature for up to 5 days. Layer them between sheets of parchment paper to prevent the icing from sticking. Do not refrigerate them—the fridge dries out cookies and makes them stale faster.
For freezing, place the baked and undecorated cookies in a single layer in a freezer-safe container. Freeze for up to 3 months. When you’re ready to serve, thaw them at room temperature for about 30 minutes, then pipe on the icing. This is my secret for last-minute Halloween parties—I always have a batch in the freezer.
Reheating tip: If you want that just-baked warmth, pop a cookie in the microwave for 8-10 seconds. It softens the center and makes it taste fresh out of the oven.
One thing I’ve noticed: the flavors actually deepen after a day. The cocoa becomes more pronounced and the cookies get slightly chewier. So if you can, make them a day ahead. Your future self will thank you.
Nutritional Information & Benefits
Here’s the honest truth: these are cookies, not health food. But they’re made with real ingredients—no preservatives, no artificial flavors, no weird stabilizers. That counts for something.
Per cookie (based on 24 cookies): approximately 145 calories, 7g fat, 20g carbohydrates, 1g fiber, 12g sugar, 2g protein. The cocoa powder provides a small amount of antioxidants (flavonoids) which are good for heart health. Plus, making them at home means you control exactly what goes in.
For those with dietary restrictions: this recipe contains dairy (butter, milk), gluten (flour), and eggs. The vegan and gluten-free variations above address those concerns. The cookies are nut-free as written, making them safe for school parties.
I personally love that these cookies don’t have any corn syrup or hydrogenated oils. They’re just butter, sugar, flour, and cocoa—the way cookies should be. And honestly, when you’re feeding a crowd of kids hopped up on Halloween candy, a simple, real-ingredient cookie feels like a small win.
Conclusion
These Easy Black Cat Halloween Sugar Cookies have become a tradition in my house, and I think they’ll become one in yours too. They’re quick enough for a weeknight baking session, cute enough to impress at any party, and delicious enough that people will ask for the recipe every single time. The best part? You don’t need special cutters or decorating skills. Just a little patience and a willingness to get your hands messy.
I love that this recipe lets me be creative without being stressed. Each cookie comes out a little different—some cats look grumpy, some look surprised, some look like they’re plotting mischief. That’s the fun of it. So go ahead, grab your ingredients, and make some spooky little friends. And when someone asks where you got the recipe, just smile and say, “Oh, I’ve been making these for years.”
If you try these cookies, I’d love to hear how they turned out. Drop a comment below, tag me in your photos, or share your own cat face variations. Happy Halloween, and happy baking!
Frequently Asked Questions
Can I make the dough ahead of time?
Yes! You can prepare the dough up to 2 days in advance. Wrap it tightly in plastic wrap and refrigerate. Let it sit at room temperature for about 10 minutes before shaping—it will be too firm to work with straight from the fridge.
Why did my cookies spread too much?
Likely one of three reasons: your butter was too soft (almost melted), you didn’t measure the flour correctly (too little flour), or your baking sheet was too warm. Always start with a cool baking sheet and make sure your butter is softened, not greasy.
Can I use Dutch-process cocoa powder?
You can, but the cookies will be darker and slightly less tender. Dutch-process cocoa is less acidic, so it reacts differently with the baking powder. If that’s all you have, add ¼ teaspoon of lemon juice or vinegar to the dough to compensate.
How do I get the icing perfectly white?
Use clear vanilla extract instead of brown vanilla. Also, sift your powdered sugar to remove any clumps. If the icing still looks slightly gray, add a tiny drop of white gel food coloring to brighten it up.
Can I freeze the decorated cookies?
I don’t recommend freezing cookies after they’ve been iced. The icing can become sticky and smudge when thawed. Freeze the undecorated cookies, then ice them after thawing. It takes just a few extra minutes and the results are much better.
Pin This Recipe!


Easy Black Cat Halloween Sugar Cookies
- Total Time: 30 minutes
- Yield: 24 cookies 1x
Description
These quick and easy black cat sugar cookies are soft, rich, and perfect for Halloween parties. With no chilling required and simple pantry ingredients, they come together in just 30 minutes and always steal the show.
Ingredients
- 1 cup unsalted butter, softened
- 1 cup granulated sugar
- 1 large egg, room temperature
- 1 teaspoon vanilla extract
- 2 cups all-purpose flour
- ½ cup unsweetened cocoa powder
- 1 teaspoon baking powder
- ½ teaspoon salt
- 1 cup powdered sugar (for icing)
- 2–3 tablespoons milk (for icing)
- Black gel food coloring (optional, for icing)
- Candy eyes (optional)
Instructions
- Preheat oven to 350°F (175°C). Line two baking sheets with parchment paper.
- In a large bowl, beat softened butter and granulated sugar together until light and fluffy, about 2-3 minutes.
- Add egg and vanilla extract; beat on medium speed until fully combined, about 30 seconds.
- In a medium bowl, whisk together flour, cocoa powder, baking powder, and salt.
- Gradually add dry mixture to wet mixture, mixing on low speed just until combined. Dough will be soft and slightly sticky.
- Scoop tablespoons of dough and roll into balls. Place on prepared baking sheets 2 inches apart. Flatten each ball to ½ inch thickness.
- Using a round cookie cutter or glass rim, gently press into the center of each dough circle to define the head (do not cut through). Pinch two small triangles at the top for ears. Roll a small piece of dough into a thin log for the tail and attach next to the body, curving slightly.
- Bake for 8-10 minutes. Cookies are done when edges are set and tops are slightly cracked. Cool on baking sheet for 5 minutes, then transfer to a wire rack to cool completely.
- For icing: whisk together powdered sugar and milk until thick but pipeable. Add more milk if needed. Transfer to a piping bag or ziplock bag with a tiny corner snipped off.
- Pipe two small dots for eyes, a tiny triangle for the nose, and curved lines for whiskers. If using candy eyes, press into wet icing. Let icing set for about 20 minutes before serving.
Notes
Do not overbake; cookies will look underdone in the center when done. For consistent sizes, use a 1.5-tablespoon cookie scoop. If dough is too sticky, dust hands with cocoa powder instead of flour. Cookies can be frozen undecorated for up to 3 months.
- Prep Time: 15 minutes
- Cook Time: 10 minutes
- Category: Dessert
- Cuisine: American
Nutrition
- Serving Size: 1 cookie
- Calories: 145
- Sugar: 12
- Sodium: 85
- Fat: 7
- Saturated Fat: 4
- Carbohydrates: 20
- Fiber: 1
- Protein: 2
Keywords: Halloween cookies, black cat cookies, sugar cookies, easy Halloween dessert, chocolate sugar cookies, no chill cookies