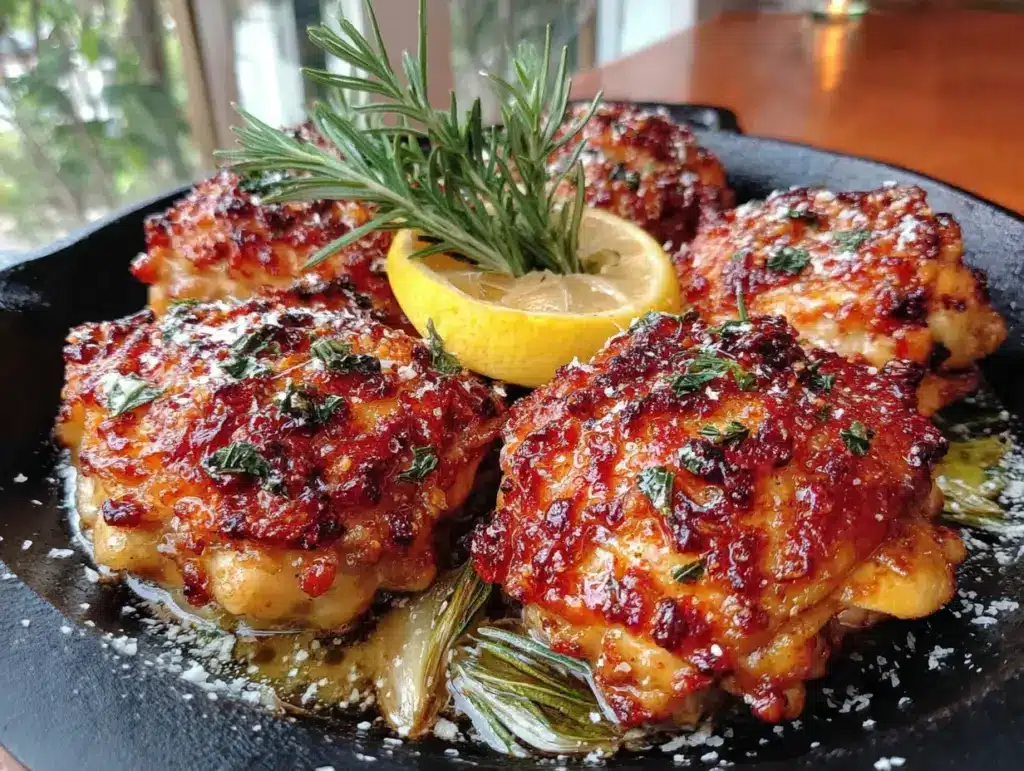
“These are better than fried, right?” My brother-in-law asked that halfway through a mouthful, and honestly, I hadn’t thought about crispy baked chicken thighs the same way since.
It was a random Tuesday night. I was tired, the kitchen was a mess, and I had a pack of chicken thighs defrosting in the fridge with no real plan. I wanted something crunchy, something satisfying, but I did not want to stand over a spitting pan of hot oil. That’s when I remembered a trick my old roommate used to do with pork chops—a simple coating of mayo and breadcrumbs. I had parmesan. I had panko. I had a hunch.
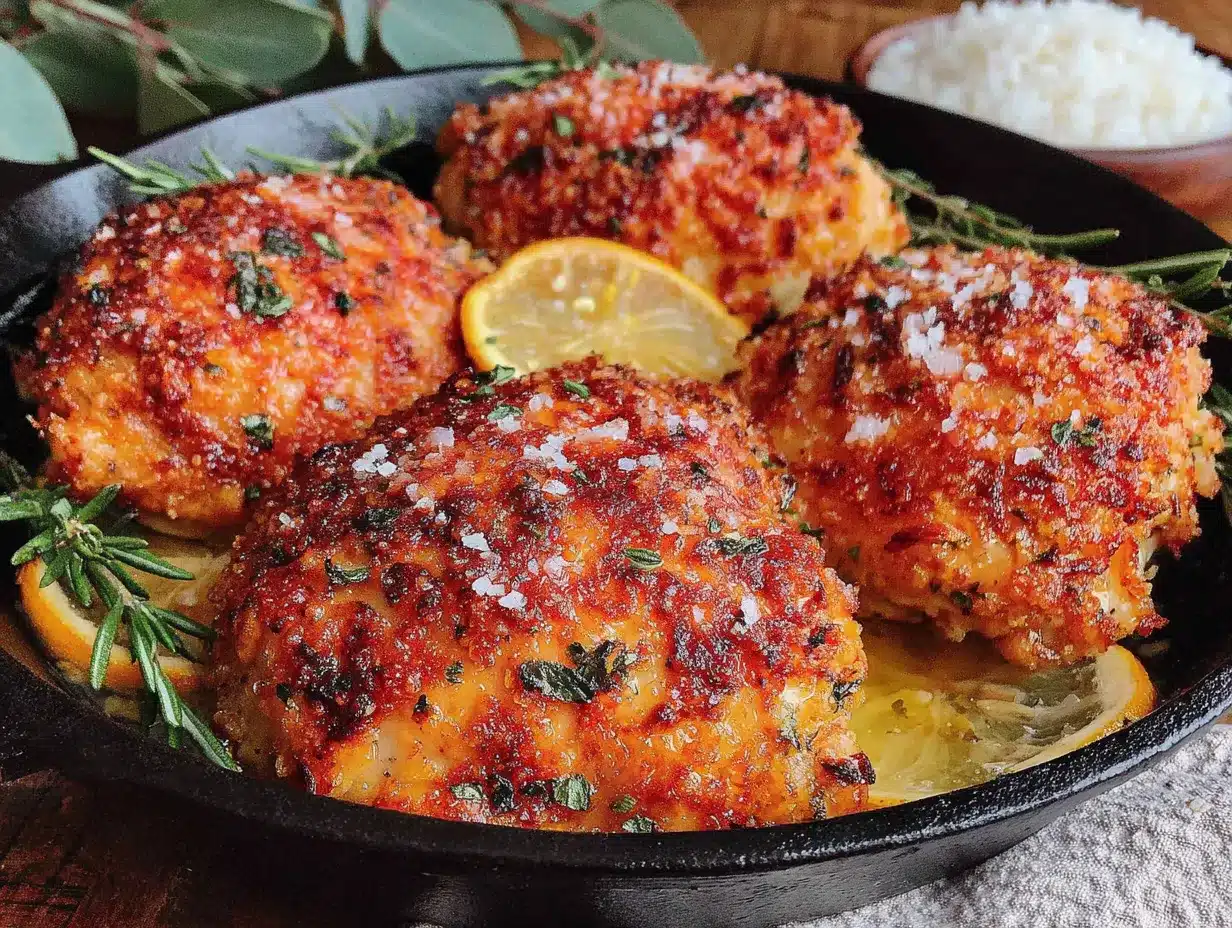
I threw those chicken thighs together, popped them in the oven, and prayed they wouldn’t turn out soggy. When I pulled the sheet pan out thirty minutes later, the kitchen smelled like a diner and a trattoria had a baby. The skin was crackling, the cheese was browned in spots, and the meat underneath was so tender it practically fell off the bone. My brother-in-law, who usually only compliments pizza, asked for the recipe before he finished his first piece.
That’s the thing about these crispy baked parmesan chicken thighs. They taste like you spent an hour breading and frying, but they come together with almost no effort. It’s the kind of recipe that feels like a secret weapon—simple enough for a frantic weeknight, but good enough to serve to guests who think you actually know what you’re doing in the kitchen. And honestly? You do.
Why You’ll Love This Recipe
I’ve tested this recipe more times than I care to admit. I’ve tried different temperatures, different coatings, and different binders. What I’m sharing with you today is the version that works every single time. No flop, no dry meat, no sad, soggy crust.
- Quick & Easy: From fridge to table in about 40 minutes. Most of that time is hands-off baking, which means you can throw together a quick salad or roast some veggies while the oven does the work.
- Simple Ingredients: You probably have everything in your kitchen right now. Chicken thighs, parmesan cheese, panko breadcrumbs, a few pantry spices, and mayo or mustard to hold it all together. No fancy grocery trips required.
- Perfect for Busy Weeknights: This is my go-to when I have zero energy but still want a real dinner. It pairs beautifully with a simple side salad or some roasted broccoli, and it’s hearty enough to stand on its own.
- Crowd-Pleaser: I’ve served these to picky kids, health-conscious friends, and serious meat-and-potato types. Everyone loves them. The crispy, cheesy exterior is universally appealing.
- Unbelievably Delicious: The texture is what gets you. The crust is shatteringly crisp, the chicken is juicy, and the parmesan adds this nutty, salty depth that makes you wonder why you ever bothered with regular baked chicken.
What makes this recipe different from the rest? It’s the perfect ratio of fat to crunch. The mayo or mustard binder keeps the meat incredibly moist while helping the panko and parmesan stick without falling off. It’s not just another baked chicken recipe—it’s the one that will ruin all others for you.
What Ingredients You Will Need
This recipe uses simple, wholesome ingredients to deliver big flavor and a perfect crispy texture without any fuss. Most of these are pantry staples, which is exactly what you want on a busy weeknight.
- Chicken Thighs: Bone-in, skin-on is the way to go for maximum flavor and juiciness. You’ll need about 4-6 thighs, depending on size. The skin helps keep the meat moist and gets beautifully crisp under the parmesan crust. If you only have boneless, skinless thighs, reduce the cooking time by about 10 minutes.
- Grated Parmesan Cheese: Please, for the love of all things crispy, use the real stuff from a block, not the green can. Freshly grated parmesan melts better, browns more evenly, and has a far superior flavor. You’ll need about 1/2 cup. I like to use a microplane for a fine, fluffy texture that clings to the chicken.
- Panko Breadcrumbs: Regular breadcrumbs just won’t give you the same crunch. Panko is lighter and flakier, which creates that shatteringly crisp crust we’re after. Use 1/2 cup. If you’re gluten-free, look for gluten-free panko (I’ve had good luck with the Ian’s brand).
- Mayonnaise or Dijon Mustard: This is the secret binder. It might sound weird, but trust me. Mayo (or mustard if you prefer a tangier kick) acts as the glue for the coating while keeping the chicken incredibly moist. Use about 2 tablespoons. I personally prefer a mix of both—1 tablespoon mayo and 1 tablespoon Dijon—for the best of both worlds.
- Garlic Powder: Don’t use fresh garlic here; it can burn in the oven. Garlic powder adds a gentle, sweet garlic flavor that complements the parmesan perfectly. Use 1 teaspoon.
- Onion Powder: Adds a savory depth that rounds out the flavor. Use 1/2 teaspoon.
- Paprika: I like smoked paprika for a subtle smokiness, but sweet paprika works great too. Use 1 teaspoon. It also helps give the crust a beautiful golden color.
- Dried Italian Seasoning: A teaspoon of this adds a herby note that makes the chicken feel extra special. Oregano, basil, and thyme all work beautifully here.
- Salt and Black Pepper: Essential for seasoning the chicken itself and the coating. Use about 1 teaspoon of salt and 1/2 teaspoon of pepper, adjusted to taste.
- Optional: Fresh Parsley: For garnish. It adds a pop of color and a fresh finish that cuts through the richness.
Equipment Needed
You don’t need a ton of fancy equipment for this one, which is part of the beauty. Here’s what you’ll need:
- Baking Sheet: A standard half-sheet pan works perfectly. Line it with parchment paper or aluminum foil for easy cleanup. I’ve used both, and honestly, foil is my lazy-day favorite because I can just toss it.
- Wire Rack: This is the secret to maximum crispiness. Placing the chicken on a wire rack set inside the baking sheet allows hot air to circulate underneath the thighs, preventing the bottoms from getting soggy. If you don’t have one, you can still bake them directly on the sheet, just flip them halfway through.
- Mixing Bowls: One shallow bowl for the mayo/mustard mixture and one for the panko-parmesan coating.
- Tongs: For easily dipping and transferring the chicken without making a mess.
- Meat Thermometer: This is non-negotiable for perfectly cooked chicken. You want the internal temperature to reach 165°F (74°C) in the thickest part of the thigh, away from the bone.
- Cheese Grater or Microplane: For grating that fresh parmesan. It makes a real difference.
Preparation Method
Let’s get cooking. This is straightforward, but I’ll walk you through every step so you get perfect results.
- Preheat and Prep: Preheat your oven to 400°F (200°C). This high heat is key for getting that crust crispy without drying out the meat. While the oven heats, line your baking sheet with foil or parchment and place a wire rack on top. Give the rack a light spray of non-stick cooking spray.
- Pat the Chicken Dry: This is the most important step you will do. Take your chicken thighs out of the package and pat them completely dry with paper towels. Moisture is the enemy of crispiness. If the skin is wet, the coating will steam instead of crisp. Let them sit on a plate for a few minutes to air-dry a bit more if you have time.
- Season the Chicken: Sprinkle both sides of the chicken thighs generously with salt, black pepper, and a little garlic powder. Don’t be shy—seasoning the meat directly ensures every bite is flavorful, not just the crust.
- Make the Binder: In a small bowl, mix together your mayonnaise (or Dijon mustard, or a mix of both). You want about 2 tablespoons total. If it’s too thick, you can thin it with a tiny splash of olive oil, but it’s usually fine as is.
- Make the Coating: In a separate shallow bowl, combine the panko breadcrumbs, freshly grated parmesan cheese, smoked paprika, onion powder, dried Italian seasoning, and a pinch of salt and pepper. Mix it all together with a fork until it’s evenly distributed.
- Coat the Chicken: Using a brush or your fingers (I use my hands—it’s faster), spread a thin, even layer of the mayo mixture all over each chicken thigh. Don’t go overboard; you just need enough for the crumbs to stick. Then, one at a time, press each thigh into the panko-parmesan mixture, coating all sides. Press firmly so the crumbs adhere. Place the coated thighs on the prepared wire rack, skin-side up.
- Bake to Perfection: Place the baking sheet in the preheated oven. Bake for 30-35 minutes, or until the internal temperature of the thickest part of the thigh reaches 165°F (74°C). The crust should be deep golden brown and crispy. If you want an extra-crunchy top, you can switch the oven to broil for the last 1-2 minutes, but watch it closely so it doesn’t burn.
- Rest Before Serving: This is crucial. Once the chicken is done, remove it from the oven and let it rest on the wire rack for 5-10 minutes. This allows the juices to redistribute throughout the meat. If you cut into it right away, all those delicious juices will run out onto the plate, leaving you with drier chicken.
Cooking Tips & Techniques
I’ve made this recipe dozens of times, and I’ve learned a few things the hard way. Here are my best tips for guaranteed success.
- The Dryer, The Better: I cannot stress this enough. Pat those chicken thighs dry until they feel almost tacky. Any surface moisture will create steam in the oven, which will make your crust soggy. I’ve even left them uncovered in the fridge for an hour to dry out the skin before cooking.
- Don’t Skip the Rack: The first time I made this, I put the chicken directly on the baking sheet. The bottoms were a little soft. The wire rack is a game-changer. It lets the hot air circulate underneath, ensuring the entire thigh gets crispy, not just the top. It’s worth the extra minute of cleanup.
- Fresh Parmesan is Non-Negotiable: I know we all have that can of pre-shredded parmesan in the fridge. Don’t use it here. It contains anti-caking agents that prevent it from melting and browning properly. Buy a small block of real parmesan and grate it yourself. The difference in texture and flavor is massive.
- Check Your Temperature Early: Ovens vary wildly. Start checking the internal temperature of your chicken thighs at the 25-minute mark. You’re looking for 165°F (74°C). If you don’t have a meat thermometer, you can cut into the thickest part—the juices should run clear, and the meat should no longer be pink.
- Toast Your Panko First (Optional): For an even crunchier crust, you can toast the panko breadcrumbs in a dry skillet over medium heat for 2-3 minutes before mixing them with the parmesan. This gives them a head start on browning. I do this when I’m feeling extra fancy.
Variations & Adaptations
One of the best things about this recipe is how easily it adapts to different tastes and dietary needs. Here are a few of my favorite twists.
- Spicy Buffalo Version: Mix a tablespoon of hot sauce (like Frank’s RedHot) into the mayo binder. Add a pinch of cayenne pepper to the panko mixture. Serve with ranch or blue cheese dressing for dipping. It’s a crowd-pleaser for game day.
- Herb & Lemon: Add the zest of one lemon and a tablespoon of fresh, chopped herbs (like rosemary, thyme, or oregano) to the panko-parmesan mixture. Squeeze a little fresh lemon juice over the finished chicken for a bright, fresh finish. This is perfect for spring or summer dinners.
- Gluten-Free Adaptation: This is incredibly easy. Simply swap the panko breadcrumbs for a gluten-free version. I’ve used both Ian’s and Aleia’s brands with great results. The rest of the ingredients are naturally gluten-free. Just make sure your Dijon mustard and other spices are certified gluten-free if needed.
- Cheese Swaps: Not a parmesan fan? You can substitute it with finely grated Pecorino Romano for a saltier, sharper flavor, or use a mix of parmesan and Asiago for a more complex taste. For a milder option, try using grated Grana Padano.
- Bone-In, Skin-On Thighs are Best, But: If you only have boneless, skinless thighs, you can still make this work. Reduce the cooking time to about 20-25 minutes. The crust won’t be quite as shatteringly crisp without the skin, but it will still be delicious and juicy. I’ve done this when I was in a pinch for easy chicken burrito bowls and it worked great.
Serving & Storage Suggestions
These crispy baked parmesan chicken thighs are incredibly versatile. Here’s how to serve them and keep them tasting great.
Serving: Serve these hot out of the oven for the best crispy texture. I love them with a simple side salad dressed with a lemony vinaigrette to cut through the richness. They’re also fantastic alongside roasted vegetables like asparagus, broccoli, or Brussels sprouts. For a heartier meal, serve them over a bed of creamy mashed potatoes, rice, or buttered pasta. They’re also amazing sliced up and served over a Caesar salad for a protein-packed lunch. If you’re looking for a full meal prep idea, these thighs are perfect for simple meal prep—they reheat beautifully.
Storage: Let any leftover chicken cool completely to room temperature. Store it in an airtight container in the refrigerator for up to 4 days. I recommend storing the chicken in a single layer if possible to prevent the crust from getting crushed.
Reheating: The secret to reviving that crispy crust is the oven or an air fryer. Do not use the microwave—it will turn the crust into a sad, soggy mess. Reheat the chicken in a 350°F (175°C) oven for about 10 minutes, or until heated through. An air fryer works even better; just pop them in at 350°F (175°C) for 3-5 minutes. They’ll come out almost as crispy as the day you made them. I often make a double batch just so I can have leftovers for easy turkey taco meal prep bowls style lunches during the week.
Freezing: You can freeze these both before and after baking. To freeze unbaked, assemble the chicken on a parchment-lined baking sheet and freeze until solid. Then transfer the frozen, unbaked thighs to a freezer bag. To bake from frozen, add about 10-15 minutes to the cooking time. To freeze baked chicken, let it cool completely, then wrap each thigh individually in plastic wrap and place in a freezer bag. Thaw in the fridge overnight and reheat in the oven or air fryer.
Nutritional Information & Benefits
While this is definitely a comfort food dish, it’s also a surprisingly balanced meal. Chicken thighs are a great source of protein and healthy fats, which help keep you full and satisfied.
| Nutrient | Per Serving (1 thigh) |
|---|---|
| Calories | ~380 kcal |
| Protein | ~30g |
| Fat | ~25g |
| Carbohydrates | ~8g |
| Fiber | ~1g |
| Calcium | ~150mg |
Pin This Recipe!
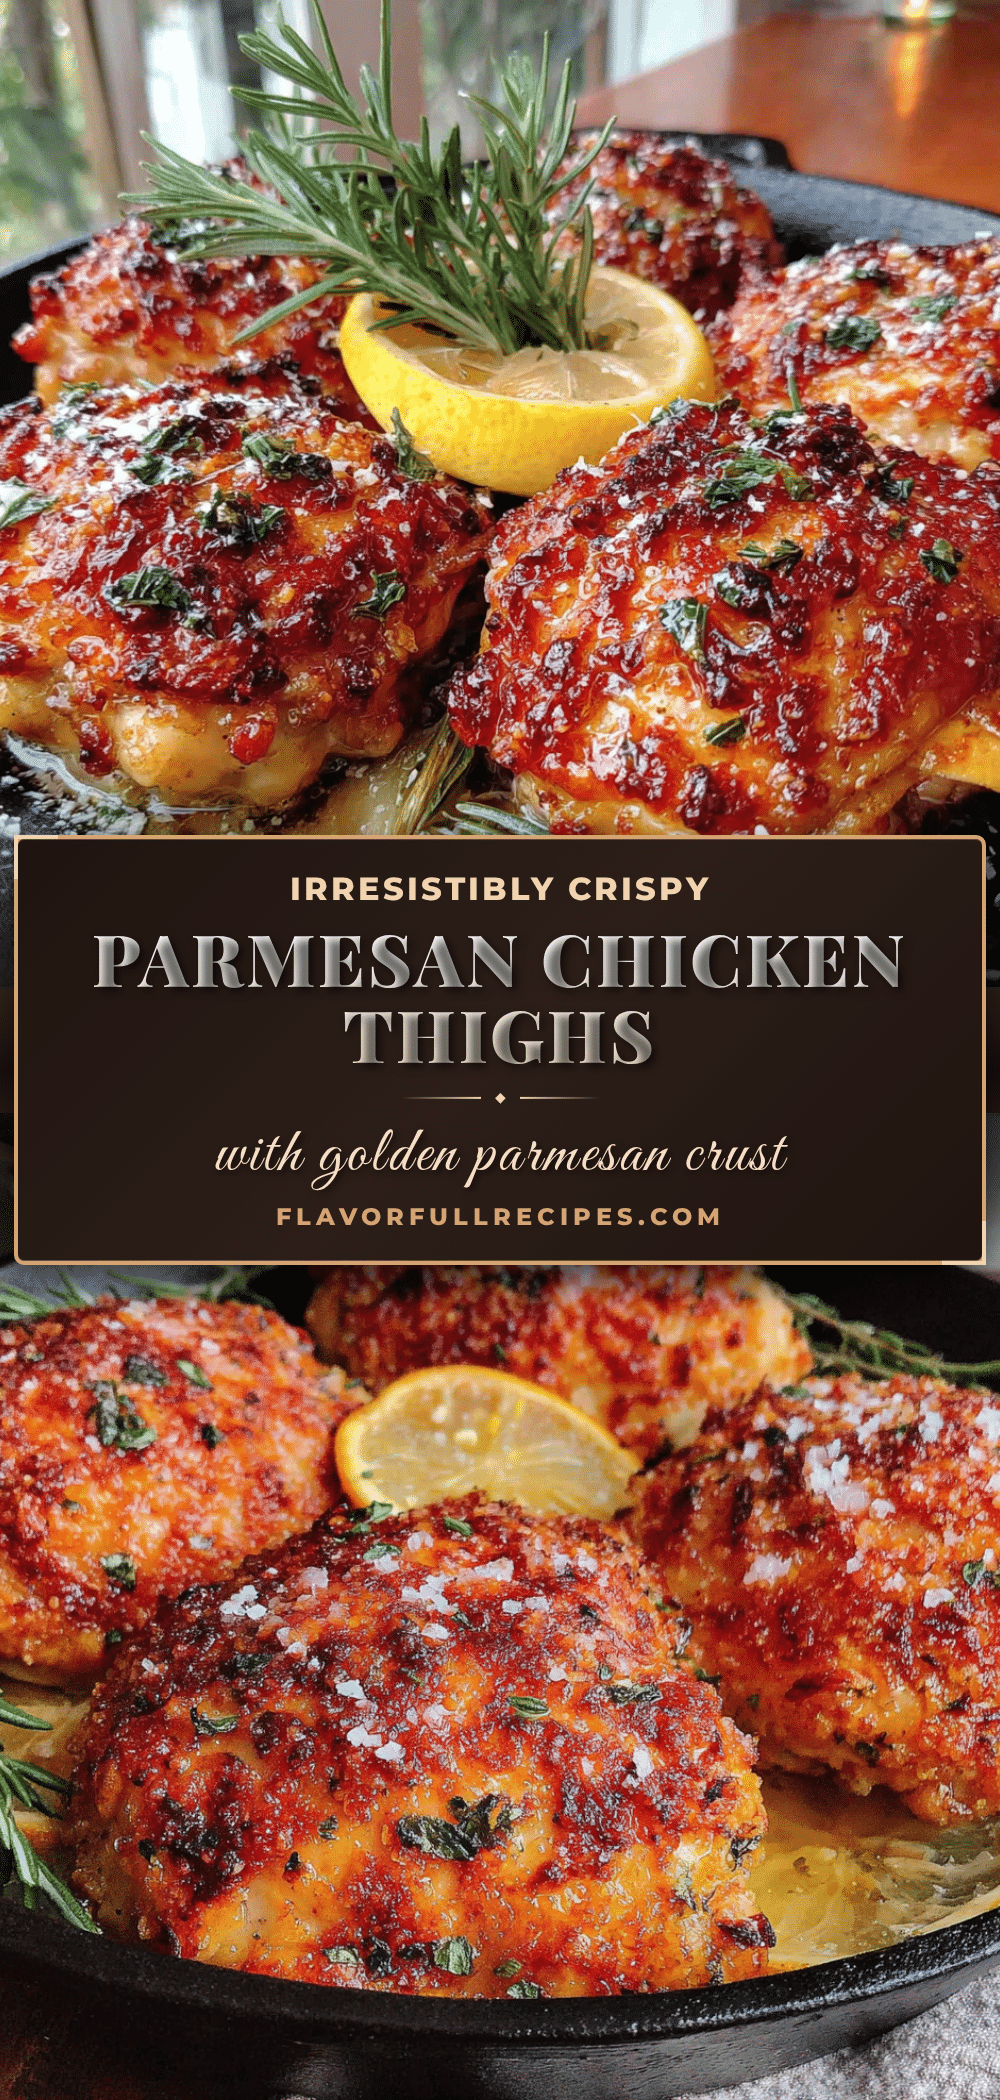

Crispy Baked Parmesan Chicken Thighs: Easy Weeknight Dinner
- Total Time: 40 minutes
- Yield: 4 servings 1x
Description
These crispy baked parmesan chicken thighs are a quick and easy weeknight dinner that tastes like you spent hours breading and frying. With a shatteringly crisp crust and tender, juicy meat, they’re a crowd-pleaser that comes together with minimal effort.
Ingredients
- 4–6 bone-in, skin-on chicken thighs
- 1/2 cup freshly grated Parmesan cheese
- 1/2 cup panko breadcrumbs
- 2 tablespoons mayonnaise or Dijon mustard (or a mix of both)
- 1 teaspoon garlic powder
- 1/2 teaspoon onion powder
- 1 teaspoon smoked paprika (or sweet paprika)
- 1 teaspoon dried Italian seasoning
- 1 teaspoon salt
- 1/2 teaspoon black pepper
- Fresh parsley for garnish (optional)
Instructions
- Preheat your oven to 400°F (200°C). Line a baking sheet with foil or parchment paper and place a wire rack on top. Lightly spray the rack with non-stick cooking spray.
- Pat the chicken thighs completely dry with paper towels. Season both sides generously with salt, black pepper, and a little garlic powder.
- In a small bowl, mix together the mayonnaise (or Dijon mustard, or a mix of both).
- In a separate shallow bowl, combine the panko breadcrumbs, freshly grated Parmesan cheese, smoked paprika, onion powder, dried Italian seasoning, and a pinch of salt and pepper. Mix well.
- Using a brush or your fingers, spread a thin, even layer of the mayo mixture all over each chicken thigh. Then, press each thigh into the panko-Parmesan mixture, coating all sides. Place the coated thighs on the prepared wire rack, skin-side up.
- Bake for 30-35 minutes, or until the internal temperature of the thickest part of the thigh reaches 165°F (74°C). For extra crunch, broil for the last 1-2 minutes, watching closely.
- Remove from the oven and let the chicken rest on the wire rack for 5-10 minutes before serving. Garnish with fresh parsley if desired.
Notes
Pat the chicken very dry for maximum crispiness. Use a wire rack to allow air circulation. Freshly grated Parmesan is essential for best texture and flavor. Check internal temperature early to avoid overcooking. For extra crunch, toast panko in a dry skillet before mixing.
- Prep Time: 10 minutes
- Cook Time: 30 minutes
- Category: Main Course
- Cuisine: American
Nutrition
- Serving Size: 1 thigh
- Calories: 380
- Sugar: 1
- Sodium: 600
- Fat: 25
- Saturated Fat: 8
- Carbohydrates: 8
- Fiber: 1
- Protein: 30
Keywords: crispy baked chicken thighs, parmesan chicken, easy weeknight dinner, baked chicken thighs, crispy chicken


