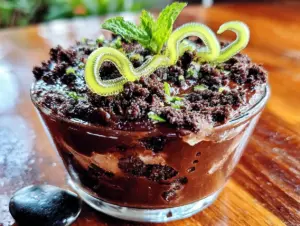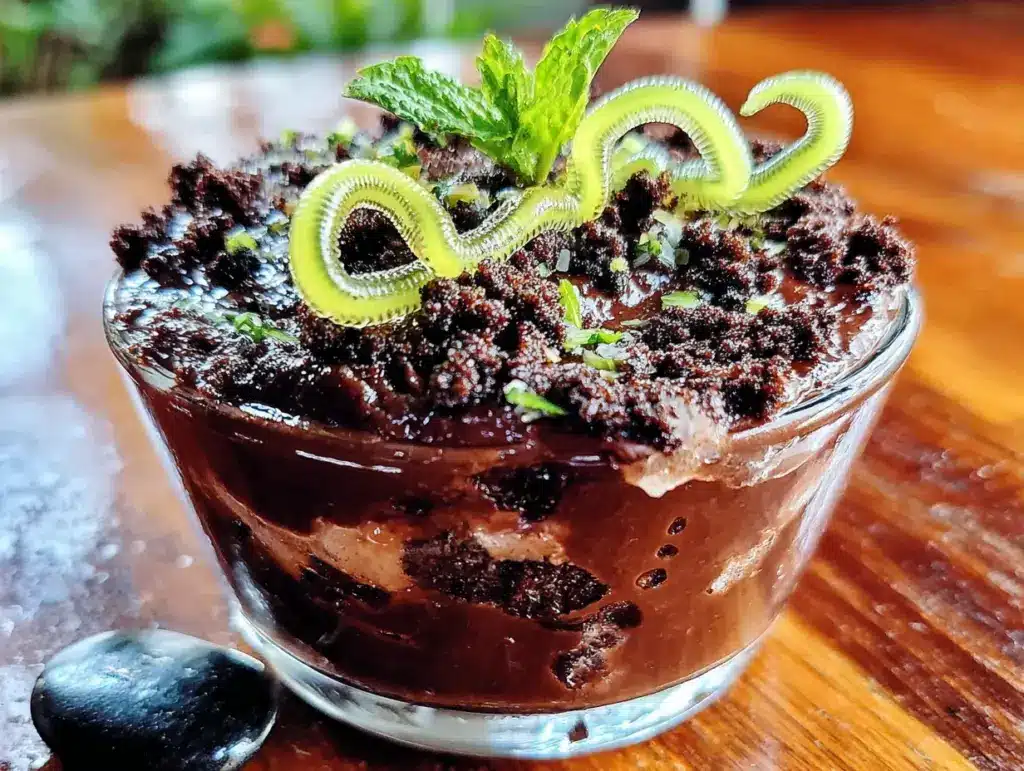
That first cold, crumbly spoonful of chocolate pudding hitting your tongue — the kind that melts into a rich, velvety mouthful before you even have a chance to chew — still takes me straight back to my aunt’s tiny kitchen, circa 1998. I was maybe eight, sitting cross-legged on a linoleum floor, watching her crush Oreos in a Ziploc bag with a rolling pin like it was the most important job in the world. She handed me a clear plastic cup layered with dark, chocolaty dirt and a bright green gummy worm poking out the top. Honestly, I thought she was a magician. No oven, no mixer, no sweat — just pure, ridiculous joy in a cup.
These Easy No-Bake Chocolate Dirt Cups with Gummy Worms aren’t just a kids’ dessert. They’re a time machine. I’ve made them for birthday parties, last-minute playdates, and even a grown-up barbecue where everyone secretly fought over the last one. There’s something about that combination — silky chocolate pudding, crunchy cookie “dirt,” and a squiggly, chewy worm — that makes adults drop their guard and smile like they’re seven again.
And here’s the thing: you don’t need a culinary degree or a fully stocked pantry. You need five minutes, a handful of ingredients, and maybe a little patience while the pudding sets. That’s it. This is the kind of recipe that saves you when the school bake sale sneaks up, or when you want to make something fun without turning your kitchen into a disaster zone. It’s simple, it’s nostalgic, and it works every single time.
Why You’ll Love This Recipe
Let me tell you — I’ve tested this recipe about a dozen times. Not because it’s hard, but because I wanted to get the texture just right. I tried different pudding brands, different ratios of milk to pudding mix, and even different ways to crush the Oreos. What I landed on is the sweet spot: a pudding that’s thick but not gloopy, a dirt layer that stays crunchy, and a presentation that makes people gasp a little. Here’s why I think you’ll love it too:
- Quick & Easy: This comes together in about 5 minutes of active work. Seriously, the hardest part is waiting for the pudding to chill. Perfect for busy weeknights or when the kids are bouncing off the walls and you need a win.
- Simple Ingredients: You probably already have most of this stuff in your kitchen. Chocolate pudding mix, milk, Oreos, Cool Whip, and gummy worms. No fancy extracts, no obscure flours, no trips to three different stores.
- Perfect for Parties: These dirt cups are a guaranteed crowd-pleaser at birthdays, Halloween parties, classroom celebrations, or even a fun weekend treat. Kids love the gummy worms, and adults love the chocolate fix.
- No-Bake Magic: No oven required. Zero heat. Which means you can make these in the middle of summer without breaking a sweat, or let the kids help without worrying about burns.
- Unbelievably Delicious: The combination of creamy chocolate pudding, crunchy Oreo crumbs, and the occasional chewy gummy worm is textural perfection. It’s comfort food in a cup — the kind that makes you close your eyes after the first bite.
This isn’t just another dirt cup recipe. The trick here is using instant pudding that sets up firm but stays silky, and crushing the Oreos so some pieces are fine like sand and some are slightly chunkier for texture. It makes a difference. And honestly, it’s the kind of dessert that makes you feel like a hero with almost zero effort. You’ll get rave reviews, I promise.
What Ingredients You Will Need
This recipe uses simple, everyday ingredients to create something that feels way more special than it should. Here’s everything you’ll need, plus a few notes from my own kitchen experiments.
- 1 box (3.9 oz) instant chocolate pudding mix: I prefer Jell-O brand for the creamiest texture, but any instant chocolate pudding mix works. Don’t use cook-and-serve — it won’t set properly in the fridge and the texture is different. Trust me on this one.
- 2 cups cold milk: Whole milk gives the richest, creamiest pudding. But 2% works just fine, and I’ve even used oat milk in a pinch (just let it set a little longer). If you’re using a dairy-free milk, go for an unsweetened variety so the pudding isn’t too sweet.
- 1 cup Cool Whip (or whipped topping), thawed: This is the secret to a lighter, fluffier pudding. It makes the dirt cups feel almost mousse-like. You can substitute homemade whipped cream if you prefer, but Cool Whip holds its shape better and keeps longer.
- 1 package (about 14-16) Oreo cookies: You’ll need the whole cookie — cream filling and all. The filling helps the “dirt” stick together slightly, which gives it that realistic soil texture. Regular Oreos work best, but Double Stuf is fine (just expect slightly sweeter dirt).
- 1 cup gummy worms: I like the sour ones for a little tangy contrast against the sweet chocolate. But any gummy worms work — classic, sour, or even the giant ones cut into pieces. Just make sure they’re fresh and chewy, not hard.
- Optional: Small plastic cups or clear dessert cups: Clear cups are key for showing off the layers. I use 5-ounce or 7-ounce cups. You can also use small mason jars or even paper cups if you’re serving kids at a party.
- Optional: Gummy leaves or chocolate sprinkles for garnish: If you want to get fancy, a few chocolate sprinkles on top look like little pebbles, and gummy leaves or flowers make it feel like a garden scene.
One thing I’ve learned: the quality of the gummy worms matters. Cheap, rock-hard gummy worms ruin the fun. Splurge on a good brand like Trolli or Black Forest — they stay soft and chewy even after a day in the fridge.
Equipment Needed
You don’t need much for this recipe, which is part of its charm. Here’s what I use every time:
- Mixing bowl: A medium-sized bowl for the pudding. Glass or stainless steel works best because they chill quickly.
- Whisk: For mixing the pudding and milk. A whisk gets rid of lumps better than a spoon.
- Ziploc bag (gallon size): For crushing the Oreos. This is the mess-free method. You can also use a food processor, but honestly, the bag method is more fun and gives you better control over the texture.
- Rolling pin or heavy-bottomed pan: To crush the Oreos inside the bag. A rolling pin is ideal, but a wine bottle or even a cast-iron skillet works in a pinch.
- Small plastic cups (5-7 oz each): Clear cups are best for showing off the layers. You can find them at any grocery store or party supply shop.
- Spatula: For scraping every last bit of pudding into the cups. Waste not, want not.
- Spoon or small cookie scoop: For layering the pudding and Oreo crumbs neatly.
If you don’t have clear cups, don’t stress. I’ve made these in regular bowls and even in little mason jars. The layers won’t be as visible, but they’ll taste just as good. And if you don’t have a rolling pin, just let the kids stomp on the Ziploc bag — it’s therapeutic and they’ll love it.
Preparation Method
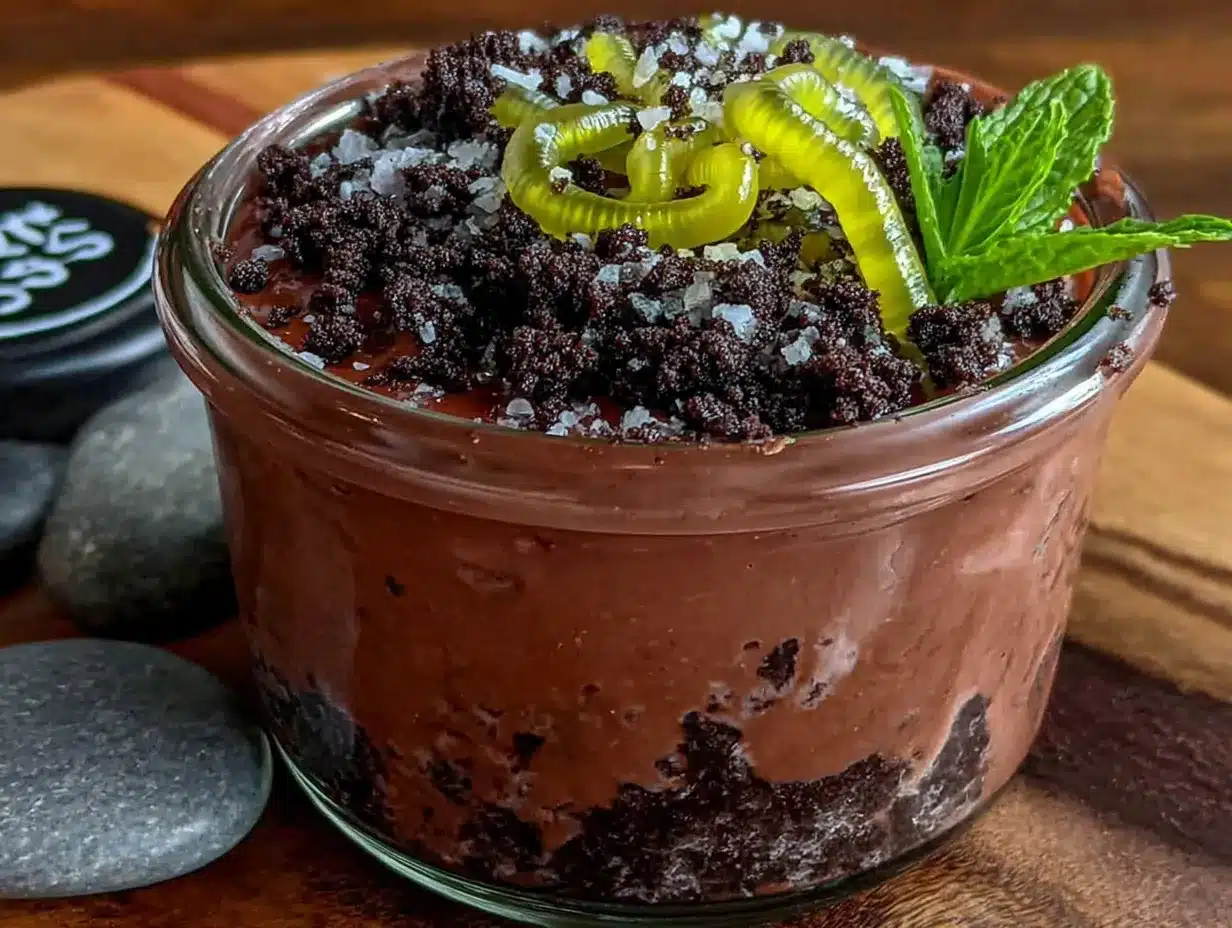
This is where the magic happens. Follow these steps, and you’ll have perfect dirt cups every time. I’ve included all the little details I wish someone had told me the first time I made these.
- Make the pudding: In a medium mixing bowl, whisk together the instant chocolate pudding mix and 2 cups of cold milk. Whisk vigorously for about 2 minutes until the pudding starts to thicken. It should look smooth and glossy. Don’t over-whisk — you’ll incorporate too much air and the pudding won’t set as firmly. Let it sit for 5 minutes to thicken slightly.
- Fold in the Cool Whip: Add the thawed Cool Whip to the pudding. Use a spatula to gently fold it in — don’t stir aggressively. You want to keep the mixture light and airy. Fold until no white streaks remain. The result should be a pale, mousse-like chocolate mixture that’s thick but spoonable. Set it aside.
- Crush the Oreos: Place the Oreo cookies (cream and all) into a gallon-size Ziploc bag. Seal it, squeezing out as much air as possible. Use a rolling pin to crush the cookies into fine crumbs. Aim for a mix of fine sand-like crumbs and a few slightly larger pebbles — that gives the “dirt” a realistic texture. If you have a food processor, you can pulse them 8-10 times, but I prefer the bag method because it’s less cleanup.
- Layer the cups: Grab your clear plastic cups. Start with a layer of Oreo crumbs at the bottom — about 2 tablespoons per cup. Press it down lightly with the back of a spoon. This creates a solid “ground” layer. Next, spoon in a layer of the chocolate pudding mixture — about 3-4 tablespoons per cup, depending on cup size. Smooth it out gently. Repeat with another layer of Oreo crumbs, then another layer of pudding, ending with a final layer of Oreo crumbs on top.
- Add the gummy worms: Before adding the final layer of Oreo crumbs, press a few gummy worms into the pudding so they’re partially buried. Then add the top layer of crumbs, leaving the worms’ heads poking out. For extra fun, stick a couple of worms into the top crumb layer so they look like they’re crawling out of the dirt.
- Chill: Place the assembled dirt cups in the refrigerator for at least 2 hours. Overnight is even better — the flavors meld and the texture becomes perfectly creamy. Don’t skip this step. The pudding needs time to fully set, and the Oreo crumbs soften just slightly, creating that perfect “dirt” consistency.
- Garnish and serve: Right before serving, you can add a few extra gummy worms on top, or sprinkle on some chocolate shavings for a more polished look. Serve cold.
A few notes from my own trials: If your pudding seems too thin after mixing, don’t panic. It will thicken as it chills. And if your Oreo crumbs are too fine, they can turn into a paste — so leave a few chunkier bits. Also, I’ve found that letting the kids help with the crushing and layering makes the whole process more fun. It’s a messy, joyful activity that ends with a sweet reward.
Cooking Tips & Techniques
I’ve made these dirt cups more times than I can count, and I’ve definitely learned a few things the hard way. Here are my best tips for getting perfect results every time.
- Use cold milk: Instant pudding sets best with very cold milk. If your milk is room temperature, the pudding will take longer to thicken and might end up runny. I keep my milk in the fridge until the last minute.
- Don’t overmix the pudding: Whisk just until the powder dissolves and the mixture starts to thicken. Overmixing can break down the starches and prevent the pudding from setting properly. You’ll see it go from thin to thick pretty quickly — that’s your cue to stop.
- Crush Oreos in batches: If you’re making a big batch, crush the Oreos in two separate bags. One bag of cookies can be hard to crush evenly, and you might end up with some pieces too large and others too fine. Working in smaller batches gives you more control.
- Let the pudding rest before layering: After folding in the Cool Whip, let the mixture sit for about 5 minutes. It will thicken slightly, making it easier to layer without the crumbs sinking in.
- Press the crumbs down: When you add each layer of Oreo crumbs, press them down gently with the back of a spoon. This keeps the layers distinct and prevents them from mixing with the pudding. It also creates a more realistic “dirt” texture.
- Chill overnight for best texture: While 2 hours is the minimum, overnight chilling makes a noticeable difference. The pudding becomes firmer and creamier, and the Oreo crumbs soften just enough to feel like real dirt. It’s worth the wait.
One mistake I’ve made: adding too many gummy worms. It sounds crazy, but if you overload the cups, the worms can make the pudding watery as they release moisture. Stick to 2-3 worms per cup, and you’ll be golden.
Variations & Adaptations
This recipe is incredibly flexible. Here are some of my favorite twists, all tested in my own kitchen.
- Peanut Butter Dirt Cups: Add 2 tablespoons of creamy peanut butter to the pudding mixture before folding in the Cool Whip. It adds a rich, nutty flavor that pairs beautifully with the chocolate. Just make sure the peanut butter is fully incorporated — no streaks.
- Mint Chocolate Dirt Cups: Use mint-flavored Oreos (the ones with green filling) and add 1/4 teaspoon of peppermint extract to the pudding. It tastes like a Thin Mint in cup form. Perfect for Christmas or St. Patrick’s Day.
- Gluten-Free Version: Use gluten-free chocolate sandwich cookies (like Glutino or Kinnikinnick) instead of Oreos. The rest of the ingredients are naturally gluten-free, so this is an easy swap. Just make sure your pudding mix is certified gluten-free — most are, but double-check the label.
- Dairy-Free Version: Use a dairy-free milk (like almond, oat, or coconut milk) and a dairy-free whipped topping (like CocoWhip). The pudding might take a little longer to set, but it works. I’ve tested this with oat milk and it turned out great.
- Halloween Dirt Cups: Add a few drops of orange food coloring to the pudding mixture for a spooky twist. Use Halloween-themed gummy worms (orange and black) and top with a plastic spider ring. Kids go wild for these.
I once tried a version with crushed graham crackers instead of Oreos, and honestly, it was good but not great. The graham crackers didn’t have the same rich chocolate flavor, and the texture was too sandy. Stick with Oreos — they’re the star of the show.
Serving & Storage Suggestions
These dirt cups are best served cold, straight from the fridge. The contrast between the cool, creamy pudding and the crunchy Oreo crumbs is what makes them so satisfying. Here’s how to serve and store them properly.
- Serving temperature: Serve chilled. If you’ve refrigerated them overnight, let them sit at room temperature for about 5 minutes before serving — it takes the edge off the cold and lets the flavors bloom.
- Presentation: Clear cups are ideal for showing off the layers. For a party, you can arrange them on a platter with a few extra gummy worms scattered around. Add a small shovel-shaped spoon for a fun, garden-themed touch.
- Pairings: These dirt cups pair beautifully with a glass of cold milk or a hot cup of coffee. For a dessert spread, serve them alongside bakery-style brown butter chocolate chip cookies or salted caramel pumpkin Rice Krispie treats for a fun, indulgent combo.
- Storage: Cover each cup with plastic wrap or a lid and store in the refrigerator for up to 3 days. The pudding will stay creamy, and the Oreo crumbs will soften slightly but still have a pleasant texture. Do not freeze — the pudding will become watery and the texture will be ruined.
- Make-ahead tip: These are perfect for making a day ahead. In fact, they’re better the next day. I often make them the night before a party so I have one less thing to worry about.
If you’re taking these to a potluck or picnic, transport them in a cooler with an ice pack. They’ll stay cold and set for a few hours, but I wouldn’t leave them out for more than 2 hours at room temperature.
Nutritional Information & Benefits
Let’s be real — these dirt cups are a treat, not a health food. But here’s the nutritional breakdown for one serving (based on 6 servings per recipe), along with a few bright spots.
- Calories: Approximately 320-350 per cup
- Fat: 14-16g (mostly from the Oreos and Cool Whip)
- Carbohydrates: 45-50g
- Sugar: 32-36g
- Protein: 4-5g
- Fiber: 1-2g
On the plus side, the milk and Cool Whip provide a small amount of calcium and vitamin D. And if you use dark chocolate pudding mix, you’ll get a little bit of antioxidant-rich cocoa. But honestly, this is a dessert meant for fun and nostalgia, not for filling your daily nutrient quota.
If you’re looking for a lighter option, you can use sugar-free pudding mix, fat-free milk, and light Cool Whip. That will cut the calories and sugar by about 30-40%. The texture will be slightly less rich, but it’s still delicious. I’ve also made these with no-bake peanut butter protein balls as a healthier snack option on the same dessert table — it gives guests a choice.
Potential allergens: This recipe contains dairy (milk, Cool Whip), wheat (Oreos), and soy (Oreos). For a dairy-free version, see the variations section above.
Conclusion
These Easy No-Bake Chocolate Dirt Cups with Gummy Worms are more than just a dessert — they’re a little moment of joy. They remind me of lazy afternoons in my aunt’s kitchen, of birthday parties where the kids couldn’t stop giggling, and of the simple pleasure of making something fun with my own hands. No complicated techniques, no fancy equipment, no stress. Just chocolate, cookies, and gummy worms in a cup.
I hope you’ll try this recipe and make it your own. Add extra worms, swap in different cookies, or let the kids go wild with the decorations. The beauty of this recipe is that it’s forgiving — it’s hard to mess up, and even the “mistakes” taste amazing. If you do make them, I’d love to hear how they turned out. Drop a comment below, share a photo, or tell me about your own dirt cup memories. And if you’re looking for more easy, no-bake treats, check out our no-bake peanut butter granola bars or these salted caramel pumpkin Rice Krispie treats — they’re just as simple and just as satisfying.
Now go make some dirt. Your inner child will thank you.
Frequently Asked Questions
Can I use homemade pudding instead of instant?
You can, but it’s not ideal. Homemade pudding is usually thinner and won’t set as firmly in the fridge. It also takes longer to make and cool. Instant pudding is specifically designed for no-bake recipes like this, so I recommend sticking with it for the best texture and convenience.
How far in advance can I make these dirt cups?
You can make them up to 2 days in advance. In fact, they taste better after a day in the fridge because the flavors have time to meld. Just keep them covered with plastic wrap or a lid to prevent the pudding from absorbing any fridge odors.
Can I freeze dirt cups?
I don’t recommend freezing them. The pudding will become watery and grainy when thawed, and the Oreo crumbs will turn into a soggy mess. These are best enjoyed fresh or within a few days of refrigeration.
What if I don’t have clear cups?
No problem! You can use any small bowl, mason jar, or even paper cups. The layers won’t be as visible, but the taste will be exactly the same. If you’re serving kids at a party, paper cups are actually more practical — less to clean up.
Can I use a different type of cookie for the dirt?
Absolutely. While Oreos are the classic choice, you can use any chocolate sandwich cookie. I’ve also tried this with chocolate graham crackers and chocolate wafer cookies — both work, but they don’t have the same rich flavor. Avoid vanilla wafers or shortbread; they just don’t give you that “dirt” look or taste.
Pin This Recipe!
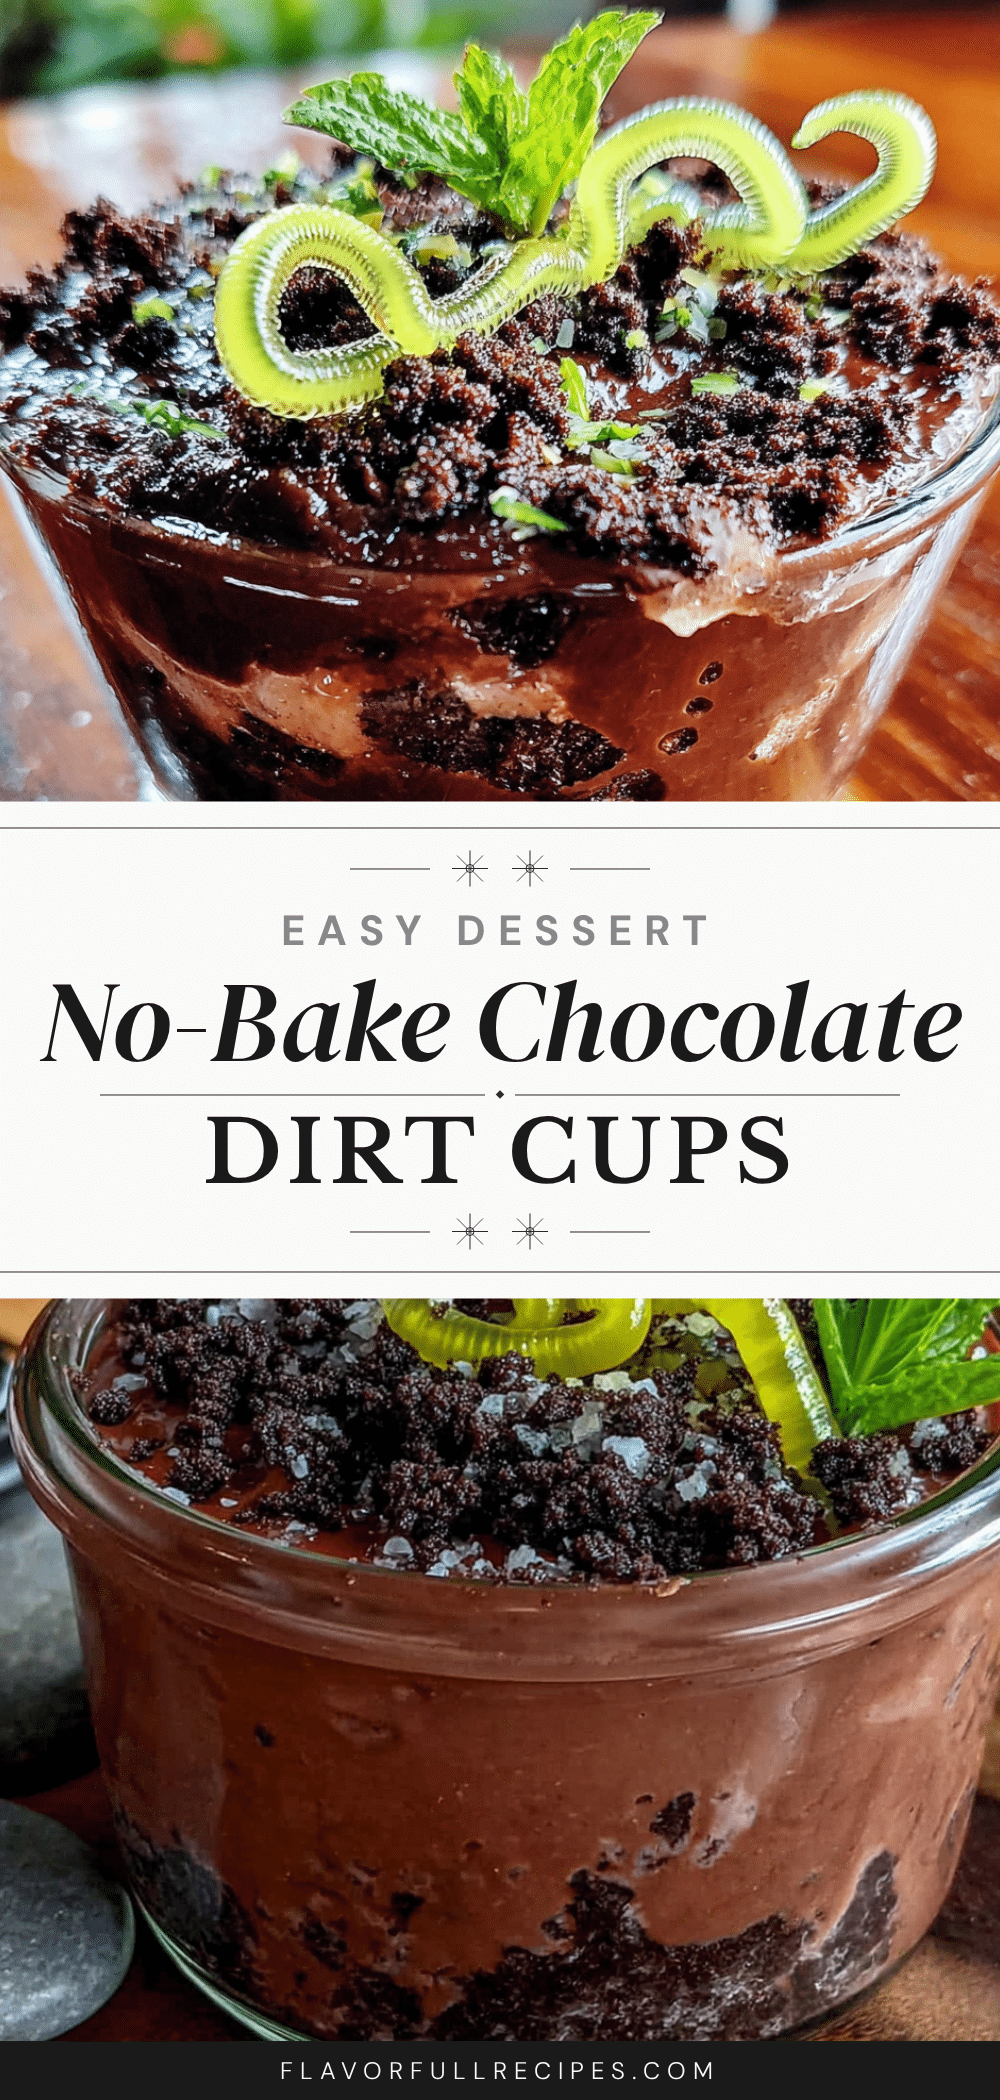
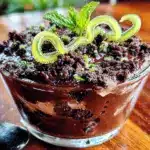
Easy No-Bake Dirt Cups with Gummy Worms: Best 5-Minute Dessert
- Total Time: 2 hours 5 minutes (includes chilling time)
- Yield: 6 servings 1x
Description
These Easy No-Bake Chocolate Dirt Cups with Gummy Worms are a nostalgic, fun dessert that comes together in just 5 minutes. Layers of creamy chocolate pudding, crunchy Oreo ‘dirt,’ and chewy gummy worms create a treat that kids and adults alike will love.
Ingredients
- 1 box (3.9 oz) instant chocolate pudding mix
- 2 cups cold milk
- 1 cup Cool Whip (or whipped topping), thawed
- 1 package (about 14–16) Oreo cookies
- 1 cup gummy worms
- Optional: Small plastic cups or clear dessert cups
- Optional: Gummy leaves or chocolate sprinkles for garnish
Instructions
- Make the pudding: In a medium mixing bowl, whisk together the instant chocolate pudding mix and 2 cups of cold milk. Whisk vigorously for about 2 minutes until the pudding starts to thicken. Let it sit for 5 minutes to thicken slightly.
- Fold in the Cool Whip: Add the thawed Cool Whip to the pudding. Use a spatula to gently fold it in until no white streaks remain. The result should be a pale, mousse-like chocolate mixture that’s thick but spoonable. Set it aside.
- Crush the Oreos: Place the Oreo cookies (cream and all) into a gallon-size Ziploc bag. Seal it, squeezing out as much air as possible. Use a rolling pin to crush the cookies into fine crumbs. Aim for a mix of fine sand-like crumbs and a few slightly larger pebbles.
- Layer the cups: Grab your clear plastic cups. Start with a layer of Oreo crumbs at the bottom — about 2 tablespoons per cup. Press it down lightly with the back of a spoon. Next, spoon in a layer of the chocolate pudding mixture — about 3-4 tablespoons per cup. Smooth it out gently. Repeat with another layer of Oreo crumbs, then another layer of pudding, ending with a final layer of Oreo crumbs on top.
- Add the gummy worms: Before adding the final layer of Oreo crumbs, press a few gummy worms into the pudding so they’re partially buried. Then add the top layer of crumbs, leaving the worms’ heads poking out. For extra fun, stick a couple of worms into the top crumb layer so they look like they’re crawling out of the dirt.
- Chill: Place the assembled dirt cups in the refrigerator for at least 2 hours. Overnight is even better — the flavors meld and the texture becomes perfectly creamy.
- Garnish and serve: Right before serving, you can add a few extra gummy worms on top, or sprinkle on some chocolate shavings for a more polished look. Serve cold.
Notes
Use cold milk for best pudding set. Don’t overmix the pudding. Crush Oreos in batches for even texture. Let pudding rest before layering. Press crumbs down to keep layers distinct. Chill overnight for best texture. Avoid adding too many gummy worms as they can release moisture.
- Prep Time: 5 minutes
- Cook Time: 0 minutes
- Category: Dessert
- Cuisine: American
Nutrition
- Serving Size: 1 cup
- Calories: 320350
- Sugar: 3236
- Fat: 1416
- Carbohydrates: 4550
- Fiber: 12
- Protein: 45
Keywords: dirt cups, no-bake dessert, chocolate pudding, gummy worms, easy dessert, kids dessert, party dessert