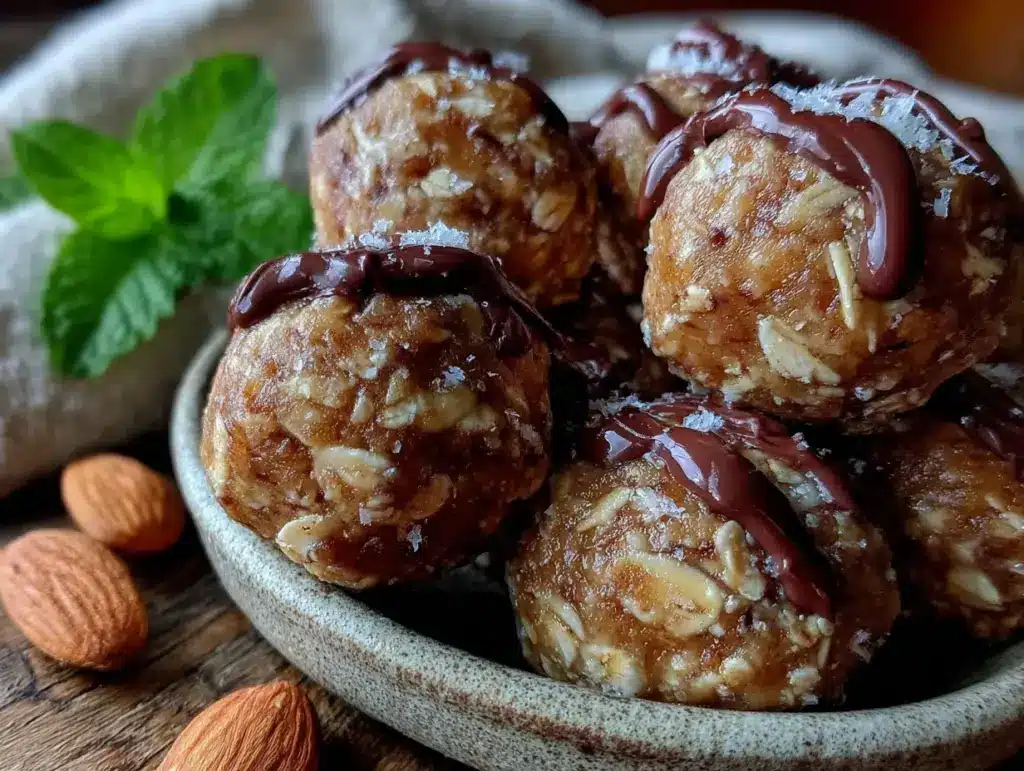
The sticky, earthy scent of peanut butter and the sharp, sweet snap of dark chocolate — that particular smell, the kind that hits you before you even open the pantry door, still takes me straight to my college dorm room. It was a tiny, overheated box with a mini-fridge that hummed too loud and a microwave that was my only cooking appliance. My diet back then was a chaotic mix of instant ramen, cafeteria pizza, and the occasional sad apple. But then, a friend’s mom sent her a care package. Inside, nestled between a new pair of socks and a handwritten note, was a Ziploc bag full of these dense, no-bake balls. They were the first thing I ever ate that felt both like a treat and something that was actually good for me. That bag of energy was a lifeline between classes and late-night study sessions, a little pocket of homemade goodness in a world of pre-packaged everything. It’s funny how a simple snack can become a memory you can taste. This recipe for easy no bake peanut butter protein balls with dark chocolate is my grown-up version of that dorm room discovery — a little more polished, but with the same soul-satisfying simplicity.
Why You’ll Love This Recipe
These aren’t just any snack; they are a tiny, mighty solution to the 3 PM slump or the post-workout hunger that hits out of nowhere. I’ve tested this recipe more times than I can count, tweaking the ratios until the texture was just right — not too sticky, not too dry, with a perfect little crunch from the chocolate chips. Honestly, it’s the kind of recipe that makes you feel like a kitchen genius with almost zero effort.
- Quick & Easy: You are literally 10 minutes away from having a batch of these ready. No oven, no stove, just a bowl and a spoon.
- Simple Ingredients: This is the ultimate “pantry raid” recipe. You probably have everything you need right now, which is a beautiful thing when a craving strikes.
- Perfect for Meal Prep: Whip up a batch on Sunday, and you have grab-and-go snacks for the entire week. They are a lifesaver for busy mornings or afternoon lulls.
- Crowd-Pleaser: I have brought these to potlucks and game days, and they disappear faster than you’d expect. Kids love them, adults love them — they are universally good.
- Unbelievably Delicious: Let’s face it, some healthy snacks taste like cardboard. These are rich, fudgy, and satisfying. The combination of creamy peanut butter, sweet honey, and those dark chocolate chips is pure comfort.
What makes this version different is the texture. By using a specific ratio of oats to peanut butter, you get a ball that holds its shape without being crumbly. It’s a small tweak, but it makes all the difference between a snack that’s a joy to eat and one that falls apart in your hand. This recipe isn’t just good — it is the kind that makes you close your eyes after the first bite. It is comfort food reimagined, healthier, faster, but with the same soul-soothing satisfaction. If you are looking for another great snack for a crowd, you might also love these bacon ranch pinwheel snacks for a savory option.
What Ingredients You Will Need
This recipe uses simple, wholesome ingredients to deliver a big flavor and a satisfying texture without any fuss. Most of these are pantry staples, which makes this a perfect go-to recipe any day of the week.
- Rolled Oats (2 cups / 180g): These are the base of our protein balls. I prefer rolled oats over quick oats because they give a better, chewier texture. If you are gluten-sensitive, be sure to use certified gluten-free rolled oats.
- Creamy Peanut Butter (1 cup / 250g): This is the glue that holds everything together. I recommend using a natural, no-stir peanut butter for the best flavor and consistency. Avoid the oily, separated kind, as it can make the mixture too wet. My go-to is the classic Jif or Skippy for a consistent result every time.
- Honey (½ cup / 170g): This adds natural sweetness and helps bind the ingredients. You can substitute with maple syrup or agave nectar for a vegan option, though the texture might be slightly stickier.
- Dark Chocolate Chips (½ cup / 90g): These little bursts of rich, bittersweet chocolate are what make these balls so addictive. I use a 60% cacao bar that I chop myself for bigger, more satisfying chunks. Feel free to use milk chocolate or semi-sweet if that is your preference.
- Ground Flaxseed (¼ cup / 30g): This is my secret ingredient. It adds a boost of fiber and omega-3s, plus it helps absorb moisture and gives the balls a better, less sticky texture. You can substitute with chia seeds if you like.
- Vanilla Extract (1 teaspoon): A splash of vanilla enhances all the other flavors, making everything taste more rounded and homemade.
- Salt (¼ teaspoon): A pinch of salt is crucial. It balances the sweetness and makes the peanut butter flavor pop. If you use salted peanut butter, you can skip this.
For ingredient selection, I have found that using a good quality vanilla extract makes a surprising difference. It’s one of those small things that lifts the recipe from good to great.
Equipment Needed
You don’t need any fancy gadgets for this recipe, which is part of its charm. Here is what you will need:
- Large Mixing Bowl: Any medium-to-large bowl will do. I use a glass bowl so I can see the ingredients mixing.
- Measuring Cups and Spoons: For accurate measurements. A kitchen scale is even better for the oats and peanut butter if you have one.
- Rubber Spatula or Wooden Spoon: For mixing everything together. A sturdy spatula works best to get all the ingredients incorporated.
- Baking Sheet or Plate: To hold the formed balls while they chill. Line it with parchment paper or wax paper for easy cleanup.
- Parchment Paper or Wax Paper: This is optional but makes cleanup a breeze.
- Cookie Scoop (optional): If you want perfectly uniform balls, a small cookie scoop (about 1 tablespoon size) is a game-changer. I use one from OXO, and it makes the process so much faster.
If you don’t have a cookie scoop, just use your hands. A little tip: lightly wet your hands with cold water before rolling to prevent the mixture from sticking to your palms.
Preparation Method
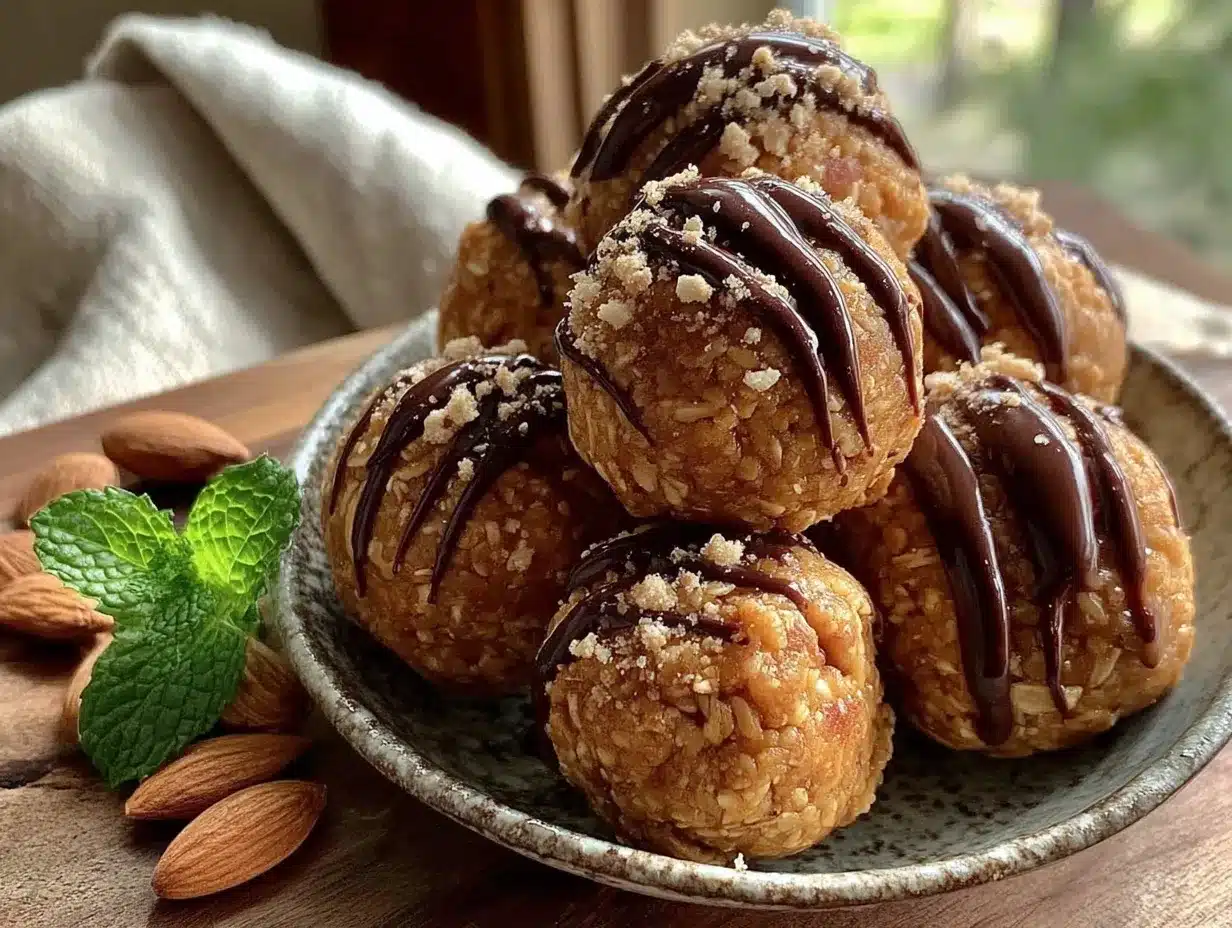
Follow these simple steps to make the best easy no bake peanut butter protein balls with dark chocolate. It’s almost too easy!
- Combine the Dry Ingredients (2 minutes): In your large mixing bowl, add the 2 cups of rolled oats, ¼ cup of ground flaxseed, and ¼ teaspoon of salt. Give them a quick stir with your spatula to distribute everything evenly. This ensures the flaxseed doesn’t clump up later.
- Add the Wet Ingredients (2 minutes): To the same bowl, add 1 cup of creamy peanut butter, ½ cup of honey, and 1 teaspoon of vanilla extract. It might look a bit messy at first, but don’t worry.
- Mix Everything Together (3 minutes): This is where the arm workout comes in. Using your rubber spatula or a sturdy wooden spoon, stir everything together until it forms a thick, cohesive dough. Make sure there are no dry patches of oats left. The mixture should be slightly sticky but firm enough to hold its shape. If it seems too dry, add a tablespoon of honey or a splash of milk. If it feels too wet, add a tablespoon more of oats.
- Fold in the Chocolate Chips (1 minute): Gently fold in ½ cup of dark chocolate chips. Make sure they are evenly distributed throughout the dough. You want a little chocolate in every bite.
- Chill the Dough (15 minutes): This is a crucial step that many people skip. Cover the bowl and pop it in the refrigerator for at least 15 minutes. Chilling the dough makes it much easier to handle and prevents the balls from being too sticky to roll. The mixture will firm up nicely.
- Roll into Balls (5 minutes): Once chilled, line a baking sheet or plate with parchment paper. Using a small cookie scoop or your hands, scoop out about 1 tablespoon of the dough. Roll it between your palms to form a smooth ball. Place it on the prepared baking sheet. Repeat with the remaining dough. You should get about 20-24 balls, depending on the size.
- Final Chill (30 minutes): Place the baking sheet with the rolled balls into the refrigerator for at least 30 minutes. This allows them to set completely. The texture will be perfect — firm but not hard.
If you are in a hurry, you can skip the first chill, but the rolling will be messier. The final chill is non-negotiable for the best texture. I once tried to skip it and ended up with a pile of peanut butter mush!
Cooking Tips & Techniques
Over the years, I have made a few mistakes so you don’t have to. Here are my best tips for perfect protein balls every time.
Don’t Overmix: While you want everything combined, overmixing can make the oats break down too much, resulting in a gummy texture. Just mix until it comes together. Watch the Stickiness: The humidity of your kitchen can affect the dough. On a damp day, you might need an extra tablespoon of oats. On a dry day, a splash of milk can help bring it together. Trust your hands! Use a Cookie Scoop for Consistency: For the most professional-looking balls, a cookie scoop is your best friend. It ensures every ball is the same size, which helps them chill evenly. Keep Them Cold: These balls are best stored in the refrigerator. They soften quickly at room temperature, especially if you are taking them on the go. Pack them in a cooler with an ice pack for picnics or long days out.
I once made a batch where I accidentally used crunchy peanut butter instead of creamy. It was still delicious, but the texture was a bit too chunky. Stick with creamy for the smoothest, most cohesive ball. For another sweet treat that is perfect for a crowd, try this homemade apple dapple cake with warm caramel.
Variations & Adaptations
This recipe is a fantastic base for experimentation. Here are a few of my favorite ways to change it up.
- Vegan Option: Simply swap the honey for maple syrup or agave nectar. The texture will be slightly stickier, but just as delicious. Make sure your chocolate chips are dairy-free.
- Extra Protein Boost: Add a scoop of your favorite vanilla or chocolate protein powder. You will need to add an extra tablespoon or two of milk or water to keep the dough from becoming too dry.
- Nut-Free Version: Use sun butter or a seed butter like tahini instead of peanut butter. The flavor will be different, but it is a great alternative for those with nut allergies.
- Flavor Twists: Add ¼ cup of unsweetened shredded coconut for a tropical twist. Or, try adding a tablespoon of cocoa powder for a double chocolate version. A pinch of cinnamon or a dash of cayenne pepper can also add a fun kick.
- Add-Ins: Feel free to swap the dark chocolate chips for white chocolate, butterscotch chips, or even dried cranberries and chopped nuts. The possibilities are endless!
My personal favorite variation is to add a tablespoon of instant espresso powder. It gives the chocolate a deeper, more complex flavor that is absolutely incredible. It’s my little secret for a grown-up twist.
Serving & Storage Suggestions
These easy no bake peanut butter protein balls with dark chocolate are best served cold, straight from the fridge. The texture is firm and satisfying, and the chocolate chips have a nice snap. They are perfect as a quick breakfast on the go, a post-workout refuel, or a healthy afternoon snack to beat the 3 PM slump.
For a pretty presentation, arrange them on a platter or in a small bowl. They are great for parties, potlucks, or even as a simple dessert. They pair wonderfully with a glass of cold milk or a warm cup of coffee. If you are hosting a game day gathering, these would be a fantastic sweet counterpart to some savory bites like these easy crockpot meatball sub dip.
Storage: Store the protein balls in an airtight container in the refrigerator for up to 2 weeks. They will firm up nicely and stay fresh. Freezing: These balls freeze beautifully! Place them in a single layer on a baking sheet and freeze for about an hour. Then, transfer them to a freezer-safe bag or container. They will keep for up to 3 months. You can eat them frozen (they are like little peanut butter ice cream bites!) or let them thaw in the refrigerator for a few minutes before enjoying.
Nutritional Information & Benefits
Here is an estimated nutritional breakdown for one protein ball (based on using the ingredients listed above).
| Nutrient | Amount per Ball |
|---|---|
| Calories | ~150 |
| Total Fat | ~9g |
| Saturated Fat | ~2g |
| Carbohydrates | ~16g |
| Fiber | ~2g |
| Sugar | ~9g |
| Protein | ~5g |
These little balls are packed with good-for-you ingredients. The peanut butter provides healthy fats and protein to keep you full and satisfied. The oats offer complex carbohydrates for sustained energy, and the flaxseed is a great source of fiber and omega-3 fatty acids. The dark chocolate adds antioxidants, making this a treat you can feel good about. They are naturally gluten-free (if using certified gluten-free oats) and can easily be made vegan. The main allergen to be aware of is peanuts.
Conclusion
This recipe for easy no bake peanut butter protein balls with dark chocolate is more than just a snack; it is a little piece of convenience and joy. It is proof that healthy eating doesn’t have to be complicated or time-consuming. These balls are forgiving, adaptable, and always, always delicious. I love that I can make a batch in under 20 minutes and have a week’s worth of snacks ready to go. They have saved me from countless hangry moments and have become a staple in my kitchen. I hope they become one in yours, too.
I would love to hear how yours turn out! Did you try any fun variations? Leave a comment below and share your creations. And if you loved this recipe, please share it with a friend who needs a little more easy goodness in their life. Happy snacking!
Frequently Asked Questions (FAQs)
Can I use quick oats instead of rolled oats?
Yes, you can! The texture will be a bit softer and less chewy, but it will still work. The balls might be a little more delicate.
My mixture is too dry. What should I do?
If the mixture seems too dry and crumbly, add a tablespoon of honey, maple syrup, or a splash of milk (dairy or non-dairy) and mix again until it comes together.
My mixture is too sticky. How do I fix it?
If the dough is too sticky to handle, add an extra tablespoon or two of rolled oats and mix well. Chilling the dough for 15-20 minutes also helps a lot.
How long do these protein balls last?
Stored in an airtight container in the refrigerator, they will stay fresh for up to 2 weeks. You can also freeze them for up to 3 months.
Can I make these without a food processor?
Absolutely! You don’t need a food processor at all. Just a bowl and a sturdy spoon or spatula to mix everything together. It’s a true no-bake, no-fuss recipe.
Pin This Recipe!
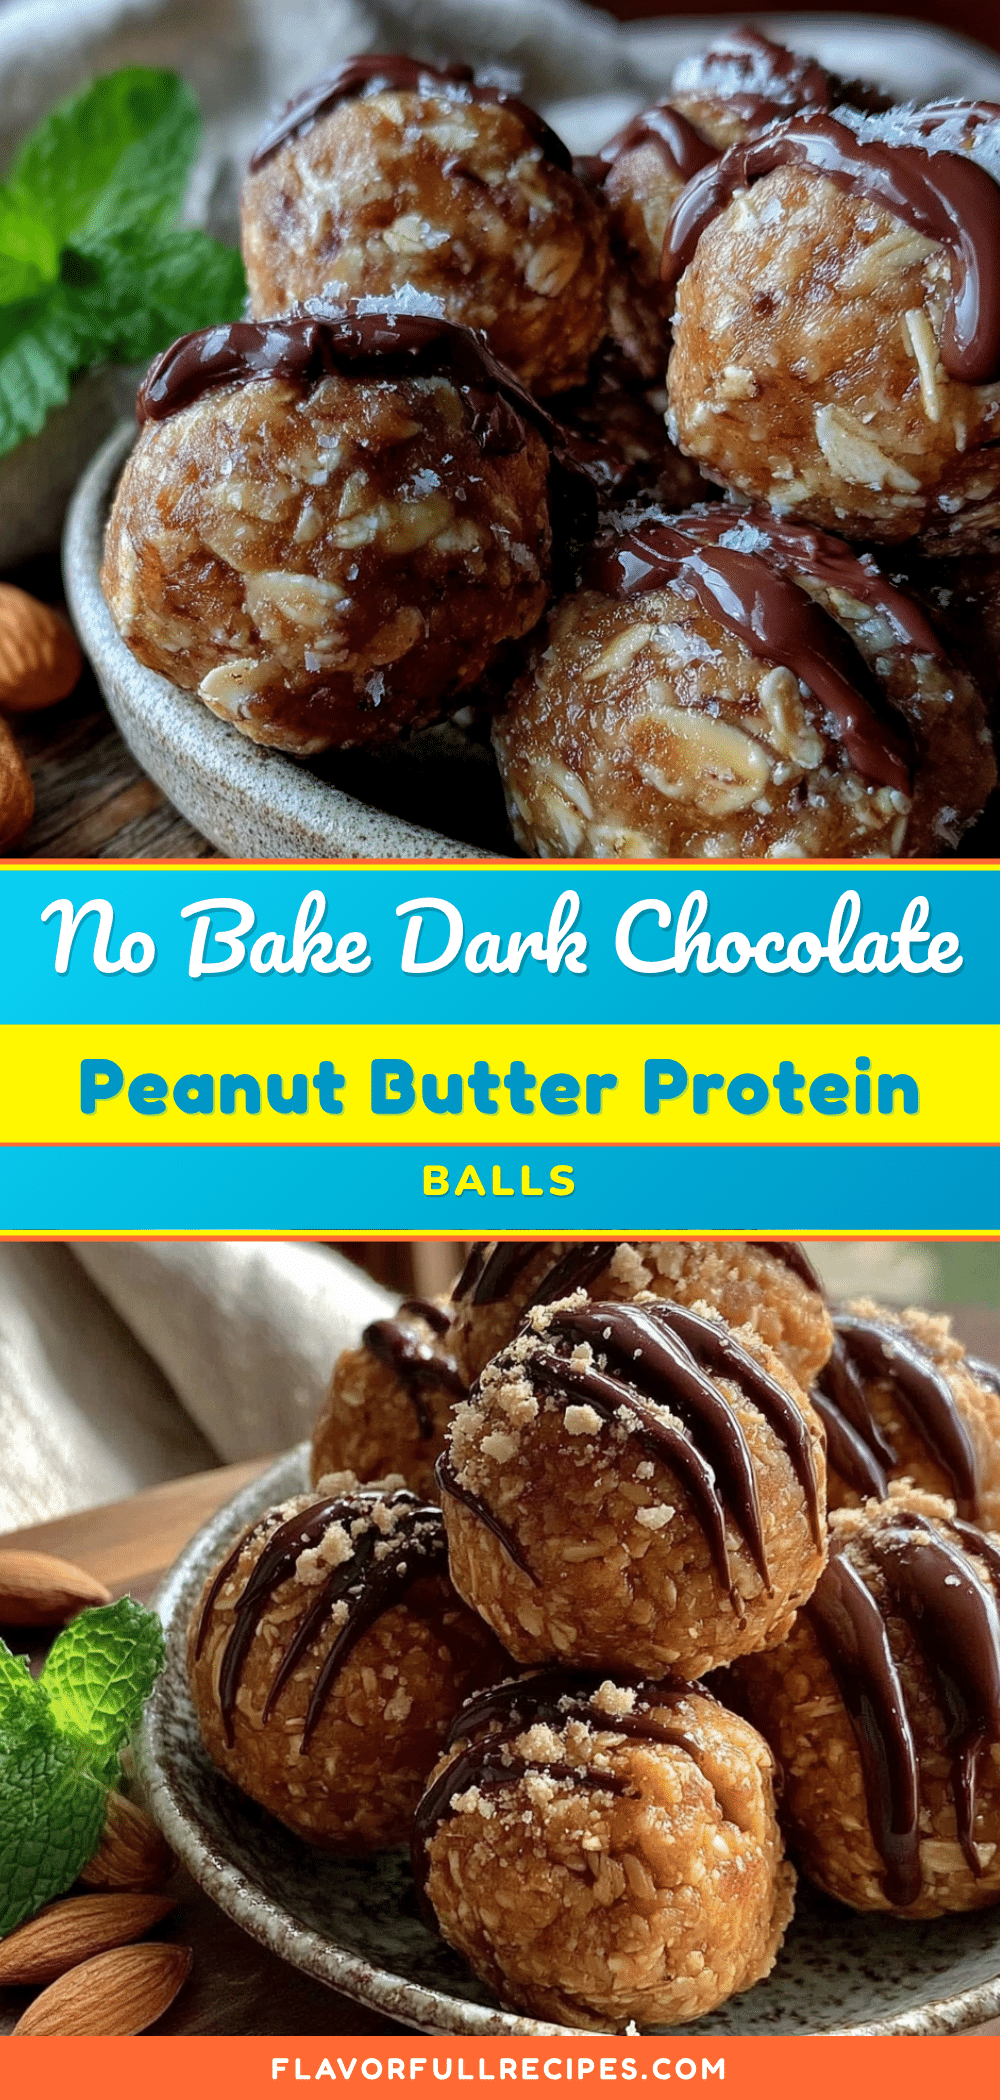

Easy No Bake Peanut Butter Protein Balls with Dark Chocolate
- Total Time: 55 minutes (includes chilling)
- Yield: 20-24 balls 1x
Description
These no-bake peanut butter protein balls with dark chocolate are a quick, healthy snack that’s perfect for meal prep. Made with simple pantry ingredients, they are rich, fudgy, and satisfying.
Ingredients
- 2 cups (180g) rolled oats
- 1 cup (250g) creamy peanut butter
- ½ cup (170g) honey
- ½ cup (90g) dark chocolate chips
- ¼ cup (30g) ground flaxseed
- 1 teaspoon vanilla extract
- ¼ teaspoon salt
Instructions
- Combine the Dry Ingredients: In a large mixing bowl, add the rolled oats, ground flaxseed, and salt. Stir to distribute evenly.
- Add the Wet Ingredients: Add the creamy peanut butter, honey, and vanilla extract to the bowl.
- Mix Everything Together: Stir with a rubber spatula or wooden spoon until a thick, cohesive dough forms. Ensure no dry patches remain. If too dry, add a tablespoon of honey or milk; if too wet, add a tablespoon of oats.
- Fold in the Chocolate Chips: Gently fold in the dark chocolate chips until evenly distributed.
- Chill the Dough: Cover the bowl and refrigerate for at least 15 minutes to make the dough easier to handle.
- Roll into Balls: Line a baking sheet with parchment paper. Using a small cookie scoop or your hands, scoop about 1 tablespoon of dough and roll into smooth balls. Place on the prepared sheet. You should get about 20-24 balls.
- Final Chill: Refrigerate the rolled balls for at least 30 minutes to set completely.
Notes
For best texture, do not skip the final chill. If the mixture is too sticky, chill the dough longer. Lightly wet your hands with cold water before rolling to prevent sticking. Store in an airtight container in the refrigerator for up to 2 weeks or freeze for up to 3 months.
- Prep Time: 10 minutes
- Cook Time: 0 minutes
- Category: Snack
- Cuisine: American
Nutrition
- Serving Size: 1 ball
- Calories: 150
- Sugar: 9
- Sodium: 50
- Fat: 9
- Saturated Fat: 2
- Carbohydrates: 16
- Fiber: 2
- Protein: 5
Keywords: no bake, peanut butter, protein balls, dark chocolate, healthy snack, gluten-free, meal prep