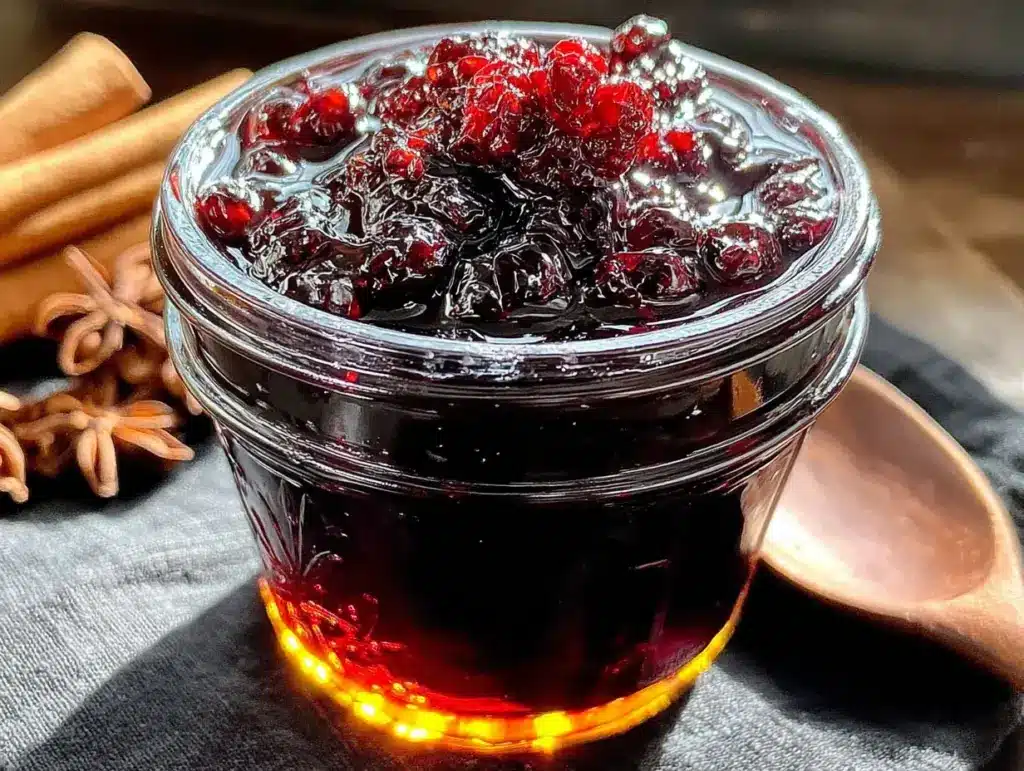
My grandmother handed me a jar of dark, almost black syrup one November, and I honestly thought she had lost her mind. “Drink this,” she said, “it will keep the flu away.” I was a grown adult, skeptical of anything that smelled like a medieval potion and tasted like concentrated cough medicine. For years, I politely accepted her homemade elderberry syrup, thanked her, and promptly tucked it into the back of my fridge where it would eventually be forgotten. I just couldn’t get past the memory of that first, overly tart, slightly funky batch she insisted I try. It felt like a chore, not a remedy.
Then, last winter hit our house like a freight train. My youngest brought home a bug from preschool that seemed to bounce from one family member to the next for three straight weeks. We were exhausted, the kitchen counters were a graveyard of empty tissue boxes, and I was desperate. In a moment of sheer panic, I dug out that forgotten jar of store-bought elderberry syrup I had bought on a whim. The price tag made me wince—again. That’s when I remembered Grandma’s jar. I had finally run out of excuses.
I decided to make her recipe myself, not because I believed in it, but because I needed to control what went into it. I wanted to cut the sugar, add some warming spices, and make a version that didn’t taste like punishment. What came out of that pot surprised me. It was rich, spiced, and genuinely pleasant to take by the spoonful. This quick immune-boosting elderberry syrup recipe is that version. It’s the one that finally turned me from a skeptic into a believer, and it takes less than an hour to make. Honestly, I should have trusted her sooner.
Why You’ll Love This Recipe
This isn’t just another wellness trend you’ll try for a week and forget about. This quick immune-boosting elderberry syrup is the real deal, and it earned a permanent spot in my fridge. Here is why you will find yourself making it all season long.
- Quick & Easy: Forget simmering berries for hours. This recipe comes together in under an hour, with most of that time being hands-off. It is perfect for a Sunday afternoon when you want to prep for the week ahead.
- Simple Ingredients: You only need a handful of ingredients, most of which you might already have in your spice cabinet. No weird additives or preservatives—just real food.
- Perfect for Cold & Flu Season: This is my go-to for the entire fall and winter. It is a comforting ritual that makes me feel proactive about our family’s health without relying on anything artificial.
- Crowd-Pleaser: I was shocked that my kids actually ask for this. The blend of honey and spices makes it taste more like a spiced tea syrup than medicine. It is a win for the whole family.
- Unbelievably Delicious: The combination of tart elderberries, sweet honey, and warming ginger and cinnamon is next-level. It is so good you will find excuses to drizzle it on pancakes or stir it into tea.
What makes this recipe different from the rest? It is the balance. I tested this ratio more times than I care to admit. It is not too thin, not too thick. The spice level is present but not overpowering. It is the kind of syrup that makes you close your eyes after the first spoonful, not because you are bracing yourself, but because it genuinely tastes good. It is comfort for your immune system, made fast.
What Ingredients You Will Need
This recipe uses simple, wholesome ingredients to deliver a powerful and delicious immune boost without the fuss. Most of these are pantry staples for anyone who enjoys a bit of from-scratch cooking.
- Dried Elderberries (1 cup): The star of the show. Dried elderberries are much easier to find than fresh and are perfect for syrup. I look for organic, deep purple-black berries from a trusted brand like Frontier Co-op or Starwest Botanicals. They should smell earthy and slightly sweet. (Do not use fresh elderberries raw—they need to be cooked to be safe.)
- Water (4 cups): Filtered water is best. It makes a difference in the final taste, especially since this is a concentrated syrup.
- Raw Honey (1 cup): This is crucial. Raw, local honey is my preference because it contains its own beneficial properties. It also adds natural sweetness and a floral note that balances the tartness of the berries. (Do not give honey to children under 1 year old).
- Fresh Ginger (1-inch piece, sliced): Adds a warming, spicy kick that is fantastic for soothing a sore throat. I slice it into rounds rather than grating it, as it makes straining much easier later on. You can use 1 teaspoon of dried ginger in a pinch, but fresh is noticeably better.
- Cinnamon Sticks (2): They add a sweet, woody warmth that makes this syrup taste like a cozy hug. I prefer Ceylon cinnamon if you can find it—it has a milder, more complex flavor than the standard Cassia variety.
- Whole Cloves (1 teaspoon): A little goes a long way. Cloves add a deep, almost peppery warmth. Be careful not to overdo it, as they can dominate the flavor quickly.
- Optional: Rose Hips (2 tablespoons): I add these for an extra vitamin C boost. They have a slightly tart, fruity flavor that works beautifully with the elderberries. You can skip them if you don’t have them on hand.
- Optional: Star Anise (1 pod): This is my secret ingredient. It adds a subtle licorice note that rounds out the spice profile beautifully. It is completely optional but highly recommended.
Equipment Needed
You do not need a fancy pharmacy setup for this. The equipment list is short and sweet, which is exactly how I like my cooking projects.
- Medium-Sized Saucepan: A heavy-bottomed stainless steel or enameled pot works best. It distributes heat evenly and prevents scorching.
- Fine-Mesh Strainer or Cheesecloth: This is essential for getting a clear, smooth syrup. I use a fine-mesh strainer lined with a single layer of cheesecloth for the best results. A nut milk bag also works great here.
- Glass Jar or Bottle for Storage: A 16-ounce or 24-ounce glass jar with a tight-fitting lid is perfect. I always sterilize my jars by running them through the dishwasher or pouring boiling water over them and letting them air dry.
- Wooden Spoon: For stirring. A silicone spatula works too.
- Measuring Cups and Spoons: For accuracy.
If you don’t have cheesecloth, a clean, thin kitchen towel or a coffee filter in your strainer will do the trick. Just be patient—it takes a little longer to strain.
Preparation Method
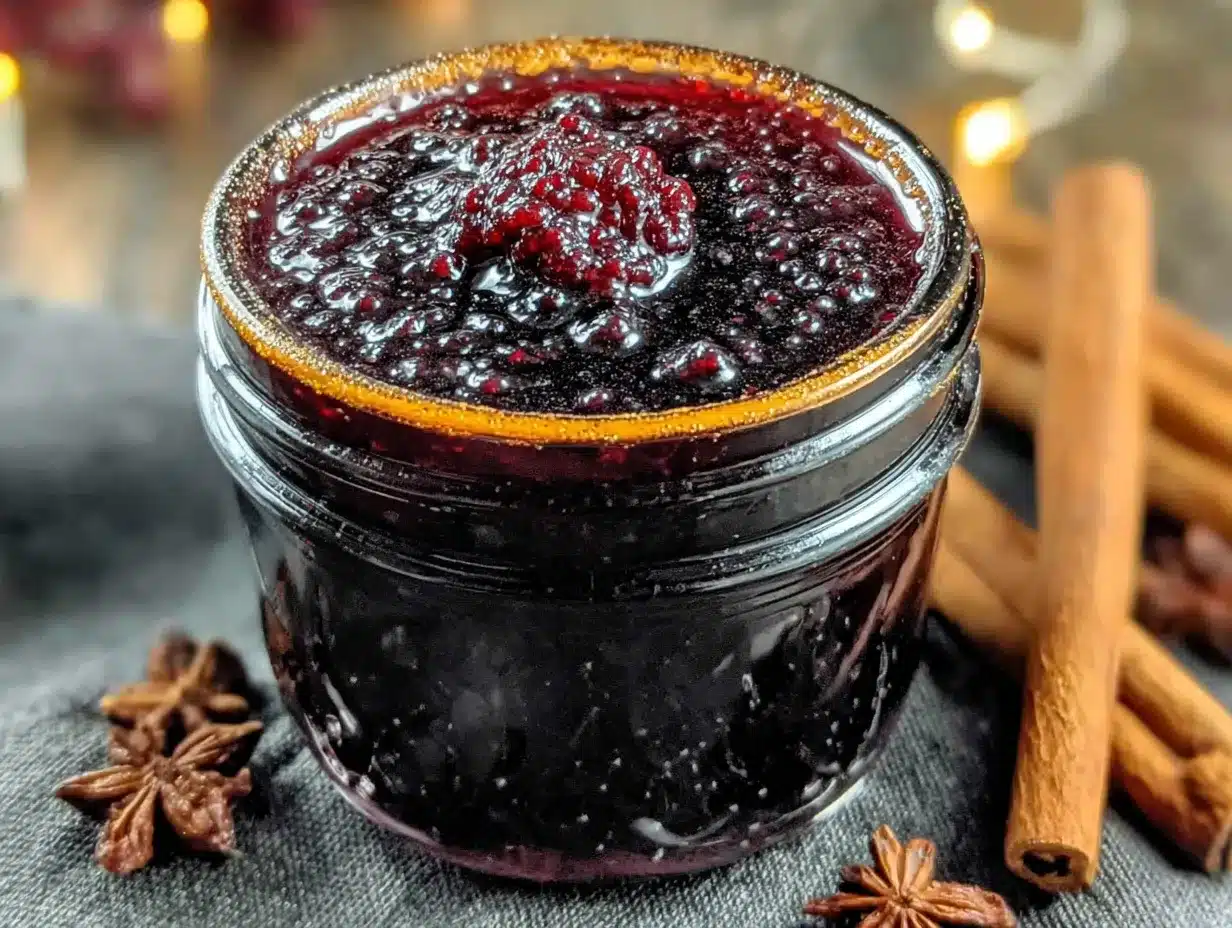
Making this syrup is incredibly straightforward, but the details matter. Follow these steps, and you will have a perfect batch every time.
- Combine the Berries and Spices: In your medium saucepan, add the 1 cup of dried elderberries, 4 cups of filtered water, the sliced ginger, 2 cinnamon sticks, 1 teaspoon of whole cloves, and the optional rose hips and star anise. Do not add the honey yet.
- Bring to a Boil, Then Simmer: Place the pot over high heat and bring the mixture to a rolling boil. Once it boils, reduce the heat to low and let it simmer gently. You want a very lazy simmer—just a few bubbles breaking the surface. Let it cook, uncovered, for 30 to 40 minutes. The liquid will reduce by about half, and the kitchen will smell incredible.
- Mash the Berries (Optional but Recommended): After 30 minutes, use the back of your wooden spoon or a potato masher to gently press the berries against the side of the pot. This helps release more of the good stuff and deepens the color. Let it simmer for another 5 to 10 minutes.
- Strain the Mixture: Place your fine-mesh strainer over a large bowl or a heat-safe measuring cup. Carefully pour the hot liquid through the strainer. Let it sit and drip for a few minutes. Do not press down on the solids too hard, or you will force some cloudy sediment into your syrup. Let gravity do the work.
- Cool Slightly, Then Add Honey: This is the most important step. Let the strained liquid cool for about 10 to 15 minutes. It should be warm, not hot. If you add honey to boiling liquid, you will destroy many of its beneficial enzymes. Once the liquid is warm to the touch (around 110-120°F), stir in the 1 cup of raw honey. Whisk until it is completely dissolved.
- Bottle and Store: Carefully pour the finished syrup into your clean glass jar or bottle. It will be thin when warm but will thicken slightly as it cools. Let it come to room temperature completely before putting the lid on and placing it in the refrigerator.
Pro Tip: If you want an even stronger immune boost, you can add a splash of high-quality vanilla extract or a tablespoon of apple cider vinegar with the mother right after the honey. It adds a nice complexity.
Cooking Tips & Techniques
I learned a few of these the hard way, so you don’t have to. The first time I made this, I got impatient and added the honey while the liquid was still too hot. I ended up with a syrup that was still sweet, but it lacked that extra *something* that raw honey provides. Don’t be like me.
- Don’t Over-Boil: A vigorous boil will break down the berries too quickly and can make the final syrup taste bitter. A gentle simmer is your friend. It extracts the flavor and color without the harshness.
- Mind the Sediment: If you want a crystal-clear syrup, strain it twice. First through the fine-mesh sieve, and then through a coffee filter or a double layer of cheesecloth. If a little bit of sediment doesn’t bother you (it doesn’t bother me), one strain is perfectly fine.
- Timing is Everything: I like to get this started before I start dinner. It simmers away on the back burner while I chop vegetables. By the time dinner is ready, the syrup is done and cooling. It is a perfect multitasking recipe.
- Consistency Check: Don’t expect this to be as thick as corn syrup. It is a thin, pourable syrup. It will thicken slightly in the fridge due to the honey, but it should still flow easily. If it is too thick after cooling, you can thin it with a little warm water.
Variations & Adaptations
This recipe is a fantastic base. Once you have the method down, feel free to play around. I have tried a few different versions, and some have become new favorites.
- Spiced Chai Version: Add 2 cardamom pods and a pinch of black peppercorns along with the other spices. It gives the syrup a lovely chai-like warmth that is incredible in tea.
- Citrus Immune Boost: After simmering, add the juice of one lemon and one orange to the strained liquid before adding the honey. It brightens the flavor and adds a hefty dose of vitamin C. This is my go-to when I feel a tickle in my throat.
- Low-Sugar / Keto-Friendly: You can substitute the honey with a monk fruit sweetener or allulose. Keep in mind that the texture will be different, and you lose the beneficial properties of raw honey, but it still makes a potent syrup.
- Dairy-Free / Vegan: Simply swap the honey for maple syrup or agave nectar. Maple syrup adds a lovely, woodsy flavor that pairs beautifully with the spices. It is a fantastic vegan alternative.
My personal favorite variation is the citrus one. I tried it during a particularly bad cold snap, and it felt like the most comforting, healing thing I had ever made. It is now the only version I make for my family.
Serving & Storage Suggestions
This syrup is incredibly versatile. It is not just for taking by the spoonful (though that is perfectly fine).
- Daily Maintenance Dose: Adults can take 1 tablespoon daily. For children over 1, give 1 teaspoon daily. You can take it straight or mix it into a small glass of warm water.
- At the First Sign of Illness: Increase the dose to 1 tablespoon every 3-4 hours for adults, and 1 teaspoon every 3-4 hours for children. I like to add it to a cup of hot ginger tea for an extra soothing effect.
- On Pancakes and Waffles: Drizzle it over your morning pancakes or waffles instead of maple syrup. It is a fantastic way to start the day with a health boost.
- In Cocktails and Mocktails: A splash of elderberry syrup makes a fantastic base for a winter mocktail. Mix it with sparkling water and a squeeze of lime for a festive, non-alcoholic drink.
Storage: Store your syrup in a sealed glass jar in the refrigerator. It will keep well for up to 3 months. I have never had a batch go bad, but if you see any mold or off-smells, it is time to toss it. The honey acts as a natural preservative, which is why this lasts so long.
Freezing: You can also freeze the syrup in ice cube trays. Once frozen, pop the cubes out and store them in a freezer bag. This is perfect for having individual servings ready to go. Just thaw a cube in the fridge or add it directly to hot tea.
Nutritional Information & Benefits
This syrup is more than just a tasty treat—it is a powerhouse of wellness. While I am not a doctor, I can tell you what the ingredients are known for.
- Elderberries: Packed with antioxidants and vitamins (especially vitamin C and B6) that are known to support the immune system. They are thought to help reduce the duration and severity of cold and flu symptoms.
- Raw Honey: A natural source of antioxidants and enzymes. It is known for its soothing properties, especially for sore throats and coughs.
- Ginger and Cinnamon: Both are powerful anti-inflammatory agents. Ginger is also excellent for settling an upset stomach, and cinnamon helps regulate blood sugar.
- Cloves and Rose Hips: Cloves are a potent antioxidant, and rose hips are one of the richest natural sources of vitamin C.
Estimated Nutrition per 1 Tablespoon Serving:
- Calories: 45
- Carbohydrates: 12g
- Sugar: 11g
- Vitamin C: 4% of Daily Value
Dietary Considerations: This recipe is naturally gluten-free, dairy-free, and nut-free. It is vegetarian and can be made vegan with maple syrup. The only potential allergen is honey, which is not suitable for infants under 1 year old.
Conclusion
This quick immune-boosting elderberry syrup has become a non-negotiable part of my fall routine. It is the one thing that makes me feel prepared for the inevitable cold and flu season, and it tastes good enough that I actually look forward to taking it. It is a simple, honest recipe that delivers on its promise without any fuss.
I encourage you to make a batch this weekend. Customize it with your favorite spices, or keep it classic. Either way, you will have a jar of liquid comfort ready to go the moment you need it. I love knowing that I am giving my family something real and wholesome. If you try this recipe, please come back and let me know how it turned out. Did you add any special twists? I would love to hear about your own variations. Share your thoughts in the comments below, and do not forget to pin this recipe for later!
Frequently Asked Questions
Can I use fresh elderberries instead of dried?
Yes, you can, but it is trickier. Fresh elderberries must be cooked thoroughly to be safe for consumption, as they contain compounds that can cause stomach upset when raw. If using fresh, use about 2 cups of fresh berries in place of 1 cup dried. The simmering time might be slightly shorter, so keep an eye on it.
How long does this syrup last in the fridge?
Properly stored in a sealed glass jar in the refrigerator, this syrup will last for up to 3 months. The honey acts as a natural preservative. Always use a clean, dry spoon to scoop it out to prevent introducing bacteria.
Can I make this without honey?
Absolutely. If you are vegan or avoiding honey, you can substitute it with an equal amount of maple syrup or agave nectar. The flavor and texture will change slightly, but it will still be delicious and effective. Just remember to add the sweetener after the liquid has cooled, just like with honey.
Is this safe for children?
Yes, for children over the age of 1. The American Academy of Pediatrics advises against giving honey to infants under 1 year old due to the risk of botulism. For older children, the standard dose is 1 teaspoon daily for maintenance, and 1 teaspoon every 3-4 hours at the first sign of illness. Always check with your pediatrician if you have any concerns.
Can I double this recipe?
Yes, this recipe doubles and even triples beautifully. Just make sure you have a large enough pot to accommodate the extra liquid. The simmering time may need to be increased by 10-15 minutes to achieve the same level of reduction. It is perfect for making a big batch to share with friends and family.
Pin This Recipe!
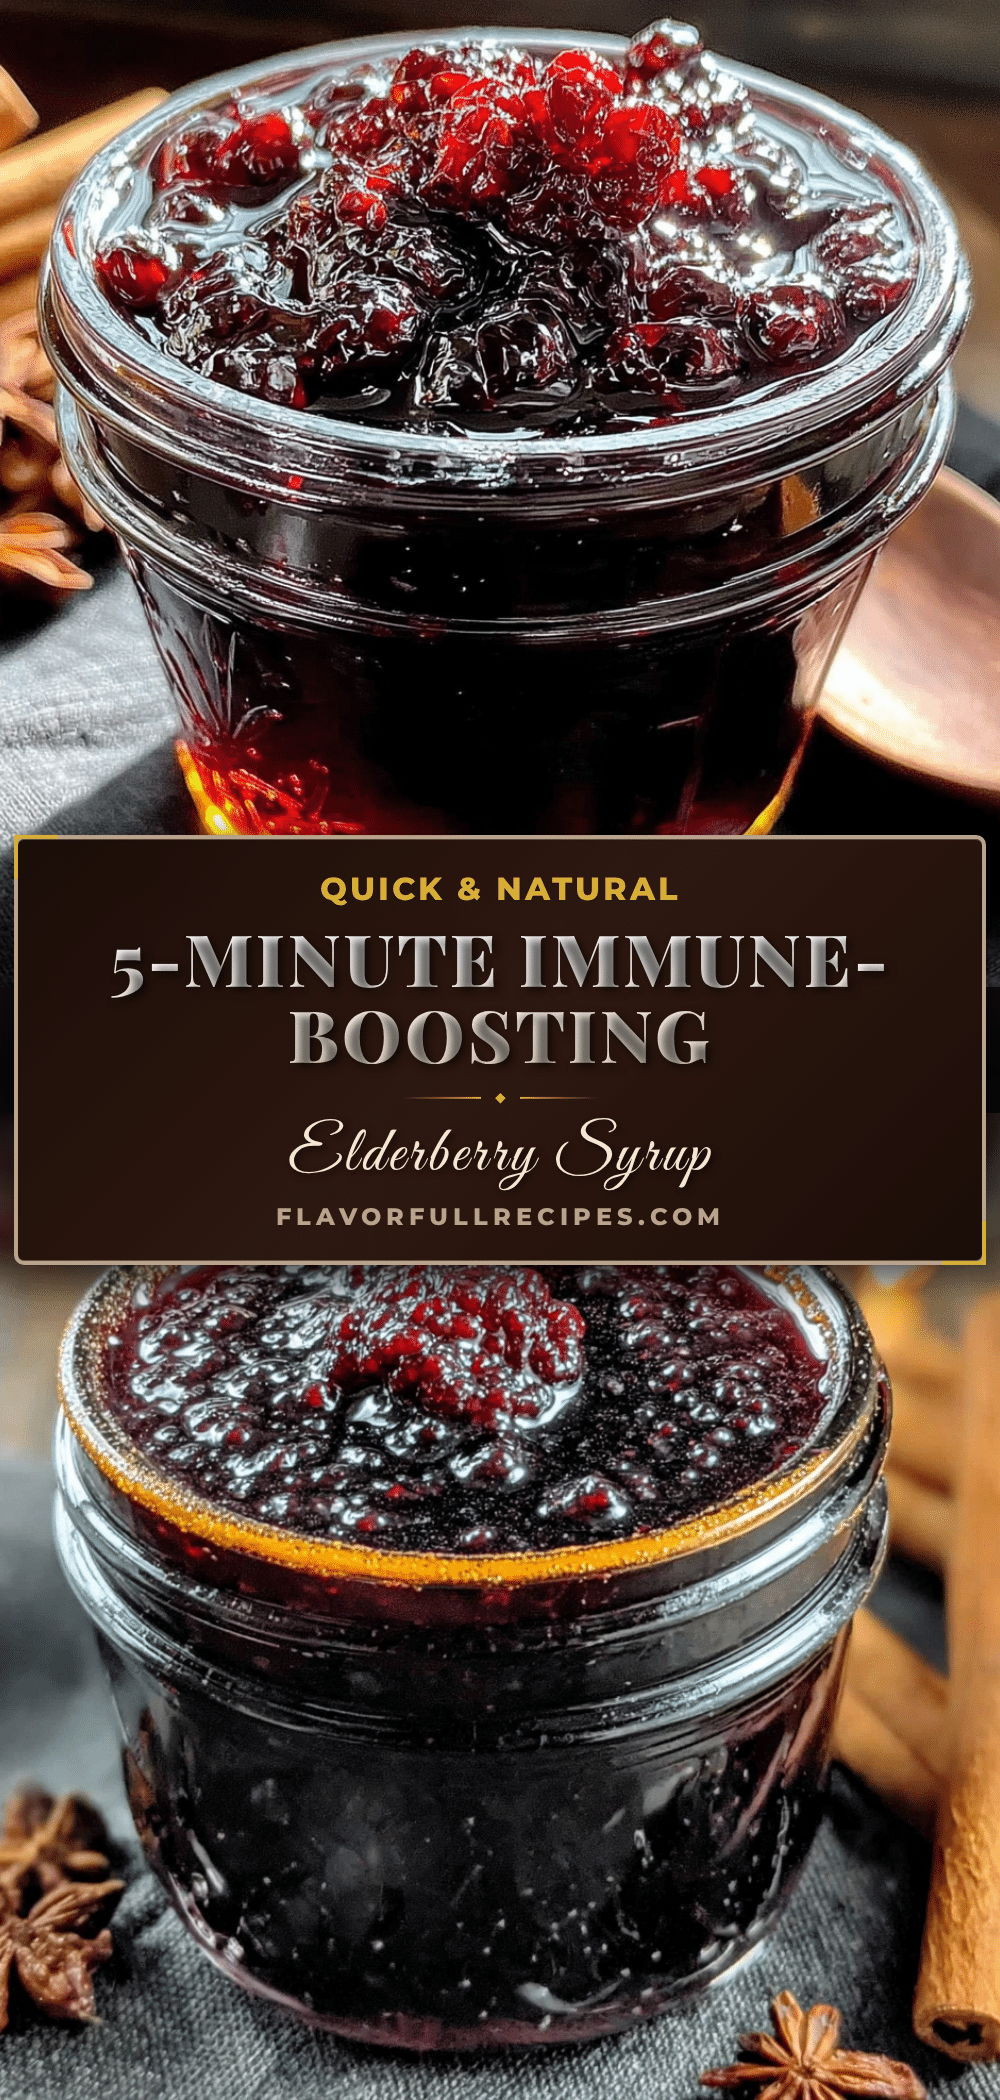
Quick Immune-Boosting Elderberry Syrup: Easy Homemade Recipe
- Total Time: 50 minutes
- Yield: 24 servings 1x
Description
This quick immune-boosting elderberry syrup is a rich, spiced, and genuinely pleasant remedy that takes less than an hour to make. It’s a comforting ritual that helps support your family’s health during cold and flu season.
Ingredients
- 1 cup dried elderberries
- 4 cups filtered water
- 1 cup raw honey
- 1-inch piece fresh ginger, sliced
- 2 cinnamon sticks
- 1 teaspoon whole cloves
- 2 tablespoons rose hips (optional)
- 1 pod star anise (optional)
Instructions
- In a medium saucepan, combine the dried elderberries, filtered water, sliced ginger, cinnamon sticks, whole cloves, and optional rose hips and star anise. Do not add the honey yet.
- Place the pot over high heat and bring the mixture to a rolling boil. Once boiling, reduce the heat to low and let it simmer gently, uncovered, for 30 to 40 minutes. The liquid will reduce by about half.
- After 30 minutes, use the back of a wooden spoon or a potato masher to gently press the berries against the side of the pot to release more flavor. Let it simmer for another 5 to 10 minutes.
- Place a fine-mesh strainer over a large bowl or heat-safe measuring cup. Carefully pour the hot liquid through the strainer. Let it drip for a few minutes without pressing down on the solids.
- Let the strained liquid cool for 10 to 15 minutes until it is warm to the touch (around 110-120°F). Stir in the raw honey until completely dissolved.
- Pour the finished syrup into a clean glass jar or bottle. Let it come to room temperature completely before putting the lid on and placing it in the refrigerator.
Notes
Do not add honey to boiling liquid as it will destroy beneficial enzymes. For a stronger immune boost, add a splash of vanilla extract or a tablespoon of apple cider vinegar after the honey. Store in the refrigerator for up to 3 months. Can be frozen in ice cube trays for individual servings.
- Prep Time: 10 minutes
- Cook Time: 40 minutes
- Category: Condiment
- Cuisine: American
Nutrition
- Serving Size: 1 tablespoon
- Calories: 45
- Sugar: 11
- Carbohydrates: 12
Keywords: elderberry syrup, immune boosting, homemade syrup, cold and flu remedy, elderberry recipe, natural remedy, honey syrup