For years, I just accepted that homemade birthday cake was never going to taste like the one from the bakery. You know the one—tender crumb, vanilla flavor that actually tastes like vanilla, buttercream that’s silky and not just a sugar slick. I tried box mixes doctored up, from-scratch recipes that promised the world, and even a few that called for pudding mix (no judgment, we’ve all been there). They were fine. But fine isn’t what you want when you’re making a cake for someone’s birthday. You want the kind of slice that makes people close their eyes for a second. I wanted a recipe that felt celebratory but didn’t require a pastry degree or a stand mixer the size of a small car. So I kept testing. This perfect classic birthday cake with vanilla buttercream is what came out of all those trials. It’s not fancy or fussy. It’s just exactly what a birthday cake should be—moist, flavorful, and covered in a buttercream that’s actually worth eating by the spoonful. It took longer than I expected to get here, but honestly, that just makes the first bite taste better.
Why You’ll Love This Recipe
This isn’t just another vanilla cake recipe. I’ve tested this one more times than I can count, tweaking the ratios and the method until the texture was spot on. What I landed on is a cake that stays moist for days (if it lasts that long) and a buttercream that’s light, stable, and not cloyingly sweet. Here’s what makes it stand out:
- Simple Ingredients : No buttermilk, no sour cream, no weird specialty flours. Everything is a pantry staple.
- Perfect for Any Celebration : Birthdays, anniversaries, or a Tuesday that just needs a little cake.
- Crowd-Pleaser : Kids and adults both go back for seconds. I’ve never had leftovers.
- Unbelievably Delicious : The texture is tender but sturdy enough to hold layers. The buttercream is the star.
- Foolproof Method : I’ll walk you through every step, including how to avoid the most common cake mistakes.
This recipe is the result of years of trial and error. I’m a home cook, not a professional baker, and I wanted a cake that felt achievable on a regular weekend. One that didn’t require a dozen bowls or a complicated technique. The secret is in the method—creaming the butter and sugar long enough, using room temperature ingredients, and not overmixing the batter. It sounds simple, but getting it right makes all the difference between a good cake and a perfect one.
What Ingredients You Will Need
This recipe uses simple, everyday ingredients to deliver a bakery-quality cake without any fuss. Most of these are probably already in your kitchen, which is exactly how I wanted it.
- Unsalted butter, softened (1 cup / 226g) – I always use unsalted so I can control the salt level. Let it sit out for at least an hour. Cold butter won’t cream properly.
- Granulated sugar (2 cups / 400g) – Regular white sugar. No need for superfine or anything fancy.
- Large eggs, room temperature (4 eggs) – This is non-negotiable for a smooth batter. If you forgot to take them out, place them in a bowl of warm water for 5 minutes.
- Vanilla extract (2 teaspoons) – Use pure vanilla extract if you can. It makes a noticeable difference in flavor.
- All-purpose flour (3 cups / 360g) – Spoon and level it into your measuring cup. Scooping directly can pack the flour and make the cake dry.
- Baking powder (1 tablespoon) – Check the expiration date. Old baking powder is the #1 reason cakes don’t rise.
- Salt (1/2 teaspoon) – Balances the sweetness and enhances the vanilla flavor.
- Whole milk, room temperature (1 cup / 240ml) – Whole milk gives the best texture, but 2% works in a pinch. Avoid skim milk.
- Vegetable oil (1/4 cup / 60ml) – This is my secret ingredient for extra moisture. It keeps the cake tender even after refrigeration.
For the vanilla buttercream, you’ll need:
- Unsalted butter, softened (1 1/2 cups / 339g) – Make sure it’s truly soft but not melting. If it’s too cold, your buttercream will be lumpy.
- Powdered sugar (4 cups / 480g) – Sift it if you have the patience. It makes the frosting smoother, but I’ve skipped it plenty of times.
- Heavy cream or whole milk (3-4 tablespoons) – Heavy cream makes it richer, but milk works fine.
- Vanilla extract (2 teaspoons)
- Salt (a pinch)
Equipment Needed
You don’t need a fully stocked bakery to make this cake. Here’s what you’ll actually use:
- Two 9-inch round cake pans – I prefer light-colored metal pans. Dark pans can cause the edges to brown too quickly.
- Electric hand mixer or stand mixer – A hand mixer works perfectly. I’ve made this cake with both.
- Mixing bowls – At least two large ones.
- Measuring cups and spoons – For accuracy, especially with the flour.
- Rubber spatula – For scraping down the bowl and folding the batter.
- Cooling rack – Lets air circulate so the cake cools evenly.
- Parchment paper – Cut circles to line the bottom of the pans. This guarantees the cake releases cleanly.
- Offset spatula – Makes frosting easier, but a butter knife works too.
- Cake stand or serving plate – For the final reveal.
If you don’t have parchment paper, you can grease the pans well with butter and dust them with flour. Just tap out the excess. I’ve done both methods, and parchment is less stressful.
Preparation Method
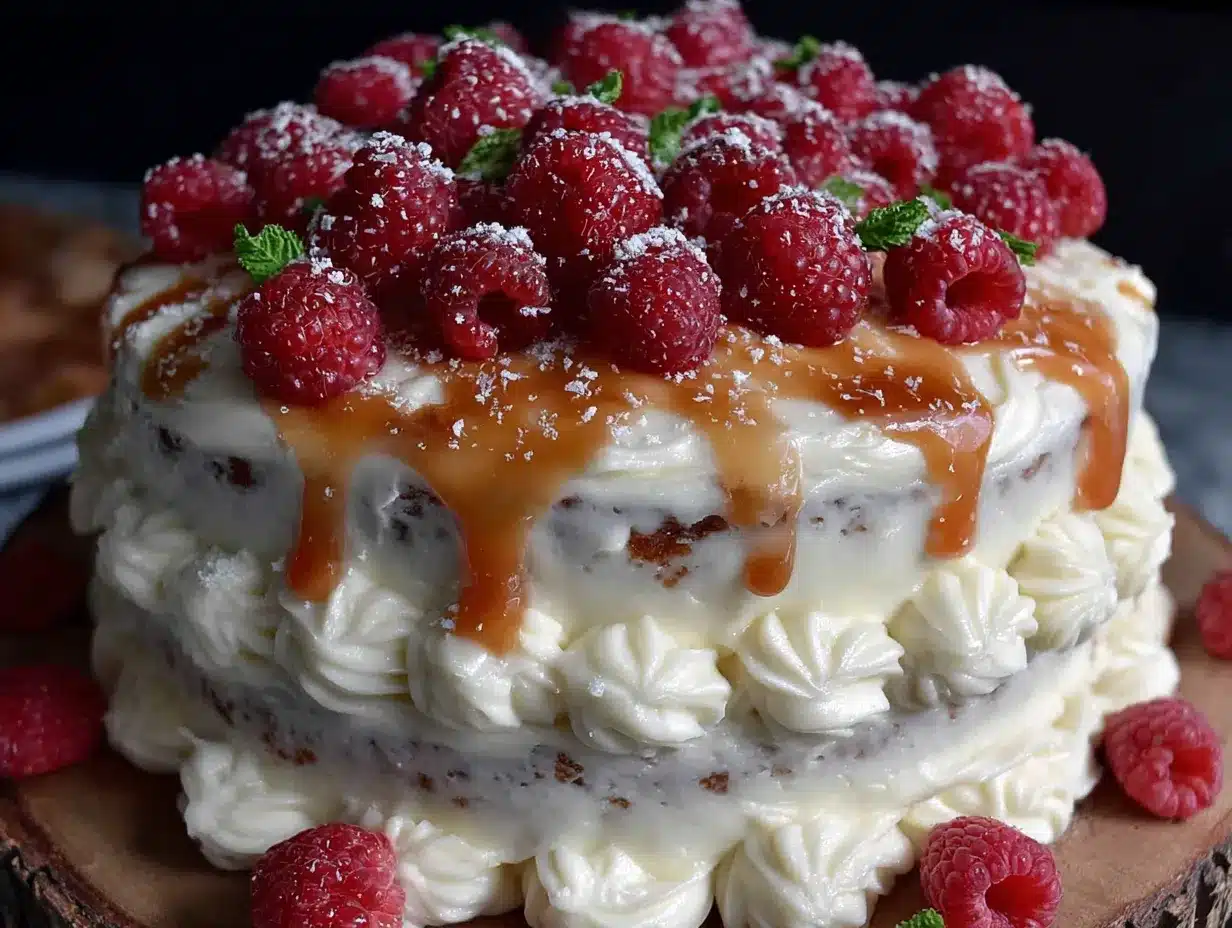
This method is broken down into clear steps. Take your time, especially with the creaming and mixing. Rushing is the easiest way to end up with a dense cake.
- Preheat and prepare your pans. Preheat your oven to 350°F (175°C). Grease two 9-inch round cake pans and line the bottoms with parchment paper. Lightly flour the sides. Set them aside.
- Cream the butter and sugar. In a large mixing bowl, beat the softened butter and granulated sugar together on medium speed for 3-4 minutes. You want it light and fluffy, almost pale in color. Scrape down the sides of the bowl halfway through. Don’t rush this step—proper creaming incorporates air, which helps the cake rise.
- Add the eggs and vanilla. Add the eggs one at a time, beating well after each addition. The batter might look slightly curdled at this point—that’s normal. Add the vanilla extract and beat until combined.
- Combine the dry ingredients. In a separate bowl, whisk together the all-purpose flour, baking powder, and salt. This ensures the baking powder is evenly distributed.
- Alternate adding dry ingredients and milk. With the mixer on low speed, add about one-third of the flour mixture to the butter mixture. Mix until just combined. Add half of the milk and mix. Repeat with another third of flour, the remaining milk, and finally the last of the flour. Mix until just combined after each addition. Overmixing at this stage develops gluten and makes the cake tough.
- Add the oil. Pour in the vegetable oil and fold it in gently with a rubber spatula. The oil adds moisture without making the batter heavy. The batter should be smooth, thick, and glossy.
- Divide the batter evenly. Pour the batter into the prepared pans. Use a kitchen scale to ensure even layers if you have one. Otherwise, eyeball it as best you can. Smooth the tops with a spatula.
- Bake. Bake for 25-30 minutes, or until a toothpick inserted in the center comes out clean or with a few moist crumbs. The tops should be golden and spring back when lightly touched. Let the cakes cool in the pans for 10 minutes, then turn them out onto a cooling rack to cool completely. Don’t try to frost them while they’re even slightly warm.
- Make the buttercream. While the cakes cool, make the frosting. In a large bowl, beat the softened butter on medium speed for 2-3 minutes until it’s pale and creamy. Gradually add the powdered sugar, one cup at a time, beating on low speed. Add the heavy cream one tablespoon at a time until you reach your desired consistency. Add the vanilla and a pinch of salt, then beat on medium-high for 2-3 minutes until light and fluffy. If it’s too thick, add more cream. If it’s too thin, add more powdered sugar.
- Assemble the cake. Place one cake layer on your serving plate. Spread about 1 cup of buttercream evenly on top. Place the second layer on top. Apply a thin crumb coat (a thin layer of frosting to seal in crumbs) and refrigerate for 15 minutes. Then apply the final layer of frosting. Decorate as desired.
Cooking Tips & Techniques
I’ve made this cake at least a dozen times, and I’ve learned a few things the hard way. Here are the tips that actually matter:
- Room temperature ingredients are not optional. Cold eggs and milk will seize the butter and give you a lumpy batter. Set everything out an hour before you start.
- Don’t overmix the batter. Once you add the flour, mix only until it disappears. Overmixing develops gluten, which makes the cake dense and rubbery.
- Use a toothpick to check doneness. If it comes out wet with batter, it needs more time. If it comes out with a few moist crumbs, it’s perfect. If it comes out dry, you’ve overbaked it.
- Cool the cakes completely. Frosting a warm cake is a recipe for a melty mess. I usually bake the cake the day before and frost it the next day.
- The crumb coat is worth it. It feels like an extra step, but it keeps crumbs out of your final frosting layer. Just a thin layer, then 15 minutes in the fridge.
- If your buttercream looks curdled, don’t panic. It likely means your butter was too cold. Keep beating, and it will come together. If it doesn’t, warm the bowl slightly over a pan of hot water and beat again.
I once forgot the baking powder. The cake came out flat as a pancake. I’ve also overbaked a batch by a full five minutes, and it was dry enough to need a glass of milk with every bite. These mistakes taught me to set a timer and check early.
Variations & Adaptations
This cake is a great base for customization. Here are a few ways to make it your own:
- Chocolate Birthday Cake : Replace 1/2 cup of the flour with 1/2 cup of unsweetened cocoa powder. Add an extra 1/4 cup of milk to keep the batter moist. Pair it with the same vanilla buttercream for a classic combo.
- Lemon Birthday Cake : Add the zest of two lemons to the sugar before creaming. Rub the zest into the sugar with your fingers to release the oils. Replace the vanilla extract with lemon extract or use a combination.
- Funfetti Cake : Fold in 1/2 cup of rainbow sprinkles at the very end, just before pouring the batter into the pans. Use gel-based sprinkles for the best color distribution. They bleed less than traditional sprinkles.
- Gluten-Free Version : Substitute the all-purpose flour with a 1:1 gluten-free baking flour blend that contains xanthan gum. I’ve tested this with King Arthur’s measure-for-measure blend, and it works well. Add an extra tablespoon of milk if the batter seems too thick.
- Cupcakes : This batter makes about 24 cupcakes. Bake at 350°F (175°C) for 18-20 minutes. The frosting recipe will generously top all of them.
I’ve tried the funfetti version for my niece’s birthday, and it was a hit. The sprinkles add a pop of color that makes the cake feel even more festive.
Serving & Storage Suggestions
This cake is best served at room temperature. If you’ve refrigerated it, let it sit out for about 30 minutes before slicing. The buttercream softens slightly, and the cake crumb becomes more tender.
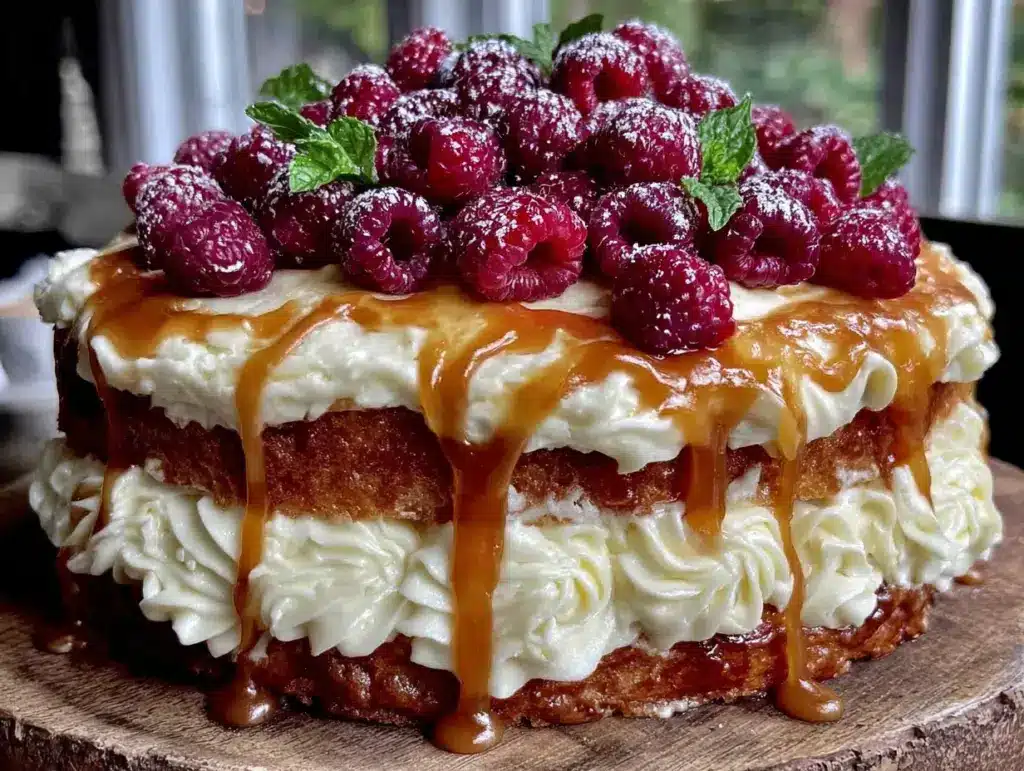
For serving, a simple presentation works best. I like to top the cake with a few fresh berries or a dusting of powdered sugar. It looks elegant without much effort. Pair it with a tall glass of cold milk, a cup of coffee, or a scoop of vanilla ice cream.
To store leftovers, place the cake in an airtight container or cover it with plastic wrap. It will keep at room temperature for up to 3 days. If your kitchen is warm, refrigerate it instead. The cake stays moist either way.
You can also freeze this cake. Wrap the unfrosted layers tightly in plastic wrap and then in foil. Freeze for up to 3 months. Thaw overnight in the refrigerator before frosting. The frosted cake can also be frozen, but the texture of the buttercream may change slightly. I prefer to freeze the layers unfrosted.
Honestly, the cake tastes even better on day two. The flavors have time to meld, and the crumb becomes even more tender. If you can resist eating it all on day one, you’re in for a treat.
Nutritional Information & Benefits
Let’s be real—this is a celebration cake. It’s not health food, and it shouldn’t be. But knowing what’s in it can help you enjoy it mindfully. Here are the approximate values per slice (based on 12 servings):
- Calories: 520
- Fat: 28g
- Carbohydrates: 66g
- Protein: 5g
- Sugar: 48g
The butter provides a small amount of vitamin A, and the milk adds calcium and protein. The eggs contribute high-quality protein and choline, which is good for brain health. If you use a high-quality vanilla extract, you’re getting a touch of antioxidants. But honestly, the main benefit here is joy. Sharing a homemade cake with people you love is good for the soul.
If you need a dairy-free option, you can substitute the butter with a plant-based butter stick and the milk with oat milk. The texture will be slightly different, but it still works. I’ve tested it with Miyoko’s vegan butter, and it turned out well.
Conclusion
This perfect classic birthday cake with vanilla buttercream is the recipe I wish I’d had years ago. It’s simple enough for a beginner but impressive enough for any celebration. The cake is moist and tender, the buttercream is silky and not too sweet, and together they make the kind of dessert that feels special without being stressful.
I hope you give this recipe a try. Customize it with your favorite add-ins, frost it however you like, and don’t forget to lick the spatula. That’s the best part. If you make it, I’d love to hear how it turned out. Leave a comment below or tag me in your photos. Happy baking!
Frequently Asked Questions
Can I use salted butter instead of unsalted?
Yes, you can. Just omit the added salt in the recipe. The cake will be slightly saltier, which can actually enhance the sweetness. I’ve done it in a pinch, and it worked fine.
Why did my cake sink in the middle?
This usually happens for one of three reasons: the oven door was opened too early, the baking powder was old, or the batter was overmixed. Make sure your oven is fully preheated and resist the urge to peek for the first 20 minutes.
How do I get flat cake layers?
If your cakes dome in the center, you can level them with a serrated knife once they’re completely cool. Just slice off the dome. For flatter layers, you can also wrap the pans in damp baking strips before baking, but leveling is easier.
Can I make this cake ahead of time?
Absolutely. Bake the cake layers up to 2 days in advance and store them wrapped tightly at room temperature. You can also freeze them for up to 3 months. The buttercream can be made a day ahead and stored in the refrigerator. Let it come to room temperature and re-whip before using.
My buttercream is too runny. What did I do wrong?
This usually means the butter was too soft or you added too much liquid. Pop the bowl in the refrigerator for 10-15 minutes, then beat it again. If it’s still runny, add more powdered sugar one tablespoon at a time until it firms up.
If you’re in the mood for more comforting desserts, you might also enjoy this easy spiced apple cider bundt cake or these healthy protein pumpkin muffins for a lighter option. For another classic celebration treat, this homemade apple dapple cake with warm caramel is always a hit.
Pin This Recipe!
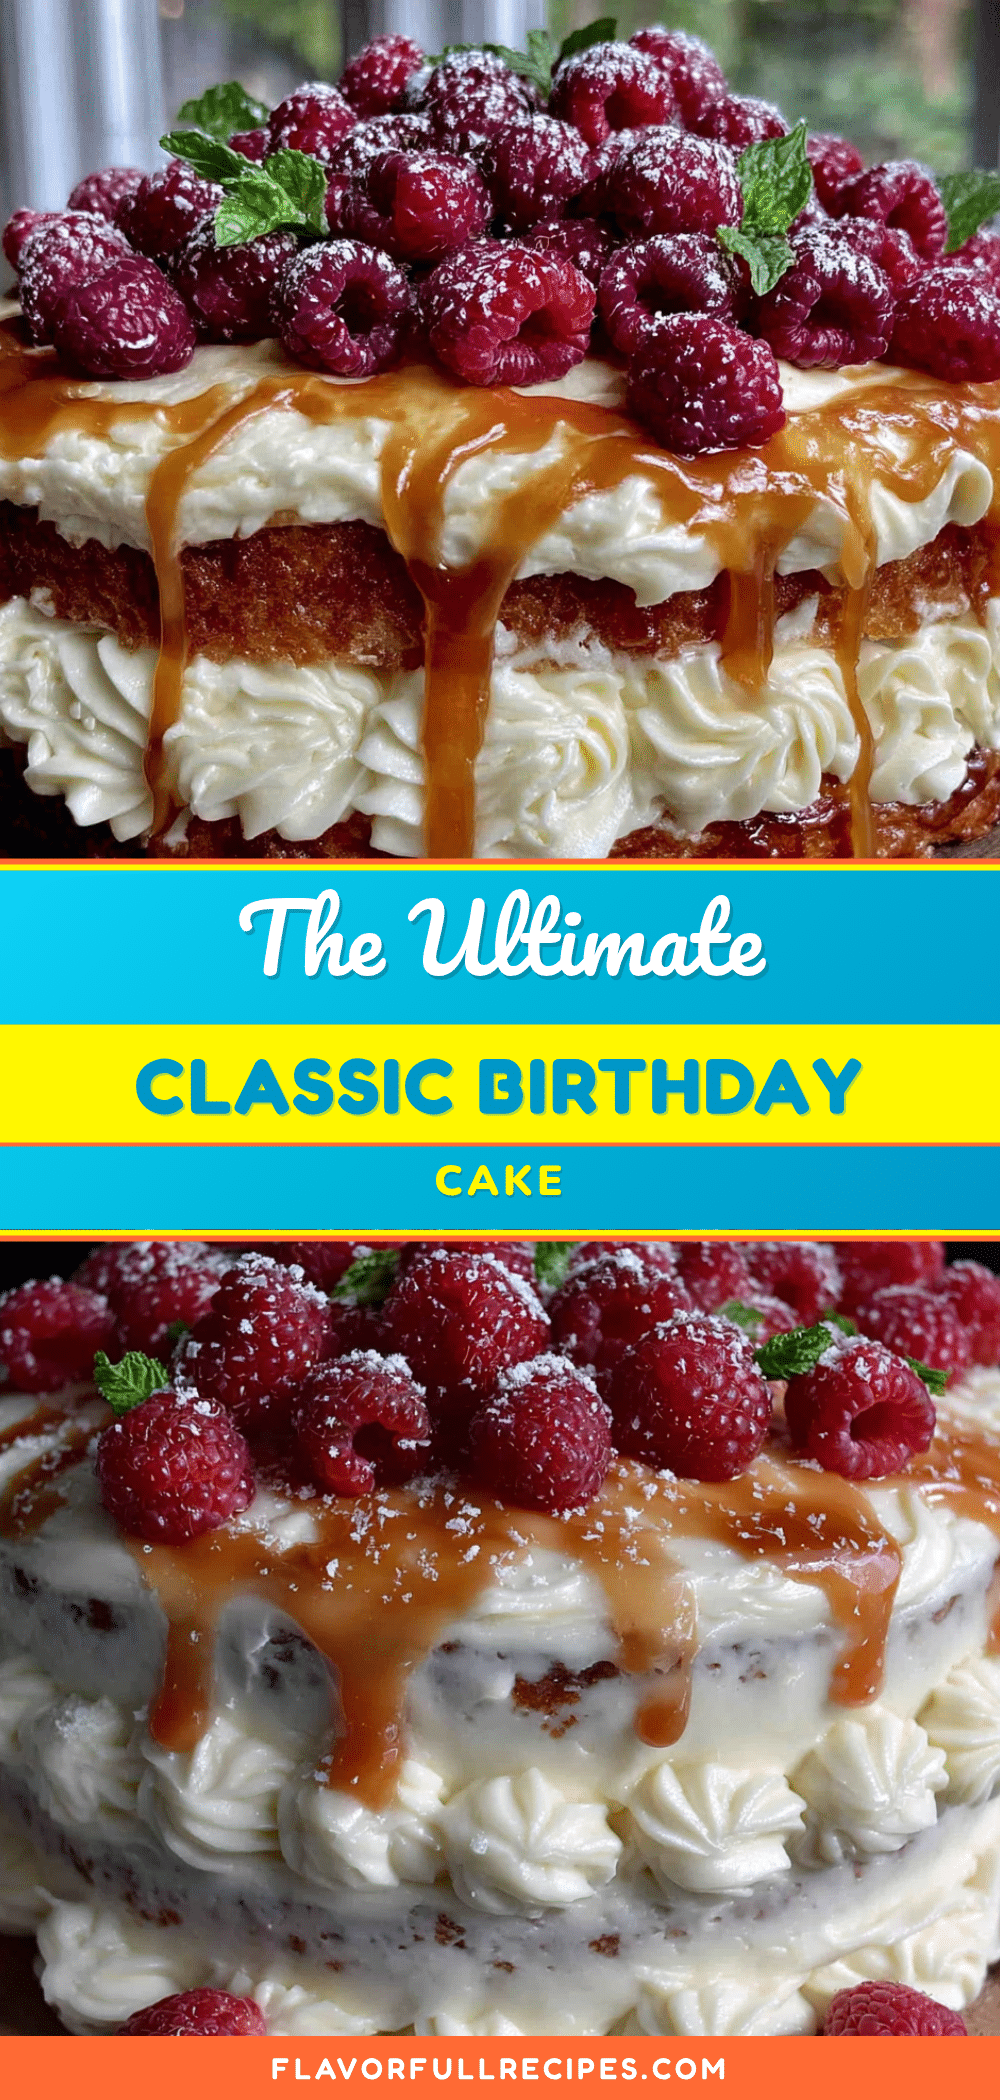
Perfect Classic Birthday Cake with Vanilla Buttercream
- Total Time: 50 minutes
- Yield: 12 servings 1x
Description
This perfect classic birthday cake with vanilla buttercream is moist, flavorful, and covered in a silky buttercream that’s not too sweet. It’s simple enough for a beginner but impressive enough for any celebration.
Ingredients
- 1 cup (226g) unsalted butter, softened
- 2 cups (400g) granulated sugar
- 4 large eggs, room temperature
- 2 teaspoons vanilla extract
- 3 cups (360g) all-purpose flour
- 1 tablespoon baking powder
- 1/2 teaspoon salt
- 1 cup (240ml) whole milk, room temperature
- 1/4 cup (60ml) vegetable oil
- 1 1/2 cups (339g) unsalted butter, softened (for buttercream)
- 4 cups (480g) powdered sugar
- 3–4 tablespoons heavy cream or whole milk
- 2 teaspoons vanilla extract (for buttercream)
- a pinch of salt (for buttercream)
Instructions
- Preheat your oven to 350°F (175°C). Grease two 9-inch round cake pans and line the bottoms with parchment paper. Lightly flour the sides. Set them aside.
- In a large mixing bowl, beat the softened butter and granulated sugar together on medium speed for 3-4 minutes until light and fluffy. Scrape down the sides of the bowl halfway through.
- Add the eggs one at a time, beating well after each addition. Add the vanilla extract and beat until combined.
- In a separate bowl, whisk together the all-purpose flour, baking powder, and salt.
- With the mixer on low speed, add about one-third of the flour mixture to the butter mixture. Mix until just combined. Add half of the milk and mix. Repeat with another third of flour, the remaining milk, and finally the last of the flour. Mix until just combined after each addition.
- Pour in the vegetable oil and fold it in gently with a rubber spatula until smooth.
- Divide the batter evenly between the prepared pans. Smooth the tops with a spatula.
- Bake for 25-30 minutes, or until a toothpick inserted in the center comes out clean or with a few moist crumbs. Let the cakes cool in the pans for 10 minutes, then turn them out onto a cooling rack to cool completely.
- While the cakes cool, make the buttercream. In a large bowl, beat the softened butter on medium speed for 2-3 minutes until pale and creamy. Gradually add the powdered sugar, one cup at a time, beating on low speed. Add the heavy cream one tablespoon at a time until you reach your desired consistency. Add the vanilla and a pinch of salt, then beat on medium-high for 2-3 minutes until light and fluffy.
- Place one cake layer on your serving plate. Spread about 1 cup of buttercream evenly on top. Place the second layer on top. Apply a thin crumb coat and refrigerate for 15 minutes. Then apply the final layer of frosting. Decorate as desired.
Notes
Room temperature ingredients are essential. Don’t overmix the batter. Cool cakes completely before frosting. The crumb coat helps keep crumbs out of the final frosting layer. If buttercream looks curdled, keep beating; it will come together.
- Prep Time: 20 minutes
- Cook Time: 30 minutes
- Category: Dessert
- Cuisine: American
Nutrition
- Serving Size: 1 slice
- Calories: 520
- Sugar: 48
- Fat: 28
- Carbohydrates: 66
- Protein: 5
Keywords: birthday cake, vanilla cake, buttercream, classic cake, celebration cake, homemade cake