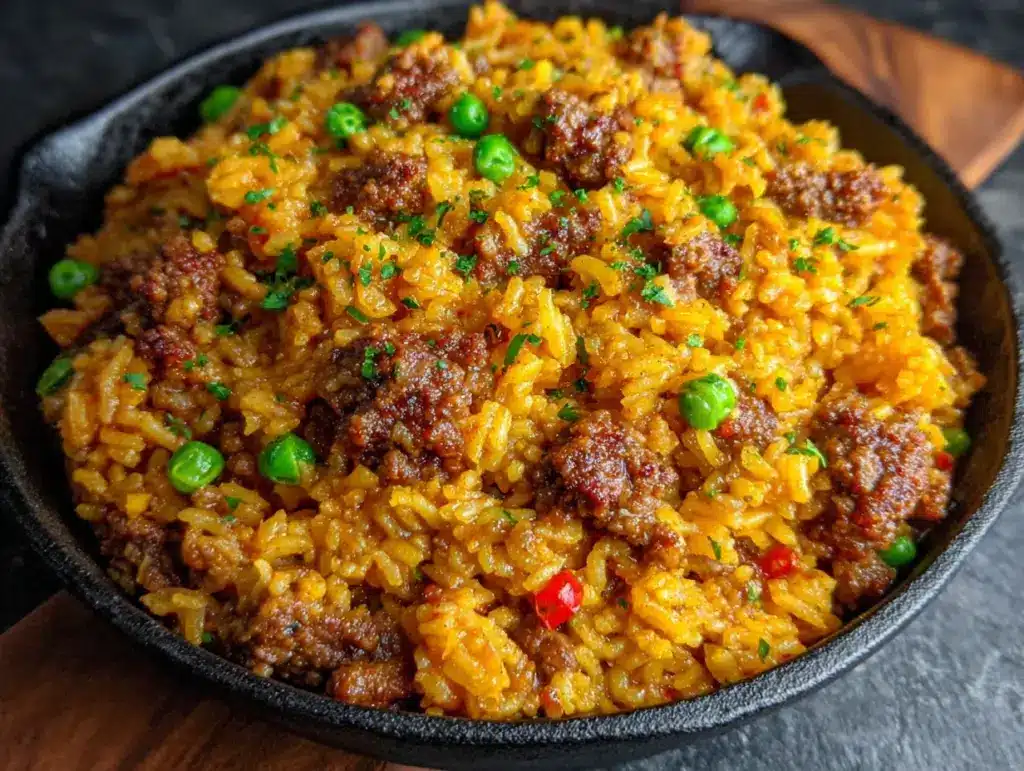
Third time in five days and I still can’t bring myself to scrape the last bit of cheesy rice from the skillet. The first time, I was skeptical—ground beef and rice felt like a weeknight cop-out, something my mom made when the pantry was bare and the energy was lower. But then I watched my kid scoop up a second helping without being asked, and my husband asked for the recipe (he never asks for the recipe). By the third round, I was tweaking the cheese blend and browning the beef a little harder, chasing something I couldn’t quite name.
What kept me coming back wasn’t just how fast it came together—it was that first bite. The rice soaked up all the savory beef drippings, the cheese melted into every crevice, and suddenly I understood why some meals don’t need fancy ingredients or complicated techniques. They just need to taste like someone cared enough to get the details right.
This easy one-pan cheesy ground beef rice isn’t trying to be anything it’s not. It’s honest food—the kind that fills your kitchen with that warm, savory smell that says dinner’s almost ready. And honestly? That’s exactly what a busy Tuesday needs.
Why You’ll Love This Recipe
I’ve made enough weeknight dinners to know the difference between a recipe that works and one that becomes a regular. This one earned its spot. Here’s why it stands out:
- One Pan, Minimal Mess — Everything cooks in a single skillet or Dutch oven. No boiling rice separately, no extra pots to wash. You dirty one pan and one spoon. That’s it.
- Pantry-Friendly Ingredients — Ground beef, rice, cheese, broth, and a few seasonings. Chances are you already have most of this in your kitchen right now. No special trips to the store required.
- Ready in Under 30 Minutes — From the moment you start browning the beef to the minute you’re scooping it onto plates, you’re looking at about 25 minutes. That’s faster than takeout delivery.
- Kid-Approved and Adult-Friendly — The cheesy, savory flavor hits that sweet spot that pleases picky eaters without boring grown-ups. I’ve served this to toddlers and grandparents, and both cleared their plates.
- Endlessly Customizable — Swap the protein, change the cheese, add vegetables, or make it spicy. This recipe is a template, not a rulebook. More on that later.
What makes this different from other one-pan rice dishes? It’s the layering. You brown the beef hard to build flavor, then let the rice simmer in that seasoned broth until it’s tender and fluffy—not mushy. The cheese goes on at the end so it stays gooey, not greasy. It’s simple, but it’s intentional.
This is the kind of meal that makes you close your eyes after the first bite. Not because it’s fancy, but because it’s right.
What Ingredients You Will Need
This recipe keeps things straightforward. Most of these are staples you probably already have on hand. Here’s what you’ll need and why each ingredient matters:
For the Base
- 1 pound ground beef (80/20 blend works best—enough fat for flavor, not so much that it gets greasy)
- 1 tablespoon olive oil (only if your beef is very lean; otherwise, you can skip it)
- 1 medium yellow onion, diced (about 1 cup—adds sweetness and depth)
- 3 cloves garlic, minced (fresh is best, but 1 teaspoon of jarred minced garlic works in a pinch)
For the Rice and Liquid
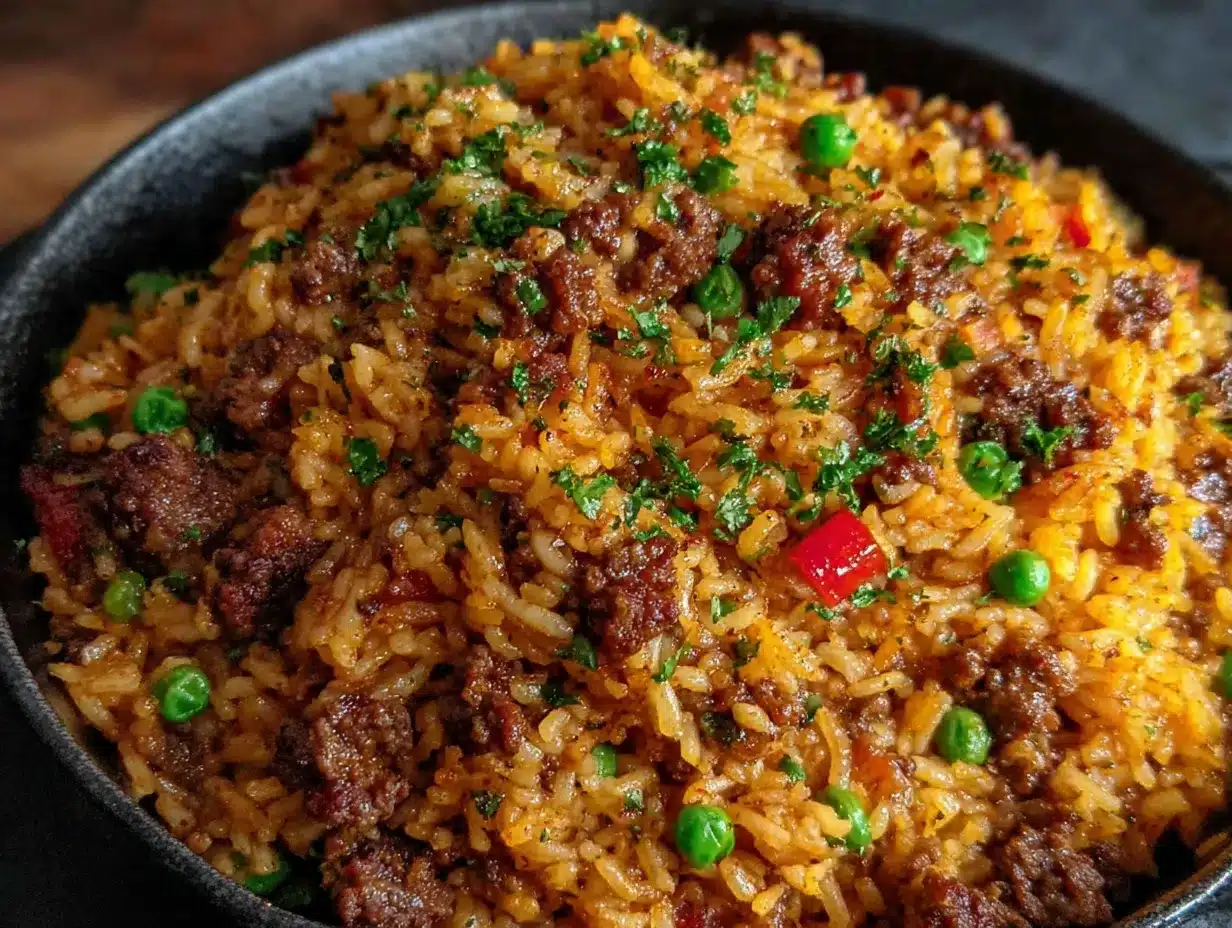
- 1 cup long-grain white rice (uncooked—basmati or jasmine also work well; avoid short-grain or sticky rice here)
- 2 cups beef broth (low-sodium gives you control over the salt level; I prefer Better Than Bouillon mixed with water for deeper flavor)
- 1 can (10 ounces) diced tomatoes with green chiles (like Rotel—adds acidity and a tiny kick; if you’re sensitive to heat, use regular diced tomatoes instead)
- 1 teaspoon Worcestershire sauce (adds umami and richness—don’t skip it)
For Seasoning
- 1 teaspoon smoked paprika (regular paprika works too, but smoked adds a subtle depth)
- 1 teaspoon garlic powder (not the same as fresh garlic—this adds a different layer of flavor)
- 1/2 teaspoon onion powder
- 1/2 teaspoon dried oregano
- 1/2 teaspoon salt (adjust to taste, especially if your broth is salted)
- 1/4 teaspoon black pepper
For the Cheese
- 1 1/2 cups shredded cheddar cheese (sharp cheddar gives the most flavor; mild cheddar works if you prefer a milder taste)
- 1/2 cup shredded Monterey Jack cheese (adds creaminess and helps the cheese melt smoothly)
For Garnish (Optional but Recommended)
- 2 tablespoons fresh parsley, chopped
- Green onions, sliced
Ingredient Note: I’ve tested this with both white and brown rice. Brown rice needs about 15-20 extra minutes of simmering time and more liquid (about 1/2 cup extra broth). If you’re in a hurry, stick with white rice. Also, pre-shredded cheese often has anti-caking agents that prevent smooth melting—shredding your own from a block makes a noticeable difference in texture.
Equipment Needed
You don’t need a lot of fancy gear for this one, which is part of the appeal. Here’s what you’ll want:
- Large skillet or Dutch oven (12-inch with a tight-fitting lid is ideal; a deep sauté pan also works)
- Wooden spoon or silicone spatula (for breaking up the beef and stirring)
- Chef’s knife and cutting board (for dicing the onion and mincing garlic)
- Measuring cups and spoons
- Box grater (if you’re shredding your own cheese—worth the extra 30 seconds)
If you don’t have a lid that fits your skillet, a sheet of aluminum foil crimped tightly around the edges works as a temporary cover. I’ve done it more times than I’d like to admit, and it works fine. Just make sure it’s sealed well so the steam doesn’t escape.
Preparation Method
Let’s get cooking. This comes together fast, so have your ingredients prepped and ready before you start—the actual cooking moves quickly once the beef hits the pan.
- Brown the beef. Heat your skillet over medium-high heat. Add the ground beef and break it apart with your spoon. Let it cook undisturbed for about 3 minutes so it develops a nice brown crust, then stir and continue cooking until fully browned, about 5-6 minutes total. Don’t rush this step—the browning adds flavor that you can’t get any other way. If there’s excess fat, spoon most of it out, leaving about 1 tablespoon in the pan.
- Sauté the aromatics. Reduce heat to medium. Add the diced onion and cook for 3-4 minutes until it softens and turns translucent. Add the minced garlic and cook for 30 seconds until fragrant—don’t let it burn or it’ll turn bitter.
- Add the seasonings and rice. Stir in the smoked paprika, garlic powder, onion powder, oregano, salt, and pepper. Cook for about 30 seconds until the spices are fragrant. Add the uncooked rice and stir to coat every grain in the seasoned fat—this toasts the rice slightly and helps it stay separate as it cooks.
- Pour in the liquids. Add the beef broth, diced tomatoes with their juices, and Worcestershire sauce. Stir everything together, scraping up any browned bits from the bottom of the pan—that’s concentrated flavor you don’t want to leave behind.
- Bring to a boil, then simmer. Increase heat to high and bring the mixture to a boil. Once it’s bubbling, reduce heat to low, cover the skillet with a tight-fitting lid, and let it simmer for 15-18 minutes. Don’t lift the lid during this time—every time you do, you release steam that the rice needs to cook properly.
- Check the rice. After 15 minutes, remove the lid carefully (steam is hot!). The rice should be tender and most of the liquid should be absorbed. If the rice is still a bit firm, add 2-3 tablespoons of water or broth, re-cover, and cook for another 2-3 minutes.
- Add the cheese. Remove the pan from heat. Sprinkle the shredded cheddar and Monterey Jack evenly over the top. Cover again and let it sit for 2-3 minutes until the cheese melts into a gooey, irresistible layer.
- Finish and serve. Uncover, give everything a gentle stir to incorporate the cheese, or leave it in a layer on top for a more dramatic presentation. Garnish with fresh parsley or green onions if you’re feeling fancy. Serve hot.
Sensory Cue: When the rice is done, the pan should look steamy and the rice should be fluffy, not wet or soupy. If you see liquid pooling at the bottom when you tilt the pan, let it sit uncovered for a minute or two to evaporate. The cheese should be fully melted and stretchy when you lift a spoonful.
Cooking Tips & Techniques
I’ve made this recipe enough times to learn a few things the hard way. Here’s what I wish someone had told me:
Don’t skip browning the beef properly. I know it’s tempting to stir constantly and rush through, but letting the beef sit in the hot pan for a few minutes creates that deep, savory crust that makes the whole dish taste like it simmered for hours. If you stir too much, you end up with gray, steamed meat. Let it be.
Toast the rice. This is a small step that makes a big difference. Stirring the uncooked rice in the seasoned fat for about 30 seconds before adding liquid helps keep the grains separate and gives them a slightly nutty flavor. Skipping this step leads to clumpier rice.
Resist the urge to peek. I know it’s hard, but lifting the lid during simmering lets steam escape, which means the rice might not cook evenly or might end up mushy. Trust the process. Set a timer and walk away.
If your rice is still crunchy after the cooking time: Don’t panic. Add a few tablespoons of broth or water, re-cover, and cook on low for another 3-5 minutes. Sometimes rice absorbs liquid differently depending on humidity, altitude, or the specific brand. It happens.
Shred your own cheese. Pre-shredded cheese is coated with cellulose or starch to prevent clumping, which also prevents it from melting smoothly. If you want that beautifully gooey, stretchy cheese layer, spend the extra minute grating a block. It’s worth it.
Multitasking tip: While the rice simmers, you have about 15 minutes of hands-off time. Use it to prep a quick side salad, set the table, or pour yourself a drink. Dinner will be ready before you know it.
Variations & Adaptations
This recipe is a great starting point, but it’s also incredibly flexible. Here are some ways I’ve adapted it depending on what I have on hand or who I’m feeding:
- Make it spicy: Add 1/2 teaspoon of red pepper flakes along with the other seasonings, or use pepper jack cheese instead of Monterey Jack. A dash of hot sauce at the end also works beautifully.
- Add vegetables: Stir in 1 cup of frozen peas and corn during the last 5 minutes of simmering. Or sautée a diced bell pepper and zucchini along with the onion for extra nutrition and color.
- Swap the protein: Ground turkey or ground chicken work well here—just add a tablespoon of olive oil since they’re leaner. Ground pork or Italian sausage (casings removed) also make a flavorful substitute.
- Make it gluten-free: This recipe is naturally gluten-free as long as you use a gluten-free Worcestershire sauce (some brands contain malt vinegar). Double-check your broth too.
- Try a different cheese: Gouda, provolone, or even a Mexican blend all melt beautifully. I once used smoked gouda and it was incredible—added a whole new layer of flavor.
- Make it a full meal: Stir in a can of drained black beans or pinto beans along with the broth for extra protein and fiber. A handful of chopped spinach stirred in at the end also adds color and nutrients without changing the flavor much.
My personal favorite variation? I sometimes swap half the beef for crumbled Italian sausage and add a handful of chopped fresh spinach right before the cheese goes on. The sausage adds a little fennel sweetness, and the spinach wilts perfectly into the hot rice. It feels like a different dish entirely.
Serving & Storage Suggestions
This dish is at its best served hot, straight from the pan. The cheese is perfectly melted, the rice is fluffy, and everything is still steamy. That said, it also holds up well for leftovers, which is a win in my book.
How to serve: Spoon generous portions into shallow bowls. A sprinkle of fresh parsley or sliced green onions adds a pop of color and freshness. I like to serve it with a simple side salad dressed with lemon vinaigrette—the acidity cuts through the richness of the cheese. Roasted broccoli or steamed green beans also pair beautifully.
Storage: Let any leftovers cool completely, then transfer to an airtight container. It will keep in the refrigerator for up to 4 days. The rice may absorb some additional liquid overnight, so the texture will be slightly softer the next day—still delicious, just different.
Freezing: This freezes well for up to 3 months. Portion into individual freezer-safe containers or a large zip-top bag (flatten it for easier stacking). Thaw overnight in the refrigerator before reheating.
Reheating: The best way to reheat is in a skillet over medium-low heat with a splash of broth or water to loosen things up. Cover and heat for 5-7 minutes, stirring occasionally. You can also microwave individual portions in 30-second bursts, stirring between each, until heated through. If the rice seems dry, add a teaspoon of water per serving before microwaving.
Flavor note: The flavors actually deepen overnight as the seasonings meld together. I sometimes make a double batch on purpose just so I can have leftovers for lunch the next day. It’s one of those rare dishes that tastes almost better the second day.
Nutritional Information & Benefits
Here’s an estimated nutritional breakdown per serving (based on 6 servings):
- Calories: 415
- Protein: 28g
- Fat: 18g
- Carbohydrates: 34g
- Fiber: 2g
- Calcium: 280mg
- Iron: 3.5mg
This recipe offers a good balance of protein, carbohydrates, and healthy fats. The ground beef provides high-quality protein, iron, and B vitamins—especially B12, which is important for energy and brain function. The rice offers easily digestible carbohydrates for quick energy, and the cheese adds calcium for bone health.
If you’re watching your sodium, use low-sodium broth and reduce or omit the added salt. You can also swap the cheddar for a reduced-fat version, though the melting texture won’t be quite as luxurious.
For a lighter version, use ground turkey or chicken, reduce the cheese to 1 cup total, and add extra vegetables like zucchini or bell peppers to bulk up the volume without adding many calories.
This is also a great meal for anyone who needs a high-protein, satisfying dinner without a lot of fuss. It’s not a health food, but it’s honest, nourishing food that fuels your body and makes you feel good.
Conclusion
This easy one-pan cheesy ground beef rice is the kind of recipe that earns a permanent spot in your dinner rotation. It’s fast, forgiving, and deeply satisfying in that unpretentious way that only the best comfort food can be. The ingredients are simple, the technique is straightforward, and the result is a warm, cheesy, savory meal that makes everyone at the table happy.
What I love most about this recipe is how it adapts to whatever you need it to be. Need dinner in 25 minutes? Done. Need to feed a crowd? Double it and use a bigger pan. Want to sneak in some vegetables? Go for it. It’s a recipe that works with you, not against you.
I’d love to hear how this turns out for you. Did you add your own twist? Swap in a different cheese? Make it extra spicy? Drop a comment below and let me know—I genuinely read every single one. And if you share a photo on Pinterest, tag me so I can see your beautiful creation.
Now go make some dinner. You’ve got this.
Frequently Asked Questions
Can I use brown rice instead of white rice?
Yes, but you’ll need to adjust the cooking time and liquid. Brown rice typically needs about 30-35 minutes of simmering and an extra 1/2 cup of broth. Keep an eye on it and add more liquid if needed. The texture will be chewier and nuttier, which some people prefer.
Can I make this in a slow cooker or Instant Pot?
Absolutely. For the Instant Pot, use the sauté function to brown the beef and onions, then add the remaining ingredients (except the cheese). Pressure cook on high for 5 minutes with a natural release. Stir in the cheese at the end. For a slow cooker, brown the beef first, then add everything except the rice and cheese. Cook on low for 4-6 hours, then stir in the rice and cook for another 30 minutes before adding the cheese.
How do I prevent the rice from getting mushy?
The key is not to overcook it and to use the right rice-to-liquid ratio. Long-grain white rice needs about 1 3/4 to 2 cups of liquid per cup of rice. Also, don’t stir the rice too much once it’s simmering—that releases starch and makes it gummy. And whatever you do, don’t lift the lid while it’s cooking.
Can I freeze this dish?
Yes, it freezes beautifully. Let it cool completely, then portion it into freezer-safe containers. It will keep for up to 3 months. Thaw overnight in the refrigerator and reheat in a skillet with a splash of broth to restore moisture. The texture of the rice will be slightly softer after freezing, but the flavor remains excellent.
What can I use instead of ground beef?
Ground turkey, ground chicken, ground pork, or even crumbled Italian sausage all work well. If you’re using a leaner protein like turkey or chicken, add a tablespoon of olive oil to compensate for the lack of fat. For a vegetarian version, try crumbled plant-based ground meat or cooked lentils—just adjust the liquid and cooking time as needed.
Pin This Recipe!
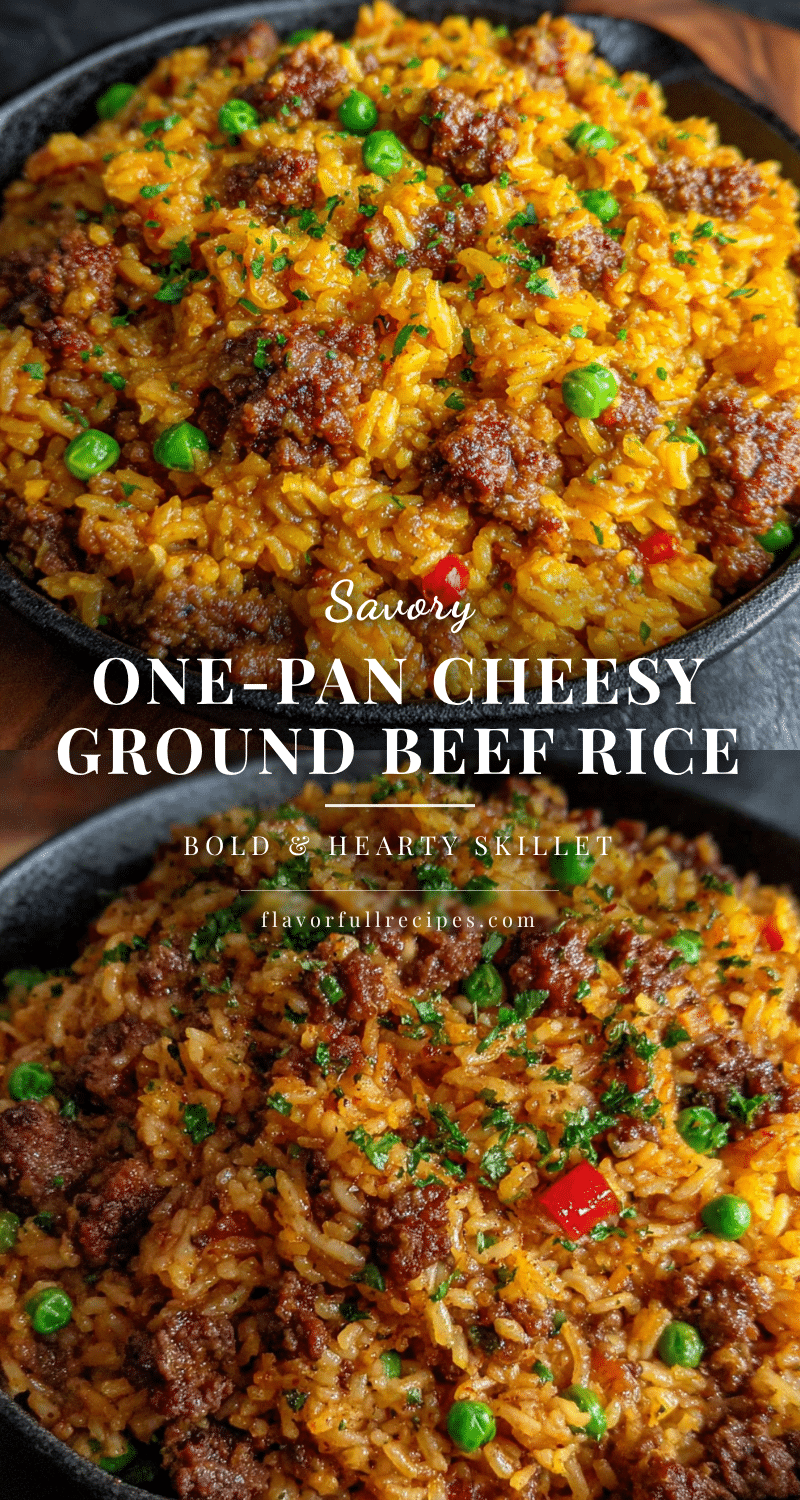

Easy One-Pan Cheesy Ground Beef Rice: The Best Weeknight Dinner
- Total Time: 30 minutes
- Yield: 6 servings 1x
Description
This easy one-pan cheesy ground beef rice is the perfect weeknight dinner—ready in under 30 minutes with minimal cleanup. Ground beef, rice, and cheese come together in one skillet for a comforting, kid-approved meal that’s endlessly customizable.
Ingredients
- 1 pound ground beef (80/20 blend)
- 1 tablespoon olive oil (optional, for lean beef)
- 1 medium yellow onion, diced (about 1 cup)
- 3 cloves garlic, minced
- 1 cup long-grain white rice, uncooked
- 2 cups low-sodium beef broth
- 1 can (10 ounces) diced tomatoes with green chiles (like Rotel)
- 1 teaspoon Worcestershire sauce
- 1 teaspoon smoked paprika
- 1 teaspoon garlic powder
- 1/2 teaspoon onion powder
- 1/2 teaspoon dried oregano
- 1/2 teaspoon salt (adjust to taste)
- 1/4 teaspoon black pepper
- 1 1/2 cups shredded sharp cheddar cheese
- 1/2 cup shredded Monterey Jack cheese
- 2 tablespoons fresh parsley, chopped (optional, for garnish)
- Green onions, sliced (optional, for garnish)
Instructions
- Brown the beef. Heat your skillet over medium-high heat. Add the ground beef and break it apart with your spoon. Let it cook undisturbed for about 3 minutes so it develops a nice brown crust, then stir and continue cooking until fully browned, about 5-6 minutes total. Spoon out excess fat, leaving about 1 tablespoon in the pan.
- Sauté the aromatics. Reduce heat to medium. Add the diced onion and cook for 3-4 minutes until it softens and turns translucent. Add the minced garlic and cook for 30 seconds until fragrant.
- Add the seasonings and rice. Stir in the smoked paprika, garlic powder, onion powder, oregano, salt, and pepper. Cook for about 30 seconds until fragrant. Add the uncooked rice and stir to coat every grain in the seasoned fat.
- Pour in the liquids. Add the beef broth, diced tomatoes with their juices, and Worcestershire sauce. Stir everything together, scraping up any browned bits from the bottom of the pan.
- Bring to a boil, then simmer. Increase heat to high and bring to a boil. Once boiling, reduce heat to low, cover with a tight-fitting lid, and let simmer for 15-18 minutes. Do not lift the lid during this time.
- Check the rice. After 15 minutes, remove the lid carefully. The rice should be tender and most of the liquid absorbed. If still firm, add 2-3 tablespoons of water or broth, re-cover, and cook for another 2-3 minutes.
- Add the cheese. Remove the pan from heat. Sprinkle the shredded cheddar and Monterey Jack evenly over the top. Cover again and let sit for 2-3 minutes until the cheese melts.
- Finish and serve. Uncover, give everything a gentle stir to incorporate the cheese, or leave it in a layer on top. Garnish with fresh parsley or green onions if desired. Serve hot.
Notes
For best results, shred your own cheese from a block—pre-shredded cheese contains anti-caking agents that prevent smooth melting. If using brown rice, increase simmering time to 30-35 minutes and add an extra 1/2 cup of broth. To prevent mushy rice, do not lift the lid during simmering and avoid stirring once the rice is cooking.
- Prep Time: 10 minutes
- Cook Time: 20 minutes
- Category: Main Course
- Cuisine: American
Nutrition
- Serving Size: 1 serving (about 1 1
- Calories: 415
- Sugar: 4
- Sodium: 680
- Fat: 18
- Saturated Fat: 9
- Carbohydrates: 34
- Fiber: 2
- Protein: 28
Keywords: one-pan dinner, ground beef rice, cheesy rice, weeknight dinner, easy dinner, one skillet meal, ground beef recipe, cheesy ground beef rice