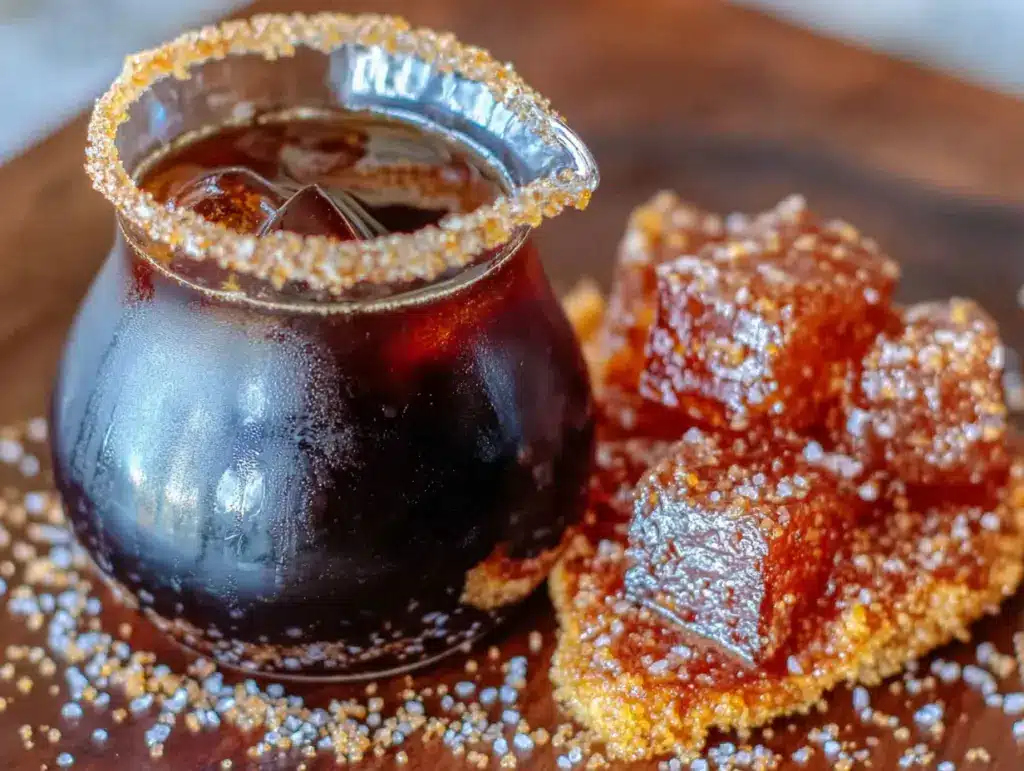
“You need to taste this cold brew I made.” My sister said it with the kind of certainty that usually means she’s about to hand me something life-changing or something that tastes like dirt. It was a Tuesday, and I was already running on fumes—the kind of tired where you start eyeing the coffee maker like it owes you money. She pushed a mason jar across the counter, the liquid inside dark as ink and smelling faintly of maple. I took a sip, and honestly, I didn’t say anything for a second. It wasn’t just coffee. It was the kind of coffee that makes you wonder why you’ve been settling for basic iced lattes your whole life. The salt hit first, then the maple, then that deep, smooth cold brew finish. I asked her what she put in it, expecting a list of fancy syrups and imported ingredients. She shrugged. “Maple syrup, brown sugar, salt, and coffee. That’s it.” And that was it. I haven’t bought a coffee shop cold brew since. This Salted Maple Brown Sugar Cold Brew Concentrate is the kind of recipe that feels like a secret you want to keep but can’t help sharing. It’s simple, it’s cheap, and it tastes like fall in a glass—no matter what time of year it is. I’m not here to sell you on some complicated coffee ritual. I’m just here to show you how to make the best cold brew you’ll ever have, with three ingredients you probably already have in your pantry.
Why You’ll Love This Recipe
I’ve tested a lot of cold brew methods over the years—some good, some watery, some that took 24 hours and still tasted like regret. This one is different. It’s the Goldilocks of cold brew: not too bitter, not too sweet, just right. And the best part? It’s almost embarrassingly easy.
- Quick & Easy: You only need about 5 minutes of active prep time. The rest is just waiting for the magic to happen in your fridge. No heat, no fancy equipment, no barista skills required.
- Simple Ingredients: Coffee, water, maple syrup, brown sugar, and salt. That’s it. No expensive flavored syrups, no gadgets you’ll use once. If you have a jar and a fridge, you’re already halfway there.
- Perfect for Mornings (or Anytime): This concentrate is a game-changer for busy mornings. Pour it over ice, add milk or oat milk, and you have a cafe-quality drink in under a minute. It’s also fantastic as a base for coffee cocktails or an afternoon pick-me-up.
- Crowd-Pleaser: I brought a batch to a weekend brunch, and people who claimed they “don’t like cold brew” were asking for the recipe. The salt and maple combo is universally loved—it’s familiar but exciting.
- Unbelievably Delicious: The texture is silky, the flavor is deep and rich, and that salted maple finish? It lingers in the best way. This isn’t just coffee; it’s an experience. It’s the kind of drink that makes you slow down and actually enjoy your morning.
What makes this recipe stand out isn’t a secret technique or a rare ingredient. It’s the balance. The salt doesn’t just add saltiness—it amplifies the sweetness of the maple and brown sugar while cutting through the natural bitterness of the coffee. It’s a flavor symphony, and you’re the conductor. Plus, it’s incredibly forgiving. You can tweak the sweetness or strength to your exact liking without ruining the batch. That’s the kind of recipe I can get behind.
What Ingredients You Will Need
This recipe uses simple, everyday ingredients to create something that tastes far more complex than it has any right to. The magic is in the combination, not the complexity. Here’s what you’ll need to make this Salted Maple Brown Sugar Cold Brew Concentrate.
For the Cold Brew Concentrate
- 1 cup (85g) coarsely ground coffee beans: Use a medium-to-coarse grind. I personally love using a medium roast for this—it’s smooth enough to not be overpowering but has enough body to stand up to the sweeteners. If you use a dark roast, the flavor will be more intense and smoky. If you use a light roast, it’ll be more delicate and fruity. Avoid pre-ground coffee if you can; freshly ground beans make a noticeable difference in smoothness.
- 4 cups (960ml) cold, filtered water: Water quality matters more than you think. Tap water with a strong chlorine or mineral taste can throw off the final flavor. Use filtered or bottled water for the cleanest taste. The ratio here is a standard 1:4 coffee-to-water ratio for a concentrate. You can adjust this later if you want it stronger or weaker.
For the Salted Maple Brown Sugar Syrup

- 1/2 cup (120ml) pure maple syrup: Please don’t use pancake syrup here. The real stuff is non-negotiable for that deep, woody sweetness. Grade A dark amber is my go-to for this recipe; it has a more robust flavor that holds its own against the coffee. If you only have Grade A light, it’ll still work, but the maple flavor will be a bit more subtle.
- 1/4 cup (50g) packed light brown sugar: Light brown sugar adds a gentle molasses note that complements the maple without overpowering it. You can use dark brown sugar for a deeper, more intense molasses flavor if that’s your thing. This is what gives the syrup that slightly caramelized, cozy taste.
- 1/2 teaspoon flaky sea salt (like Maldon), plus more for garnish: Flaky salt is key here. It dissolves easily and provides those little bursts of salinity that make the sweetness pop. Regular table salt will work in a pinch, but use half the amount since it’s much denser and saltier. The salt is what transforms this from a simple sweet coffee into a crave-worthy treat.
- 1/4 cup (60ml) hot water: Just hot tap water is fine. This helps the sugar and salt dissolve completely into the maple syrup, creating a smooth, pourable syrup that won’t leave gritty bits at the bottom of your glass.
Equipment Needed
You don’t need a lot of fancy gear for this, which is one of the reasons I love it. Here’s what you’ll need to get started.
- A large jar or pitcher (at least 64 oz or 2 liters): A mason jar works perfectly, or any container with a tight-fitting lid. You need enough room for the coffee grounds and water to mingle without overflowing.
- A fine-mesh strainer, cheesecloth, or a coffee filter: For straining out the grounds. A nut milk bag also works great. I’ve used a clean dish towel in a pinch, but cheesecloth is my preferred method for a super clean brew.
- A small saucepan or microwave-safe bowl: For making the syrup. A small pot is easiest for dissolving the sugar.
- A whisk or spoon: For stirring the syrup.
- A glass bottle or jar for storing the concentrate: A swing-top bottle is ideal, but any clean jar will do. The concentrate will keep for up to two weeks, so a proper storage container is a good idea.
Preparation Method
Alright, let’s get to it. This is the part where you make the magic happen. Follow these steps, and you’ll have a jar of liquid gold ready to go.
- Make the cold brew concentrate: In your large jar or pitcher, combine the coarsely ground coffee and cold, filtered water. Give it a gentle stir to make sure all the grounds are wet. Don’t shake it vigorously—you just want them all to be submerged. The water should look like dark, muddy tea at this point.
- Steep at room temperature: Cover the jar and let it sit at room temperature for 18-24 hours. I usually start mine in the evening and let it steep overnight while I sleep. The longer it steeps, the stronger and more concentrated it gets. 18 hours is my sweet spot—it’s strong but not bitter. If you’re in a hurry, 12 hours will work, but the flavor won’t be as deep. Don’t go over 24 hours, or it can start to taste over-extracted and bitter.
- Strain the concentrate: After steeping, line your fine-mesh strainer with a double layer of cheesecloth (or use your nut milk bag) and place it over a clean bowl or large measuring cup. Slowly pour the coffee mixture through the strainer. Let it drip for a few minutes, then gently press on the grounds with the back of a spoon to extract every last drop of liquid gold. Discard the grounds.
- Make the salted maple brown sugar syrup: While the coffee is steeping or after you’ve strained it, make the syrup. In a small saucepan, combine the maple syrup, brown sugar, flaky sea salt, and hot water. Place over medium-low heat and whisk constantly until the sugar and salt are completely dissolved. This should take about 2-3 minutes. Don’t let it boil—you just want to warm it enough to dissolve everything. Remove from heat and let it cool completely. It will thicken slightly as it cools.
- Combine and store: Once the syrup is cool and the cold brew is strained, pour the syrup into the jar of cold brew concentrate. Stir gently to combine. Taste it—if you want it sweeter, you can make a little more syrup. If you want it less sweet, add a splash of plain cold brew or water. The flavor will meld together beautifully in the fridge.
- Chill and serve: Transfer the finished concentrate to your storage bottle or jar and refrigerate for at least 2 hours before serving. This allows the flavors to marry and the concentrate to get perfectly chilled. To serve, fill a glass with ice, pour in about 1/2 cup of the concentrate, and top with milk, oat milk, or water to your taste. I like a 1:1 ratio of concentrate to milk. Give it a stir, and if you’re feeling fancy, sprinkle a tiny pinch of flaky sea salt on top.
Cooking Tips & Techniques
I’ve made this recipe more times than I can count, and I’ve definitely learned a few things the hard way. Here are my best tips to ensure your first batch is perfect.
- Grind size is crucial: Use a coarse grind, similar to breadcrumbs. If you grind it too fine, you’ll end up with a cloudy, bitter brew. Too coarse, and it’ll be weak and watery. If you’re buying whole beans, ask the barista to grind it for a French press or cold brew. This is the single most important factor for a smooth result.
- Don’t skip the salt: I know it sounds weird, but the salt is what makes this recipe sing. It doesn’t make the coffee salty—it enhances the sweetness and rounds out the bitterness. It’s the secret to that “what is this amazing flavor?” reaction. Trust me on this one.
- Make the syrup ahead of time: The syrup keeps beautifully in the fridge for up to a month in a sealed jar. I often make a double batch so I have it on hand for impromptu coffee cravings. It’s also amazing drizzled over pancakes or oatmeal, so it’s a multi-purpose pantry staple.
- Experiment with the coffee: The type of coffee you use dramatically changes the final flavor. I’ve tried this with a single-origin Ethiopian (fruity and floral) and a Colombian (nutty and chocolatey). Both were delicious, but the Colombian was my favorite for this recipe because it complemented the maple and brown sugar so well. Don’t be afraid to play around.
- Watch the steeping time: I once left a batch steeping for 30 hours because I forgot about it. It was drinkable, but it had a sharp, almost metallic edge to it. Set a timer on your phone when you start the steep. 18-20 hours is the sweet spot for a balanced, smooth concentrate.
Variations & Adaptations
This recipe is a fantastic base, but don’t be afraid to make it your own. Here are a few of my favorite ways to switch it up.
- Dairy-Free / Vegan: This recipe is naturally vegan if you use a plant-based milk. Oat milk is my personal favorite—its creamy texture is a perfect match for the salted maple flavor. Almond milk works too, but it’s thinner. Cashew milk is also a great option for extra creaminess.
- Spiced Maple Cold Brew: Add a cinnamon stick and a star anise pod to the cold brew while it steeps. You can also add a pinch of nutmeg or cardamom to the syrup as it heats. It gives the whole thing a warm, chai-like vibe that’s incredible in the fall. This is my go-to variation for cozy Sunday mornings.
- Vanilla Bean Version: Split a vanilla bean and add it to the syrup while it’s heating, or stir in 1 teaspoon of vanilla extract after the syrup has cooled. The vanilla adds a lovely floral note that pairs beautifully with the maple. It’s like a fancy coffee shop drink without the price tag.
- Less Sweet Version: If you prefer a less sweet coffee, simply use half the syrup. You can also make the syrup with just maple syrup and skip the brown sugar, or use a sugar-free brown sugar substitute like Swerve. The salt is still important, so don’t skip that.
- Iced Latte Version: For a true latte experience, froth your milk of choice before adding it to the concentrate. A handheld frother or a French press works great for this. The frothy milk adds a luxurious texture that makes it feel like a special treat.
Serving & Storage Suggestions
This concentrate is designed to be versatile. Here’s how to get the most out of it.
Serving: Serve the concentrate chilled over a generous amount of ice. I recommend using large ice cubes or ice spheres—they melt slower and won’t water down your drink as quickly. For the best presentation, pour the concentrate first, then slowly add your milk of choice to create a beautiful layered effect. A final pinch of flaky sea salt on top is not just for looks; it’s the perfect finishing touch. This drink is also fantastic as a base for a coffee cocktail—try it with a splash of bourbon or whiskey for a boozy after-dinner treat.
Complementary Dishes: This cold brew pairs beautifully with sweet breakfast treats. It’s a natural match for our Easy Apple Cinnamon Baked Oatmeal Cups for a cozy morning. It also works wonderfully alongside savory brunch items, like a slice of our Easy Sausage and Hashbrown Breakfast Casserole. The salty-sweet coffee cuts through the richness of the eggs and sausage perfectly.
Storage: Store the concentrate in an airtight container in the refrigerator for up to 2 weeks. The flavors will actually meld and deepen over the first few days, so it might taste even better on day 3 than it did on day 1. Do not freeze the concentrate, as it can affect the texture.
Reheating: This is a cold drink, so reheating isn’t recommended. However, if you want a hot version, simply heat your milk of choice and pour it over the concentrate. It won’t be the same as a hot brewed coffee, but it makes a decent “hot latte” in a pinch. Just don’t microwave the concentrate on its own—it can become bitter.
Nutritional Information & Benefits
While this is a treat, it’s also a surprisingly simple and wholesome one. Here’s a rough estimate per 8-ounce serving (using 1/2 cup concentrate and 1/2 cup whole milk).
| Nutrient | Amount |
|---|---|
| Calories | ~120-150 |
| Fat | 4-5g |
| Carbohydrates | 20-25g |
| Sugar | 18-22g |
| Protein | 4-5g |
Please note that these values are estimates and will vary based on the milk and exact amount of syrup you use. The maple syrup and brown sugar do add sugar, but they are also less processed than refined white sugar and offer trace minerals like zinc and manganese. The coffee itself is rich in antioxidants, which can help fight inflammation. If you’re watching your sugar intake, you can easily reduce the amount of syrup or use a sugar substitute. This recipe is naturally gluten-free and can be made dairy-free with your choice of milk. The main allergen to note is dairy, if you choose to use cow’s milk.
I personally love that this recipe allows me to control exactly what goes into my coffee. No mystery ingredients, no preservatives, and no sky-high calorie counts from sugary coffee shop syrups. It’s a small, intentional pleasure that makes my morning feel a little more special without derailing my wellness goals.
Conclusion
Look, I get it. It’s easy to fall into a coffee rut. You buy the same bag of beans, make the same cup, and call it a day. But this Salted Maple Brown Sugar Cold Brew Concentrate? It’s a gentle nudge out of that rut. It’s the recipe that proves a small change—a little salt, a touch of maple—can completely transform your morning ritual. It’s not about being a fancy home barista. It’s about making something that tastes like you put in way more effort than you actually did. And honestly, isn’t that the best kind of recipe?
I’d love to hear how this turns out for you. Did you add a splash of oat milk? Did you try the spiced version? Did you accidentally drink it all in one day like I definitely have? Drop a comment below and let me know. And if you’re looking for more cozy, comforting recipes to round out your day, you might love our Cozy Sausage Potato Kale Soup or a batch of our Easy Cheesy Garlic Bread Bites to snack on while you sip. Now go make some cold brew—you deserve it.
Frequently Asked Questions
Can I use pre-ground coffee from the store?
You can, but the grind is usually too fine for cold brew, which can result in a cloudy and slightly bitter concentrate. If you have to use pre-ground, look for a “coarse grind” specifically labeled for cold brew or French press. Your best bet is always to grind whole beans yourself just before starting.
How long does the homemade syrup last?
The salted maple brown sugar syrup will keep in an airtight container in the refrigerator for up to one month. I like to make a double batch so I always have it on hand. Just give it a good shake or stir before using it, as the salt can settle at the bottom over time.
Can I make this without a fancy strainer?
Absolutely. If you don’t have cheesecloth or a nut milk bag, you can use a clean, thin kitchen towel or a paper coffee filter placed in a fine-mesh strainer. Just be patient—it will take a little longer to strain. You can also let the grounds settle at the bottom of the jar and carefully pour off the clear liquid, leaving the sludge behind. It’s not perfect, but it works in a pinch.
Is this concentrate stronger than regular iced coffee?
Yes, it is! This is a concentrate, meaning it’s meant to be diluted with milk or water. The 1:4 coffee-to-water ratio creates a brew that’s about twice as strong as a standard cup of coffee. That’s why you only use about 1/2 cup of concentrate per serving. If you want a less intense drink, you can dilute it with more milk or water.
Can I use this concentrate for hot coffee drinks?
Technically, yes. You can pour the concentrate over hot milk or hot water to make a quick hot latte or Americano. However, it won’t taste exactly like freshly brewed hot coffee. The cold brew process creates a different flavor profile—smoother and less acidic—which is lovely when cold but can taste a bit flat when heated. If you want a hot drink, I recommend using the syrup in a regular cup of hot brewed coffee instead.
Pin This Recipe!
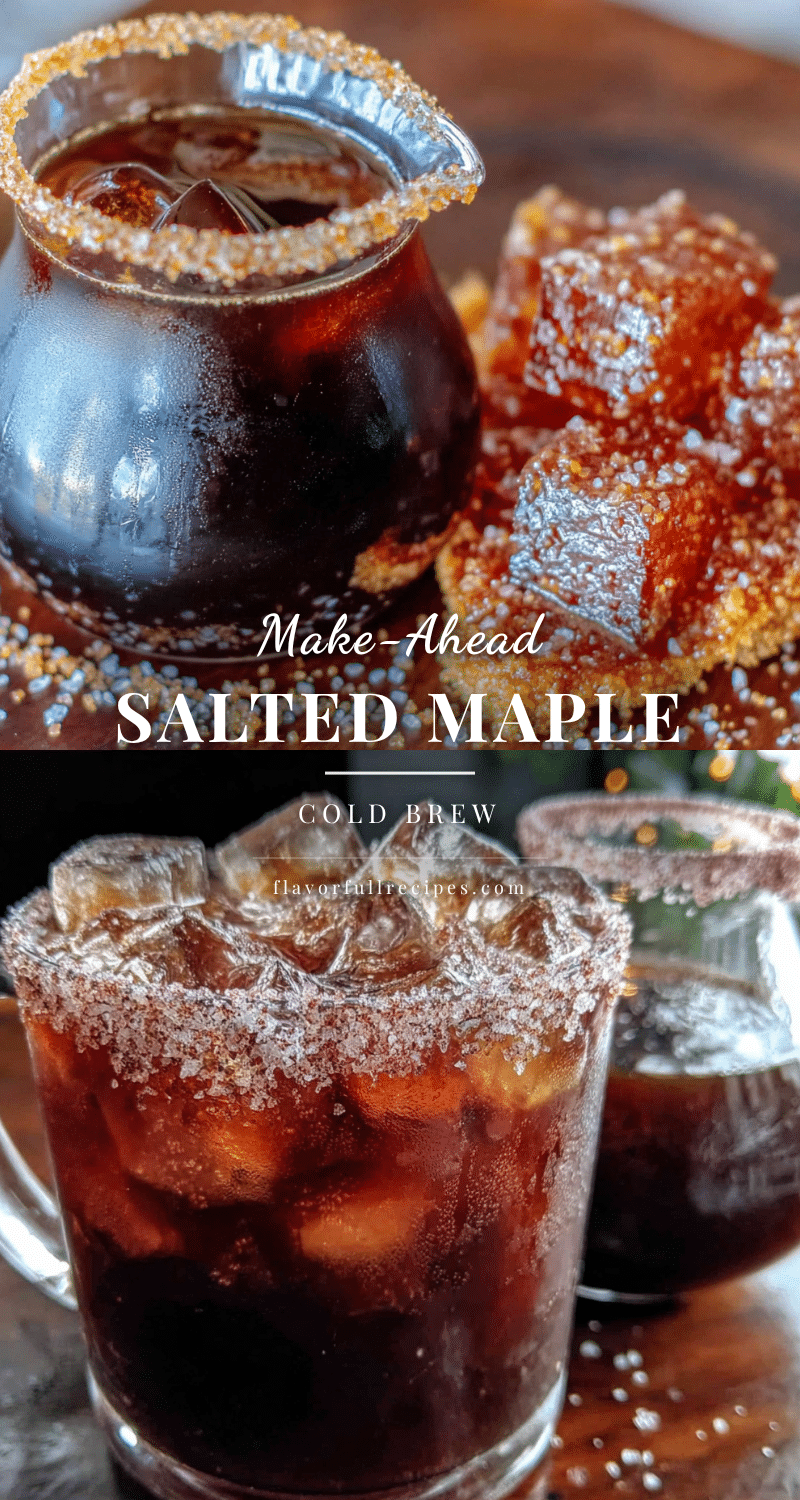

Salted Maple Brown Sugar Cold Brew Concentrate: Easy 3-Ingredient Recipe
- Total Time: 18-24 hours (including steeping time)
- Yield: 4 servings 1x
Description
This Salted Maple Brown Sugar Cold Brew Concentrate is a simple, cheap, and delicious recipe that tastes like fall in a glass. With just three ingredients you probably already have in your pantry, you can make the best cold brew you’ll ever have.
Ingredients
- 1 cup (85g) coarsely ground coffee beans
- 4 cups (960ml) cold, filtered water
- 1/2 cup (120ml) pure maple syrup
- 1/4 cup (50g) packed light brown sugar
- 1/2 teaspoon flaky sea salt (like Maldon), plus more for garnish
- 1/4 cup (60ml) hot water
Instructions
- Make the cold brew concentrate: In your large jar or pitcher, combine the coarsely ground coffee and cold, filtered water. Give it a gentle stir to make sure all the grounds are wet.
- Steep at room temperature: Cover the jar and let it sit at room temperature for 18-24 hours. 18 hours is the sweet spot.
- Strain the concentrate: After steeping, line your fine-mesh strainer with a double layer of cheesecloth and place it over a clean bowl or large measuring cup. Slowly pour the coffee mixture through the strainer. Let it drip for a few minutes, then gently press on the grounds with the back of a spoon to extract every last drop. Discard the grounds.
- Make the salted maple brown sugar syrup: In a small saucepan, combine the maple syrup, brown sugar, flaky sea salt, and hot water. Place over medium-low heat and whisk constantly until the sugar and salt are completely dissolved, about 2-3 minutes. Remove from heat and let it cool completely.
- Combine and store: Once the syrup is cool and the cold brew is strained, pour the syrup into the jar of cold brew concentrate. Stir gently to combine. Taste and adjust sweetness if desired.
- Chill and serve: Transfer the finished concentrate to your storage bottle or jar and refrigerate for at least 2 hours before serving. To serve, fill a glass with ice, pour in about 1/2 cup of the concentrate, and top with milk, oat milk, or water to your taste. Sprinkle a tiny pinch of flaky sea salt on top.
Notes
Grind size is crucial: use a coarse grind, similar to breadcrumbs. Don’t skip the salt—it enhances the sweetness and rounds out the bitterness. The syrup keeps in the fridge for up to a month. Experiment with different coffee beans for varied flavors. Watch the steeping time; 18-20 hours is ideal.
- Prep Time: 5 minutes
- Cook Time: 2-3 minutes
- Category: Beverage
- Cuisine: American
Nutrition
- Serving Size: 8 ounces (1/2 cup co
- Calories: 120150
- Sugar: 1822
- Sodium: 150200
- Fat: 45
- Saturated Fat: 23
- Carbohydrates: 2025
- Protein: 45
Keywords: cold brew, salted maple, brown sugar, coffee concentrate, iced coffee, easy recipe, homemade syrup