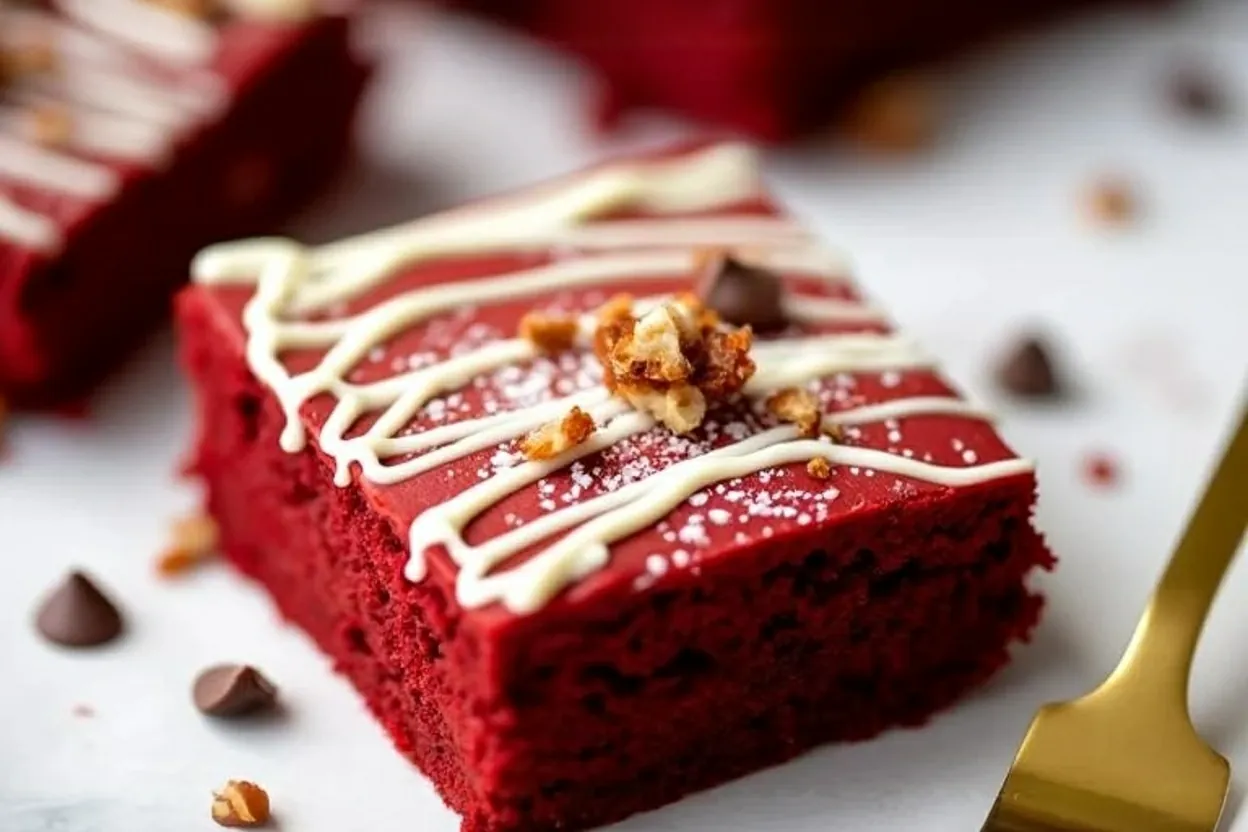
When it comes to Valentine’s Day desserts, nothing says love quite like these ultimate fudgy red velvet brownies. Picture this: a rich, velvety chocolate base with that signature crimson hue, topped with a creamy swirl of tangy cream cheese. These brownies are not just a treat; they’re a declaration of affection in dessert form. Whether you’re baking for your partner, your family, or just yourself (because self-love matters too!), this recipe will bring joy and indulgence to your day.
Red velvet always carries a bit of mystique, doesn’t it? It’s not quite chocolate, not quite vanilla—it’s its own magical category. And when you transform it into fudgy brownies, you create something unforgettable. Trust me, the combination of textures and flavors is pure bliss. Let’s dive in!
Recipe Story and Background
Red velvet desserts have an interesting history. Originally, the “velvet” referred to the soft, tender crumb created by combining buttermilk and vinegar with cocoa powder. The reddish hue was a natural result of the chemical reaction between these ingredients. Over time, bakers began adding red food coloring to intensify the color and make it visually striking.
As for brownies, they’ve been a beloved treat since the late 19th century. Adding a red velvet twist to brownies feels like a natural evolution—combining the best of two worlds: fudgy chocolate goodness and the unique flavor profile of red velvet. I first made these for Valentine’s Day years ago, and they’ve been a tradition ever since. They’re the perfect way to say “I love you” without even needing words.
What makes this recipe special is its versatility. It’s perfect for February festivities, but honestly, who wouldn’t want a bite of these beauties year-round? They’ve become a family favorite in my house, and I bet they’ll be a hit in yours too.
Ingredient Discussion
Let’s talk about the ingredients that make these red velvet brownies shine. Each one plays a vital role in delivering that perfect balance of flavor, texture, and presentation.
- Unsalted Butter: Butter adds richness and moisture, creating a fudgy texture. Make sure it’s at room temperature for easy mixing.
- Sugar: Granulated sugar gives the brownies structure and sweetness, while brown sugar adds depth with its molasses notes.
- Cocoa Powder: Use a good-quality unsweetened cocoa powder. It’s the backbone of the chocolate flavor and reacts beautifully with the vinegar to enhance the red hue.
- Red Food Coloring: For that signature red velvet look, gel food coloring works best for vibrant results. If you prefer a natural option, beetroot powder is a great substitute.
- Buttermilk: Buttermilk contributes to the velvety texture and tangy flavor. If you don’t have it on hand, you can make a substitute by mixing a tablespoon of vinegar or lemon juice with a cup of milk.
- White Vinegar: A small amount of vinegar helps activate the cocoa powder and gives the brownies their unique tang.
- Eggs: Eggs bind the ingredients and create that chewy texture we all love in brownies.
- All-Purpose Flour: Stick to regular flour for this recipe. If you’re gluten-free, you can substitute with a 1-to-1 gluten-free baking mix.
- Cream Cheese: The cream cheese swirl is what makes these brownies over-the-top indulgent. It adds a tangy creaminess that contrasts beautifully with the fudgy base.
If you’re looking to switch things up, you can try almond flour for a nutty flavor or coconut oil instead of butter for a hint of tropical sweetness.
Equipment Needed
Here’s what you’ll need to make your red velvet brownies:
- Mixing Bowls: Multiple bowls for wet and dry ingredients are essential.
- Whisk: Perfect for blending wet ingredients and ensuring the batter is smooth.
- Rubber Spatula: Great for folding the batter and scraping down the sides of bowls.
- 8×8-inch Baking Pan: A square pan ensures even baking. I recommend lining it with parchment paper for easy removal.
- Electric Mixer: Useful for making the cream cheese swirl super smooth.
If you don’t have an electric mixer, a sturdy whisk and some elbow grease will work just fine. And as for the baking pan, a round cake pan will work in a pinch, but the brownies may bake unevenly.
Preparation Method
- Preheat your oven to 350°F (175°C). Line an 8×8-inch baking pan with parchment paper and lightly grease it.
- In a microwave-safe bowl, melt 1/2 cup (113g) unsalted butter. Let it cool slightly.
- Whisk 1 cup (200g) granulated sugar and 1/4 cup (50g) brown sugar into the melted butter until smooth.
- Add 2 large eggs, one at a time, whisking well after each addition. Stir in 2 teaspoons vanilla extract.
- In a separate bowl, sift together 3/4 cup (95g) all-purpose flour, 1/4 cup (25g) cocoa powder, and 1/4 teaspoon salt.
- Gradually fold the dry ingredients into the wet mixture until just combined. Avoid overmixing.
- Stir in 2 tablespoons buttermilk, 1 teaspoon white vinegar, and 1 tablespoon red food coloring until the batter is evenly red.
- Pour the batter into the prepared pan, smoothing it out evenly.
- For the cream cheese swirl: Beat 4 ounces (113g) cream cheese, 1/4 cup (50g) sugar, and 1 egg yolk until smooth. Drop dollops of the mixture onto the brownie batter and swirl with a knife.
- Bake for 25-30 minutes, or until a toothpick inserted into the center comes out with a few moist crumbs.
- Let the brownies cool completely in the pan before slicing.
Cooking Tips & Techniques
Baking brownies can be a little finicky, but I’ve got a few tips to help you nail it:
- Don’t overmix the batter—it can lead to tough brownies.
- Use room-temperature ingredients, especially eggs and cream cheese, for smoother blending.
- Swirl the cream cheese mixture gently to create a beautiful marbled effect.
- Keep an eye on the baking time. Overbaking will make your brownies dry, and underbaking can lead to a gooey mess.
- Let the brownies cool completely before slicing. Trust me; they’re worth the wait!
Variations & Adaptations
Here are a few ways to switch up this recipe:
- Gluten-Free: Use a gluten-free flour blend instead of all-purpose flour.
- Vegan: Substitute butter with vegan margarine, eggs with flax eggs, and cream cheese with a dairy-free alternative.
- Extra Chocolatey: Add 1/2 cup (85g) chocolate chips to the batter for pockets of melted chocolate.
- Festive Touch: Sprinkle pink and red heart-shaped candies on top before baking for Valentine’s Day flair.
I once tried adding crushed freeze-dried strawberries to the cream cheese swirl, and the fruity tang was incredible!
Serving & Storage Suggestions
These brownies are best served slightly warm with a scoop of vanilla ice cream or a dollop of whipped cream. Pair them with a glass of milk, coffee, or even a red wine for a grown-up treat.
Store leftovers in an airtight container at room temperature for up to 3 days. You can also refrigerate them for up to 5 days—just let them come to room temperature before serving. If you want to freeze them, wrap individual slices in plastic wrap and store in a freezer-safe container for up to 3 months.
Pro tip: Brownies taste even better the next day as the flavors meld together!
Nutritional Information & Benefits
While these brownies are an indulgence, they do have some redeeming qualities:
- Calories: Approximately 250 per serving
- Protein: 3g (thanks to the eggs and cream cheese)
- Rich in Antioxidants: Cocoa powder provides a dose of heart-healthy antioxidants.
- Customization: Easily adapted for gluten-free or lower-sugar diets.
Keep in mind that they’re a treat meant to be enjoyed in moderation. And hey, happiness is a benefit too, right?
Conclusion
These ultimate fudgy red velvet brownies are truly a labor of love. They’re rich, indulgent, and perfect for Valentine’s Day—or any day you want to show someone you care. I love how versatile they are, and every time I make them, they bring smiles to the people I share them with.
So, grab your whisk, preheat your oven, and make these brownies your next baking adventure. I’d love to hear how yours turn out—leave a comment below or share a photo on social media! Happy baking!
FAQs
Can I make red velvet brownies without food coloring?
Yes! You can use beetroot powder or simply skip the coloring altogether. The flavor will still be amazing.
What’s the secret to fudgy brownies?
Use a higher fat-to-flour ratio and avoid overbaking. Butter and eggs are key to that soft, fudgy texture.
Can I double this recipe?
Absolutely! Use a 9×13-inch pan and adjust the baking time to 35-40 minutes.
How do I know my brownies are done?
Insert a toothpick into the center. It should come out with a few moist crumbs—not wet batter.
Can I use frosting instead of a cream cheese swirl?
Yes! Cream cheese frosting or even a chocolate ganache would work wonderfully.