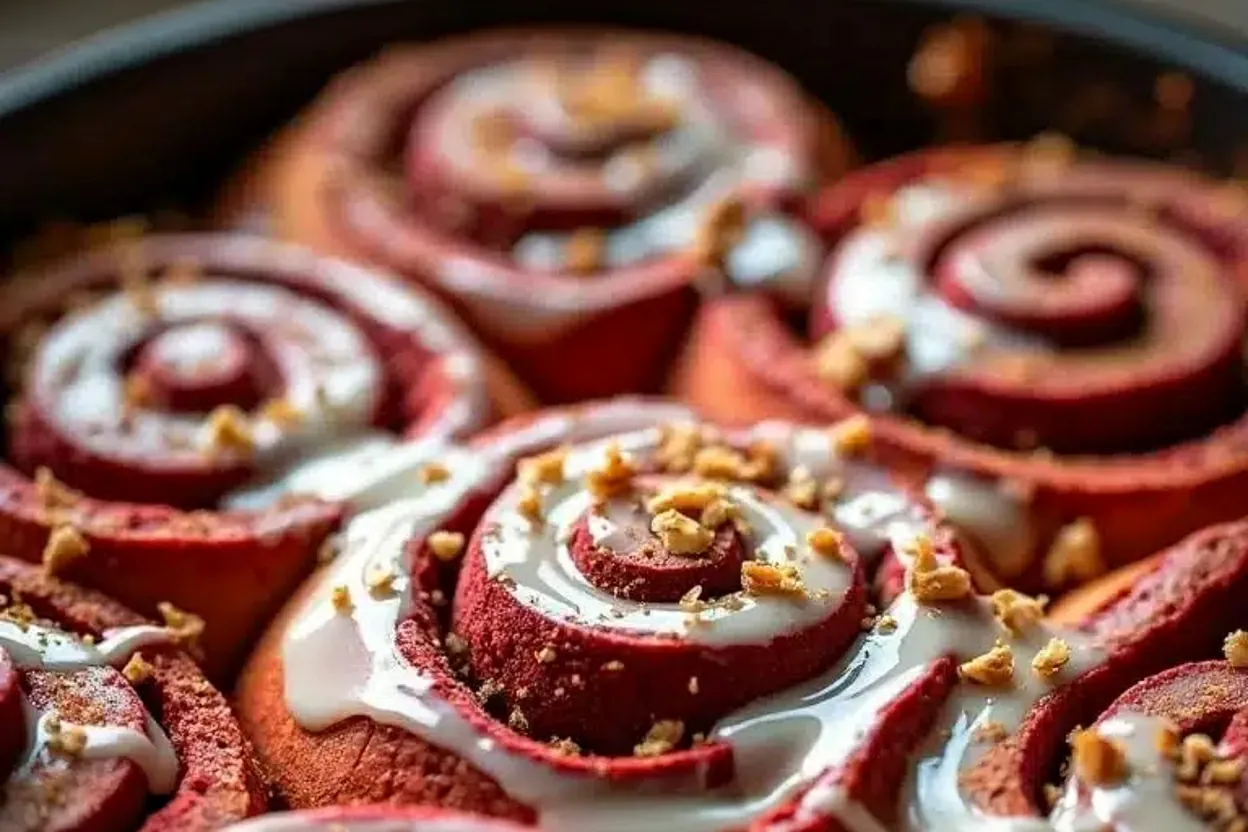
Imagine the soft, pillowy texture of a classic cinnamon roll combined with the rich, velvety flavor of red velvet cake. These Red Velvet Cinnamon Rolls are the ultimate fall dessert, perfect for cozy mornings or festive gatherings. With their vibrant color and luscious cream cheese glaze, they’re practically made for Pinterest-worthy moments. Trust me, this recipe will have everyone swooning over your baking skills!
I first fell in love with red velvet desserts years ago, and combining that flavor with cinnamon rolls just felt like a match made in heaven. The hint of cocoa paired with the warm, spiced cinnamon filling is a flavor explosion that’s ideal for crisp autumn mornings. Plus, who can resist a dessert that looks as stunning as it tastes?
The Story Behind Red Velvet Cinnamon Rolls
Red velvet cake traces its roots back to the early 1900s, with its striking red hue originally coming from a natural reaction between cocoa powder and acidic ingredients like vinegar. Over time, food coloring became the go-to method for achieving that signature color. As for cinnamon rolls, they’ve been delighting people for centuries, with origins in Sweden where “kanelbullar” reign supreme.
Combining the two feels like a natural progression for fall baking. Cinnamon rolls bring warmth and nostalgia, while red velvet adds a touch of elegance and decadence. I first tried this recipe during a rainy autumn weekend, and the smell of cinnamon and cocoa wafting through the house made it an instant family favorite. Trust me, these rolls aren’t just a dessert—they’re an experience.
If you’re looking for a seasonal dessert that’s equal parts comforting and show-stopping, these Red Velvet Cinnamon Rolls are it. They’re perfect for Thanksgiving mornings, holiday brunches, or even a cozy treat after a long day of leaf-peeping.
Let’s Talk Ingredients
Every ingredient in this recipe plays a special role, and understanding them will help you master these Red Velvet Cinnamon Rolls.
Dough Ingredients
- All-purpose flour: Look for unbleached flour for a richer taste. If you’re gluten-free, you can substitute with a 1:1 gluten-free baking flour.
- Active dry yeast: Fresh yeast ensures a fluffy, tender dough. For convenience, instant yeast can be used, but adjust the rising times slightly.
- Granulated sugar: Adds sweetness to the dough and helps activate the yeast.
- Unsweetened cocoa powder: Choose a high-quality Dutch-processed cocoa for the best red velvet flavor.
- Red food coloring: Liquid or gel works best for achieving that vibrant color—just don’t go overboard!
Cinnamon Filling
- Brown sugar: Light or dark brown sugar works, but dark adds a deeper molasses flavor.
- Cinnamon: Freshly ground cinnamon makes all the difference for a bolder aroma.
- Butter: Use softened unsalted butter for easy spreading.
Cream Cheese Glaze
- Cream cheese: Full-fat cream cheese gives the glaze its signature tangy richness.
- Powdered sugar: Sift the sugar to avoid lumps in your glaze.
- Vanilla extract: Pure vanilla adds warmth and depth to the glaze.
- Milk: Adjust the milk to achieve your desired glaze consistency.
If you’re worried about substitutions, don’t fret! You can swap out food coloring for natural beet powder or leave it out entirely for a less vibrant, but equally delicious treat. And if you’re dairy-free, try vegan cream cheese and plant-based milk for the glaze.
Equipment You’ll Need
- Mixing bowls: A large bowl for the dough and smaller ones for the filling and glaze.
- Stand mixer: Optional, but makes kneading the dough a breeze.
- Rolling pin: Essential for rolling out the dough evenly.
- 9×13 baking dish: Glass or ceramic works best for even baking.
- Pastry brush: Handy for spreading butter onto the dough.
If you don’t have a stand mixer, don’t worry—you can knead the dough by hand. It’s a bit of a workout, but honestly, it’s kind of therapeutic. For budget-friendly options, check out second-hand kitchen stores for gently used equipment. Baking doesn’t have to break the bank!
Preparation Method
- Activate the yeast: In a small bowl, combine 1 cup (240 ml) warm milk (about 110°F/43°C), 2 1/4 tsp (7 g) yeast, and 2 tbsp (25 g) sugar. Let sit for 5-10 minutes until frothy.
- Mix the dough: In a large bowl, combine 4 cups (480 g) flour, 2 tbsp (14 g) cocoa powder, 1/4 cup (50 g) sugar, and 1 tsp (5 g) salt. Gradually add the yeast mixture, 1/4 cup (60 ml) melted butter, and 2 tbsp (30 ml) red food coloring. Knead until smooth (8-10 minutes by hand or 5 minutes in a stand mixer).
- Let it rise: Cover the bowl with a damp kitchen towel and let the dough rise for 1-2 hours, or until doubled in size.
- Prepare the filling: Mix 1 cup (200 g) brown sugar, 2 tbsp (12 g) cinnamon, and 1/2 cup (115 g) softened butter into a paste.
- Roll and fill: Roll out the dough into a 12×18-inch rectangle. Spread the filling evenly, leaving a 1-inch border around the edges.
- Shape the rolls: Roll the dough tightly into a log and slice into 12 rolls. Place them in a greased 9×13 baking dish.
- Second rise: Cover the dish and let the rolls rise for 30-45 minutes.
- Bake: Preheat your oven to 350°F (175°C). Bake the rolls for 25-30 minutes, or until golden and cooked through.
- Make the glaze: Beat 4 oz (115 g) cream cheese, 1 cup (120 g) powdered sugar, 1 tsp (5 ml) vanilla extract, and 2-4 tbsp (30-60 ml) milk until smooth.
- Glaze and serve: Spread the glaze over the warm rolls and serve immediately!
Cooking Tips & Techniques
Here are some tips to make your Red Velvet Cinnamon Rolls truly unforgettable:
- Don’t rush the rising times: Letting the dough rise properly ensures soft and fluffy rolls.
- Use room temperature ingredients: This helps the dough mix evenly and rise better.
- Roll tightly: When shaping the rolls, roll the dough tightly to avoid gaps in the filling.
- Avoid overbaking: Check the rolls at the 25-minute mark to ensure they don’t dry out.
I’ve learned these tips the hard way—once I rushed the rising process, and the rolls came out dense. Take your time, and you’ll be rewarded with perfection!
Variations & Adaptations
- Gluten-free: Use a 1:1 gluten-free baking flour for the dough.
- Dairy-free: Substitute butter with vegan margarine and cream cheese with plant-based alternatives.
- Seasonal twist: Add pumpkin spice to the filling for a fall-inspired flavor.
- Chocolate lovers: Drizzle melted chocolate over the cream cheese glaze for extra decadence.
My favorite variation? Adding crushed pecans to the filling for a delightful crunch. Try it out and let me know what you think!
Serving & Storage Suggestions
These rolls are best served warm, fresh out of the oven. Pair them with a steaming cup of coffee or hot cocoa for the ultimate fall treat. If you’re serving them for a party, arrange them on a platter with extra glaze on the side for dipping.
For storage, keep leftovers in an airtight container at room temperature for up to 2 days, or refrigerate for up to a week. To reheat, pop them in the microwave for 20 seconds or in the oven at 300°F (150°C) for 5-7 minutes.
Nutritional Information & Benefits
While these rolls are indulgent, they do have some redeeming qualities!
- Calories: Approximately 350 per roll
- Key nutrients: Iron from cocoa and calcium from cream cheese
- Dietary considerations: Can be made dairy-free or gluten-free with substitutions.
Remember, moderation is key—but it’s okay to treat yourself every now and then!
Conclusion
If you’re looking to wow your friends and family this fall, these Red Velvet Cinnamon Rolls are the recipe to try. They’re decadent, visually stunning, and filled with the cozy flavors of autumn. Customize them to suit your tastes, and don’t forget to share your variations in the comments below!
I absolutely love these rolls because they’re a little fancy but still feel like home. So grab your apron, whip up a batch, and savor the magic of fall baking. And hey, if you post your creations on social media, tag me—I’d love to see them!
FAQs
Can I make the dough ahead of time?
Yes! You can prepare the dough and let it rise overnight in the fridge. Just bring it to room temperature before rolling and filling.
Can I freeze Red Velvet Cinnamon Rolls?
Absolutely. Freeze the baked rolls without glaze. When ready to eat, thaw, reheat, and add the glaze fresh.
Do I need a stand mixer?
No, you can knead the dough by hand. It just takes a bit more effort but works just as well.
What’s the best way to get vibrant red rolls?
Use gel food coloring for a more concentrated color and mix well into the dough.
Can I add nuts to the filling?
Yes! Chopped pecans or walnuts make a delicious addition to the cinnamon filling.