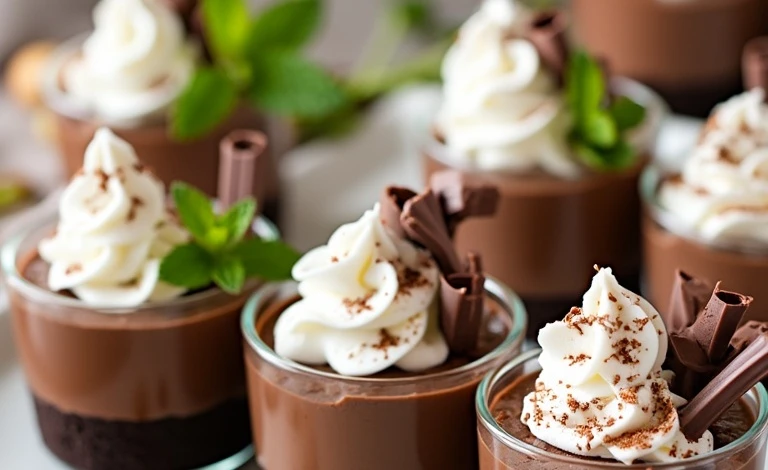
Looking for the ultimate dessert that’s both elegant and fuss-free? Mini chocolate mousse cups are the answer! These bite-sized treats are rich, creamy, and oh-so-decadent, making them the perfect addition to any celebration. Honestly, they look fancy enough to impress but are surprisingly easy to whip up. Whether you’re hosting a birthday bash, bridal shower, or holiday party, these adorable cups are guaranteed crowd-pleasers. Plus, who doesn’t love a dessert that’s small enough to hold in one hand while mingling?
I first made these for a friend’s engagement party, and they’re now a staple in my dessert rotation. The smooth chocolate mousse paired with a crunchy cookie base is a texture lover’s dream. Keep reading, and I’ll show you step-by-step how to create these delightful treats that’ll leave everyone talking!
Recipe Story/Background
Chocolate mousse has origins in French cuisine, where it’s been enjoyed for centuries as a luxurious dessert. Traditionally, it’s served in larger portions, but the idea of making mini mousse cups has gained popularity for its practicality and charm. These bite-sized servings are perfect for parties because they’re portable and portion-controlled.
For me, these mini chocolate mousse cups bring back memories of family gatherings. My mom used to make a traditional mousse recipe every Christmas, but it wasn’t until I started experimenting with single-serving desserts that I realized how versatile mousse could be. By adding a cookie crumb base and tweaking the mousse to be slightly firmer, you get a dessert that’s both rich and stable enough to serve in tiny cups.
These cups also work beautifully for seasonal celebrations. You can dress them up with fresh berries in the summer or add a sprinkle of crushed peppermint during the holidays. The possibilities are endless, making this recipe a go-to for nearly any occasion!
Ingredient Discussion
Main Ingredients
- Dark chocolate: Opt for high-quality chocolate with at least 70% cocoa for a rich flavor. If you prefer a sweeter mousse, semi-sweet chocolate works too.
- Heavy cream: Make sure to use full-fat heavy cream for the best texture. Avoid substitutes like half-and-half, as they won’t whip properly.
- Eggs: Fresh eggs are crucial for achieving the airy texture of the mousse. If you’re concerned about raw eggs, use pasteurized ones.
- Sugar: A touch of granulated sugar balances the bitterness of the chocolate. You can substitute it with powdered sugar for easier blending.
- Vanilla extract: Adds depth and rounds out the chocolate flavor. Pure vanilla is always better than imitation!
- Cookie crumbs: Use crushed graham crackers, Oreos, or even shortbread cookies for the base. This adds a delightful crunch.
Tips and Substitutions
If you’re making these for someone with dietary restrictions, there are easy swaps. For a dairy-free version, use coconut cream instead of heavy cream. For gluten-free mousse cups, choose gluten-free cookies for the base. And if you’re looking to make the mousse lighter, consider folding in some Greek yogurt along with the whipped cream.
Seasonal variations are fun too! Add orange zest for a citrusy twist or a pinch of cinnamon for a cozy fall vibe. Personally, I love adding a splash of coffee to the mousse for an extra flavor kick—it’s a game-changer!
Equipment Needed
- Microwave-safe bowl or double boiler (for melting chocolate)
- Hand mixer or stand mixer (for whipping cream)
- Small serving cups or ramekins (shot glasses work great!)
- Spatula (for folding ingredients)
- Piping bag (optional, for neat presentation)
No piping bag? No problem! You can use a zip-top bag with the corner snipped off for a DIY alternative. Also, don’t stress about fancy serving cups—I’ve used disposable plastic cups for casual gatherings, and they work beautifully.
Preparation Method
- Melt the chocolate: In a microwave-safe bowl, heat 8 oz (225 g) of dark chocolate in 30-second intervals until smooth. Let it cool slightly.
- Separate the eggs: Carefully separate 2 eggs, placing the yolks in one bowl and the whites in another.
- Whip the cream: Using a hand mixer, whip 1 cup (240 ml) of heavy cream until stiff peaks form. Set aside.
- Make the mousse base: Beat the egg yolks with 2 tbsp (25 g) sugar until pale and creamy. Gradually fold in the melted chocolate.
- Whip the egg whites: Whip the egg whites until they form soft peaks. Gently fold them into the chocolate mixture, followed by the whipped cream.
- Prepare the cups: Add 2 tbsp (30 g) of crushed cookie crumbs to the bottom of each serving cup.
- Fill the cups: Pipe or spoon the mousse into the cups on top of the cookie base.
- Chill: Refrigerate the cups for at least 2 hours or until set.
- Decorate: Before serving, top with whipped cream, chocolate shavings, or fresh berries. Get creative!
Tip: If your mousse feels too runny, chill it for 10 minutes before filling the cups. Trust me, it makes piping much easier!
Cooking Tips & Techniques
When melting chocolate, patience is key. Overheating can cause it to seize, so use gentle heat and stir frequently. I’ve learned this the hard way! If your chocolate does seize, add a teaspoon of vegetable oil to smooth it out.
Folding the whipped cream and egg whites into the chocolate is another crucial step. Be gentle to keep the mousse light and airy—think of it as a “lift and fold” motion rather than stirring.
For multitasking, you can crush the cookies while the mousse is chilling. And if you’re making these ahead of time, prepare the cups a day in advance but add decorations right before serving for the freshest look.
Variations & Adaptations
- Dietary-friendly: Use coconut cream and vegan chocolate for a dairy-free version.
- Seasonal twist: Add peppermint extract during the holidays or fresh mint for a summer vibe.
- Flavor boost: Mix in 1 tbsp (15 ml) of espresso for a mocha version.
- Texture change: Layer the mousse with caramel or peanut butter for extra indulgence.
- My favorite: Swap the cookie crumbs with crushed salted pretzels for a sweet and salty combo!
Serving & Storage Suggestions
Serve these chilled for the best texture. Arrange the cups on a tray for easy self-serving, and don’t forget to garnish them with whipped cream or berries for a pop of color. Pair them with coffee, tea, or even sparkling wine for a delightful pairing.
To store, cover the cups with plastic wrap and refrigerate for up to 3 days. If you plan to freeze them, skip the whipped cream topping until you’re ready to serve. To thaw, move them to the fridge and let them sit for a few hours. Mousse tends to taste better a day after it’s made, as the flavors meld together!
Nutritional Information & Benefits
Each mini chocolate mousse cup contains approximately:
- Calories: 240
- Fat: 18g
- Carbohydrates: 18g
- Protein: 4g
The dark chocolate provides antioxidants and a rich source of magnesium, while the whipped cream adds a dose of calcium. These cups are indulgent, but their small size makes them a reasonable treat even if you’re watching your calorie intake. Just be mindful of potential allergens like dairy and eggs.
Conclusion
Mini chocolate mousse cups are the ultimate party dessert—simple, stunning, and oh-so-delicious. Whether you’re customizing the flavors or sticking to the classic recipe, these little cups will always be a hit. I love how they combine rich chocolate with a playful presentation, making them perfect for any celebration.
If you try this recipe, let me know how it turns out! Share your variations or post a photo on social media—I’d love to see your creations. Happy cooking, and enjoy every bite of these dreamy mousse cups!
FAQs
Can I make these mousse cups ahead of time?
Yes, you can prepare them a day in advance. Just add garnishes right before serving.
What can I use instead of cookie crumbs?
Try crushed pretzels, cake crumbs, or even granola for a unique twist.
Can I freeze the mousse cups?
Absolutely! Freeze them without decorations, then thaw in the fridge before serving.
How do I make the mousse firmer?
Chill the mousse longer before piping or add less whipped cream for a denser texture.
What’s the best way to melt chocolate?
A double boiler works best, but a microwave in 30-second intervals also does the trick.