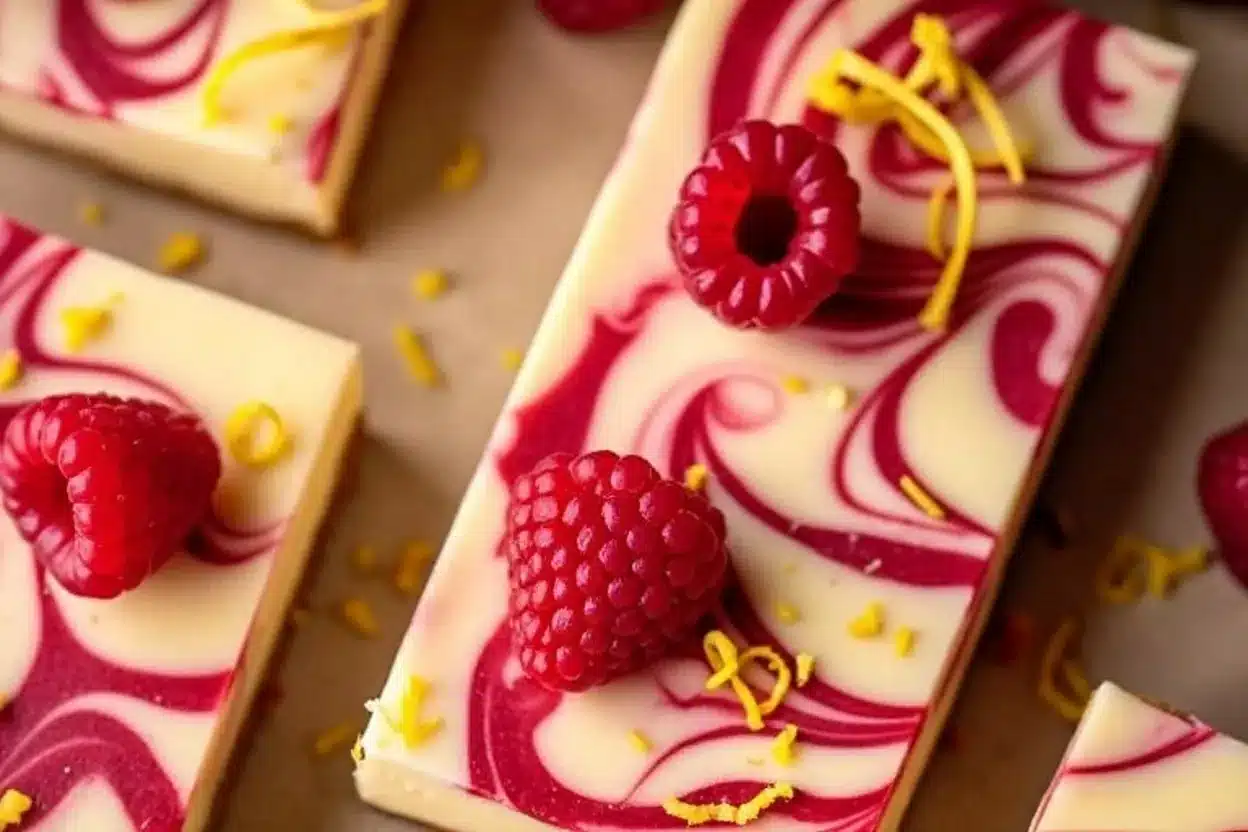
Picture this: a buttery graham cracker crust, a creamy cheesecake filling with a zesty lemon kick, and swirls of sweet-tart raspberry goodness. These Amazing Raspberry Lemon Cheesecake Bars are the dessert your Mother’s Day celebration needs. Not only do they taste heavenly, but they’re also a feast for the eyes with their vibrant colors and perfect layers. Whether you’re treating your mom, grandma, or another special person in your life, these bars are guaranteed to impress!
This recipe has become a personal favorite in my family. Every Mother’s Day, I make these bars, and they’re always a hit. There’s something about the combination of tangy lemon, juicy raspberries, and rich cheesecake that just feels celebratory. Plus, they’re easy to slice and serve, making them perfect for brunches, picnics, or formal dinners.
The Story Behind Raspberry Lemon Cheesecake Bars
Cheesecake has been around for centuries, tracing its origins to ancient Greece. Over time, it has evolved into endless variations, from baked New York-style cheesecakes to no-bake options. These cheesecake bars take the classic dessert and give it a bright, fruity twist that’s ideal for springtime.
Growing up, lemon desserts were always a staple in my household, especially during spring and summer. My mom would bake lemon bars with powdered sugar dusted on top, and every bite was like sunshine. When I started experimenting with cheesecake recipes, I knew I wanted to incorporate that lemony nostalgia. Adding raspberries was a no-brainer—they’re like little gems of flavor that pair beautifully with lemon.
These bars are also a nod to the light, refreshing desserts often served during warmer months. Mother’s Day, nestled in the heart of spring, is the perfect occasion to whip up something fruity and cheerful. Trust me, these bars will brighten up any dessert table!
Ingredients for Raspberry Lemon Cheesecake Bars
Let’s talk ingredients! Each component of this recipe plays a crucial role in creating those dreamy layers. Here’s what you’ll need:
- Graham cracker crumbs: The base of our crust. Look for fine crumbs for the best texture, or crush your own crackers. Digestive biscuits work as a substitution.
- Unsalted butter: Melted and mixed with the crumbs to hold the crust together. You can use salted butter in a pinch but reduce the added salt.
- Cream cheese: The star of the filling. Make sure it’s full-fat and softened for a smooth texture. Neufchâtel cheese can be a lower-fat option.
- Granulated sugar: Sweetens the cheesecake layer without overwhelming the citrus and berry flavors.
- Fresh lemon juice and zest: The zingy flavor that cuts through the richness. Use fresh lemons for the best taste—bottled juice just doesn’t compare.
- Eggs: Provide structure to the cheesecake filling. Room-temperature eggs mix more evenly.
- Raspberry preserves: Adds a sweet-tart swirl to each bar. You can also use fresh raspberries blended into a puree.
- Salt: A pinch enhances all the other flavors.
If you can, try to use organic raspberries and lemons for a more vibrant flavor. And don’t forget to save a few raspberries and lemon slices for garnish—they make a lovely finishing touch!
Equipment You’ll Need
Here’s what you’ll need to whip up these Raspberry Lemon Cheesecake Bars:
- 9×9-inch baking pan: The perfect size for evenly baked bars. A glass or metal pan works fine.
- Mixing bowls: At least two—one for the crust and one for the filling.
- Electric mixer: A hand or stand mixer will help achieve a smooth cheesecake filling.
- Rubber spatula: For scraping every last bit of filling and swirling the raspberry preserves.
- Parchment paper: Makes removing the bars from the pan a breeze.
If you don’t have a mixer, you can mix by hand, but it’ll take more elbow grease to achieve that silky consistency. Also, make sure to line your pan with parchment paper—it’ll save you from the headache of stuck-on crust!
How to Make Raspberry Lemon Cheesecake Bars
Follow these steps for perfectly layered and flavorful cheesecake bars:
- Preheat your oven: Set it to 325°F (163°C) and line your baking pan with parchment paper, leaving an overhang for easy removal.
- Prepare the crust: In a bowl, mix 2 cups (180g) of graham cracker crumbs with 1/2 cup (115g) melted butter and a pinch of salt. Press the mixture firmly into the bottom of the pan. Bake for 10 minutes, then let it cool.
- Make the filling: In a large bowl, beat 16 ounces (450g) of cream cheese until smooth. Add 3/4 cup (150g) sugar, the zest of 1 lemon, and 2 tablespoons (30ml) of fresh lemon juice. Beat until combined.
- Add eggs: Mix in 2 eggs, one at a time, until just incorporated. Avoid overmixing to prevent cracks in the cheesecake.
- Assemble: Pour the cheesecake filling over the cooled crust. Dollop 1/4 cup (60g) of raspberry preserves on top and use a toothpick to create swirls.
- Bake: Bake for 35-40 minutes, or until the center is just set. A slight jiggle is okay.
- Cool and chill: Allow the bars to cool at room temperature before transferring them to the fridge. Chill for at least 4 hours or overnight for best results.
- Slice and serve: Use the parchment paper to lift the bars out of the pan. Slice into squares and garnish with fresh raspberries and lemon slices if desired.
Pro tip: For clean slices, wipe your knife with a damp towel between cuts!
Cooking Tips & Techniques
Here are some helpful tips to ensure your cheesecake bars turn out perfect every time:
- Room temperature ingredients: Bring your cream cheese and eggs to room temperature for a smoother filling.
- Don’t overmix: Overmixing the filling can introduce air bubbles, which may cause cracks during baking.
- Use fresh lemon juice: Bottled juice doesn’t give the same vibrant flavor.
- Chill thoroughly: Patience is key—let the bars chill completely for clean slices and the best texture.
- Experiment with swirls: Get creative with your raspberry swirls for a beautiful presentation!
Variations & Adaptations
This recipe is wonderfully versatile. Here are some ideas to switch things up:
- Gluten-free: Use gluten-free graham crackers for the crust.
- Berry swap: Substitute raspberry preserves with strawberry, blackberry, or blueberry preserves.
- Citrus twist: Try lime or orange zest and juice for a different citrus flavor.
- No-bake version: Use a no-bake cheesecake filling and chill instead of baking.
- Vegan option: Use dairy-free cream cheese and butter, and substitute eggs with a vegan egg replacer.
I once tried these with a mix of lemon and lime, and they were fantastic—super refreshing!
Serving & Storage Suggestions
Here’s how to serve and store these bars for the best experience:
- Serving: Serve chilled for a refreshing treat. They pair beautifully with a cup of tea or a glass of chilled sparkling wine.
- Presentation: Garnish with fresh raspberries, lemon slices, or a dusting of powdered sugar for a professional touch.
- Storage: Store in an airtight container in the refrigerator for up to 5 days.
- Freezing: Freeze individual bars on a baking sheet, then transfer to a freezer-safe container for up to 2 months. Thaw in the fridge before serving.
The flavors deepen after a day or two, so don’t be afraid to make these ahead of time!
Nutritional Information & Benefits
Here’s an estimate of what’s in each bar (based on 12 servings):
- Calories: 280
- Fat: 18g
- Carbohydrates: 25g
- Protein: 4g
- Fiber: 1g
Raspberries are loaded with antioxidants and vitamin C, while lemons provide a boost of immune-supporting nutrients. These bars are a sweet indulgence with a hint of healthiness—perfect for a special occasion!
Conclusion
If you’re looking for a dessert that’s as delicious as it is stunning, these Amazing Raspberry Lemon Cheesecake Bars are it. The combination of creamy cheesecake, zesty lemon, and vibrant raspberry swirls is pure perfection. Plus, they’re versatile enough to fit any occasion, from Mother’s Day to summer barbecues.
I love making this recipe because it’s always a crowd-pleaser. The flavors are so bright and cheerful—they never fail to put a smile on everyone’s face. Give these bars a try, and don’t forget to share your results in the comments below. I’d love to see how you make them your own!
Happy baking, and here’s to celebrating the special women in our lives!
FAQs
Can I use frozen raspberries instead of preserves?
Yes! Blend thawed frozen raspberries with a little sugar to make a puree, and use it in place of the preserves.
What if I don’t have a 9×9-inch pan?
You can use an 8×8-inch pan for thicker bars or a 9×13-inch pan for thinner bars. Adjust baking time accordingly.
How do I prevent cracks in the cheesecake layer?
Don’t overmix the filling, and bake at a low temperature. Allow the bars to cool gradually to avoid sudden temperature changes.
Can I make these ahead of time?
Absolutely! These bars taste even better the next day, so feel free to make them a day or two in advance.
What’s the best way to cut clean slices?
Chill the bars thoroughly and use a sharp knife wiped clean between cuts for picture-perfect slices.