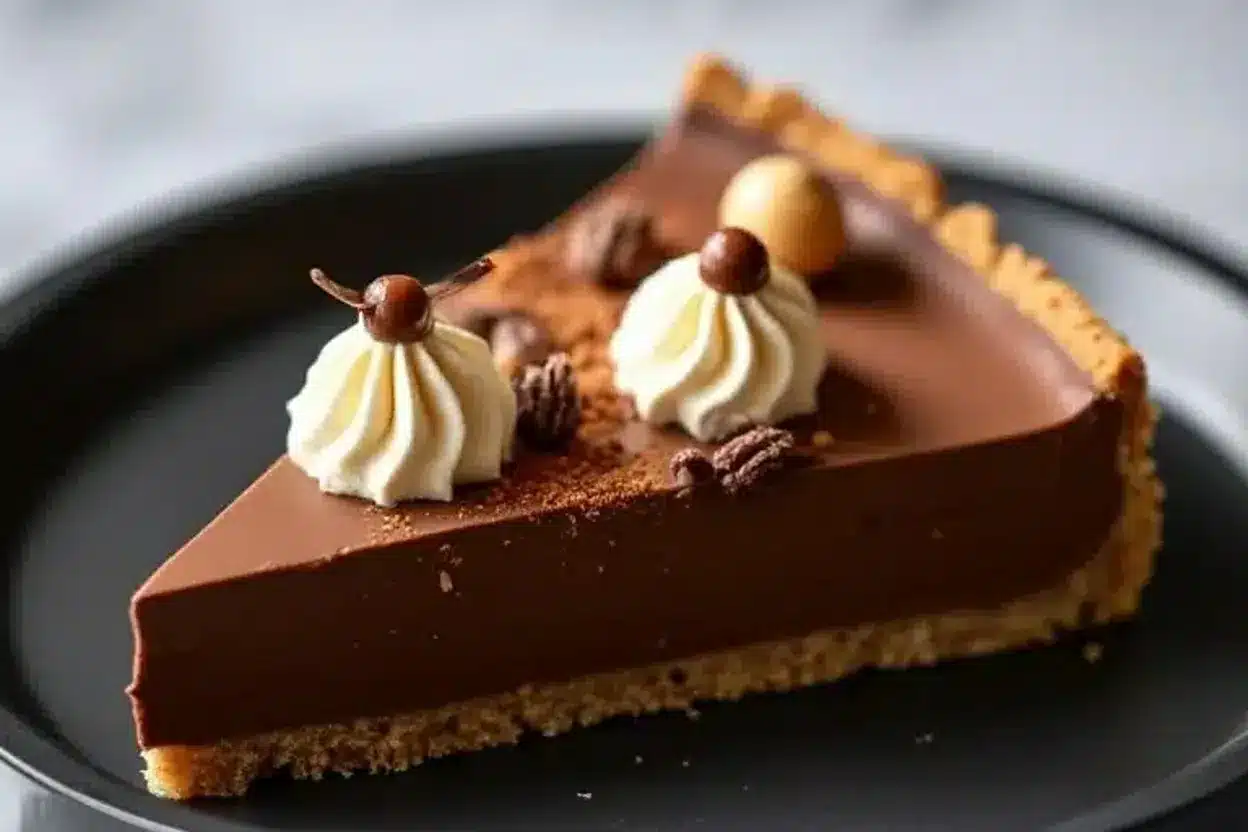
Is there anything more decadent than a rich and creamy chocolate hazelnut tart? Imagine sinking your fork into a silky chocolate filling nestled in a buttery hazelnut crust, topped with an irresistible drizzle of chocolate and a sprinkling of toasted hazelnuts. This tart is destined to be the showstopper of any dessert table. Whether you’re celebrating a special occasion or simply treating yourself, this recipe is a must-try for chocolate lovers everywhere!
What I love most about this tart is its balance – it’s indulgent yet not overly sweet, crunchy yet silky smooth. Plus, making it is easier than you think, and the results are nothing short of spectacular. Let me show you how this recipe came to life and why it’s one you’ll want to keep in your baking repertoire.
The Story Behind This Chocolate Hazelnut Tart
Chocolate and hazelnuts have been a match made in heaven for centuries, dating back to when Italian chocolatiers in the 19th century began blending the two to create the beloved gianduja. It’s no surprise that this flavor combination has stood the test of time. There’s something magical about the interplay of nutty richness and deep chocolate flavor.
This tart was inspired by my love of Nutella but with a more grown-up twist. I wanted to create something that felt luxurious yet simple enough for anyone to make. I remember the first time I made this dessert – the aroma of toasted hazelnuts filled my kitchen, and I knew I was onto something special. My family polished it off in record time, and since then, it’s become a go-to dessert for holidays and dinner parties.
One of the things I adore about this recipe is its versatility. It’s perfect for fall gatherings when hazelnuts are in season, but it also feels right at home as a summertime treat when chilled. Whether you have a nostalgic connection to hazelnut chocolate spreads or simply love the idea of an elegant dessert pie, this tart is sure to win you over.
Ingredients for the Perfect Chocolate Hazelnut Tart
Let’s talk about the ingredients that make this tart so special. Each one plays a key role in creating that perfect balance of flavors and textures.
- Hazelnuts: The star of the crust! To get the best flavor, use raw hazelnuts and toast them yourself. If you’re short on time, pre-toasted hazelnuts work too. Pecans or almonds can be used as substitutes, but the hazelnut flavor is what makes this tart shine.
- All-purpose flour: This adds structure to the crust, but if you’re gluten-free, you can use an almond or oat flour blend instead.
- Butter: Unsalted butter gives the crust its rich, flaky texture. Make sure it’s cold for the best results.
- Chocolate: Use high-quality semi-sweet or dark chocolate for the filling. I recommend something in the 60-70% cocoa range for a nice balance of richness and sweetness.
- Heavy cream: This is what makes the filling so luxuriously smooth. You could swap it for coconut cream if you’re looking for a dairy-free option.
- Hazelnut spread: While optional, adding a dollop of Nutella or a similar spread to the filling takes it to the next level.
- Eggs: These help set the filling while keeping it creamy. For a vegan version, you could try a flaxseed egg, though the texture will differ slightly.
- Vanilla extract: A splash of vanilla enhances the chocolate and hazelnut flavors beautifully.
Pro tip: Store your hazelnuts in an airtight container in the fridge or freezer to keep them fresh longer. And if you’re using pre-ground hazelnut meal, make sure it’s finely ground to avoid a crumbly crust.
Equipment Needed
You won’t need a ton of fancy tools for this recipe, but a few key items will make the process easier:
- A 9-inch tart pan with a removable bottom – this makes it so much easier to get the tart out in one piece.
- A food processor or blender – for grinding the hazelnuts and mixing the crust.
- A small saucepan – for melting the chocolate and cream together.
- A whisk – to ensure your filling is smooth and lump-free.
- A rubber spatula – for spreading the filling evenly.
If you don’t have a tart pan, you could use a pie dish, though the presentation might differ slightly. And if you’re grinding hazelnuts by hand, a sturdy bag and rolling pin will do the trick (just a bit more elbow grease!).
How to Make This Chocolate Hazelnut Tart
- Toast the hazelnuts: Preheat your oven to 350°F (175°C). Spread the hazelnuts on a baking sheet and toast for 10-12 minutes, or until fragrant. Let them cool slightly, then rub off the skins with a clean kitchen towel.
- Make the crust: In a food processor, pulse the toasted hazelnuts until finely ground. Add the flour, sugar, and salt, and pulse to combine. Add the cold butter and pulse until the mixture resembles coarse crumbs. Gradually add ice water, 1 tablespoon at a time, until the dough comes together.
- Press and chill: Press the dough evenly into a 9-inch tart pan, making sure to press it up the sides. Chill in the freezer for 15 minutes.
- Blind bake: Preheat your oven to 375°F (190°C). Line the crust with parchment paper and fill it with pie weights or dried beans. Bake for 15 minutes, then remove the weights and bake for another 5 minutes. Let cool completely.
- Prepare the filling: In a small saucepan, heat the heavy cream over medium heat until just simmering. Remove from heat and stir in the chocolate until smooth. Mix in the vanilla and hazelnut spread, if using.
- Assemble the tart: Pour the chocolate filling into the cooled crust and smooth it out with a spatula. Chill in the refrigerator for at least 2 hours, or until set.
- Garnish and serve: Top the tart with chopped hazelnuts, a drizzle of melted chocolate, or even a sprinkle of sea salt. Slice and enjoy!
Cooking Tips & Techniques
Here are a few tips to ensure your tart comes out perfect every time:
- Use the best quality chocolate you can find – it makes all the difference in flavor.
- Don’t skip toasting the hazelnuts – it brings out their natural oils and enhances their flavor.
- Chill the crust before baking to prevent shrinkage.
- If your chocolate filling looks grainy, reheat it gently over a double boiler and whisk until smooth.
- For clean slices, dip your knife in hot water and wipe it dry between cuts.
Variations & Adaptations
This recipe is wonderfully adaptable! Here are some ideas to make it your own:
- Dairy-free: Use coconut cream in place of heavy cream and a dairy-free buttery spread for the crust.
- Gluten-free: Swap the all-purpose flour for a gluten-free flour blend or almond flour.
- Seasonal twist: Add a layer of raspberry jam under the chocolate filling for a fruity surprise.
- Nut-free: Use graham crackers or digestive biscuits for the crust and omit the hazelnuts.
- Extra indulgence: Add a layer of caramel between the crust and chocolate filling.
Personally, I’ve tried this recipe with a layer of espresso-flavored chocolate ganache, and it was a hit with coffee lovers!
Serving & Storage Suggestions
This tart is best served chilled or at room temperature. For an elegant presentation, top it with a dollop of whipped cream or a scoop of vanilla ice cream. Pair it with a cup of espresso or a glass of red wine for an extra-special treat.
Leftovers (if there are any!) should be stored in an airtight container in the refrigerator for up to 4 days. You can also freeze the tart for up to 1 month – just wrap it tightly in plastic wrap and foil. Thaw overnight in the fridge before serving.
Nutritional Information & Benefits
This tart is certainly a treat, but it’s worth noting the benefits of its key ingredients:
- Hazelnuts: Packed with healthy fats, vitamin E, and antioxidants.
- Dark chocolate: A source of flavonoids, which may support heart health.
- Heavy cream: Provides calcium and adds a satisfying richness.
Each slice is an indulgent dessert, so enjoy it mindfully. For those counting calories, you can make smaller tartlets to help with portion control.
Conclusion
This chocolate hazelnut tart is everything you could want in a dessert – rich, nutty, and utterly satisfying. It’s a recipe that’s as fun to make as it is to eat, and it’s sure to impress anyone lucky enough to share it with you.
Why not give it a try and make it your own? Add your favorite toppings, experiment with flavors, or just follow the recipe as is for a guaranteed crowd-pleaser. I’d love to hear how it turns out for you, so drop a comment below or share your creations on social media. Happy baking!
Frequently Asked Questions
Can I use a store-bought crust?
Yes, a pre-made crust can save time, but the homemade hazelnut crust really elevates the flavor of this tart.
What type of chocolate is best for the filling?
I recommend semi-sweet or dark chocolate with 60-70% cocoa content for a perfect balance of richness and sweetness.
How do I make this tart vegan?
Use coconut cream instead of heavy cream and replace the butter with a plant-based alternative. Swap eggs with a flaxseed egg mixture.
Can I make this tart ahead of time?
Absolutely! You can prepare the tart up to 2 days in advance and store it in the fridge until serving.
What’s the best way to toast hazelnuts?
Spread them on a baking sheet and roast at 350°F (175°C) for 10-12 minutes. Once cool, rub off the skins with a towel.