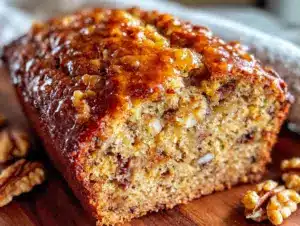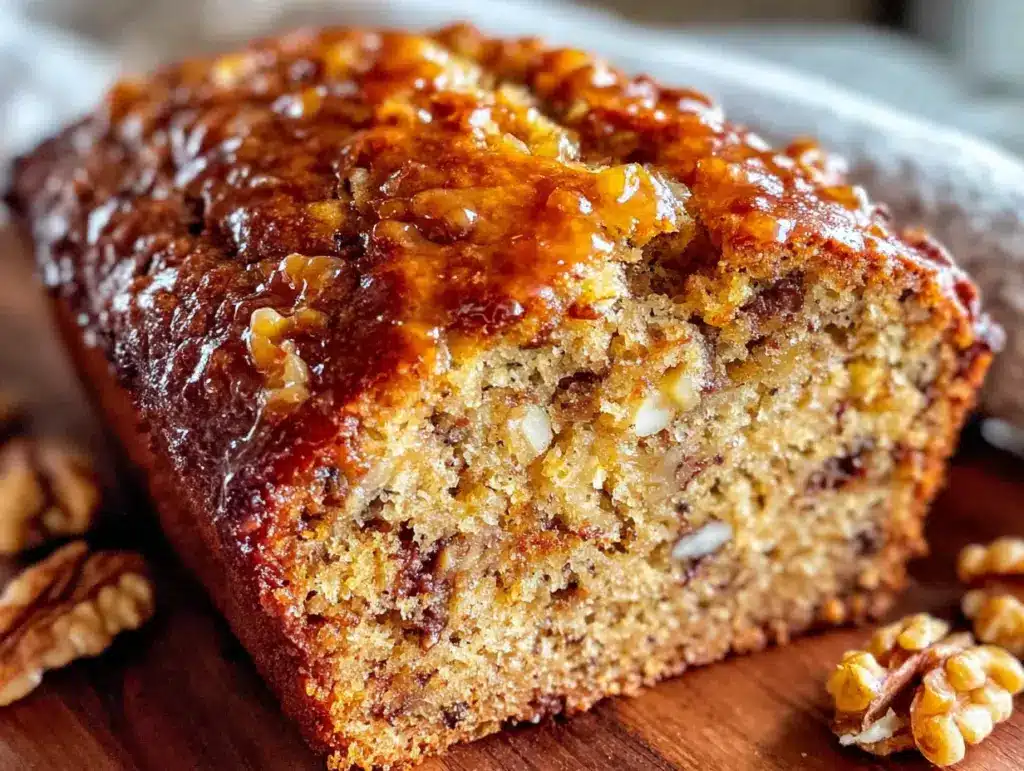
The bananas on my counter had gone from speckled to practically black, and I had a houseguest arriving in about an hour. Not the planned kind of guest either—the kind who texts “Hey, I’m in your neighborhood!” while you’re still in pajama pants at 10 AM. I opened the fridge hoping for inspiration and found exactly one stick of butter, two eggs, and a carton of buttermilk that was technically still good. No mixer. No plan. Just a bowl, a wooden spoon, and a desperate need to make that sad pile of bananas look intentional.
That’s how this easy banana walnut bread recipe was born, honestly. I remember mashing those overripe bananas with a fork—not gracefully—and thinking, “Well, this is either going to be a disaster or the best thing I make all week.” It turned out to be the latter. The loaf came out golden, perfectly domed, with those gorgeous cracks along the top that make banana bread look like it belongs in a bakery window. And the walnuts? They got all toasty and buttery in the oven, adding this little crunch that made every bite interesting.
I’ve made this classic banana walnut bread more times than I can count since that chaotic morning. It’s the recipe I turn to when I need something that feels special but takes almost zero effort. No mixer to haul out, no complicated techniques, just a bowl and some elbow grease. That first loaf taught me something important: you don’t need fancy equipment to make something truly good. Sometimes the best recipes come from working with what you’ve got.
Why You’ll Love This Recipe
Let me tell you why this easy banana walnut bread recipe has earned a permanent spot in my baking rotation. I’ve tested it at least a dozen times—with different ripeness levels of bananas, various types of nuts, even swapped the flour once when I ran out (don’t recommend that, but it still worked). Here’s what makes it special:
- No Mixer Required: Seriously, you just need a bowl and a wooden spoon or spatula. No dragging out the stand mixer, no washing beaters. It’s the kind of recipe you can make on a whim without any fuss.
- Perfectly Moist Every Time: The combination of very ripe bananas and buttermilk creates a texture that’s incredibly tender and moist. I’ve had people ask if I used a secret ingredient—nope, just good bananas and the right technique.
- Simple Pantry Ingredients: You probably already have most of these on hand. Butter, sugar, eggs, flour, baking soda, salt, bananas, and walnuts. That’s it. No weird extracts or hard-to-find items.
- Great for Gifting or Freezing: This loaf freezes beautifully, which makes it perfect for holiday gifting or having a slice ready when a craving hits. I always make two—one for now, one for later.
- Crowd-Pleaser Status: I’ve brought this to brunches, potlucks, and even a casual dinner party, and it always disappears. Kids love it, adults love it, and people who claim they “don’t like banana bread” have been converted.
What really sets this recipe apart is the texture. The walnuts get lightly toasted before folding them in, which makes a huge difference in flavor. And because you’re mixing by hand, you’re less likely to overwork the batter—which means your bread stays tender instead of getting tough. It’s one of those recipes where less effort actually gives you better results. Trust me on this one.
What Ingredients You Will Need
This recipe uses simple, wholesome ingredients that work together to create a moist, flavorful loaf with that classic banana bread texture we all love. Most of these are pantry staples, which makes this an easy last-minute bake.
- Ripe Bananas (3 medium, about 1½ cups mashed): The darker and spottier, the better. Seriously, those almost-black bananas are perfect here. They’re sweeter and easier to mash, and they give the bread its signature moisture. If your bananas aren’t ripe enough, you can speed things up by baking them at 300°F for 15-20 minutes until they soften and darken.
- Unsalted Butter (½ cup, 1 stick, melted): I prefer unsalted so I can control the salt level. Melted butter gives the bread a rich flavor and tender crumb. You can use salted butter if that’s all you have—just reduce the added salt to ¼ teaspoon.
- Granulated Sugar (¾ cup): Regular white sugar works perfectly. It adds sweetness and helps create that beautiful golden-brown crust. You could substitute coconut sugar for a deeper flavor, but the texture will be slightly different.
- Large Egg (1, room temperature): One egg is all you need for binding and structure. Let it come to room temperature for about 15 minutes before using—it incorporates more smoothly into the batter.
- Buttermilk (¼ cup): This is the secret to an extra-tender crumb. The acidity in buttermilk reacts with the baking soda to create lift, and it keeps the bread moist. No buttermilk? No problem. Add 1 teaspoon of lemon juice or white vinegar to regular milk and let it sit for 5 minutes.
- Vanilla Extract (1 teaspoon): Pure vanilla adds warmth and depth. I recommend using real vanilla extract if you can—it makes a noticeable difference in flavor.
- All-Purpose Flour (1½ cups): Standard all-purpose flour gives the best structure for this bread. Spoon it into your measuring cup and level it off—don’t scoop directly, or you’ll pack in too much flour and end up with a dry loaf.
- Baking Soda (1 teaspoon): This is your leavening agent. Make sure it’s fresh—test it by dropping a little into vinegar; it should fizz immediately.
- Salt (½ teaspoon): Salt balances the sweetness and enhances all the flavors. Don’t skip it, even if you’re using salted butter.
- Walnuts (¾ cup, roughly chopped): I recommend toasting them lightly before adding to the batter—it brings out their nutty flavor and keeps them crunchy. Toast them in a dry skillet over medium heat for 3-4 minutes, stirring frequently, until they smell fragrant. Let them cool before folding them in.
Equipment Needed
One of the best things about this easy banana walnut bread recipe is how little equipment it requires. You don’t need a stand mixer or any fancy gadgets—just a few basics you probably already own.
- Large Mixing Bowl: Any big bowl will work. I use a ceramic one because it’s heavy and doesn’t slide around while I’m mixing.
- Wooden Spoon or Silicone Spatula: For mixing everything by hand. A spatula is great for scraping the sides of the bowl and getting every bit of batter into the pan.
- 9×5-Inch Loaf Pan: This is the standard size for banana bread. If you use an 8×4-inch pan, you’ll need to increase the baking time by about 10 minutes. A metal pan works best for even browning.
- Parchment Paper: Lining the pan makes removal so much easier. Leave a little overhang on the long sides to use as handles.
- Fork or Potato Masher: For mashing the bananas. A fork works fine, but a potato masher makes quick work of it.
- Cooling Rack: Essential for letting the bread cool evenly so the bottom doesn’t get soggy.
- Measuring Cups and Spoons: For accurate measurements. Dry measuring cups for flour and sugar, liquid measuring cup for buttermilk.
If you don’t have a cooling rack, you can use the inverted loaf pan to prop the bread up slightly while it cools. I’ve done that in a pinch and it works okay.
Preparation Method
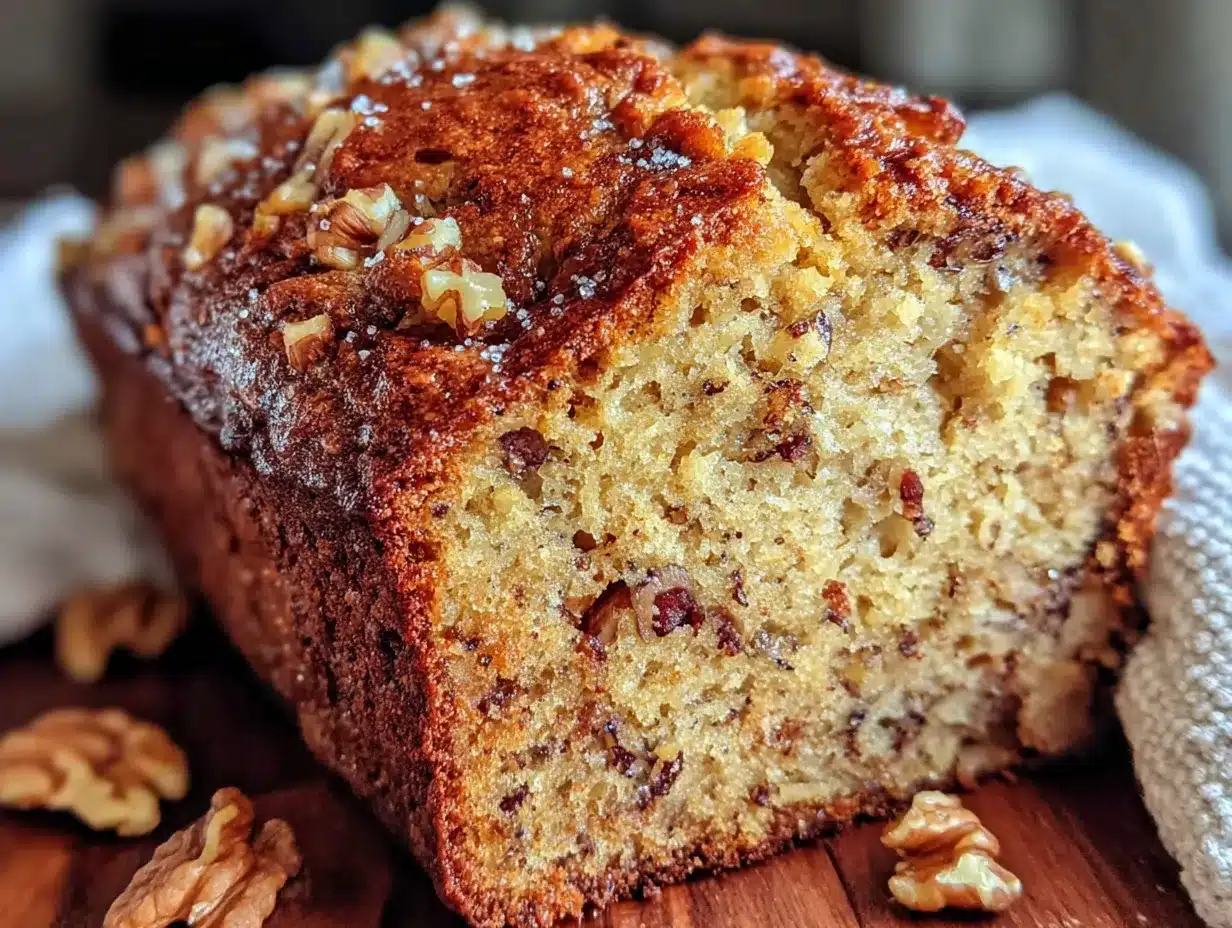
Let me walk you through this step by step. I’ve made this easy banana walnut bread recipe so many times that I could do it in my sleep, but I’ll share all the little tricks I’ve picked up along the way.
Step 1: Preheat and Prep
Preheat your oven to 350°F (175°C). While it’s heating, grease your 9×5-inch loaf pan with butter or non-stick spray, then line it with parchment paper, leaving about 2 inches of overhang on the long sides. This makes lifting the finished bread out so much easier—trust me, I learned this after wrestling a stuck loaf out of the pan once.
Step 2: Toast the Walnuts
Spread the chopped walnuts on a baking sheet and toast them in the preheating oven for 5-7 minutes, until they smell nutty and look slightly darker. Keep an eye on them—they can go from toasted to burnt in seconds. Let them cool completely while you prepare the batter.
Step 3: Mash the Bananas
In your large mixing bowl, mash the bananas with a fork or potato masher until they’re mostly smooth with a few small lumps remaining. You want some texture—completely smooth banana puree will make the bread denser. It should look like a chunky applesauce consistency.
Step 4: Mix the Wet Ingredients
Add the melted butter, granulated sugar, egg, buttermilk, and vanilla extract to the mashed bananas. Stir with your wooden spoon or spatula until everything is well combined. The mixture will look a little lumpy from the bananas—that’s perfect. Don’t overmix at this stage; just stir until you don’t see any streaks of butter or egg.
Step 5: Combine the Dry Ingredients
In a separate medium bowl, whisk together the all-purpose flour, baking soda, and salt. Whisking ensures the baking soda is evenly distributed—nobody wants a pocket of baking soda in their slice of bread.
Step 6: Fold Everything Together
Pour the dry ingredients into the wet ingredients. Use a gentle folding motion—cut through the center of the batter, scrape along the bottom, and fold over. Repeat until you can just barely see any streaks of flour remaining. Then add the cooled toasted walnuts and fold a few more times until they’re evenly distributed. The batter should be thick but scoopable. If it looks too stiff, you might have overmeasured your flour—that’s okay, just add a tablespoon of buttermilk to loosen it.
Step 7: Bake
Pour the batter into your prepared loaf pan and spread it evenly. Bake at 350°F for 50-60 minutes. Start checking at 50 minutes—insert a toothpick into the center; if it comes out clean or with just a few moist crumbs, it’s done. If the top is browning too quickly but the center isn’t done yet, tent the pan loosely with aluminum foil for the last 10-15 minutes.
Step 8: Cool
Let the bread cool in the pan for 10 minutes. Then use the parchment paper overhang to lift it out and transfer it to a wire rack. Let it cool completely before slicing—about 1-2 hours. I know it’s tempting to cut into it warm, but it will be much easier to slice and the texture will be better if you wait.
Cooking Tips & Techniques
After making this easy banana walnut bread recipe more times than I can count, I’ve collected a few tips that make a real difference. Some I learned the hard way, like the time I forgot the baking soda and ended up with a flat, dense brick.
Use Overripe Bananas
This is non-negotiable. Bananas that are mostly brown or even black on the outside are ideal. They’re sweeter, softer, and have a stronger banana flavor. Green or barely yellow bananas won’t give you the same moist texture or flavor. If your bananas aren’t ripe enough, you can bake them at 300°F for 15-20 minutes until they soften and darken.
Don’t Overmix the Batter
This is probably the most common mistake I see. Overmixing develops the gluten in the flour, which makes your banana bread tough and dense instead of tender. Mix just until the flour disappears into the batter. A few small lumps are totally fine—they’ll bake out.
Room Temperature Ingredients Matter
Cold eggs and cold buttermilk won’t incorporate as smoothly into the melted butter. Let them sit on the counter for 15-20 minutes before starting. It makes a noticeable difference in the texture of the final loaf.
Check for Doneness Properly
A toothpick test is your best friend. Insert it into the center of the loaf—if it comes out clean or with just a few moist crumbs, it’s done. If it’s wet with batter, give it another 5 minutes. Also, the edges of the bread should pull away slightly from the pan.
Let It Cool Completely
I know, I know—warm banana bread is amazing. But slicing into it too early will make it crumble and fall apart. The bread continues to set as it cools, so patience pays off here. If you absolutely can’t wait, at least let it cool for 30 minutes before cutting.
Variations & Adaptations
This recipe is incredibly versatile. I’ve experimented with all kinds of swaps and add-ins over the years, and here are some of my favorites.
Chocolate Chip Banana Bread
Swap out the walnuts for ¾ cup of semi-sweet or dark chocolate chips. The combination of banana and chocolate is classic for a reason. I like to toss the chocolate chips in a tablespoon of flour before folding them in—it helps prevent them from sinking to the bottom of the loaf.
Gluten-Free Version
Use a 1:1 gluten-free baking flour blend instead of all-purpose flour. I’ve had good results with Bob’s Red Mill and King Arthur brands. Add an extra tablespoon of buttermilk since gluten-free flours tend to absorb more liquid.
Dairy-Free Option
Replace the butter with coconut oil or a plant-based butter, and use almond milk or oat milk mixed with a teaspoon of lemon juice instead of buttermilk. The texture will be slightly different, but still delicious.
Spiced Banana Bread
Add 1 teaspoon of cinnamon, ½ teaspoon of nutmeg, and ¼ teaspoon of ground ginger to the dry ingredients. This gives the bread a warm, cozy flavor that’s perfect for fall. I love making this version around Thanksgiving.
Nut-Free Version
Simply omit the walnuts or replace them with an equal amount of pumpkin seeds, sunflower seeds, or dried fruit like chopped dates or raisins. The seeds add a nice crunch without the allergens.
Streusel Topping
Mix together ¼ cup flour, ¼ cup brown sugar, 2 tablespoons cold butter, and a pinch of cinnamon. Sprinkle this over the batter before baking for a crunchy, sweet topping that takes this bread to the next level. If you’re looking for more comforting baked goods, you might also enjoy these fluffy pumpkin scones with easy maple glaze or this easy pumpkin chocolate chip bread for another one-bowl wonder.
Serving & Storage Suggestions
This easy banana walnut bread recipe is wonderful in so many ways. Here’s how to serve and store it for the best experience.
Serving Suggestions
Serve slices at room temperature or slightly warmed. To warm, pop a slice in the toaster or microwave for about 10-15 seconds. Spread a little salted butter on top while it’s still warm—it melts right in and adds a lovely richness. For a more indulgent treat, try it with a smear of cream cheese or a drizzle of honey.
This bread pairs beautifully with coffee or tea. I love having a slice with my morning coffee or as an afternoon pick-me-up. It’s also fantastic for brunch alongside fresh fruit and scrambled eggs.
Storage Instructions
Store the bread in an airtight container at room temperature for up to 4 days. To keep it extra moist, wrap it tightly in plastic wrap before placing it in the container. If you live in a humid climate, you might want to store it in the refrigerator to prevent mold—just let it come to room temperature before serving.
Freezing Instructions
This bread freezes beautifully. Wrap the completely cooled loaf tightly in plastic wrap, then in a layer of aluminum foil. Freeze for up to 3 months. To thaw, let it sit at room temperature for several hours or overnight in the refrigerator. You can also freeze individual slices—wrap each slice in plastic wrap and store them in a freezer bag. This way, you can grab a slice whenever the craving hits.
Flavor Development
Interestingly, this bread actually tastes better the next day. The flavors have time to meld and deepen, and the texture becomes even more moist. So if you can resist eating it all on day one, you’re in for a treat on day two.
Nutritional Information & Benefits
Here’s the approximate nutritional breakdown for one slice (assuming 10 slices per loaf):
| Nutrient | Amount per Slice |
|---|---|
| Calories | 285 |
| Total Fat | 14g |
| Saturated Fat | 6g |
| Cholesterol | 45mg |
| Sodium | 220mg |
| Total Carbohydrates | 37g |
| Dietary Fiber | 2g |
| Sugars | 18g |
| Protein | 4g |
Bananas are a great source of potassium and vitamin B6, which support heart health and energy metabolism. Walnuts provide healthy omega-3 fatty acids and antioxidants that are good for brain health. This bread is a delicious way to incorporate these nutritious ingredients into your diet.
For a lighter option, you can reduce the sugar to ½ cup or substitute half of the all-purpose flour with whole wheat flour. The texture will be slightly denser, but it’s still delicious. If you’re looking for more healthy breakfast ideas, try these healthy Greek yogurt pumpkin muffins for another nutritious option.
Conclusion
This easy banana walnut bread recipe is proof that you don’t need fancy equipment or complicated techniques to make something truly wonderful. It’s the kind of recipe that feels like a warm hug—simple, reliable, and always satisfying. Whether you’re baking for a crowd, looking for a thoughtful homemade gift, or just want to use up those spotty bananas on your counter, this bread delivers every single time.
What I love most about this recipe is how forgiving it is. You can swap ingredients, adjust the sweetness, add chocolate chips or spices—it always turns out delicious. It’s become my go-to for those moments when I need a little comfort or want to make someone feel special without a lot of effort.
Now I’d love to hear from you! Have you tried this recipe? Did you add your own twist? Drop a comment below and let me know how it turned out. And if you loved it, please share this post with a friend who needs a little banana bread in their life. Happy baking!
Frequently Asked Questions
Can I use frozen bananas for this recipe?
Absolutely! Thaw them first, then drain off any excess liquid before mashing. Frozen bananas can be even sweeter than fresh ones, so this works beautifully.
Why did my banana bread sink in the middle?
This usually happens if the batter was overmixed or if the oven temperature was too low. Make sure your oven is fully preheated and don’t open the door during the first 30 minutes of baking.
Can I make this recipe into muffins instead?
Yes! Divide the batter among a 12-cup muffin tin lined with paper liners. Bake at 350°F for 18-22 minutes, or until a toothpick comes out clean. Perfect for grab-and-go breakfasts.
How do I know when the bananas are ripe enough?
Look for bananas that are mostly brown or even black on the outside. They should feel soft when you squeeze them gently. If they’re still yellow with just a few spots, they’re not quite ready.
Can I omit the walnuts entirely?
Of course! The bread will still be delicious without them. You can replace them with chocolate chips, dried fruit, or just leave them out for a plain banana bread. If you’re looking for more no-fuss baking, check out this easy one-bowl pumpkin banana bread for another simple option.
Pin This Recipe!
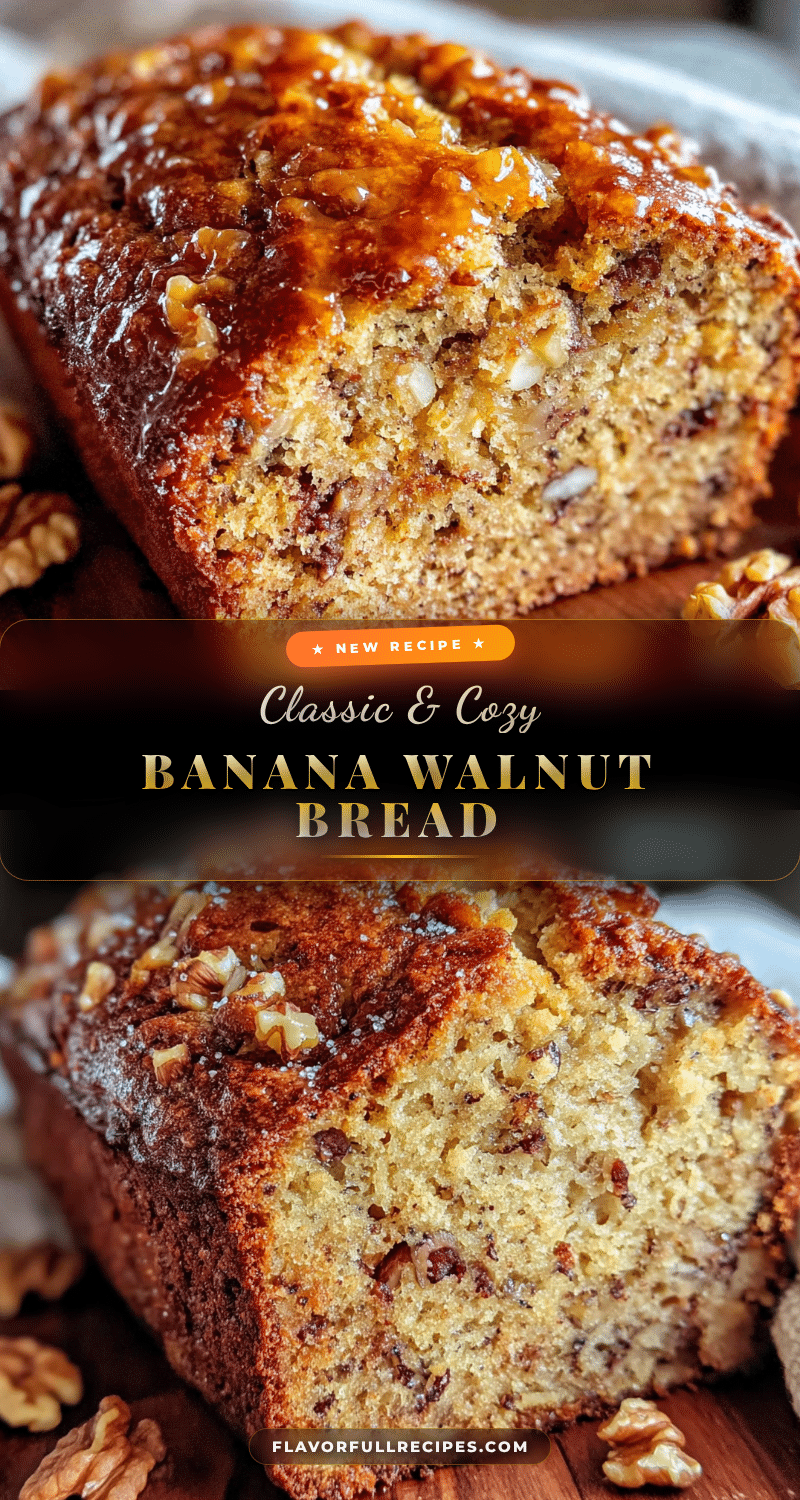
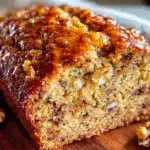
Easy Banana Walnut Bread Recipe No Mixer Needed
- Total Time: 1 hour 10 minutes
- Yield: 10 servings 1x
Description
This easy banana walnut bread is incredibly moist and flavorful, made without a mixer. It’s a simple, one-bowl recipe that uses overripe bananas and toasted walnuts for a perfect texture and taste.
Ingredients
- 3 medium ripe bananas (about 1½ cups mashed)
- ½ cup (1 stick) unsalted butter, melted
- ¾ cup granulated sugar
- 1 large egg, room temperature
- ¼ cup buttermilk
- 1 teaspoon vanilla extract
- 1½ cups all-purpose flour
- 1 teaspoon baking soda
- ½ teaspoon salt
- ¾ cup walnuts, roughly chopped and toasted
Instructions
- Preheat oven to 350°F (175°C). Grease a 9×5-inch loaf pan and line with parchment paper, leaving overhang on the long sides.
- Spread chopped walnuts on a baking sheet and toast in the preheating oven for 5-7 minutes until fragrant. Let cool completely.
- In a large mixing bowl, mash bananas with a fork or potato masher until mostly smooth with a few small lumps.
- Add melted butter, sugar, egg, buttermilk, and vanilla extract to the mashed bananas. Stir until well combined.
- In a separate medium bowl, whisk together flour, baking soda, and salt.
- Pour dry ingredients into wet ingredients. Fold gently until just combined, then fold in cooled toasted walnuts.
- Pour batter into prepared loaf pan and spread evenly. Bake for 50-60 minutes, until a toothpick inserted in the center comes out clean or with a few moist crumbs. If top browns too quickly, tent with foil for the last 10-15 minutes.
- Let bread cool in pan for 10 minutes, then lift out using parchment paper and transfer to a wire rack. Cool completely before slicing.
Notes
Use overripe (mostly brown or black) bananas for best flavor and moisture. Do not overmix the batter to avoid a tough loaf. Let the bread cool completely before slicing for best texture. The bread tastes even better the next day.
- Prep Time: 15 minutes
- Cook Time: 55 minutes
- Category: Dessert
- Cuisine: American
Nutrition
- Serving Size: 1 slice
- Calories: 285
- Sugar: 18
- Sodium: 220
- Fat: 14
- Saturated Fat: 6
- Carbohydrates: 37
- Fiber: 2
- Protein: 4
Keywords: banana bread, walnut bread, easy banana bread, no mixer banana bread, moist banana bread