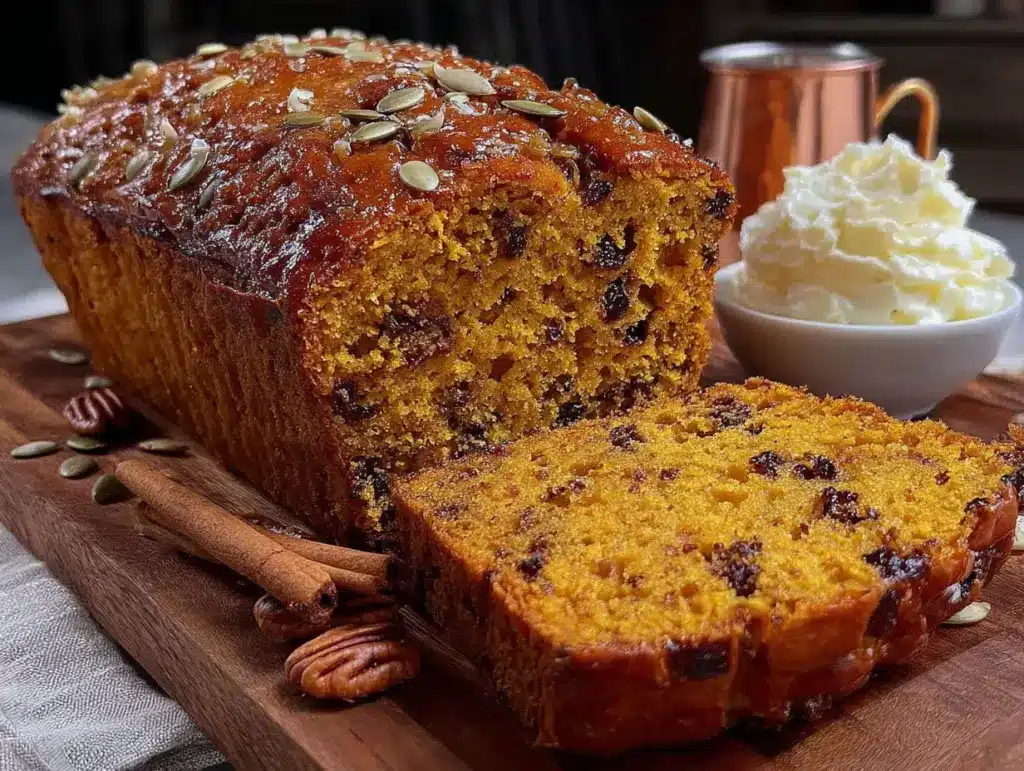
My husband took a bite of this pumpkin banana bread, stopped chewing, and just looked at me. Not in a dramatic way, you know, just a quiet pause before he asked, “Did you really only use one bowl for this?” That was it. No fireworks, no over-the-top compliments—just genuine confusion that something this good came together with so little mess. And honestly, that moment stuck with me more than any recipe review ever could.
I had been testing pumpkin bread recipes for weeks, trying to find one that didn’t require dragging out the stand mixer or washing a mountain of dishes. Fall baking should feel cozy, not like a kitchen renovation project. So when I landed on this easy one-bowl pumpkin banana bread (no mixer needed), I knew I had something worth holding onto. The bananas add natural sweetness and moisture, the pumpkin brings that earthy fall flavor, and the whole thing comes together in about ten minutes of active work.
This isn’t one of those fussy recipes that demands room-temperature butter or sifting dry ingredients three times. It’s the kind of bread you can throw together while your coffee brews, while the kids argue over cartoons, or while you’re still in your pajamas wondering what to do with those spotty bananas on the counter. It works because it doesn’t try too hard—and that’s exactly why it works so well.
Why You’ll Love This Recipe
Let me tell you why this recipe has earned a permanent spot in my fall baking rotation. I’ve tested it at least six times (my neighbors have been very happy guinea pigs), and every single loaf turned out perfectly moist with that tender crumb we all chase in quick breads.
- One Bowl, No Mixer: This is the whole point. You mix everything in a single bowl with a wooden spoon or spatula. No stand mixer, no hand mixer, no extra bowls to wash. The cleanup takes less than five minutes.
- Pantry-Friendly Ingredients: You probably have everything already. Canned pumpkin, overripe bananas, flour, sugar, eggs, oil, and basic spices. No special trips to the store for buttermilk or sour cream.
- Perfect for Fall Mornings: This bread tastes like autumn in sliceable form. It’s great for breakfast with coffee, an afternoon snack, or even dessert with a drizzle of honey. I’ve packed it in lunchboxes too.
- Kid-Approved and Picky-Eater Friendly: My niece, who normally refuses anything that looks “orange,” ate two slices without questioning it. The banana flavor mellows out the pumpkin, so it’s not overwhelmingly squashy.
- Foolproof Texture: The combination of pumpkin and banana creates an incredibly moist crumb that stays soft for days. No dry, crumbly slices here.
What makes this recipe different from the dozens of pumpkin breads out there? It’s the banana. Most pumpkin breads rely solely on pumpkin for moisture, which can sometimes make them dense or gummy. The banana adds natural sweetness and a tender texture that feels almost cake-like. Plus, using both means you get a more complex flavor profile—earthy pumpkin with fruity, caramelized banana notes. It’s comfort food that doesn’t require a culinary degree.
What Ingredients You Will Need
This recipe uses simple ingredients that work together to create something greater than the sum of their parts. Here’s what you’ll need and why each one matters:
For the Bread
- 1 cup canned pumpkin puree (not pumpkin pie filling) – Use 100% pure pumpkin. I prefer Libby’s for its consistent texture, but store brands work fine too. Make sure to shake the can before opening to redistribute the liquid.
- 2 medium ripe bananas, mashed (about 1 cup) – The riper, the better. Those brown-spotted bananas that look past their prime are actually perfect here. They add natural sweetness and moisture that you just can’t get from less ripe bananas.
- 1/2 cup vegetable oil (or melted coconut oil) – Oil keeps this bread tender and moist. You can use melted butter if you prefer, but oil gives a softer crumb that stays fresh longer.
- 2 large eggs, room temperature – Room temperature eggs incorporate more evenly into the batter. If you forgot to take them out, place them in a bowl of warm water for 5 minutes.
- 1/2 cup granulated sugar – Adds sweetness and helps with browning. You can reduce this to 1/3 cup if your bananas are very ripe.
- 1/2 cup packed brown sugar (light or dark) – Brown sugar adds moisture and a subtle molasses flavor that complements the pumpkin beautifully. Dark brown sugar gives a deeper flavor.
- 1 teaspoon vanilla extract – Enhances all the other flavors. Use pure vanilla if you have it.
- 1 3/4 cups all-purpose flour (about 220 grams) – Spoon and level your flour for accuracy. Scooping directly from the bag can pack in too much flour, making the bread dry.
- 1 teaspoon baking soda – Helps the bread rise. Make sure it’s fresh (test it by dropping a bit in vinegar—it should fizz).
- 1/2 teaspoon baking powder – Adds extra lift for a lighter texture.
- 1/2 teaspoon salt – Balances sweetness and enhances flavors.
- 2 teaspoons pumpkin pie spice – If you don’t have this, use 1 teaspoon cinnamon, 1/2 teaspoon ginger, 1/4 teaspoon nutmeg, and 1/4 teaspoon cloves.
- 1 teaspoon ground cinnamon – Because you can never have too much cinnamon in fall baking.
Optional Add-Ins
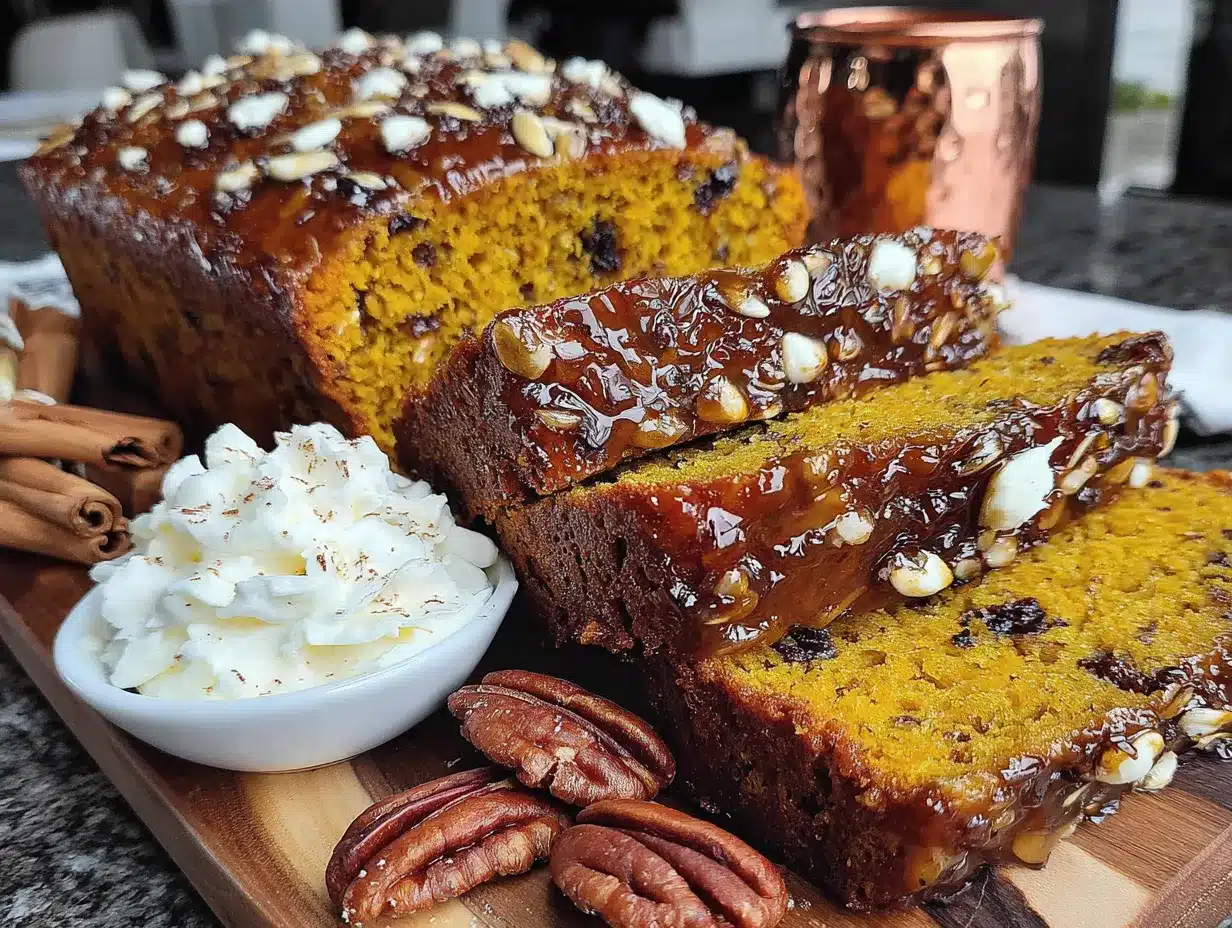
- 1/2 cup chocolate chips (semi-sweet or dark) – Adds little pockets of melted chocolate throughout. My personal favorite addition.
- 1/2 cup chopped walnuts or pecans – For crunch. Toast them first for extra flavor.
- 1/4 cup dried cranberries – Adds tartness that cuts through the sweetness.
Equipment Needed
The beauty of this recipe is that you don’t need much. Here’s what you’ll need to have on hand:
- One large mixing bowl – Any bowl works, but a wide, shallow bowl makes mixing easier. I use a ceramic mixing bowl that I’ve had for years.
- Wooden spoon or rubber spatula – For mixing. A spatula helps scrape the sides and bottom of the bowl thoroughly.
- 9×5-inch loaf pan – Standard size works best. If you only have an 8×4-inch pan, the bread will take a few extra minutes to bake and will have a taller dome.
- Parchment paper (optional but recommended) – Lining the pan makes lifting the bread out effortless. You can also grease the pan thoroughly with butter or cooking spray.
- Measuring cups and spoons – For accuracy. I recommend using dry measuring cups for flour and sugar, and liquid measuring cups for oil and pumpkin.
- Cooling rack – Allows air to circulate around the bread so it cools evenly and doesn’t get soggy on the bottom.
- Fork or potato masher – For mashing the bananas. A fork works perfectly fine.
If you don’t have a 9×5-inch loaf pan, you can use a 9-inch square pan and bake for about 25-30 minutes. The bread will be thinner but just as delicious. I’ve also made this as muffins (see variations below), which only require a muffin tin and paper liners.
Preparation Method
Ready to bake? Here’s the step-by-step process. I promise it’s simpler than most quick bread recipes you’ve tried.
- Preheat your oven to 350°F (175°C). Position the rack in the center of the oven. While it’s heating, line your 9×5-inch loaf pan with parchment paper or grease it thoroughly with butter or cooking spray. Set it aside.
- Mash the bananas. In your large mixing bowl, add the two ripe bananas. Mash them with a fork or potato masher until they’re mostly smooth with a few small lumps remaining. You want some texture, not baby food consistency. Aim for about 1 cup of mashed banana.
- Add the wet ingredients. To the mashed bananas, add the pumpkin puree, vegetable oil, eggs, granulated sugar, brown sugar, and vanilla extract. Stir everything together with your wooden spoon or spatula until well combined. Don’t worry if it looks a little lumpy—that’s normal. The mixture should be smooth and uniform in color, a beautiful golden-orange shade.
- Add the dry ingredients. Sprinkle the flour, baking soda, baking powder, salt, pumpkin pie spice, and cinnamon over the wet mixture. Stir gently until just combined. Here’s the important part: do not overmix. Stir only until you no longer see streaks of flour. A few lumps are perfectly fine. Overmixing develops gluten, which can make your bread tough and dense instead of tender and fluffy.
- Fold in any add-ins. If you’re using chocolate chips, nuts, or dried cranberries, gently fold them in at this point. Use about 10 strokes, no more. You want them evenly distributed without overworking the batter.
- Pour the batter into the prepared pan. Use your spatula to scrape every last bit from the bowl. Spread the batter evenly, smoothing the top. Give the pan a gentle tap on the counter to release any air bubbles.
- Bake for 50-60 minutes. Place the pan in the preheated oven and bake until a toothpick inserted into the center comes out clean or with just a few moist crumbs. The top should be golden brown and spring back when lightly touched. Start checking at 50 minutes, but don’t open the oven door too often—temperature fluctuations can cause the bread to sink.
- Cool in the pan for 10 minutes. After removing from the oven, let the bread rest in the pan on a cooling rack. This allows it to set and makes it easier to remove without falling apart.
- Transfer to a cooling rack. After 10 minutes, lift the bread out using the parchment paper (or invert the pan if you greased it). Peel off the parchment and let the bread cool completely on the rack. This takes about 1-2 hours. I know it’s tempting to slice into it warm, but cutting too early can result in a gummy texture.
- Slice and serve. Once completely cool, slice with a serrated knife using a gentle sawing motion. This prevents squishing the tender crumb.
Cooking Tips & Techniques
After testing this recipe multiple times (and learning from a few mistakes), here are my best tips for guaranteed success:
Don’t overmix the batter. This is the number one mistake I see with quick breads. Mix until the flour just disappears. Overmixing develops gluten, which makes the bread tough and creates tunnels in the crumb. You want a tender, cake-like texture, not chewy bread.
Use room temperature ingredients. Cold eggs and cold pumpkin can cause the batter to seize up, resulting in uneven baking. Let your eggs sit on the counter for 30 minutes before starting. If you forgot, place them in a bowl of warm water for 5 minutes. The pumpkin can sit out while you preheat the oven.
Check for doneness properly. A toothpick test is reliable, but make sure you insert it into the center of the bread, not near the edges. The center is the last part to bake through. If the toothpick comes out with wet batter, bake for another 5 minutes and check again. If it comes out with a few moist crumbs, it’s done.
Let it cool completely. I learned this the hard way. The first time I made this, I sliced into it after only 20 minutes of cooling. The inside was gummy and the slices fell apart. Patience pays off here. The bread continues to set as it cools, and the flavors meld together beautifully overnight.
Toast the nuts first. If you’re adding walnuts or pecans, toast them in a dry skillet over medium heat for 3-4 minutes until fragrant. This brings out their natural oils and adds a deeper, nuttier flavor that elevates the whole loaf.
Use the parchment paper sling. Cut a piece of parchment paper long enough to hang over both long sides of the pan. This creates handles that make lifting the bread out effortless. No more struggling to flip a hot loaf onto a rack.
Variations & Adaptations
One of the best things about this recipe is how adaptable it is. Here are some variations I’ve tried and loved:
Gluten-Free Version: Substitute the all-purpose flour with a 1:1 gluten-free baking flour blend (I like Bob’s Red Mill). Add 1 teaspoon of xanthan gum if your blend doesn’t already include it. The texture will be slightly more delicate, but still delicious. Bake for the same amount of time.
Dairy-Free Version: This recipe is already dairy-free if you use vegetable oil! Just make sure your chocolate chips (if using) are dairy-free. Enjoy Life brand makes great options.
Vegan Version: Replace the eggs with flax eggs (2 tablespoons ground flaxseed mixed with 6 tablespoons water, let sit for 5 minutes). The bread will be a bit denser but still moist and flavorful. You might need to add an extra 5 minutes of baking time.
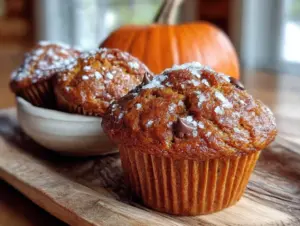
Pumpkin Banana Muffins: Divide the batter among a 12-cup muffin tin lined with paper liners. Bake at 350°F for 18-22 minutes, until a toothpick comes out clean. This makes about 12 muffins. Perfect for grab-and-go breakfasts.
Chocolate Swirl Version: Before pouring the batter into the pan, melt 1/4 cup of chocolate chips and swirl it into the batter with a knife for a marbled effect. It looks stunning and adds an extra layer of chocolatey goodness.
Spiced-Up Version: Add 1/4 teaspoon of cardamom or allspice along with the other spices for a more complex flavor profile. Cardamom pairs beautifully with pumpkin and adds a warm, slightly floral note.
Lower Sugar Version: Reduce the granulated sugar to 1/4 cup and the brown sugar to 1/3 cup. The bananas and pumpkin provide enough natural sweetness that you won’t miss the extra sugar much. The texture will be slightly less tender, but still good.
Serving & Storage Suggestions
This bread is incredibly versatile when it comes to serving. Here’s how I like to enjoy it:
Serving Temperature: Serve at room temperature or slightly warm. To warm individual slices, pop them in the microwave for 10-15 seconds or toast them in a toaster oven for 2-3 minutes. Toasting brings out the flavors and gives the edges a slight crispness.
Toppings: A pat of salted butter melting into a warm slice is classic and perfect. For something sweeter, drizzle with honey, maple syrup, or a simple glaze made from powdered sugar and milk. A dollop of whipped cream or Greek yogurt also works well.
Pairings: This bread pairs beautifully with a hot cup of coffee, spiced chai latte, or a glass of cold milk. For a fall-themed breakfast, serve it alongside a bowl of creamy roasted butternut squash soup for a sweet-savory combo. It also makes a great companion to a cinnamon apple crisp for a dessert spread.
Storage: Store the bread in an airtight container at room temperature for up to 4 days. Wrap it tightly in plastic wrap or aluminum foil to prevent it from drying out. I like to place a paper towel in the container to absorb excess moisture and keep the crust from getting soggy.
Freezing: This bread freezes beautifully. Wrap the cooled loaf tightly in plastic wrap, then in a layer of aluminum foil. Freeze for up to 3 months. To thaw, leave it at room temperature for 2-3 hours, or unwrap and microwave individual slices for 20-30 seconds. You can also freeze sliced bread—just place parchment paper between slices so they don’t stick together.
Flavor Development: Here’s a little secret—this bread actually tastes better the next day. The flavors meld together overnight, and the moisture distributes more evenly throughout the loaf. So if you can resist, bake it a day ahead for the best flavor.
Nutritional Information & Benefits
Here’s the estimated nutritional breakdown for one slice (assuming 10 slices per loaf):
| Nutrient | Amount per Slice |
|---|---|
| Calories | 245 |
| Total Fat | 10g |
| Saturated Fat | 1.5g |
| Cholesterol | 37mg |
| Sodium | 210mg |
| Total Carbohydrates | 36g |
| Dietary Fiber | 2g |
| Sugars | 18g |
| Protein | 4g |
| Vitamin A | 95% DV |
| Vitamin C | 4% DV |
| Potassium | 180mg |
Health Benefits: Pumpkin is packed with vitamin A (from beta-carotene), which supports eye health and immune function. Bananas provide potassium, which helps regulate blood pressure and muscle function. Using oil instead of butter reduces saturated fat, making this a slightly lighter option than traditional pumpkin breads.
Dietary Considerations: This recipe is nut-free (unless you add nuts), dairy-free (if using oil), and can easily be made gluten-free or vegan with the substitutions listed above. It’s not low-carb or keto-friendly due to the bananas and sugar, but it’s a wonderful treat in moderation.
Allergen Note: Contains wheat (gluten) and eggs. Check your chocolate chips for dairy if you’re avoiding it.
Conclusion
This easy one-bowl pumpkin banana bread has become my go-to fall recipe for good reason. It’s forgiving, adaptable, and delivers that cozy, comforting flavor we all crave when the weather turns cool. The fact that it comes together with minimal effort and cleanup is just the cherry on top.
I love that this recipe doesn’t demand perfection. You can use slightly different amounts of pumpkin or banana, swap in different add-ins, or adjust the spices to your liking, and it still turns out beautifully. It’s the kind of recipe that builds confidence in the kitchen, especially for beginner bakers.
If you make this bread, I’d love to hear how it turned out. Did you add chocolate chips? Did you try the vegan version? Drop a comment below and let me know your favorite variation. And if you’re looking for more fall baking inspiration, don’t miss my soft-baked pumpkin snickerdoodle cookies or these pumpkin cream cheese muffins for more seasonal treats. Happy baking!
Frequently Asked Questions
Can I use fresh pumpkin instead of canned?
Yes, you can! If using fresh pumpkin, roast it until tender, then puree it in a food processor until smooth. Make sure to drain off any excess liquid, as fresh pumpkin can be more watery than canned. You want a thick, spoonable puree similar to canned consistency.
Why did my bread sink in the middle?
A sunken middle usually means the bread was underbaked, or you opened the oven door too early (before the structure had set). Make sure to check doneness with a toothpick and avoid opening the oven for the first 40 minutes of baking. Also, ensure your baking soda and baking powder are fresh—old leavening agents lose their power.
Can I reduce the sugar without ruining the texture?
You can reduce the sugar by up to one-third without major texture issues. The bananas and pumpkin provide natural sweetness, so the bread won’t taste bland. Just note that sugar contributes to moisture and tenderness, so reducing it too much can result in a drier, denser loaf.
Can I make this recipe into a bundt cake?
Absolutely! Grease a 10-cup bundt pan thoroughly (even if it’s non-stick) and pour in the batter. Bake at 350°F for 40-50 minutes, checking for doneness with a toothpick. The baking time will be shorter than a loaf because the batter is spread out more. Let it cool in the pan for 15 minutes before inverting.
How do I know when my bananas are ripe enough?
Look for bananas with plenty of brown spots on the peel—the more spots, the sweeter and softer they’ll be. The peel should be mostly yellow with brown speckles or even mostly brown. They should feel soft when gently squeezed. If your bananas aren’t ripe yet, you can speed things up by placing them in a paper bag with an apple overnight.
Pin This Recipe!
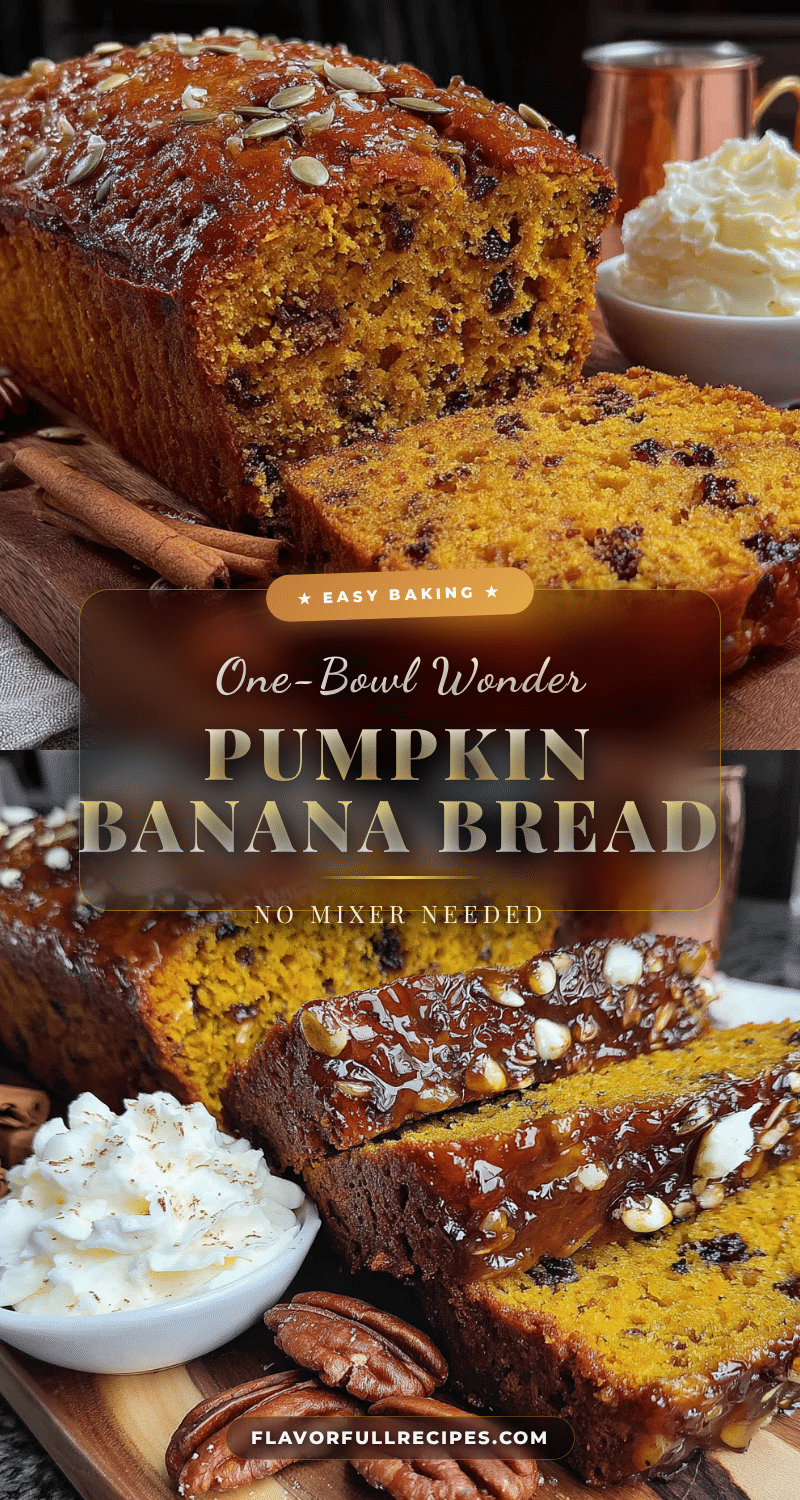
Easy One-Bowl Pumpkin Banana Bread (No Mixer Needed)
- Total Time: 1 hour 5 minutes
- Yield: 10 servings 1x
Description
This easy one-bowl pumpkin banana bread comes together with minimal effort and cleanup, delivering a moist, tender crumb with earthy pumpkin and sweet banana flavors. Perfect for fall mornings, snacks, or dessert.
Ingredients
- 1 cup canned pumpkin puree (not pumpkin pie filling)
- 2 medium ripe bananas, mashed (about 1 cup)
- 1/2 cup vegetable oil (or melted coconut oil)
- 2 large eggs, room temperature
- 1/2 cup granulated sugar
- 1/2 cup packed brown sugar (light or dark)
- 1 teaspoon vanilla extract
- 1 3/4 cups all-purpose flour (about 220 grams)
- 1 teaspoon baking soda
- 1/2 teaspoon baking powder
- 1/2 teaspoon salt
- 2 teaspoons pumpkin pie spice
- 1 teaspoon ground cinnamon
- 1/2 cup chocolate chips (optional)
- 1/2 cup chopped walnuts or pecans (optional)
- 1/4 cup dried cranberries (optional)
Instructions
- Preheat your oven to 350°F (175°C). Position the rack in the center of the oven. Line a 9×5-inch loaf pan with parchment paper or grease it thoroughly with butter or cooking spray. Set aside.
- In a large mixing bowl, mash the bananas with a fork or potato masher until mostly smooth with a few small lumps remaining (about 1 cup).
- Add the pumpkin puree, vegetable oil, eggs, granulated sugar, brown sugar, and vanilla extract to the mashed bananas. Stir with a wooden spoon or rubber spatula until well combined and smooth.
- Sprinkle the flour, baking soda, baking powder, salt, pumpkin pie spice, and cinnamon over the wet mixture. Stir gently until just combined; do not overmix. A few lumps are fine.
- If using, gently fold in chocolate chips, nuts, or dried cranberries with about 10 strokes.
- Pour the batter into the prepared loaf pan, spreading it evenly. Tap the pan gently on the counter to release air bubbles.
- Bake for 50-60 minutes, until a toothpick inserted into the center comes out clean or with a few moist crumbs. The top should be golden brown and spring back when lightly touched.
- Cool the bread in the pan on a cooling rack for 10 minutes.
- Lift the bread out using the parchment paper (or invert the pan) and transfer to a cooling rack. Peel off parchment and let cool completely, about 1-2 hours.
- Slice with a serrated knife using a gentle sawing motion. Serve at room temperature or slightly warm.
Notes
Do not overmix the batter to avoid a tough texture. Use room temperature ingredients for even baking. Let the bread cool completely before slicing to prevent a gummy texture. The bread tastes even better the next day as flavors meld. For a gluten-free version, substitute all-purpose flour with a 1:1 gluten-free baking blend and add 1 teaspoon xanthan gum if needed. For a vegan version, replace eggs with flax eggs (2 tablespoons ground flaxseed mixed with 6 tablespoons water).
- Prep Time: 10 minutes
- Cook Time: 55 minutes
- Category: Bread
- Cuisine: American
Nutrition
- Serving Size: 1 slice
- Calories: 245
- Sugar: 18
- Sodium: 210
- Fat: 10
- Saturated Fat: 1.5
- Carbohydrates: 36
- Fiber: 2
- Protein: 4
Keywords: pumpkin banana bread, one bowl, no mixer, fall baking, quick bread, easy recipe