I had been looking for a chicken strip recipe that actually stayed crunchy without a deep fryer. For a while, I just accepted that homemade chicken strips were going to be either soggy or burnt on the outside and dry on the inside. My air fryer sat on the counter looking hopeful, but every batch I pulled out was a letdown — the breading slid off, or the chicken turned into rubber. It got to the point where I stopped trying and just ordered takeout when the craving hit. (Which was more often than I’d like to admit.)
Then one Tuesday night — a regular, nothing-special Tuesday — I had a chicken breast defrosted and no plan. I was tired, hungry, and honestly a little annoyed at my kitchen. I grabbed what I had: panko breadcrumbs, a few spices, and an egg. I figured if it failed again, I’d just chop it up for a salad and call it dinner. But something clicked this time. Maybe it was the extra step I added, or maybe I just paid closer attention to the temperature. The strips came out golden, shatter-crunchy, and perfectly juicy inside. I stood at the counter eating one straight from the basket, and I knew I’d finally cracked it.
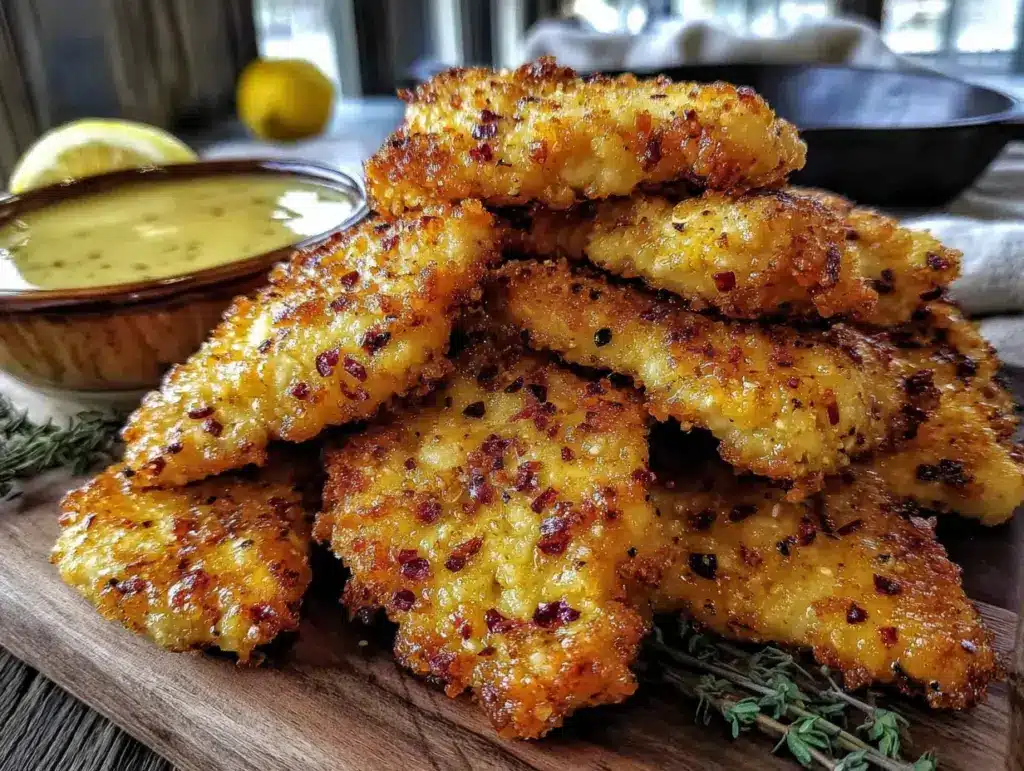
That batch was the beginning of a reliable weeknight staple in my house. No more soggy breading or dry meat. Just crispy air fryer chicken breast strips that taste like they came from a basket of oil — without the mess or the guilt. I’ve made them for picky kids, for game-day snacking, and for those nights when you just want something satisfying without a lot of effort. This is the recipe that stuck.
Why You’ll Love This Recipe
These crispy air fryer chicken breast strips aren’t just another chicken recipe. They’re the result of multiple test batches, a few burned fingers, and one very patient family who didn’t mind eating chicken three nights in a row. Here’s why I keep coming back to this version:
- Ready in 20 Minutes: From start to finish, you’re looking at about 20 minutes. The air fryer preheats fast, and the chicken cooks in roughly 10 minutes. Perfect for those nights when you walk in the door hungry.
- Simple Pantry Ingredients: You probably have everything already. Panko, eggs, flour, and basic spices. No buttermilk soaking overnight or special seasonings you’ll use once.
- Actually Crispy: The breading stays on. It stays crunchy. Even after sitting for a few minutes while you get the rest of dinner ready, these strips hold their texture.
- Kid-Approved and Adult-Friendly: My nephew calls them “the good chicken strips.” But I’ve also served them to grown-ups with a spicy dipping sauce, and nobody complained.
- Healthier Than Fried: You get that satisfying crunch without the oil bath. Less mess, less grease, same satisfaction.
What makes this recipe different from the dozens of air fryer chicken strip recipes out there? It’s the double-dredge technique and the resting time. Most recipes skip the flour layer or rush the breading. Taking an extra few minutes makes all the difference between a soggy coating and one that shatters when you bite into it. This isn’t just another version — it’s the one I’ve tested until it worked every single time.
What Ingredients You Will Need
This recipe uses simple, wholesome ingredients to create that golden, crunchy coating without any fuss. Most of these are pantry staples, so you can whip up a batch anytime the craving hits.
For the Chicken Strips
- 1.5 lbs boneless, skinless chicken breasts (about 2 large breasts) — Look for even thickness so they cook uniformly. If your breasts are huge, consider cutting them in half horizontally before slicing into strips.
- 1 cup all-purpose flour — This creates the first layer that helps the egg stick. You can substitute with gluten-free all-purpose flour if needed.
- 2 large eggs — Beaten well. The egg wash is the glue that holds everything together. Room temperature eggs work best.
- 1.5 cups panko breadcrumbs — Panko is non-negotiable here. Regular breadcrumbs won’t give you that shatter-crunch texture. I prefer Kikkoman panko for the best results.
- 1 teaspoon garlic powder — Not garlic salt. We’ll control the salt separately.
- 1 teaspoon paprika — Regular or smoked, both work. Smoked adds a subtle depth that’s lovely.
- ½ teaspoon onion powder
- ½ teaspoon black pepper
- 1 teaspoon salt — Divided. Half goes in the flour, half in the panko.
- Olive oil spray — Essential for that golden color. Avocado oil spray works too.
For Dipping (Optional but Recommended)
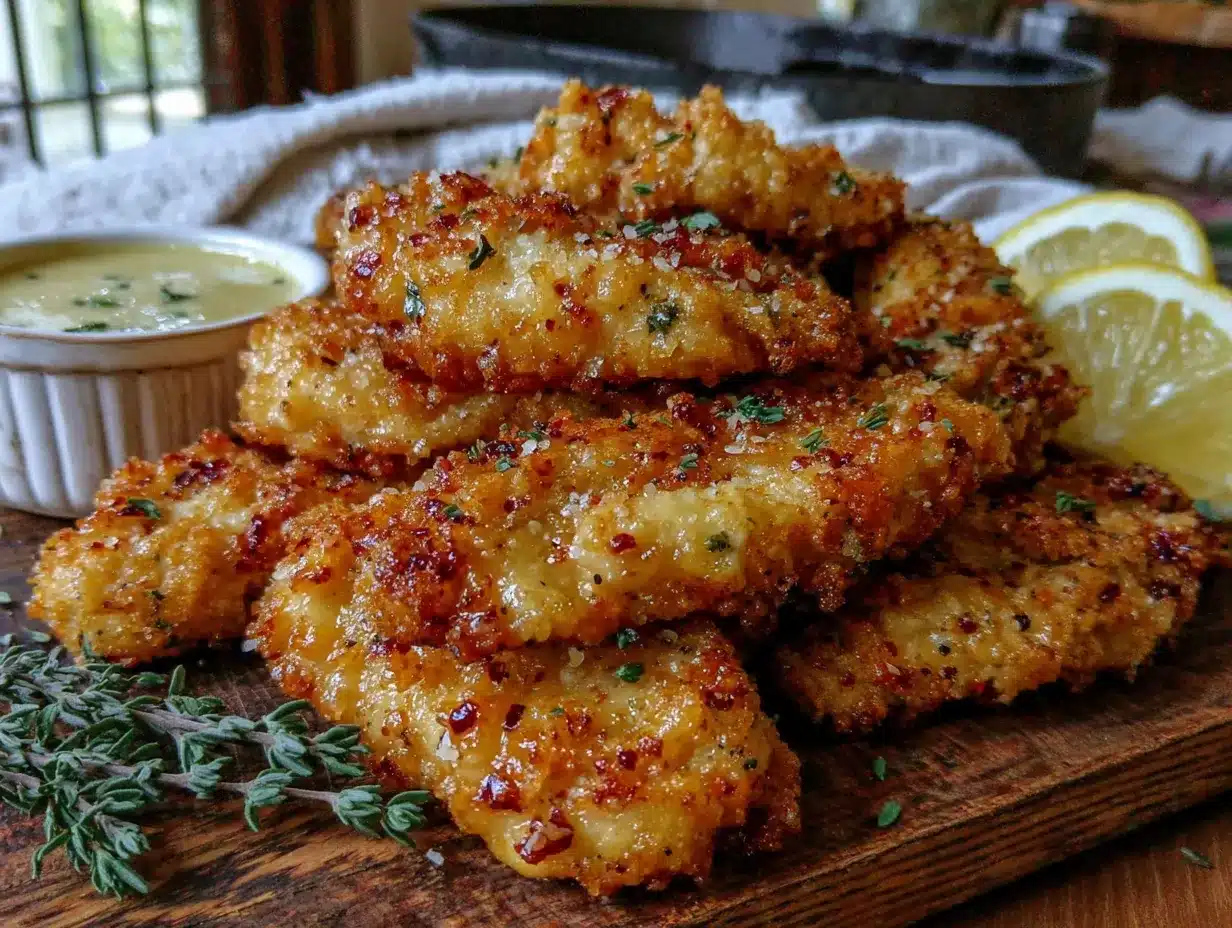
- Honey mustard, ranch, or BBQ sauce — Whatever you love. I’m partial to a simple honey mustard made with equal parts honey and Dijon.
Ingredient Tip: If you’re out of panko, you can crush regular cornflakes or use crushed pork rinds for a keto-friendly version. Just know the texture will be slightly different — still good, just not as shatter-crunchy.
Brand Note: I’ve tested this with store-brand panko and name-brand, and honestly, the name-brand panko (Kikkoman or Ian’s) gives noticeably better crunch. It’s worth the extra dollar.
Equipment Needed
- Air fryer — Any size works, but a basket-style air fryer (like a Cosori or Ninja) gives the best airflow. I use a 5.8-quart model and fit about 8 strips comfortably.
- Cutting board and sharp knife — For slicing the chicken into even strips.
- Three shallow bowls — For the flour, egg wash, and panko mixture. Pie plates work great.
- Tongs — For moving the chicken through the dredging station without making a mess.
- Meat mallet or rolling pin — For pounding the chicken to even thickness (optional but helpful).
- Instant-read thermometer — Not strictly necessary, but it takes the guesswork out of doneness. I love my Thermapen for this.
Budget Tip: If you don’t have an air fryer yet, you can make these in a convection oven on a wire rack set over a baking sheet. Bake at 400°F for 15-18 minutes, flipping halfway. The texture won’t be exactly the same, but it’s close.
Preparation Method
Step 1: Prep the Chicken (5 minutes)
Place your chicken breasts on a cutting board. If they’re thick (more than an inch), butterfly them in half horizontally. Then cut each half into strips about 1-inch wide. Aim for uniform thickness — this is the single most important step for even cooking. If some strips are thinner than others, they’ll cook faster, so keep an eye on them.
Pro Tip: If your chicken strips are uneven, place them between two sheets of plastic wrap and gently pound them with a rolling pin or meat mallet until they’re about ½-inch thick. This ensures every strip cooks in the same amount of time.
Step 2: Set Up Your Dredging Station (3 minutes)
Grab three shallow bowls. In the first bowl, combine the flour with ½ teaspoon salt and ¼ teaspoon black pepper. In the second bowl, beat the eggs until they’re uniform in color — no streaks of white left. In the third bowl, mix the panko breadcrumbs with the garlic powder, paprika, onion powder, remaining ½ teaspoon salt, and remaining ¼ teaspoon pepper.
Line them up in order: flour, egg, panko. This assembly line approach makes the process smooth and keeps your hands from getting too messy.
Step 3: Dredge the Chicken (5-7 minutes)
Working one strip at a time, coat the chicken in flour, shaking off the excess. Then dip it into the egg wash, letting any extra drip off. Finally, press it into the panko mixture, making sure every surface is covered. Don’t be gentle here — really press the breadcrumbs into the chicken so they adhere.
Place the breaded strips on a plate or baking sheet. Let them rest for 5-10 minutes before cooking. This resting time is crucial — it helps the breading set and stick to the chicken during cooking.
Honest Admission: I used to skip this step because I was impatient. Every single time, half the breading fell off in the air fryer. Now I set a timer and walk away. It makes that big of a difference.
Step 4: Preheat and Arrange (3 minutes)
Preheat your air fryer to 400°F (200°C). Most air fryers take about 3 minutes to preheat. While it’s heating, lightly spray the basket with olive oil spray.
Place the chicken strips in a single layer in the basket. Do NOT overcrowd — they need space for the hot air to circulate. If they’re touching, they won’t get crispy. I usually cook in two batches depending on the size of my air fryer.
Lightly spray the tops of the strips with oil. This is what gives them that golden, crunchy exterior. Don’t skip this step.
Step 5: Cook (10-12 minutes)
Air fry at 400°F for 6 minutes. Flip each strip carefully with tongs, then spray the other side lightly with oil. Cook for another 4-6 minutes, until the internal temperature reaches 165°F (74°C) and the coating is deep golden brown.
Sensory Cue: The strips should look like they came from a restaurant fryer — golden, craggy, and slightly puffed. You’ll hear a satisfying crunch when you tap one with a fork.
Temperature Note: If your strips are on the thinner side, check them at 8 minutes total. Thicker strips may need the full 12 minutes. An instant-read thermometer is your best friend here.
Step 6: Rest and Serve (2 minutes)
Let the strips rest on a wire rack for 2 minutes before serving. This lets any excess moisture evaporate and keeps the breading from steaming and getting soft.
Serve immediately with your favorite dipping sauce. I like to pair these with a simple side salad or some roasted vegetables for a complete meal. If you’re looking for a heartier dinner, these strips are also fantastic sliced up over a big Caesar salad or tucked into wraps.
Cooking Tips & Techniques
After making these crispy air fryer chicken breast strips more times than I can count, here are the things I wish I’d known from the start:
Don’t skip the flour. I know it’s tempting to just dip chicken in egg and panko and call it a day. But the flour layer creates a dry surface that helps the egg stick, which in turn helps the panko stick. Without it, you’ll end up with bald spots on your chicken.
Let the breaded strips rest. I mentioned this earlier, but it bears repeating. Those 5-10 minutes on the counter allow the flour to absorb moisture from the egg, creating a glue-like bond. Skip this step at your own peril.
Spray, don’t brush. Using a spray bottle gives you a fine, even coating of oil. Brushing can knock off the delicate breading. I use a simple olive oil mister, but a can of cooking spray works fine too.
Flip halfway through. Air fryers cook from the top down, so the bottom of the strips can get soggy if you don’t flip them. Halfway through cooking, give them a turn for even browning.
Work in batches. I know it’s annoying, but overcrowding is the enemy of crispiness. If your strips are touching, they’ll steam instead of fry. Cook in a single layer with space between each strip.
My Biggest Failure: The first time I made these, I used regular breadcrumbs because I thought panko was just a fancy name. The coating was dense and heavy, like a sad meatloaf crust. Don’t make my mistake — panko is worth the extra shelf space.
Variations & Adaptations
This recipe is endlessly adaptable. Here are a few ways I’ve changed it up depending on what I’m craving or what I have in the pantry:
Spicy Buffalo Strips
Add 1 teaspoon cayenne pepper and ½ teaspoon chili powder to the panko mixture. After cooking, toss the strips in your favorite buffalo sauce. Serve with blue cheese or ranch dressing. These are fantastic for game day — they’d be a hit alongside some mummy jalapeno popper pigs in a blanket for a fun appetizer spread.
Parmesan Herb Crusted
Replace ½ cup of the panko with ½ cup finely grated Parmesan cheese. Add 1 teaspoon dried oregano and 1 teaspoon dried basil to the breadcrumb mixture. The cheese adds a salty, savory note that’s absolutely addictive.
Gluten-Free Version
Use gluten-free all-purpose flour in place of regular flour, and substitute the panko with gluten-free panko or crushed pork rinds. Everything else stays the same. My gluten-sensitive friend swears by the pork rind version.
Keto-Friendly Strips
Replace the flour with almond flour and the panko with crushed pork rinds or a mixture of almond flour and Parmesan. The macros are much better, and honestly, the pork rind version is almost as crunchy as the original.
Lemon Pepper Twist
Add the zest of one lemon to the panko mixture along with 1 teaspoon lemon pepper seasoning. This version is bright and fresh — perfect for spring or summer dinners.
Serving & Storage Suggestions
How to Serve: These strips are best served immediately, straight from the air fryer. I like to arrange them on a platter with a few dipping sauces in small bowls. For a complete meal, pair them with a simple green salad, roasted vegetables, or even some cozy creamy butternut squash soup for dipping on a cold night.
Storage: Leftover strips can be stored in an airtight container in the refrigerator for up to 3 days. The breading will soften over time, but they’re still delicious reheated.
Reheating: The air fryer is your best friend here. Reheat at 375°F for 3-4 minutes, flipping halfway through. The strips will crisp right back up. Avoid the microwave — it turns the breading into a sad, soggy mess.
Freezer Instructions: You can freeze the breaded, uncooked strips on a baking sheet until solid, then transfer to a freezer bag. Cook from frozen at 400°F for 12-14 minutes, flipping halfway. No need to thaw. This is my favorite meal prep trick — I always have a bag in the freezer for busy nights.
Flavor Development: These strips are best fresh, but if you’re making them ahead for a party, cook them about an hour before serving and keep them warm on a wire rack in a low oven (200°F). They’ll stay crispy for about an hour before starting to soften.
Nutritional Information & Benefits
Here’s the approximate nutritional breakdown for one serving (about 4 strips, using 6 ounces of chicken):
| Nutrient | Amount |
|---|---|
| Calories | 385 |
| Protein | 42g |
| Carbohydrates | 28g |
| Fat | 9g |
| Saturated Fat | 2g |
| Fiber | 2g |
| Sodium | 680mg |
Health Benefits: Chicken breast is a lean source of high-quality protein, which supports muscle repair and keeps you feeling full. Using the air fryer instead of deep frying significantly reduces the fat and calorie content — you’re saving about 150 calories and 15 grams of fat per serving compared to traditional fried chicken strips.
Dietary Considerations: This recipe is nut-free and can be made gluten-free with simple substitutions. It’s also relatively low in sugar (less than 2g per serving). If you’re watching your sodium, reduce the salt in the flour and panko mixtures to ¼ teaspoon each.
Allergen Note: Contains wheat (flour, panko), eggs, and potentially dairy if you add the Parmesan variation.
Conclusion
These crispy air fryer chicken breast strips have become a staple in my kitchen for good reason. They’re fast enough for a busy weeknight, impressive enough for guests, and simple enough that you don’t need any special skills to pull them off. The coating stays crunchy, the chicken stays juicy, and the whole thing comes together in about 20 minutes with minimal cleanup.
I love that this recipe is a blank canvas — you can season it however you like, serve it with any dipping sauce, and adapt it for different dietary needs without losing that essential crunch. Whether you’re feeding picky kids, meal prepping for the week, or just craving something satisfying without the deep fryer mess, these strips deliver every time.
Try them this week and let me know how they turn out. Did you try a variation I haven’t thought of? Drop a comment below — I’m always looking for new ideas to test in my kitchen. And if you loved these as much as I do, share this recipe with a friend who needs a reliable weeknight dinner in their rotation.
Happy cooking, and enjoy every crunchy bite.
Frequently Asked Questions
Can I use chicken thighs instead of breasts?
Absolutely. Chicken thighs are more forgiving and stay juicy even if you overcook them slightly. The cooking time will be about the same, but check for doneness at 10 minutes. Thighs have a higher fat content, so they might not get quite as crispy on the outside, but they’ll be delicious.
Why did my breading fall off?
This usually happens for one of three reasons: you skipped the flour step, you didn’t let the breaded strips rest before cooking, or you overcrowded the air fryer basket. Make sure you’re following the dredging order (flour, egg, panko) and giving those strips at least 5 minutes of rest time before they hit the heat.
Can I make these ahead of time?
Yes, but with a caveat. You can bread the strips up to 24 hours in advance and keep them covered in the refrigerator. Cook them just before serving for the best texture. If you have leftovers, reheat them in the air fryer at 375°F for 3-4 minutes to restore the crunch.
Do I need to flip the strips halfway through cooking?
Yes, I recommend flipping them halfway through. Air fryers cook from the top, so the bottom of the strips can get soggy if they sit in one position the whole time. Flipping ensures even browning and maximum crispiness on all sides.
What dipping sauces go best with these strips?
Honestly, you can’t go wrong with classic options like honey mustard, ranch, BBQ sauce, or buffalo sauce. For something different, try a sriracha mayo (mix sriracha with mayonnaise to taste) or a creamy dill sauce made with Greek yogurt, fresh dill, and lemon juice. If you’re serving these as part of a bigger spread, they also pair beautifully with a loaded baked sweet potato skins with turkey chili for a complete game-day menu.
Pin This Recipe!
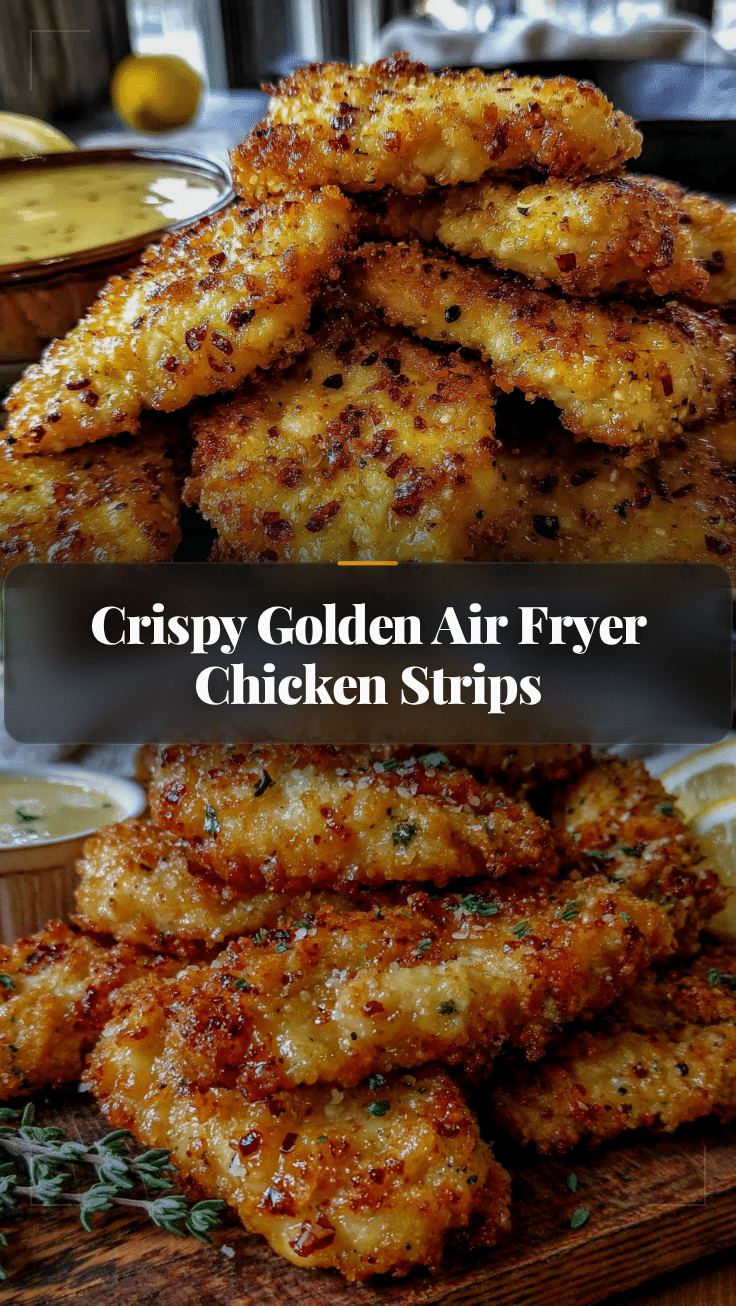

Crispy Air Fryer Chicken Breast Strips
- Total Time: 20 minutes
- Yield: 4 servings 1x
Description
These crispy air fryer chicken breast strips are ready in 20 minutes with simple pantry ingredients. The double-dredge technique ensures a shatter-crunchy coating and juicy chicken every time.
Ingredients
- 1.5 lbs boneless, skinless chicken breasts (about 2 large breasts)
- 1 cup all-purpose flour
- 2 large eggs
- 1.5 cups panko breadcrumbs
- 1 teaspoon garlic powder
- 1 teaspoon paprika (regular or smoked)
- ½ teaspoon onion powder
- ½ teaspoon black pepper
- 1 teaspoon salt (divided)
- Olive oil spray
- Honey mustard, ranch, or BBQ sauce (for dipping, optional)
Instructions
- Prep the chicken: Place chicken breasts on a cutting board. If thick (more than 1 inch), butterfly them in half horizontally. Cut into strips about 1-inch wide. Aim for uniform thickness. Optionally, pound strips to ½-inch thickness between plastic wrap.
- Set up dredging station: In first shallow bowl, combine flour with ½ teaspoon salt and ¼ teaspoon black pepper. In second bowl, beat eggs until uniform. In third bowl, mix panko breadcrumbs with garlic powder, paprika, onion powder, remaining ½ teaspoon salt, and remaining ¼ teaspoon pepper.
- Dredge the chicken: Working one strip at a time, coat in flour (shake off excess), dip in egg wash (let excess drip off), then press into panko mixture until fully covered. Place breaded strips on a plate or baking sheet. Let rest for 5-10 minutes.
- Preheat air fryer to 400°F (200°C). Lightly spray basket with olive oil spray.
- Place chicken strips in a single layer in the basket (do not overcrowd). Lightly spray tops with oil.
- Air fry at 400°F for 6 minutes. Flip strips carefully with tongs, spray other side lightly with oil. Cook for another 4-6 minutes until internal temperature reaches 165°F (74°C) and coating is deep golden brown.
- Let strips rest on a wire rack for 2 minutes before serving. Serve immediately with dipping sauce.
Notes
Don’t skip the flour layer—it helps the egg stick and prevents bald spots. Let breaded strips rest 5-10 minutes before cooking to set the coating. Spray oil lightly for even browning; avoid brushing which can knock off breading. Work in batches to avoid overcrowding. For gluten-free, use gluten-free flour and panko or crushed pork rinds. For keto, use almond flour and crushed pork rinds. Leftovers can be stored in an airtight container in the refrigerator for up to 3 days; reheat in air fryer at 375°F for 3-4 minutes. Freeze breaded uncooked strips on a baking sheet, then transfer to a freezer bag; cook from frozen at 400°F for 12-14 minutes.
- Prep Time: 10 minutes
- Cook Time: 10 minutes
- Category: Main Course
- Cuisine: American
Nutrition
- Serving Size: 4 strips (about 6 ou
- Calories: 385
- Sugar: 2
- Sodium: 680
- Fat: 9
- Saturated Fat: 2
- Carbohydrates: 28
- Fiber: 2
- Protein: 42
Keywords: air fryer chicken strips, crispy chicken strips, easy chicken dinner, healthy chicken recipe, weeknight dinner, kid-friendly chicken