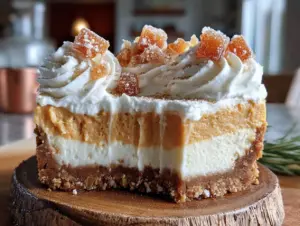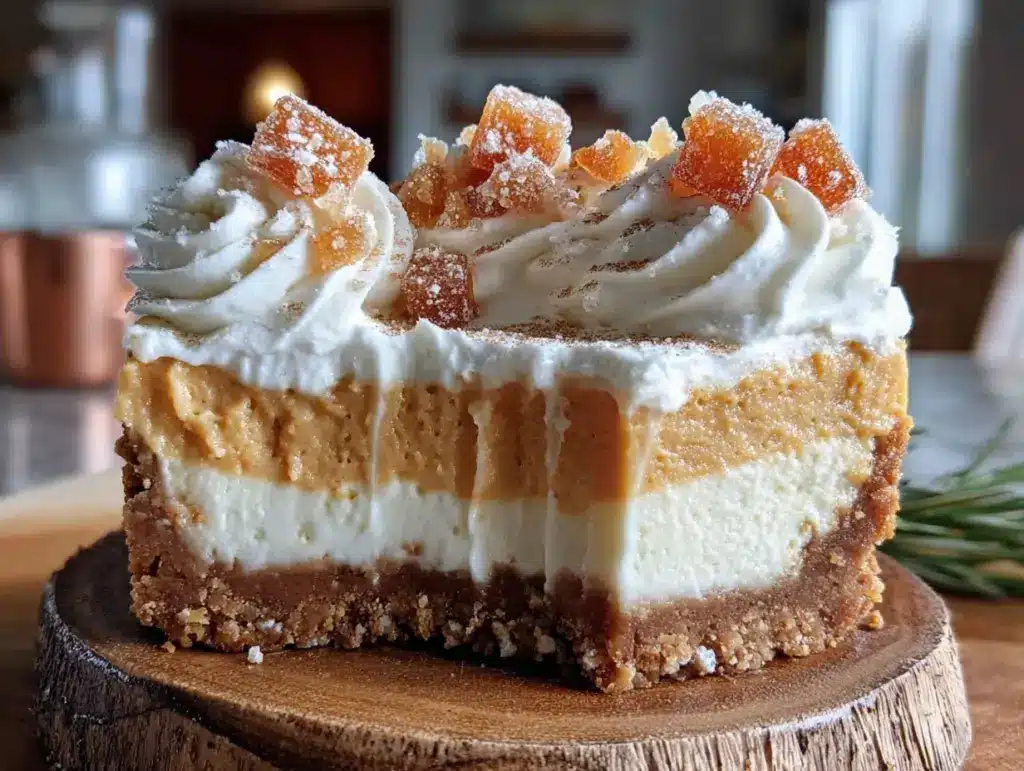
My sister called me on a Tuesday in early October, frantic because she’d volunteered to bring dessert to a family dinner the next night and realized she had zero time to bake. She needed something that tasted like a real, honest-to-goodness fall pie but couldn’t involve turning on the oven. I told her I had been looking for a dessert that actually delivered that rich, spiced pumpkin flavor and creamy texture without the hassle of a crust that cracks or a filling that bakes for an hour. For a while, I just accepted that no-bake pies were going to taste like glorified pudding cups, not the real thing. But this one—this No-Bake Pumpkin Cream Cheese Dream Pie—changed my mind completely. It was born from a late-night craving and a fridge full of cream cheese and canned pumpkin, and honestly, it was the best accident I’ve had in my kitchen all year. The filling sets up firm enough to slice cleanly, the cream cheese layer cuts the sweetness perfectly, and the whole thing comes together in about twenty minutes of actual work. My sister made it, her in-laws asked for the recipe before they even finished their slices, and now I make it for every fall gathering where I’d rather spend time with people than hover over a hot stove.
Why You’ll Love This Recipe
This pie has become my go-to for a reason—it solves the biggest problem of fall baking without sacrificing any of the flavor. You get a dessert that looks like you spent hours on it, but the oven never even gets warm.
- No Oven Required: Perfect for those days when the kitchen is already hot from cooking a big meal, or when you just don’t feel like dealing with a temperamental oven.
- Make-Ahead Magic: This pie actually needs at least 4 hours to set, which means you can make it the night before and cross “dessert” off your list entirely.
- That Cream Cheese Layer: The tangy cream cheese base is what sets this apart from every other pumpkin pie. It balances the sweet, spiced pumpkin filling in a way that makes each bite feel balanced, not cloying.
- Crowd-Pleaser: I’ve served this at Thanksgiving, Friendsgiving, and casual potlucks. It disappears fast, and people always ask if it’s from a bakery.
- Simple Ingredients: Nothing fancy here. Cream cheese, canned pumpkin, a few pantry spices, and a store-bought crust. You probably have most of it already.
What makes this recipe different from the dozens of other no-bake pumpkin pies out there is the texture. The cream cheese layer isn’t just an afterthought—it’s a thick, luscious foundation that holds its own against the pumpkin layer. And the pumpkin filling itself uses a trick with instant pudding mix that gives it a stable, sliceable consistency without any gelatin or weird ingredients. It’s the kind of pie that makes you close your eyes after the first bite, because it tastes like everything fall should be, without any of the stress.
What Ingredients You Will Need
This recipe uses simple, wholesome ingredients to deliver that bold pumpkin flavor and silky-smooth texture without any fuss. Most of these are pantry staples or easy to find at any grocery store.
- For the Crust:
- 1 (9-inch) store-bought graham cracker crust (or a homemade one if you’re feeling ambitious)
- You can also use a shortbread or vanilla wafer crust—just avoid chocolate, as it competes with the pumpkin.
- For the Cream Cheese Layer:
- 8 ounces cream cheese, softened to room temperature (I use Philadelphia—full fat gives the best texture and tang)
- 1/2 cup powdered sugar (adds sweetness without grittiness)
- 1 teaspoon vanilla extract (pure, not imitation, for the best flavor)
- 1/2 cup heavy whipping cream, cold (you’ll whip this yourself for a light, airy texture)
- For the Pumpkin Layer:
- 1 (15-ounce) can pure pumpkin puree (not pumpkin pie filling—you want the unsweetened stuff so you control the sugar and spice)
- 1 (3.4-ounce) box instant vanilla pudding mix (this is the secret to that firm, sliceable texture)
- 1/2 cup cold milk (whole milk works best, but 2% is fine)
- 1/2 cup packed light brown sugar (adds depth and a hint of molasses)
- 1 teaspoon ground cinnamon
- 1/2 teaspoon ground ginger
- 1/4 teaspoon ground nutmeg (freshly grated is amazing if you have it)
- 1/4 teaspoon ground cloves
- 1/8 teaspoon salt (don’t skip it—it makes all the flavors pop)
- For the Topping (optional but highly recommended):
- 1 cup heavy whipping cream, cold
- 2 tablespoons powdered sugar
- 1/2 teaspoon vanilla extract
- Ground cinnamon or pumpkin pie spice for dusting
Equipment Needed
You don’t need any fancy tools for this pie, which is part of its charm. Here’s what you’ll need:
- A 9-inch pie plate (if you’re making your own crust) or a store-bought crust in its own tin
- An electric hand mixer or stand mixer (you could do this by hand with a whisk, but your arm will thank you for using a mixer)
- A large mixing bowl for the cream cheese layer
- A medium mixing bowl for the pumpkin layer
- A rubber spatula for folding and scraping
- Measuring cups and spoons
- Plastic wrap or a pie dome for covering
If you don’t have a hand mixer, a whisk and some elbow grease will work for the cream cheese layer—just make sure the cream cheese is really soft. For the whipped cream topping, a whisk is actually my preferred method because it’s easier to control, but the mixer is faster. I’ve made this pie with a cheap hand mixer I bought for $15, and it worked perfectly. No need to invest in anything special.
Preparation Method
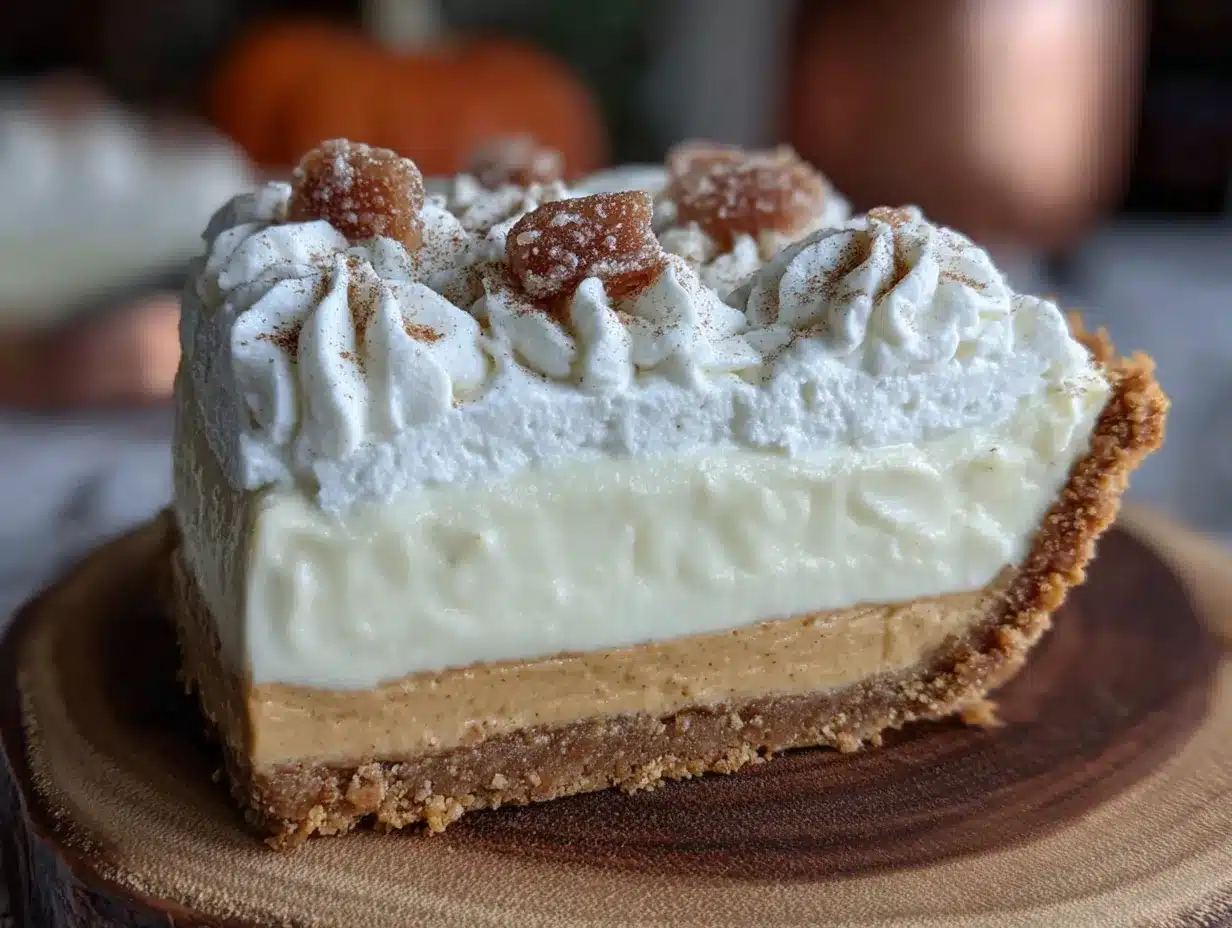
This pie comes together in layers, and each one is simple. The key is patience—let the cream cheese soften fully, and give the pie enough time to set in the fridge. Trust me, it’s worth the wait.
- Make the Cream Cheese Layer: In a large mixing bowl, beat the softened cream cheese with an electric mixer on medium speed until it’s smooth and fluffy, about 2 minutes. Scrape down the sides of the bowl with a rubber spatula. Add the powdered sugar and vanilla extract, then beat again until everything is combined and creamy, about 1 minute. In a separate bowl (or the same bowl if you wash it), pour the cold heavy cream. Using clean beaters, whip the cream on medium-high speed until stiff peaks form—this takes about 3-4 minutes. You’ll know it’s ready when you lift the beaters and the cream stands up in firm peaks. Gently fold the whipped cream into the cream cheese mixture using a rubber spatula. Fold until no white streaks remain, but don’t overmix or you’ll deflate the cream cheese layer. Spread this mixture evenly into the bottom of your pie crust. Pop it in the fridge while you make the pumpkin layer.
- Make the Pumpkin Layer: In a medium bowl, whisk together the instant vanilla pudding mix and the cold milk. Whisk for about 2 minutes until the pudding starts to thicken. It will be quite thick—that’s exactly what you want. Add the pumpkin puree, brown sugar, cinnamon, ginger, nutmeg, cloves, and salt. Whisk everything together until it’s completely smooth and well combined. The mixture will be thick and glossy, like a very dense mousse. Give it a taste—it should be nicely spiced and not too sweet. If you want more pumpkin pie spice, add a little extra cinnamon now.
- Assemble the Pie: Take the crust with the cream cheese layer out of the fridge. Spoon the pumpkin mixture on top of the cream cheese layer. Spread it gently and evenly, being careful not to disturb the cream cheese layer underneath. Smooth the top with your spatula. Cover the pie loosely with plastic wrap, making sure the wrap doesn’t touch the surface of the filling. Refrigerate for at least 4 hours, but overnight is even better. The filling needs this time to set up and become sliceable.
- Make the Topping (Optional): When you’re ready to serve, pour the cold heavy cream into a bowl. Add the powdered sugar and vanilla extract. Whip with an electric mixer or a whisk until soft peaks form—you want it to be billowy and light, not stiff. Spread or pipe the whipped cream over the set pie. Dust the top with a light sprinkle of cinnamon or pumpkin pie spice.
- Serve: Slice the pie with a sharp knife, wiping the blade clean between cuts for neat slices. Serve cold, straight from the fridge. The texture should be firm but creamy, with a clean slice through both layers.
Pro Tip: If your pumpkin layer seems too thick to spread easily, don’t worry—that’s the pudding mix doing its job. Just spoon it on and spread gently. It will settle as it chills.
Cooking Tips & Techniques
I’ve made this pie about a dozen times now, and I’ve learned a few things the hard way so you don’t have to. Here are the tricks that make this recipe foolproof.
Softening Cream Cheese the Right Way: Cold cream cheese will leave you with lumpy filling. Leave it on the counter for at least 30 minutes before you start. If you’re in a hurry, you can microwave it in 10-second bursts until it’s soft but not hot. I once forgot to soften it and ended up with a lumpy cream cheese layer that never smoothed out—still tasted good, but not as pretty.
Don’t Overwhip the Cream: For both the cream cheese layer and the topping, you want stiff peaks for the cream cheese layer and soft peaks for the topping. Overwhipped cream turns into butter, and nobody wants butter chunks in their pie filling. Watch it carefully—once it starts to look thick and holds a shape, stop mixing.
The Pudding Mix Trick: The instant vanilla pudding mix is what gives this pie its firm, sliceable texture. Don’t substitute cook-and-serve pudding—it won’t set the same way. And don’t skip it, even if you think you don’t need it. I tried making this with just pumpkin and cream cheese once, and it was soupy and sad. The pudding mix is non-negotiable.
Chilling Time is Sacred: Four hours is the absolute minimum, but overnight is ideal. If you cut into the pie too soon, the layers will slide around and you’ll end up with a mess. I know it’s tempting, but wait. Your patience will be rewarded with clean, beautiful slices.
Room Temperature Ingredients: For the cream cheese layer, make sure the cream cheese is at room temperature. For the pumpkin layer, the milk and pumpkin should be cold—that helps the pudding mix set faster. It’s a weird balance, but it works.
Variations & Adaptations
This pie is incredibly versatile, and I’ve played around with it more times than I can count. Here are some of my favorite twists.
- Gluten-Free Version: Simply use a gluten-free graham cracker crust. Most store-bought options are clearly labeled, or you can make your own with gluten-free graham crackers. Everything else in the recipe is naturally gluten-free.
- Dairy-Free Adaptation: Use dairy-free cream cheese (I like the one from Kite Hill) and a coconut-based whipped cream for the topping. For the pumpkin layer, use a non-dairy milk like oat or almond milk. The texture will be slightly softer, so plan to chill it for at least 6 hours.
- Spice It Up: Add a pinch of cayenne pepper or a teaspoon of bourbon to the pumpkin layer for a grown-up twist. The bourbon adds a warm, smoky depth that pairs beautifully with the spices. I tried this last year for a Friendsgiving and it was a hit.
- Chocolate Version: Swap the graham cracker crust for a chocolate cookie crust (like Oreo crumbs). The chocolate and pumpkin combination is surprisingly good—think pumpkin and chocolate are a classic fall pairing.
- Pumpkin Cheesecake Style: Double the cream cheese layer and reduce the pumpkin layer slightly for a pie that’s more cheesecake than pumpkin. This is my personal favorite when I want something extra rich and decadent.
Serving & Storage Suggestions
This pie is best served cold, straight from the fridge. The firm texture and cool, creamy layers are what make it so satisfying. Here’s how to serve and store it for the best results.
Serving: Take the pie out of the fridge about 10 minutes before slicing—this takes the chill off just enough to let the flavors bloom. Slice with a sharp knife, wiping the blade clean between cuts. A dollop of extra whipped cream on each slice is never a bad idea, and a light dusting of cinnamon makes it look gorgeous. It pairs beautifully with a hot cup of coffee or a mug of spiced apple cider. For a truly decadent fall spread, serve it alongside a slice of Easy Spiced Apple Cider Bundt Cake for a dessert table that has something for everyone.
Storage: Cover the pie tightly with plastic wrap or a pie dome and store it in the refrigerator. It will keep for up to 4 days. The flavors actually get better after a day or two as the spices meld together. Don’t leave it out at room temperature for more than 2 hours, especially if you’re serving it at a party.
Freezing: You can freeze this pie for up to 2 months. Make it without the whipped cream topping, wrap it tightly in plastic wrap and then foil, and freeze. To serve, thaw it overnight in the refrigerator, then add the whipped cream topping before serving. The texture holds up surprisingly well—I’ve done this twice now for holiday prepping, and no one could tell it was frozen.
Reheating: Don’t. This is a cold pie through and through. If you want a warm pumpkin dessert, try a Easy Skillet Apple Crisp instead. This pie is meant to be enjoyed cold and creamy.
Nutritional Information & Benefits
While this is definitely a dessert, it does have a few redeeming qualities. The pumpkin puree is packed with vitamin A and fiber, and the cream cheese adds a good amount of protein. Here’s the estimated nutritional breakdown per slice (based on 8 servings with the whipped cream topping):
- Calories: 380
- Fat: 24g
- Saturated Fat: 14g
- Carbohydrates: 38g
- Sugar: 28g
- Fiber: 2g
- Protein: 5g
- Vitamin A: 150% of the Daily Value
Dietary Considerations: This recipe is vegetarian. It can be made gluten-free with a simple crust swap, and dairy-free with the substitutions mentioned above. It contains dairy and gluten (unless modified). The pumpkin provides a healthy dose of beta-carotene, which supports eye health and immune function. So, you know, it’s basically a health food. (I’m joking. Mostly.)
Conclusion
This No-Bake Pumpkin Cream Cheese Dream Pie has become my secret weapon for fall entertaining. It’s the dessert that looks like it took hours of work but actually came together in the time it takes to watch one episode of your favorite show. The combination of tangy cream cheese and spiced pumpkin, all nestled in a buttery crust, is pure comfort food magic. I love that I can make it the night before a big dinner and not worry about a thing. It frees me up to actually enjoy the party instead of stressing over a hot oven.
I hope you give this one a try. Play around with the spices, try a different crust, or double the cream cheese layer if that’s your thing. Make it your own. And when you do, come back and let me know how it turned out. Did you add extra cinnamon? Did you swap the crust? I’d love to hear about your version. Drop a comment below, share a photo, or tag me on social media. This pie is meant to be shared, and I can’t wait to see what you create.
Frequently Asked Questions
Can I use pumpkin pie filling instead of pumpkin puree?
No, please don’t. Pumpkin pie filling is already sweetened and spiced, and it has a different texture. Using it will throw off the sugar and spice balance completely. Stick with pure pumpkin puree—it’s just pumpkin, nothing else.
How long does this pie need to set in the fridge?
At least 4 hours, but overnight is best. The filling needs time to firm up so you can slice it cleanly. If you’re in a rush, 4 hours is the absolute minimum, but don’t be surprised if the slices are a little soft.
Can I make this pie in a different size pan?
You can, but you’ll need to adjust the quantities. A 9-inch deep-dish pie plate works perfectly. If you use a smaller pan, you might have leftover filling. If you use a larger pan, the layers will be thinner and the pie might not set as firmly.
Can I use a homemade graham cracker crust?
Absolutely! A homemade crust adds a nice touch. Just make sure it’s fully cooled before you add the cream cheese layer. If you’re using a pre-baked crust, let it cool completely to room temperature first.
Why did my pumpkin layer turn out runny?
This usually happens if the pudding mix didn’t set properly. Make sure you used instant pudding mix (not cook-and-serve), and that you whisked it with cold milk for the full 2 minutes. Also, double-check that your pumpkin puree isn’t watery—some brands have more moisture than others. If it’s runny, you can try chilling it longer, but it might not firm up completely.
Pin This Recipe!
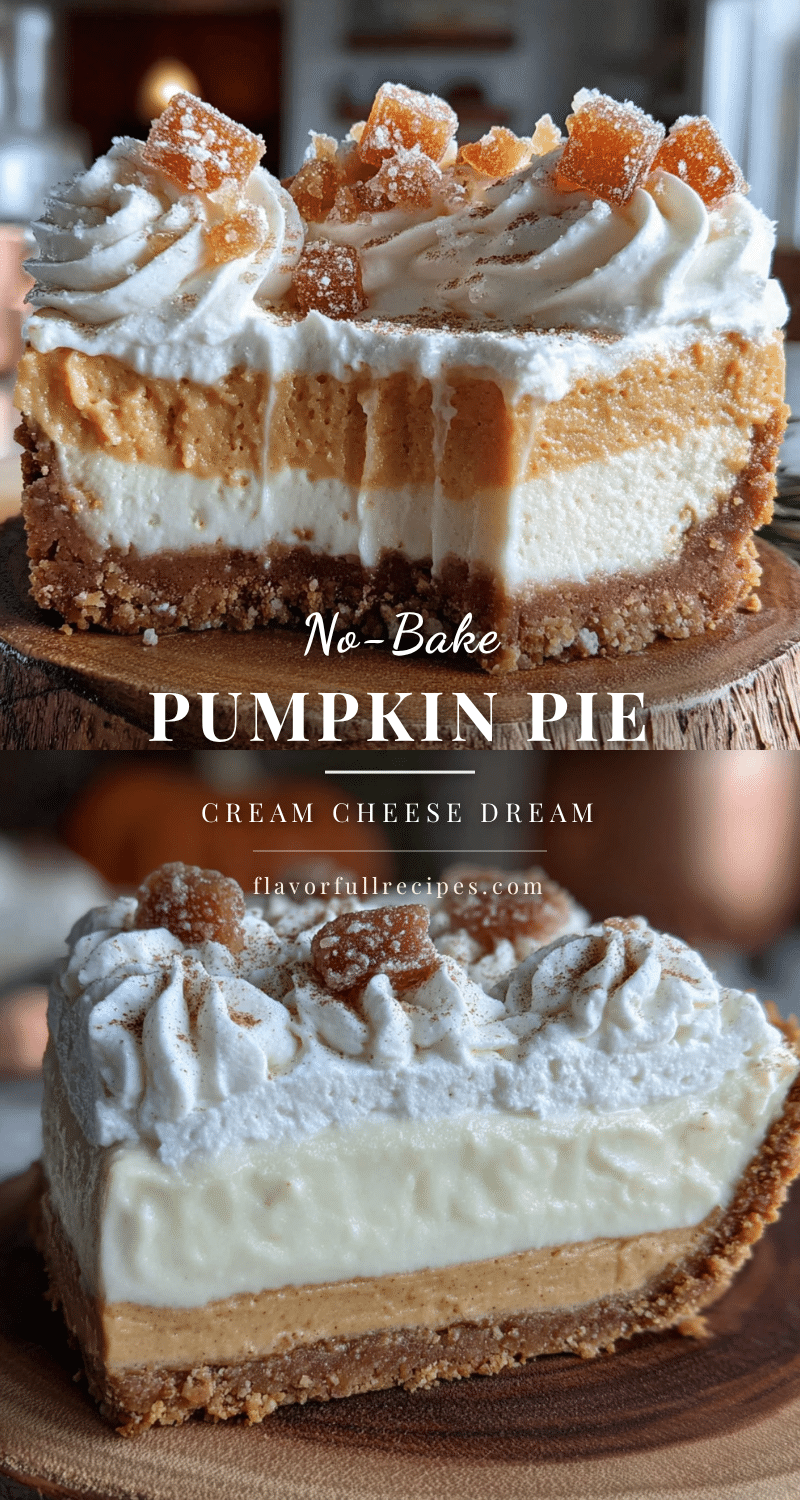
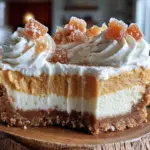
No-Bake Pumpkin Cream Cheese Dream Pie
- Total Time: 4 hours 20 minutes (includes chilling)
- Yield: 8 servings 1x
Description
A rich, spiced no-bake pumpkin pie with a tangy cream cheese layer that sets up firm enough to slice cleanly. Perfect for fall gatherings when you don’t want to turn on the oven.
Ingredients
- 1 (9-inch) store-bought graham cracker crust
- 8 ounces cream cheese, softened to room temperature
- 1/2 cup powdered sugar
- 1 teaspoon vanilla extract
- 1/2 cup heavy whipping cream, cold
- 1 (15-ounce) can pure pumpkin puree
- 1 (3.4-ounce) box instant vanilla pudding mix
- 1/2 cup cold milk
- 1/2 cup packed light brown sugar
- 1 teaspoon ground cinnamon
- 1/2 teaspoon ground ginger
- 1/4 teaspoon ground nutmeg
- 1/4 teaspoon ground cloves
- 1/8 teaspoon salt
- 1 cup heavy whipping cream, cold (for topping)
- 2 tablespoons powdered sugar (for topping)
- 1/2 teaspoon vanilla extract (for topping)
- Ground cinnamon or pumpkin pie spice for dusting
Instructions
- Make the Cream Cheese Layer: In a large mixing bowl, beat the softened cream cheese with an electric mixer on medium speed until smooth and fluffy, about 2 minutes. Scrape down the sides. Add powdered sugar and vanilla extract, beat until combined and creamy, about 1 minute. In a separate bowl, whip the cold heavy cream on medium-high speed until stiff peaks form, about 3-4 minutes. Gently fold the whipped cream into the cream cheese mixture until no white streaks remain. Spread evenly into the …
- Make the Pumpkin Layer: In a medium bowl, whisk together the instant vanilla pudding mix and cold milk for about 2 minutes until thickened. Add pumpkin puree, brown sugar, cinnamon, ginger, nutmeg, cloves, and salt. Whisk until completely smooth and well combined.
- Assemble the Pie: Remove the crust with cream cheese layer from the fridge. Spoon the pumpkin mixture on top and spread gently and evenly. Cover loosely with plastic wrap and refrigerate for at least 4 hours, preferably overnight.
- Make the Topping (Optional): When ready to serve, pour cold heavy cream into a bowl. Add powdered sugar and vanilla extract. Whip until soft peaks form. Spread or pipe over the set pie. Dust with cinnamon or pumpkin pie spice.
- Serve: Slice with a sharp knife, wiping the blade clean between cuts. Serve cold straight from the fridge.
Notes
The instant vanilla pudding mix is essential for a firm, sliceable texture. Do not substitute cook-and-serve pudding. For best results, chill overnight. The pie can be frozen for up to 2 months without the whipped cream topping.
- Prep Time: 20 minutes
- Cook Time: 0 minutes
- Category: Dessert
- Cuisine: American
Nutrition
- Serving Size: 1 slice (1/8 of pie)
- Calories: 380
- Sugar: 28
- Fat: 24
- Saturated Fat: 14
- Carbohydrates: 38
- Fiber: 2
- Protein: 5
Keywords: no-bake pumpkin pie, pumpkin cream cheese pie, easy fall dessert, no-bake dessert, pumpkin pie, cream cheese pie, Thanksgiving dessert