
My daughter asked me if I could pack her lunch five days in a row without repeating anything, and I honestly froze. Not because I couldn’t think of ideas, but because the thought of standing over a cutting board every single morning before 7 AM made my back hurt just imagining it. That’s when I realized this whole Sunday meal prep thing wasn’t just about saving time—it was about saving my sanity.
I started small, just chopping veggies and portioning out snacks on Sunday afternoons while the kids watched cartoons. But the real game-changer came when I figured out how to build entire meals ahead of time that actually stayed good by Friday. No sad, soggy sandwiches. No wilted lettuce. Just real food that held up all week.
This easy Sunday meal prep for a full school week is the system I wish I had years ago. It’s not complicated, and it definitely doesn’t require fancy containers or a second refrigerator. It just takes a little planning and a couple hours on your weekend. Honestly, that Sunday afternoon time investment pays off every single morning when you grab a lunch bag and walk out the door without breaking a sweat.
Why You’ll Love This Easy Sunday Meal Prep
I’ve tested this meal prep method through three school years, two different lunch schedules, and one particularly picky phase where my son decided he only ate orange-colored foods. It works. Here’s why this approach is different from every other meal prep plan you’ve seen.
- Time-Saving Superstar: You’ll spend about 2 hours on Sunday and save roughly 45 minutes every single weekday morning. That adds up to almost 4 extra hours in your week.
- Simple Ingredients: No weird specialty items or expensive pre-prepped foods. You probably have most of these ingredients in your kitchen right now.
- Perfect for Busy Families: This system works whether you have one kid or four, and whether they eat hot lunch, cold lunch, or a mix of both.
- Kid-Approved and Parent-Approved: My kids actually eat what I pack now, and I don’t feel guilty about throwing away uneaten food at the end of the day.
- Unbelievably Flexible: You can swap proteins, switch up veggies, and change snacks based on what’s on sale or what your kids are currently obsessed with.
What makes this method stand out is the way I structure the prep. Instead of making complete meals that get boring by Wednesday, I prep components that you can mix and match all week. That means your kid gets variety without you doing extra work. It’s the kind of system that makes you feel like you’ve hacked the school year.
Let’s be real—mornings are hard enough without adding lunch assembly to the chaos. This easy Sunday meal prep for a full school week takes that mental load off your shoulders. You’ll know exactly what’s in the fridge, what needs to go in the lunch bag, and that everything is healthy and ready to go.
What Ingredients You Will Need
This meal prep system relies on simple, whole ingredients that you can find at any grocery store. I’ve organized everything by category so you can shop efficiently and prep in batches.
Protein Options (Pick 2-3 for the Week)
- Cooked chicken breast – about 2 pounds, seasoned simply with salt and pepper (works in wraps, salads, and bento boxes)
- Hard-boiled eggs – 6 to 12 eggs, cooked to your preference (I like mine cooked for exactly 11 minutes for jammy yolks)
- Turkey or ham slices – 1 pound from the deli counter (look for low-sodium options if that matters to you)
- Canned tuna or chicken – 2 to 3 cans, drained (great for quick salads when you’re in a pinch)
- Rotisserie chicken – 1 whole chicken (this is my secret weapon for busy weeks)
Carb and Grain Options (Pick 2-3)
- Whole wheat tortillas – 1 package (I prefer the brand Guerrero for flexibility)
- Cooked pasta – 2 cups of any small shape like rotini or shells (use whole wheat for extra fiber)
- Cooked rice – 2 cups, brown or white (cool completely before storing)
- Bread or rolls – 1 loaf, sliced (store in the freezer to keep fresh)
- Pita pockets – 1 package (kids love stuffing these with their favorite fillings)
Vegetable Options (Pick 3-4)
- Baby carrots – 1 bag (no prep needed, just wash and portion)
- Cherry tomatoes – 1 pint (keep whole, they last longer)
- Cucumber – 2 to 3, sliced into rounds or sticks
- Bell peppers – 2 to 3, any color, sliced into strips
- Snap peas or snow peas – 1 bag (rinse and trim ends)
- Broccoli florets – 2 cups (blanch for 2 minutes if your kids prefer them tender)
Fruit Options (Pick 2-3)
- Apples – 4 to 6, sliced and tossed with lemon juice to prevent browning
- Grapes – 1 bag, washed and pulled from stems
- Berries – 1 pint each of strawberries, blueberries, or raspberries
- Orange slices – 3 to 4 oranges, peeled and sectioned
- Bananas – 4 to 5 (pack these whole in the lunch bag right before leaving)
Snack and Topper Options (Pick 3-4)
- Cheese sticks or cheese cubes – 1 package (string cheese is always a hit)
- Yogurt tubes or cups – 1 package (freeze these to keep lunches cold)
- Pretzels or crackers – 1 box of your kid’s favorite
- Nuts or trail mix – 1 bag (check school nut policies first)
- Granola bars – 1 box (look for ones with at least 3 grams of fiber)
- Hummus or ranch dip – 1 container (portion into small cups)
I always keep these ingredients on hand because they form the base of almost every lunch I pack. The beauty of this system is that you can rotate based on what’s in season or what your kids are currently into. My son went through a phase where he only wanted cheese quesadilla wedges for two straight weeks, and this prep method handled it without any extra work.
Equipment Needed
You don’t need a fancy kitchen to make this work. Here’s what I actually use every single Sunday.
- Large cutting board – Get a big one so you can chop multiple veggies without stopping to clean
- Sharp chef’s knife – A good knife makes prep faster and safer (I use a 8-inch Wusthof)
- Mixing bowls – At least 3 different sizes for combining ingredients
- Meal prep containers – I recommend glass ones with snap lids for wet ingredients and plastic ones for dry snacks
- Small silicone cups or muffin liners – Perfect for portioning dips, sauces, and small snacks
- Sheet pans – For roasting veggies or holding prepped ingredients
- Parchment paper – Makes cleanup a breeze and keeps things from sticking
- Lunch bags or bento boxes – I use a simple insulated bag with an ice pack for each kid
- Ice packs – Get the thin, flexible ones that fit easily into lunch bags
If you don’t have glass containers, don’t stress. I used plastic ones for years before upgrading, and they worked just fine. The key is having enough containers to hold everything you prep so you’re not washing dishes mid-week.
Preparation Method
Here’s my exact Sunday routine that gets me through a full school week. I’ve timed everything so you can plan your afternoon.
Step 1: Wash and Prep All Produce (30 minutes)
Start by washing everything at once. Fill your sink with cold water and a splash of vinegar, then dunk all your fruits and vegetables. Let them drip dry on a clean towel while you set up your cutting board.
Chop your vegetables into lunch-friendly sizes. For cucumbers, I slice them into rounds about a quarter-inch thick. Bell peppers get cut into strips that are easy for little hands to grab. Carrots can stay whole if they’re baby carrots, or cut them into sticks if you bought full-size ones.
For fruit that browns, like apples and pears, toss the slices in a bowl with a squeeze of lemon juice and a tablespoon of water. This keeps them looking fresh all week. Grapes and berries just need a good rinse and a gentle pat dry.
Step 2: Cook Your Proteins (25 minutes)
If you’re using chicken breasts, season them with salt, pepper, and a little garlic powder, then bake at 375°F for 20-25 minutes until the internal temperature hits 165°F. Let them cool completely before slicing or shredding.
For hard-boiled eggs, place them in a pot and cover with cold water by about an inch. Bring to a boil, then cover and remove from heat. Let them sit for 11 minutes, then transfer to an ice bath. This gives you perfectly cooked eggs every single time.
If you’re using a rotisserie chicken, just pull the meat off the bones and shred it into a bowl. This takes about 10 minutes and saves you a ton of cooking time.
Step 3: Cook Grains and Pasta (20 minutes)
Cook your rice or pasta according to package directions, then spread it out on a sheet pan to cool quickly. This prevents it from getting mushy in the containers. Once it’s cool, transfer to your storage containers.
For pasta, I like to toss it with a little olive oil to keep it from sticking together. This also adds a bit of healthy fat to the meal.
Step 4: Portion Snacks and Extras (15 minutes)
This is where the small containers and silicone cups come in handy. Portion out your crackers, pretzels, nuts, and dried fruit into individual servings. I use a quarter-cup measure for most snacks, which gives a good portion without being too much.
For dips like hummus, ranch, or yogurt, fill small cups with about two tablespoons each. This prevents waste and makes grabbing lunch in the morning incredibly fast.
Step 5: Assemble Lunch Components (20 minutes)
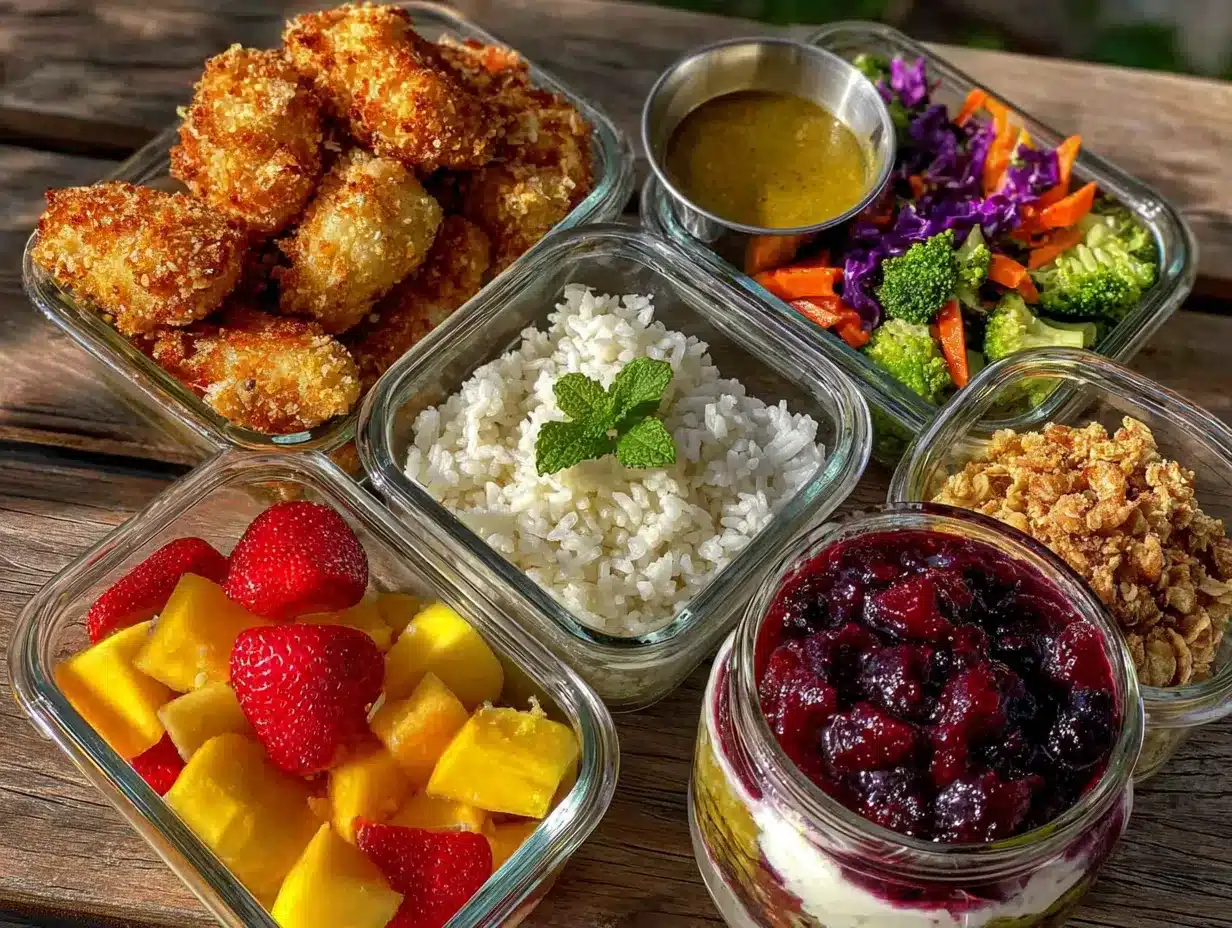
Now you’re going to build the base of each lunch. I use a bento-style approach where each container has a protein, a carb, a vegetable, a fruit, and a snack. You don’t have to assemble every single lunch completely—just have all the components ready.
For example, I’ll put shredded chicken in one container, cooked rice in another, and sliced cucumbers and apples in separate containers. Then each morning, I grab one of each and toss them in the lunch bag. This takes about 2 minutes per lunch.
If you want to go the extra mile, you can assemble full bento lunch boxes for picky kindergartners that are ready to grab and go.
Step 6: Label and Store (5 minutes)
Use masking tape and a marker to label everything with the day of the week or just “lunch components.” Store all the containers in one section of your fridge so you can grab them quickly. I keep a shelf dedicated to lunch stuff, and it makes mornings so much easier.
For items that freeze well, like yogurt tubes, granola bars, and some fruits, I keep extras in the freezer. These double as ice packs when you pack them in the morning, and they thaw by lunchtime.
Cooking Tips & Techniques
After years of doing this every single week, I’ve learned a few things the hard way. Let me save you some trouble.
Don’t chop everything on Sunday. I know it sounds counterintuitive, but some things really do better when prepped the night before. Avocados, for example, turn brown no matter what you do. Just prep those the night before or even the morning of.
Keep wet and dry ingredients separate. If you’re making a pasta salad or a chicken salad, store the dressing or sauce separately and mix it right before eating. This keeps everything from getting soggy. I learned this lesson after a particularly sad batch of tuna salad that turned into soup by Wednesday.
Use the freezer strategically. You can freeze prepped sandwiches, wraps, and even some fruits. Pull them out the night before and they’ll be thawed and ready by morning. This works especially well for turkey ranch pinwheel sandwiches and similar roll-ups.
Invest in good ice packs. Thin, flexible ice packs fit better in lunch bags and keep food cold longer than the bulky ones. I freeze two per lunch bag and rotate them throughout the week.
Prep for the whole family, not just the kids. I started making double batches of everything so my husband and I could grab lunch components too. It saves us money and keeps us from ordering takeout on busy days.
One mistake I made early on was prepping too much food. Start with just a few components and see how much your family actually eats. You can always add more next week. Trust me, throwing away prepped food feels worse than not prepping enough.
Variations & Adaptations
This system is incredibly flexible. Here are some ways I’ve adapted it for different needs and preferences.
Dietary Adaptations
Gluten-Free: Swap regular tortillas for corn or gluten-free wraps, use gluten-free pasta or rice, and choose certified gluten-free crackers and granola bars.
Dairy-Free: Replace cheese sticks with dairy-free alternatives, use hummus instead of ranch dip, and skip yogurt tubes in favor of fruit pouches.
Nut-Free: This is crucial for many schools. Replace nut butters with sunflower seed butter, skip trail mix with nuts, and use seed-based crackers instead of nut-based ones.
Seasonal Variations
Fall: Roast sweet potatoes and apples for a warm, comforting component. Add pumpkin seeds for extra crunch.
Summer: Focus on fresh, raw vegetables and fruits that don’t require cooking. Think cucumber sticks, cherry tomatoes, and melon balls.
Winter: Hearty soups and stews in thermoses are perfect for cold days. Prep these on Sunday and reheat in the morning.
Flavor Twists
Mexican-inspired: Use black beans, corn, diced tomatoes, and shredded cheese as components. Add a side of salsa for dipping.
Asian-inspired: Cook edamame, slice snap peas, and make a simple soy-ginger dipping sauce. Use rice or soba noodles as the base.
Italian-inspired: Prep mini meatballs, cooked pasta, cherry tomatoes, and mozzarella balls. Pack a small container of marinara for dipping.
My personal favorite variation is the turkey and hummus bento box that my kids absolutely devour. It’s simple, healthy, and comes together in minutes with prepped ingredients.
Serving & Storage Suggestions
Getting the most out of your meal prep means storing everything correctly and serving it at its best.
Serving Temperature: Most lunch components are served cold or at room temperature. If you’re packing hot items like soup or pasta, use a thermos and preheat it with hot water for 5 minutes before adding the food.
Presentation Matters: Even for kids, a little presentation goes a long way. Use cookie cutters to make sandwiches into fun shapes, or arrange veggies in a rainbow pattern. My daughter eats more when her lunch looks pretty.
Storage Guidelines: Most prepped components will stay fresh for 4-5 days in the refrigerator. Store everything in airtight containers to prevent cross-contamination and keep flavors separate. I keep proteins on the bottom shelf, vegetables in the crisper drawer, and snacks on the door.
Freezer Options: You can freeze prepped sandwiches, wraps, cooked chicken, and most fruits. Thaw overnight in the refrigerator. I make a month’s worth of no-bake energy bites at a time and keep them in the freezer for quick snacks.
Reheating Tips: If your child has access to a microwave at school, pack components in microwave-safe containers. For items that need reheating, I recommend packing them separately and letting your child heat them at lunchtime. Always test the temperature before sending hot items.
Flavors actually develop nicely over the week. The chicken salad tastes better on Wednesday than it did on Monday because the seasonings have had time to meld. Pasta salads also improve after a day or two in the fridge.
Nutritional Information & Benefits
This meal prep system is designed to provide balanced nutrition for growing kids without requiring a nutrition degree to execute.
Estimated Nutritional Values (per typical lunch):
| Component | Calories | Protein | Fiber |
|---|---|---|---|
| Protein (3 oz chicken) | 140 | 26g | 0g |
| Carb (1/2 cup rice) | 110 | 2g | 1g |
| Vegetables (1 cup mixed) | 50 | 2g | 3g |
| Fruit (1 cup berries) | 85 | 1g | 4g |
| Snack (1 cheese stick) | 80 | 7g | 0g |
| Total | 465 | 38g | 8g |
Health Benefits: This approach ensures your child gets a mix of protein for sustained energy, complex carbohydrates for brain function, and fiber for digestive health. The variety of vegetables and fruits provides essential vitamins and antioxidants.
Dietary Considerations: This system is naturally low in added sugars and can be adapted for gluten-free, dairy-free, or nut-free diets. It’s also easy to make vegetarian by swapping animal proteins for beans, tofu, or eggs.
Potential Allergens: Common allergens in this system include dairy (cheese, yogurt), nuts (trail mix, nut butters), and gluten (bread, crackers, pasta). Always check labels and adapt based on your child’s needs.
I personally love that this system helps my kids eat a wider variety of foods. When everything is prepped and ready, they’re more likely to try new vegetables and fruits because there’s no pressure and no extra work involved.
Conclusion
This easy Sunday meal prep for a full school week has genuinely changed how our family handles school mornings. No more frantic scrambling, no more forgotten lunches, and definitely no more spending money on school lunch that my kids might not even eat. It’s one of those systems that pays for itself in time, money, and peace of mind.
I encourage you to start small. Pick just a few components to prep this Sunday and see how it feels. You might find that you love having the extra time in the morning, or that your kids actually eat better when lunches are prepped with care. Customize the system to fit your family’s tastes and schedule, and don’t be afraid to change things up when something isn’t working.
My favorite part of this whole routine is sitting down on Sunday afternoon with a cup of coffee, listening to music, and knowing that I’m setting our week up for success. It’s a small investment of time that makes every single morning easier. If you try this system, I’d love to hear how it works for your family. Drop a comment below and let me know what components you prep, what your kids love, and what variations you come up with. Happy prepping!
Frequently Asked Questions
Can I prep lunches for the whole month at once?
You can prep some components in bulk and freeze them, but most fresh vegetables and fruits won’t last more than 5-7 days in the refrigerator. I recommend prepping weekly for the best quality and variety.
What if my child doesn’t eat the prepped food?
Start with foods you know they already like, and introduce new items slowly. You can also let them help with the prep process—kids are more likely to eat food they helped prepare. If something doesn’t work, just swap it out next week.
How do I keep prepped food from getting boring?
The key is variety within the system. Prep different proteins, vegetables, and snacks each week. You can also change up the presentation by using different containers, cutting foods into fun shapes, or adding a small treat like a sticker or a note.
Is it safe to keep prepped food in the refrigerator for 5 days?
Yes, as long as you store everything in airtight containers and keep your refrigerator at or below 40°F. Cooked proteins should be eaten within 4 days, while most fruits and vegetables will last 5-7 days. Always check for signs of spoilage before serving.
Can I use this system for adults too?
Absolutely! I make double batches of everything so my husband and I can grab lunch components too. It saves us money on takeout and helps us eat healthier during busy workdays. Just adjust the portion sizes and add more protein if needed.
Pin This Recipe!
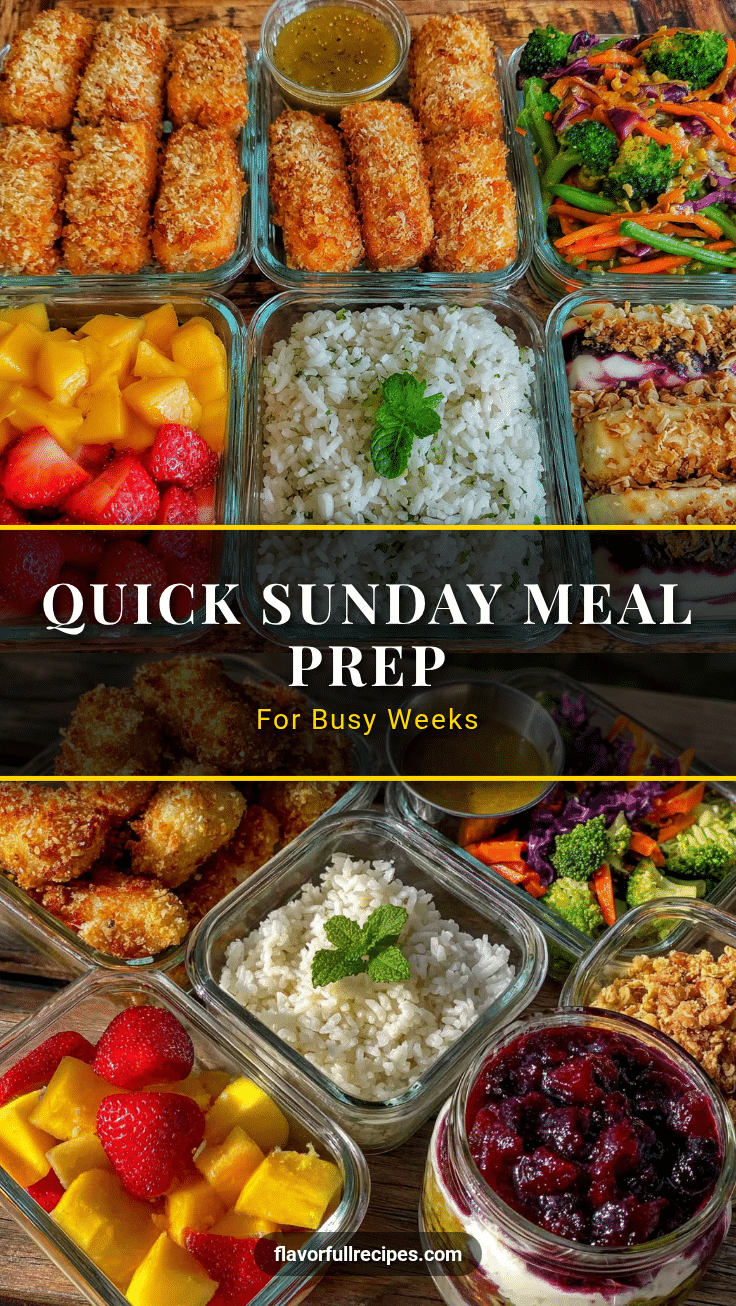
Easy Sunday Meal Prep for a Full School Week
- Total Time: 2 hours 45 minutes
- Yield: 5 lunches 1x
Description
A simple Sunday meal prep system that saves time and sanity by prepping lunch components for the entire school week. This method uses whole ingredients and flexible components to create varied, healthy lunches without morning stress.
Ingredients
- 2 pounds cooked chicken breast, seasoned with salt and pepper
- 6 to 12 hard-boiled eggs
- 1 pound turkey or ham slices (low-sodium if desired)
- 2 to 3 cans tuna or chicken, drained
- 1 whole rotisserie chicken
- 1 package whole wheat tortillas
- 2 cups cooked pasta (small shape like rotini or shells)
- 2 cups cooked rice (brown or white)
- 1 loaf bread or rolls
- 1 package pita pockets
- 1 bag baby carrots
- 1 pint cherry tomatoes
- 2 to 3 cucumbers, sliced into rounds or sticks
- 2 to 3 bell peppers (any color), sliced into strips
- 1 bag snap peas or snow peas
- 2 cups broccoli florets
- 4 to 6 apples, sliced and tossed with lemon juice
- 1 bag grapes, washed and pulled from stems
- 1 pint each strawberries, blueberries, or raspberries
- 3 to 4 oranges, peeled and sectioned
- 4 to 5 bananas
- 1 package cheese sticks or cheese cubes
- 1 package yogurt tubes or cups
- 1 box pretzels or crackers
- 1 bag nuts or trail mix (check school nut policies)
- 1 box granola bars (at least 3 grams of fiber)
- 1 container hummus or ranch dip
Instructions
- Wash and prep all produce: Wash fruits and vegetables in cold water with a splash of vinegar. Chop vegetables into lunch-friendly sizes. For apples and pears, toss slices with lemon juice and water to prevent browning.
- Cook proteins: Season chicken breasts with salt, pepper, and garlic powder; bake at 375°F for 20-25 minutes until internal temperature reaches 165°F. Cool completely before slicing or shredding. For hard-boiled eggs, place in pot, cover with cold water, bring to boil, cover, remove from heat, let sit 11 minutes, then transfer to ice bath. For rotisserie chicken, pull meat off bones and shred.
- Cook grains and pasta: Cook rice or pasta according to package directions. Spread on a sheet pan to cool quickly. Toss pasta with a little olive oil to prevent sticking.
- Portion snacks and extras: Use small containers or silicone cups to portion crackers, pretzels, nuts, dried fruit, and dips (about 2 tablespoons each for dips).
- Assemble lunch components: Use a bento-style approach with each container having a protein, carb, vegetable, fruit, and snack. Store components separately for mix-and-match variety.
- Label and store: Use masking tape and marker to label containers. Store all lunch components in one section of the fridge. Freeze items like yogurt tubes and granola bars to double as ice packs.
Notes
Start with a few components and adjust based on family preferences. Keep wet and dry ingredients separate to prevent sogginess. Use the freezer strategically for prepped sandwiches, wraps, and fruits. Invest in good ice packs. Prep for the whole family to save money and reduce takeout.
- Prep Time: 2 hours
- Cook Time: 45 minutes
- Category: Main Course
- Cuisine: American
Nutrition
- Serving Size: 1 lunch
- Calories: 465
- Sugar: 15
- Sodium: 600
- Fat: 12
- Saturated Fat: 4
- Carbohydrates: 45
- Fiber: 8
- Protein: 38
Keywords: meal prep, school lunch, Sunday meal prep, lunch box, bento, kid-friendly, healthy lunch, easy lunch, family meal prep


