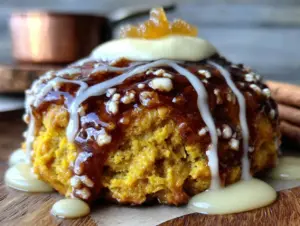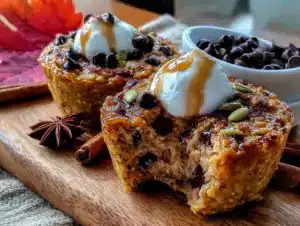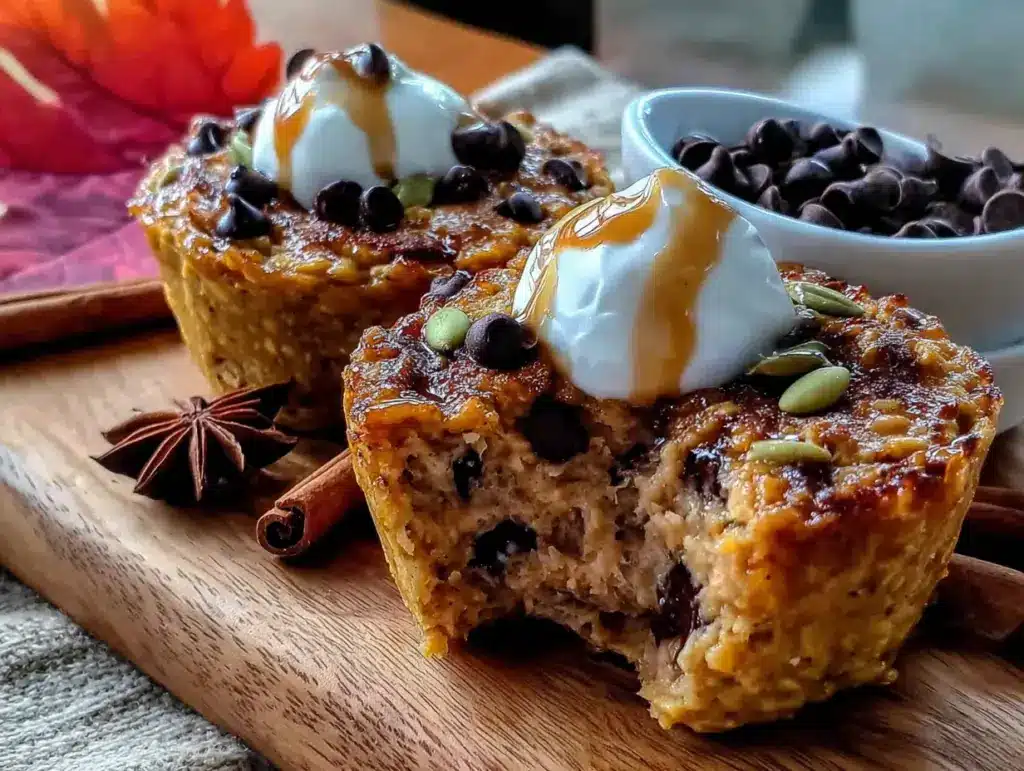
This was supposed to be a loaf of pumpkin bread. I had the flour measured, the spices lined up, and my toddler strapped into her high chair with a plastic spoon, ready to “help.” But somewhere between the coffee and the chaos, I grabbed the wrong measuring cup—the one for liquids—and dumped in way too much milk. The batter was a soupy mess. I stood there, staring at this thin, sad-looking mixture, already picturing the flat, gummy brick that would emerge from the oven. My daughter was banging her spoon, and I was this close to just pouring the whole thing down the sink.
But I hate wasting food, especially when groceries cost what they do. So I grabbed a muffin tin, threw in some oats to soak up the liquid, and baked it anyway. What came out was nothing like the plan—and better. They were soft, a little chewy, and smelled like fall in a way that made you forget it was just a Tuesday morning. The best part? My kid, who usually picks at anything orange, grabbed one with both hands and didn’t let go until it was gone. I mean, honestly, that’s the kind of kitchen victory you don’t plan for. Maybe you’ve been there—a recipe gone sideways that somehow turns into the one you make on purpose. These pumpkin baked oatmeal cups are that accident, and they’ve been on heavy rotation ever since.
Why You’ll Love This Recipe
Let me tell you why these little cups have become a staple in my house. First off, they’re practically foolproof. I’ve made them when I was distracted, tired, and running on three hours of sleep, and they still turned out great. That’s the kind of recipe you need when life feels like a circus.
- Budget-Friendly: This recipe uses pantry staples you probably already have—oats, canned pumpkin, eggs, and a few spices. No fancy ingredients or trips to a specialty store. A can of pumpkin costs about two bucks and makes the whole batch.
- Kid-Approved: My daughter calls them “pumpkin muffins,” and she eats them for breakfast, snack, and sometimes dessert. They’re sweet enough to feel like a treat but packed with fiber and protein to keep little bellies full.
- Quick & Easy: From start to finish, you’re looking at about 35 minutes. Mix everything in one bowl, scoop into a muffin tin, and bake. No electric mixer needed, no complicated steps.
- Perfect for Meal Prep: Make a batch on Sunday, and you’ve got breakfast or snacks for the whole week. They store beautifully in the fridge and freeze like a dream.
- Crowd-Pleaser: I’ve brought these to playdates, and they disappear faster than anything else on the table. Even adults go back for seconds.
What makes these different from other baked oatmeal recipes? It’s the texture. They’re not too dry or too mushy—they hit that perfect middle ground where they’re tender but hold their shape. The pumpkin keeps them moist without making them heavy, and the oats give them a satisfying chew. Plus, they’re not loaded with sugar. You get just enough sweetness from maple syrup or brown sugar to make them taste like a treat, but they won’t send your kids bouncing off the walls.
This recipe is the kind that makes you close your eyes after the first bite. It’s comfort food for busy mornings—healthier than a muffin, faster than a bowl of oatmeal, and way more fun to eat. Perfect for impressing other parents without stressing yourself out.
What Ingredients You Will Need
This recipe uses simple, wholesome ingredients to deliver big flavor without breaking the bank. Most of these are things you already have in your pantry or fridge. Here’s what you’ll need:
- Rolled oats: 2 cups (180g). Use old-fashioned rolled oats, not quick oats. They hold their texture better and give the cups a nice chew. Quick oats will make them mushy.
- Canned pumpkin puree: 1 cup (240g). Make sure you’re getting pure pumpkin, not pumpkin pie filling. The pie filling has added sugar and spices that will throw off the balance. I like Libby’s for consistent texture.
- Milk: 1 cup (240ml). Any milk works here—dairy, almond, oat, or soy. I usually use whole milk because that’s what we have, but I’ve made them with unsweetened almond milk and they turned out just fine.
- Eggs: 2 large. They help bind everything together and add protein. If you need an egg-free version, use two flax eggs (2 tablespoons ground flaxseed mixed with 6 tablespoons water).
- Maple syrup or brown sugar: 1/3 cup (80ml for maple syrup, 65g for brown sugar). Maple syrup gives a warmer flavor, but brown sugar works in a pinch. You can also use honey, but it’ll make the cups slightly denser.
- Coconut oil or melted butter: 3 tablespoons (45ml). Adds moisture and richness. I use melted butter because it’s cheaper, but coconut oil keeps them dairy-free and adds a subtle sweetness.
- Vanilla extract: 1 teaspoon. Just a splash for depth of flavor.
- Pumpkin pie spice: 2 teaspoons. If you don’t have pumpkin pie spice, mix 1 teaspoon cinnamon, 1/2 teaspoon ginger, 1/4 teaspoon nutmeg, and 1/4 teaspoon cloves.
- Cinnamon: 1 teaspoon. For extra warmth.
- Baking powder: 1 1/2 teaspoons. Helps them rise just a bit so they’re not dense.
- Salt: 1/4 teaspoon. Balances the sweetness.
- Optional mix-ins: 1/2 cup chocolate chips, chopped nuts, or dried cranberries. I usually add mini chocolate chips because my kid thinks they’re the best part.
One thing I’ve learned—always check your pumpkin puree before you start. Sometimes cans can be watery, and that throws off the texture. If your puree looks thin, drain off any excess liquid before measuring. Also, if you’re buying rolled oats in bulk, store them in an airtight container so they stay fresh. Stale oats make sad oatmeal cups.
Equipment Needed
You don’t need a fancy kitchen to make these. Here’s what you’ll need:
- Muffin tin: A standard 12-cup muffin tin. I use a non-stick one, but if yours isn’t, just line the cups with paper liners or grease them well.
- Mixing bowls: One large bowl and one medium bowl. I use a big ceramic bowl for the wet ingredients and a smaller one for the dry.
- Whisk and spatula: A whisk for the wet ingredients and a rubber spatula for folding everything together. A wooden spoon works too.
- Measuring cups and spoons: Dry and liquid measuring cups. Trust me, using the right ones makes a difference—liquid measuring cups have a spout and are easier to pour from.
- Ice cream scoop or spoon: For portioning the batter into the muffin cups. An ice cream scoop makes it neat and even.
- Cooling rack: Optional but helpful. Letting the cups cool on a rack prevents the bottoms from getting soggy.
If you don’t have a muffin tin, you can bake this in an 8×8-inch baking dish. Just spread the mixture evenly and bake for 5-10 minutes longer. You’ll get more of a bar than individual cups, but it tastes the same. I’ve also used silicone muffin cups, and they work great—just place them on a baking sheet for stability.
Preparation Method
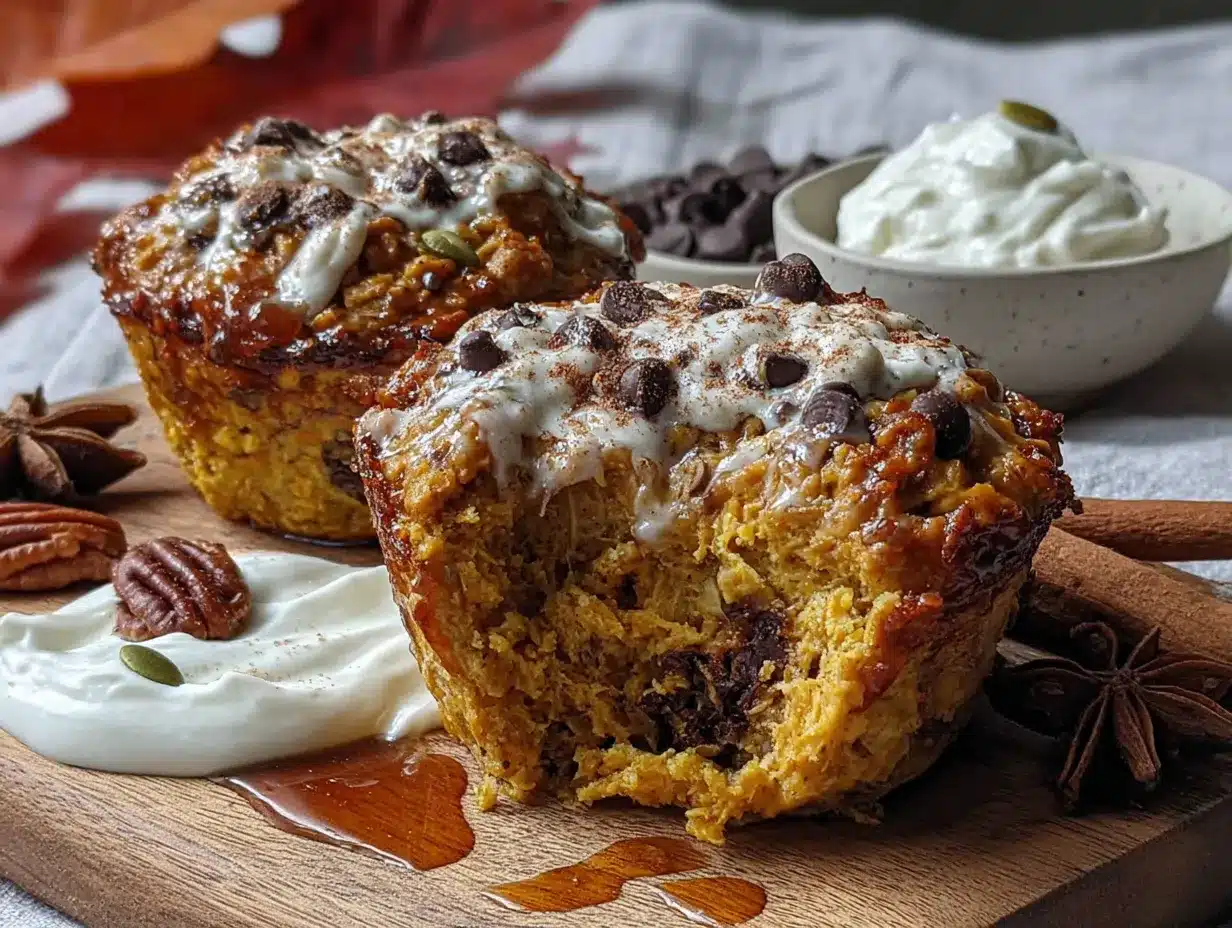
Alright, let’s get cooking. This comes together fast, so read through the steps once before you start. Trust me, it makes everything smoother.
- Preheat your oven to 375°F (190°C). Grease your muffin tin with butter or cooking spray, or line with paper liners. I find that paper liners make cleanup way easier, especially if you’re adding chocolate chips that might stick.
- Mix the dry ingredients. In a medium bowl, whisk together the rolled oats, pumpkin pie spice, cinnamon, baking powder, and salt. Make sure everything is evenly distributed—you don’t want one cup to get all the spice and another to get none.
- Mix the wet ingredients. In a large bowl, whisk together the pumpkin puree, milk, eggs, maple syrup (or brown sugar), melted coconut oil (or butter), and vanilla extract. Whisk until smooth and well combined. The mixture should be a deep orange color and smell amazing already.
- Combine wet and dry. Pour the dry ingredients into the wet ingredients and fold together with a spatula until just combined. Don’t overmix—a few streaks of flour are fine. Overmixing makes the cups tough, and nobody wants a tough oatmeal cup.
- Add mix-ins. If you’re using chocolate chips, nuts, or dried fruit, fold them in gently at this point. I usually reserve a handful to sprinkle on top for a prettier presentation.
- Let the batter rest. This is a step I learned the hard way. Let the batter sit for 5 minutes before scooping. This gives the oats time to absorb some of the liquid, which makes the cups fluffier and more cohesive. While you wait, you can clean up a bit or get your kid set up with a snack.
- Scoop the batter. Using an ice cream scoop or a spoon, divide the batter evenly among the 12 muffin cups. Fill each cup almost to the top—these don’t rise much, so you can be generous. Sprinkle any reserved mix-ins on top.
- Bake. Place the muffin tin on the middle rack and bake for 18-22 minutes. The cups are done when the tops are set and golden, and a toothpick inserted in the center comes out clean or with a few moist crumbs. My oven runs hot, so I check at 18 minutes.
- Cool. Let the cups cool in the tin for 5 minutes, then transfer them to a cooling rack. This resting time helps them set, so don’t skip it. If you try to take them out too early, they might fall apart.
- Serve warm or at room temperature. These are amazing warm, but they’re also delicious cold. My daughter likes them straight from the fridge.
One thing I always do—after scooping the batter, I lick the spatula. It’s a chef’s privilege, and honestly, the raw batter tastes like pumpkin pie filling. Just make sure your eggs are fresh if you’re going to do that.
Cooking Tips & Techniques
Over the dozens of times I’ve made these, I’ve picked up a few tricks that make a real difference. Here’s what I’ve learned:
Don’t skip the resting step. I know it’s tempting to get them in the oven as fast as possible, but letting the batter sit for 5 minutes is a game-changer. The oats absorb the liquid, which means they bake up tender instead of crunchy. I learned this the hard way when my first batch came out with chewy, undercooked oats in the middle.
Use room temperature eggs. Cold eggs can make the coconut oil or butter seize up, leaving you with lumpy batter. If you forgot to take them out of the fridge, place them in a bowl of warm water for 5 minutes. Problem solved.
Watch your oven. Every oven is different, and I’ve burned a batch or two by trusting the timer blindly. Start checking at 18 minutes. The cups should be golden on top and spring back when you gently press them. If the edges are browning too fast, cover the tin loosely with foil for the last few minutes.
Grease your liners. Even if you’re using paper liners, give them a quick spray with cooking spray. Pumpkin baked oatmeal cups are moist, and they can stick to the paper. I learned this when half the liner came off with the first bite, and my toddler was not amused.
Double the batch. If you’re going to the trouble of pulling out all the ingredients, make a double batch. They freeze beautifully, and having a stash in the freezer means you’re always prepared for a busy morning or an unexpected playdate. I wrap each cup individually in plastic wrap, then store them in a freezer bag.
Adjust sweetness to your taste. The 1/3 cup of maple syrup or brown sugar gives a mild sweetness. If your family has a sweet tooth, bump it up to 1/2 cup. If you’re trying to cut back, try 1/4 cup and add some mashed banana for natural sweetness. I’ve done that, and it works great.
Variations & Adaptations
One of the best things about this recipe is how flexible it is. Here are some of my favorite variations:
Dairy-Free Version: Use almond milk or oat milk instead of cow’s milk, and swap the butter for coconut oil. I’ve made this version for a friend’s kid with a dairy allergy, and nobody could tell the difference.
Gluten-Free Option: Use certified gluten-free rolled oats. That’s the only change you need—oats are naturally gluten-free, but they can be cross-contaminated during processing. Look for the gluten-free label to be safe.
Extra Protein Boost: Add 2 tablespoons of hemp seeds or chia seeds to the batter. They blend right in and add protein and omega-3s without changing the taste. I’ve also stirred in a scoop of vanilla protein powder, but you’ll need to add an extra 1/4 cup of milk to keep the batter from getting too thick.
Apple Pumpkin Version: Finely dice one small apple and fold it into the batter along with the mix-ins. The apple adds little bursts of sweetness and a slightly different texture. My kid loves finding the apple pieces.
Savory Twist: Cut the maple syrup to 2 tablespoons, skip the chocolate chips, and add 1/2 cup shredded cheddar cheese and a pinch of black pepper. These savory cups are surprisingly good with eggs for breakfast. I was skeptical the first time I tried it, but now I make them when I’m tired of sweet breakfasts.
Lower Sugar Version: Use 2 tablespoons of maple syrup and add 1 mashed ripe banana. The banana adds sweetness and moisture without the sugar. These are less sweet but still delicious, especially if you add a handful of raisins.
Serving & Storage Suggestions
These pumpkin baked oatmeal cups are versatile, and I love how many ways you can serve them. Here’s how I handle serving and storing:
Serving: Serve them warm or at room temperature. For a cozy breakfast, warm one up for 10-15 seconds in the microwave and serve with a drizzle of maple syrup or a dollop of Greek yogurt. They’re also great packed in lunchboxes—they hold up well and don’t get soggy. For a fun snack, I sometimes cut them in half and spread a little peanut butter on top. My daughter calls them “pumpkin sandwiches.”
Complementary Dishes: These pair beautifully with a hot cup of coffee or a glass of cold milk. For a full breakfast, serve them alongside scrambled eggs and fresh fruit. They’re also perfect for a fall brunch spread with apple slices and a warm mug of cider.
Storage: Store leftover cups in an airtight container in the refrigerator for up to 5 days. I place a paper towel at the bottom of the container to absorb any excess moisture, then replace it after a day or two. This keeps them from getting soggy.
Freezing: These freeze exceptionally well. Let the cups cool completely, then wrap each one individually in plastic wrap. Place them in a freezer-safe bag or container and freeze for up to 3 months. When you’re ready to eat one, unwrap it and microwave for 20-30 seconds, or let it thaw in the fridge overnight. I always keep a stash in the freezer for those mornings when I need breakfast in 30 seconds flat.
Flavor Development: Here’s a little secret—these actually taste better the next day. The flavors meld together overnight, and the texture becomes even more tender. So don’t be disappointed if you have leftovers. In fact, I sometimes make them a day ahead on purpose.
Nutritional Information & Benefits
Here’s an approximate nutritional breakdown for one oatmeal cup (based on the recipe as written, without optional mix-ins):
| Nutrient | Amount per Cup |
|---|---|
| Calories | 145 |
| Total Fat | 5g |
| Saturated Fat | 3g |
| Cholesterol | 31mg |
| Sodium | 95mg |
| Total Carbohydrates | 21g |
| Dietary Fiber | 3g |
| Sugars | 8g |
| Protein | 5g |
These little cups pack a surprising nutritional punch. The oats provide soluble fiber, which helps keep blood sugar stable and keeps kids full longer. Pumpkin is loaded with vitamin A, which is great for eye health and immune function. And the eggs add high-quality protein to start the day right.
Dietary considerations: This recipe is naturally nut-free (unless you add nuts), and can easily be made dairy-free and gluten-free with simple swaps. It’s also low in added sugar compared to most store-bought muffins or breakfast bars. If you’re watching your sugar intake, the lower sugar variation with banana is a great option.
Potential allergens: Contains eggs and gluten (from oats). If you’re serving someone with celiac disease, make sure to use certified gluten-free oats. The dairy-free version is suitable for those with lactose intolerance.
Conclusion
These pumpkin baked oatmeal cups started as a kitchen disaster, but they’ve become one of those recipes I genuinely look forward to making. They’re easy, affordable, and somehow manage to please everyone—from my picky toddler to my husband who claims he doesn’t like “healthy food.”
What I love most is that they make me feel like I’ve got my act together, even on chaotic mornings. Knowing there’s a batch in the fridge or freezer means breakfast is handled, snacks are covered, and I don’t have to reach for a packaged option that’s loaded with stuff I can’t pronounce. That’s a win in my book.
I’d love to hear how these turn out for you. Did you add chocolate chips or go with nuts? Did your kids devour them? Drop a comment below and let me know—I read every single one, and I’m always looking for new variations to try. And if you make a version that’s totally different, share it! That’s how the best recipes are born.
Happy baking, friends. May your mornings be a little warmer and a lot more delicious.
Frequently Asked Questions
Can I use quick oats instead of rolled oats?
You can, but the texture will be different. Quick oats are more finely processed, so they absorb liquid faster and create a softer, almost mushy texture. Rolled oats give the cups a chewier, more satisfying bite. If you only have quick oats, reduce the resting time to 2 minutes and expect a denser result.
Can I make these without eggs?
Absolutely. Use two flax eggs (2 tablespoons ground flaxseed mixed with 6 tablespoons water, let sit for 5 minutes until gel-like). The cups will be slightly less fluffy but still delicious. I’ve made this version for a friend with an egg allergy, and her kids didn’t notice the difference.
Why did my oatmeal cups turn out dry?
Dry oatmeal cups usually mean they were overbaked or the oats absorbed too much liquid. Check your oven temperature with an oven thermometer—many run hot. Also, make sure you’re using exactly 1 cup of milk and not skimping on the pumpkin puree. If your pumpkin puree was particularly thick, you might need an extra tablespoon of milk.
Can I use fresh pumpkin instead of canned?
You can, but you’ll need to cook and puree it first. Fresh pumpkin has more water than canned, so you’ll need to drain it well. Place the puree in a fine-mesh strainer lined with cheesecloth and let it sit for 30 minutes to remove excess liquid. Otherwise, your cups might turn out soggy. Honestly, canned pumpkin is more consistent and just as nutritious, so I stick with it.
How do I prevent the cups from sticking to the liners?
This happened to me more times than I’d like to admit. The trick is to spray the paper liners with cooking spray before adding the batter. You can also use foil liners, which don’t stick as much. Or, skip the liners altogether and grease the muffin tin well with butter or coconut oil. Let the cups cool in the tin for exactly 5 minutes before removing—any longer and they can steam and stick.
Pin This Recipe!
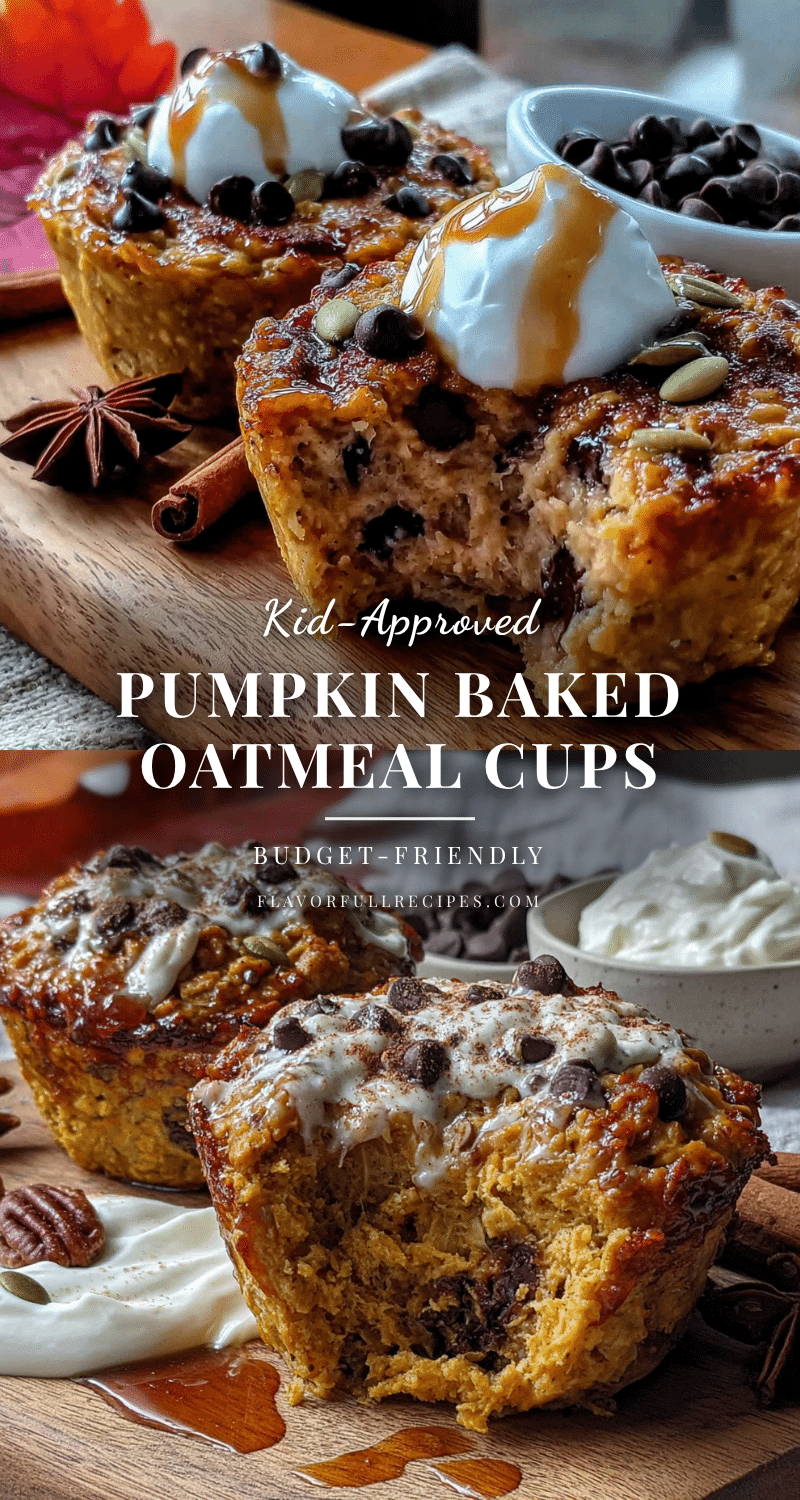
Easy Pumpkin Baked Oatmeal Cups: Best Kid-Approved Budget Recipe
- Total Time: 35 minutes
- Yield: 12 servings 1x
Description
These pumpkin baked oatmeal cups are soft, chewy, and taste like fall. Made with simple pantry staples, they’re budget-friendly, kid-approved, and perfect for meal prep.
Ingredients
- 2 cups (180g) rolled oats
- 1 cup (240g) canned pumpkin puree
- 1 cup (240ml) milk (dairy or non-dairy)
- 2 large eggs
- 1/3 cup (80ml) maple syrup or 65g brown sugar
- 3 tablespoons (45ml) coconut oil or melted butter
- 1 teaspoon vanilla extract
- 2 teaspoons pumpkin pie spice
- 1 teaspoon cinnamon
- 1 1/2 teaspoons baking powder
- 1/4 teaspoon salt
- 1/2 cup chocolate chips, chopped nuts, or dried cranberries (optional)
Instructions
- Preheat your oven to 375°F (190°C). Grease a 12-cup muffin tin with butter or cooking spray, or line with paper liners.
- In a medium bowl, whisk together the rolled oats, pumpkin pie spice, cinnamon, baking powder, and salt.
- In a large bowl, whisk together the pumpkin puree, milk, eggs, maple syrup (or brown sugar), melted coconut oil (or butter), and vanilla extract until smooth.
- Pour the dry ingredients into the wet ingredients and fold together with a spatula until just combined. Do not overmix.
- If using mix-ins, fold them in gently. Reserve a handful to sprinkle on top.
- Let the batter rest for 5 minutes to allow the oats to absorb liquid.
- Scoop the batter evenly into the prepared muffin cups, filling each almost to the top. Sprinkle reserved mix-ins on top.
- Bake on the middle rack for 18-22 minutes, until the tops are set and golden, and a toothpick inserted in the center comes out clean or with a few moist crumbs.
- Let the cups cool in the tin for 5 minutes, then transfer to a cooling rack.
- Serve warm or at room temperature.
Notes
Let the batter rest for 5 minutes before baking for fluffier cups. Grease paper liners to prevent sticking. These cups taste even better the next day. For a dairy-free version, use non-dairy milk and coconut oil. For gluten-free, use certified gluten-free rolled oats.
- Prep Time: 10 minutes
- Cook Time: 20 minutes
- Category: Breakfast
- Cuisine: American
Nutrition
- Serving Size: 1 oatmeal cup
- Calories: 145
- Sugar: 8
- Sodium: 95
- Fat: 5
- Saturated Fat: 3
- Carbohydrates: 21
- Fiber: 3
- Protein: 5
Keywords: pumpkin baked oatmeal cups, kid-approved breakfast, budget-friendly recipe, easy oatmeal cups, fall breakfast