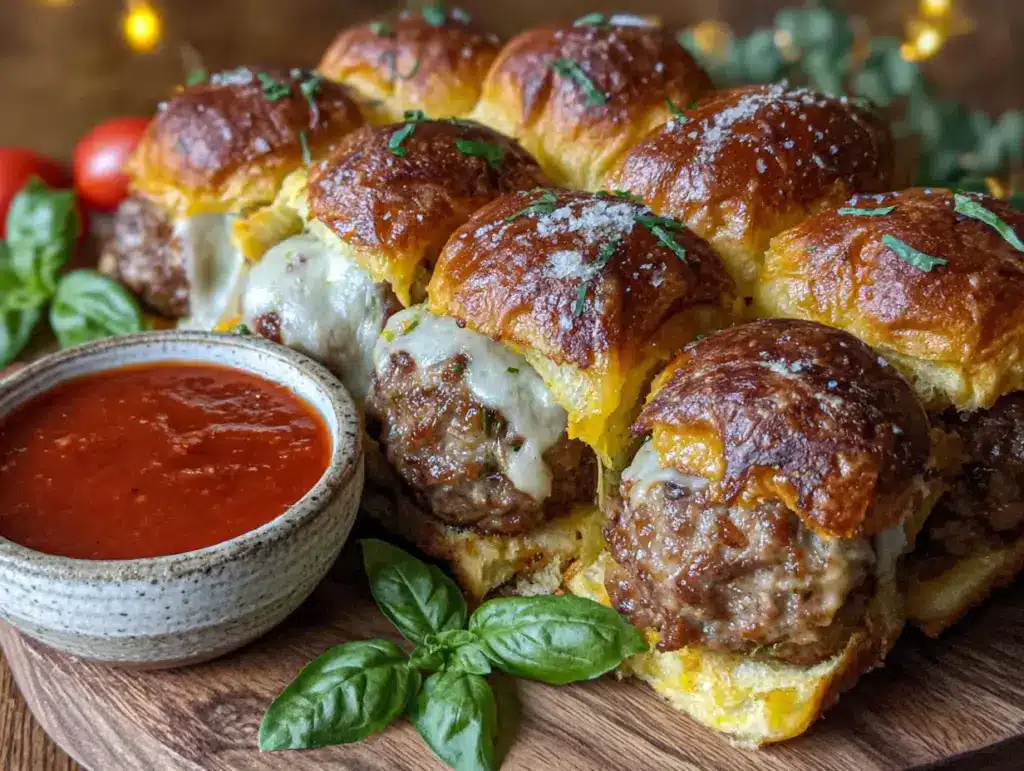
That first bite — the way the soft, pillowy bread gives way to a juicy, savory meatball, all wrapped in a ghostly tangle of melted mozzarella — still takes me straight to my friend Jenna’s Halloween party last October. I was standing in her kitchen, balancing a paper plate and a plastic cup of spiked cider, when she shoved one of these little guys into my hand. “Just try it,” she said, and I did. And honestly? I forgot about the costume contest, the creepy playlist, and the guy dressed as a inflatable dinosaur. I just stood there, chewing, thinking, Why has no one thought of this before?
It wasn’t some elaborate, Pinterest-perfect spread. It was just a slow cooker full of meatballs, a bag of slider buns, and some string cheese cut into strips. But the visual — these little mummies staring up from the platter with tiny olive eyes — was pure Halloween magic. And the taste? It was the kind of comfort food that makes you forget you’re standing in a room full of people you barely know. I asked Jenna for the recipe on the spot, and she laughed, saying it wasn’t really a recipe at all. Just a shortcut trick she’d stumbled on while trying to feed a crowd without spending the whole party in the kitchen.
That’s the thing about these Easy Mummy Meatball Sliders for Halloween Parties. They look like you spent hours wrapping each one with care, but the truth is, they come together in about 20 minutes. They’re the kind of party food that does double duty: they’re a conversation starter and a crowd-pleaser, all in one. I’ve made them three times since that night, and each time, I tweak the wrapping just a little — sometimes neater, sometimes messier, depending on my mood. But the result is always the same: an empty platter and a dozen people asking for the recipe.
So if you’re looking for a Halloween appetizer that’s spooky, silly, and genuinely delicious, you’ve found it. These sliders are proof that you don’t need to be a professional chef to pull off something that looks this fun.
Why You’ll Love This Recipe
Let me tell you why these mummy sliders have become my go-to for every Halloween gathering, from the big neighborhood block party to the small family movie night. I’ve tested them in every scenario, and they never let me down.
- Quick & Easy : From start to finish, you’re looking at about 20 minutes of active work. The meatballs come together in a flash, and the wrapping is way easier than it looks. Perfect for those chaotic pre-party hours when you’re also trying to get the kids into their costumes.
- Simple Ingredients : You probably have most of these in your kitchen right now. Frozen meatballs, slider buns, mozzarella string cheese, and some marinara sauce. No fancy grocery runs required.
- Perfect for Halloween Parties : These sliders are the star of the snack table. They’re cute without being fussy, spooky without being scary, and they’re handheld, which means guests can grab one and keep mingling.
- Crowd-Pleaser : I’ve served these to kids, adults, picky eaters, and even my uncle who “doesn’t do themed food.” Every single person went back for seconds. The combination of savory meatball, melted cheese, and soft bread is universally loved.
- Unbelievably Delicious : The texture is what gets me every time. The bun gets slightly toasted from the oven, the cheese gets all gooey and stretchy, and the meatball stays juicy in the center. It’s comfort food at its finest.
What makes this recipe different from the hundreds of other Halloween appetizers out there? It’s the balance. Most themed recipes sacrifice taste for looks, or they’re so complicated that you end up stressed and grumpy. These sliders don’t do that. They look adorable, but they taste even better. The trick is using high-quality frozen meatballs (I love the ones from Costco or the Italian-style ones from Trader Joe’s) and not overcooking the buns. It’s a simple formula, but it works every single time.
This is the kind of recipe that makes you close your eyes after the first bite. It’s comfort food reimagined for Halloween — festive, fun, but with the same soul-soothing satisfaction of a classic meatball sub. Perfect for impressing guests without stress, or turning a simple party into something memorable.
What Ingredients You Will Need
This recipe uses simple, store-bought ingredients to deliver big flavor and maximum cuteness with minimal effort. Here’s everything you’ll need to bring these mummy sliders to life.
- Frozen fully cooked meatballs (about 24-30) — I recommend the Italian-style homestyle meatballs from Costco or the ones from Trader Joe’s. They’re flavorful and hold their shape well. Don’t use the tiny cocktail meatballs; you want the larger ones that fit nicely on a slider bun.
- 1 package (12-count) slider buns — King’s Hawaiian are my go-to. They’re soft, slightly sweet, and they toast up beautifully. You can also use plain white or whole wheat slider buns if you prefer.
- 1 package (12 oz) mozzarella string cheese — You’ll need about 1.5 sticks per slider. Don’t use shredded mozzarella; the string cheese creates those perfect, tattered mummy bandages.
- 1 cup marinara sauce — Use your favorite jarred sauce. I like Rao’s or Classico. You can also use homemade if you have it on hand.
- 24-30 black olive slices — These become the mummy’s eyes. You can use whole black olives and slice them yourself, or buy pre-sliced. Canned olives work perfectly here.
- 1 tablespoon olive oil or melted butter — For brushing the tops of the buns before baking. This gives them a golden, slightly crispy finish.
- Optional: 1/2 teaspoon garlic powder — Mix this into the butter or oil for extra flavor.
- Optional: Fresh parsley or basil for garnish — Adds a pop of green and makes the platter look even more festive.
See? Nothing crazy. You can find all of this at any grocery store, and most of it is probably already in your pantry or freezer. The key is the string cheese — don’t skip it. I’ve tried using sliced provolone and even mozzarella slices cut into strips, but nothing looks as convincingly mummy-like as pulled-apart string cheese. It’s a small detail that makes a big difference.
If you’re feeding a big crowd, just double the recipe. The sliders reheat beautifully, so you can even make them a few hours ahead and pop them back in the oven before serving.
Equipment Needed
You don’t need any fancy gadgets for this recipe. Here’s what you’ll need:
- Baking sheet or half-sheet pan — Large enough to hold 12 sliders in a single layer. A 13×9-inch pan works too.
- Parchment paper or silicone baking mat — For easy cleanup. Trust me, you don’t want melted cheese stuck to your pan.
- Small saucepan or microwave-safe bowl — For warming the marinara sauce and melting the butter.
- Pastry brush — For brushing the tops of the buns. A silicone brush is easiest to clean.
- Cutting board and sharp knife — For slicing the olives and cutting the string cheese if needed.
- Toothpicks — Optional, but helpful if you want to secure the bandages before baking.
- Oven mitts — Because hot cheese is no joke.
If you don’t have a pastry brush, you can use a paper towel dipped in butter. If you don’t have a baking sheet, a large oven-safe skillet works too. I’ve made these in a cast iron skillet before, and the edges got extra crispy and delicious.
Preparation Method
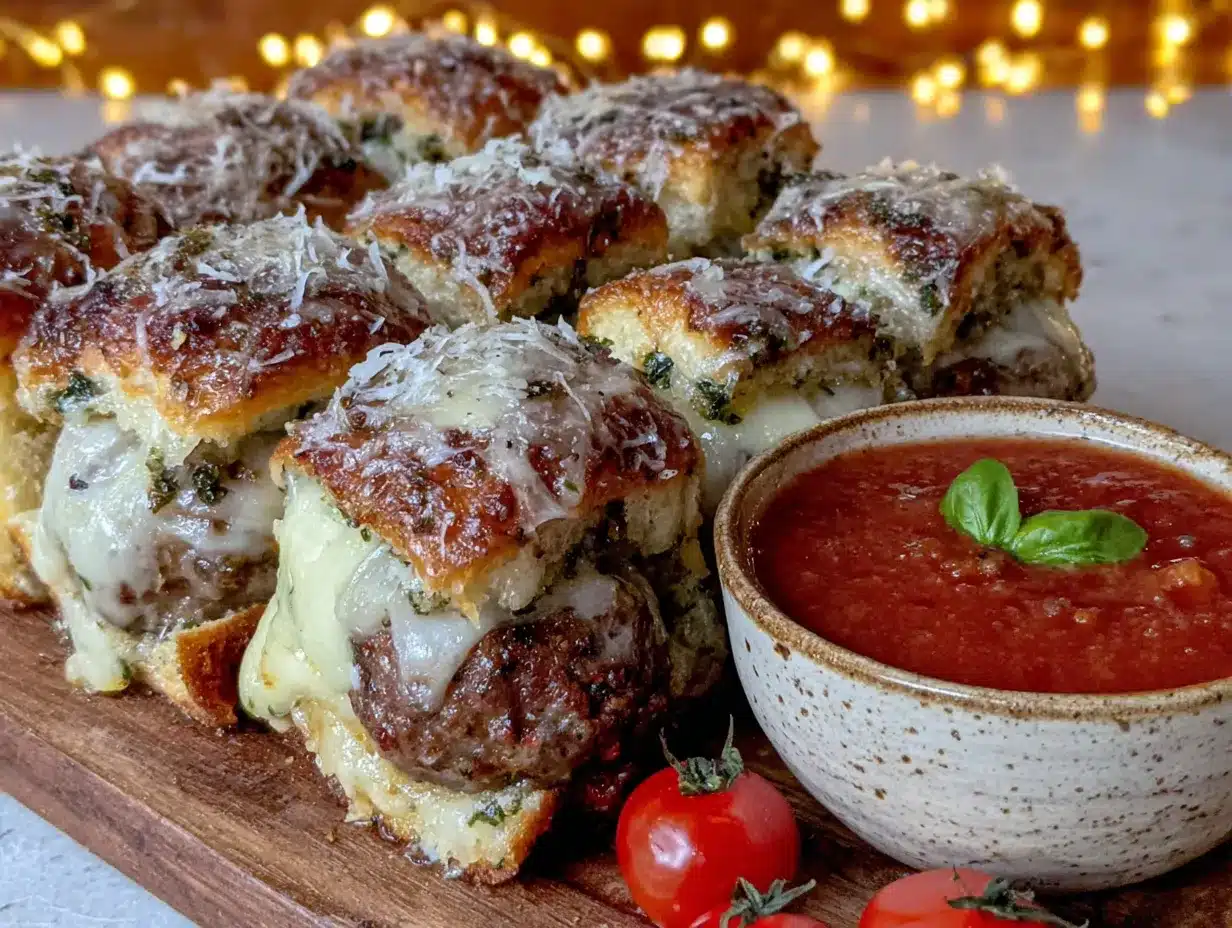
Alright, let’s make some mummy sliders! I’ll walk you through every step, including the little tricks I’ve learned from making these about a dozen times.
- Preheat your oven to 375°F (190°C). Line a baking sheet with parchment paper or a silicone mat. This makes cleanup so much easier, especially if any cheese drips off.
- Warm the meatballs. If using frozen meatballs, you have two options. Option A: Microwave them according to package directions until heated through (about 3-4 minutes). Option B: Warm them in a small saucepan with 1/2 cup of marinara sauce over medium heat for 5-7 minutes, stirring occasionally. I prefer the saucepan method because it infuses the meatballs with extra flavor. You want them fully cooked and hot before assembling the sliders.
- Prepare the buns. Slice the entire package of slider buns in half horizontally, keeping them connected as a single slab. Place the bottom half of the buns on your prepared baking sheet. Don’t separate them yet — keeping them connected makes assembly much faster.
- Assemble the mummies. Place one warm meatball on each bun bottom. Spoon about a tablespoon of marinara sauce over each meatball. Now for the fun part: the bandages. Take one stick of string cheese and pull it apart into thin strips. I usually get about 4-5 strips per stick. Drape 2-3 strips over each meatball in a crisscross pattern, leaving a small gap in the center for the eyes. Don’t worry about making them perfect — the messier they look, the more mummy-like they appear. If the strips are too long, just tear off the excess.
- Add the eyes. Press two olive slices into the gap you left in the cheese bandages. Make sure they’re slightly recessed so they stay put during baking. If your olives are big, you can cut them in half.
- Top with the bun lids. Place the top half of the slider buns over the mummies. Press down gently so everything stays in place. Brush the tops with melted butter or olive oil. If you’re using garlic powder, mix it into the butter first.
- Bake. Place the baking sheet in the preheated oven and bake for 10-12 minutes, or until the buns are golden brown and the cheese is melted and bubbly. Keep an eye on them after 10 minutes — you want the cheese to be gooey, not burned.
- Serve immediately. Use a spatula to separate the sliders and transfer them to a serving platter. Spoon any extra warm marinara sauce into a small bowl for dipping. Garnish with fresh parsley or basil if you’re feeling fancy.
One thing I learned the hard way: don’t overbake these. The first time I made them, I left them in for 15 minutes, and the cheese got too crispy and lost that stretchy, gooey texture. Aim for 10-12 minutes, and pull them out as soon as the buns look toasted.
Cooking Tips & Techniques
I’ve made these mummy sliders enough times to have a few tricks up my sleeve. Here are the things I wish someone had told me the first time.
Don’t skip the sauce on the bottom. Spooning a little marinara under the meatball keeps the bun from getting soggy while adding flavor. It’s a small step that makes a big difference.
Use room temperature string cheese. Cold string cheese is harder to pull apart into thin strips. Let it sit on the counter for 10-15 minutes before you start. It’ll tear more easily and look more natural.
Make the bandages uneven. The whole point is that they look like a mummy. If you try to make the strips too neat, they’ll just look like cheese on a bun. Let some strips hang over the edges. Let others be thicker or thinner. Embrace the chaos.
Watch the eyes. Olive slices can slide off during baking if you don’t press them in firmly enough. I like to push them into the cheese just enough so they’re held in place. If you’re really worried, you can add them after baking — just press them into the hot cheese and they’ll stick.
Batch cooking for a crowd. If you’re making these for a big party, you can assemble them up to 2 hours ahead and keep them covered in the fridge. When you’re ready to serve, just pop them in the oven and add 2-3 minutes to the baking time. They’re also great for keeping warm in a slow cooker on the “warm” setting for up to an hour.
My biggest failure? The time I used pre-shredded mozzarella instead of string cheese. It melted into a blob, and the mummies looked like they’d been through a washing machine. Stick with the string cheese — it’s the secret weapon here.
Variations & Adaptations
One of the best things about this recipe is how easy it is to adapt. Here are some variations I’ve tried and loved.
- Spicy Mummy Sliders: Use spicy Italian meatballs and add a drizzle of sriracha or hot honey to the marinara sauce. The heat contrasts beautifully with the cool, mild cheese.
- Turkey or Chicken Meatballs: For a lighter option, use turkey or chicken meatballs. They’re just as juicy, especially if you warm them in the sauce. I’ve used the Trader Joe’s turkey meatballs and they were fantastic.
- Gluten-Free Version: Use gluten-free slider buns and check that your meatballs are gluten-free (many frozen brands are). The rest of the ingredients are naturally gluten-free, so this is an easy swap.
- Vegetarian Option: Swap the meatballs for large vegetarian meatballs or even portobello mushroom caps. I’ve made these with the Impossible meatballs and they were a hit with both vegetarians and meat-eaters.
- Extra Cheesy Mummies: Add a slice of provolone or a sprinkle of parmesan under the string cheese bandages. It adds an extra layer of flavor and makes the sliders even more decadent.
- Pesto Mummies: Swap the marinara for pesto. It gives the sliders a completely different flavor profile — earthy, herby, and delicious. I tried this for a Halloween party that was also a grown-up dinner party, and it was a hit.
My personal favorite variation? The spicy version. I made it for a Halloween football party, and it paired perfectly with the easy crockpot meatball sub dip I also had on the table. The two dishes complemented each other beautifully, and guests loved having both options.
Serving & Storage Suggestions
These sliders are best served warm, straight from the oven. The cheese is at its stretchy peak, and the buns are perfectly toasted. I like to arrange them on a large platter with a bowl of extra marinara sauce in the center for dipping. A sprinkle of fresh parsley or basil on top adds a nice pop of color.
For drinks, these pair beautifully with a crisp lager or a spicy Bloody Mary. If you’re serving kids, apple cider or soda works great. I also love serving them alongside a creamy loaded baked potato dip with bacon for a full party spread that covers all the comfort food bases.
If you have leftovers (which honestly, rarely happens), store them in an airtight container in the refrigerator for up to 3 days. To reheat, place them on a baking sheet in a 350°F oven for 5-7 minutes, or until the cheese is bubbly again. You can also microwave them, but the buns will be softer. The flavors actually meld together overnight, so leftovers taste even better the next day.
These sliders freeze beautifully, too. Assemble them completely but don’t bake them. Place the baking sheet in the freezer for 1-2 hours until the sliders are solid, then transfer them to a freezer-safe bag or container. When you’re ready to serve, bake them straight from frozen, adding 5-7 minutes to the baking time. It’s a lifesaver for last-minute Halloween plans.
Nutritional Information & Benefits
Here’s the estimated nutritional breakdown for one mummy slider (based on using standard ingredients):
- Calories: 280-320
- Protein: 14-16g
- Carbohydrates: 22-26g
- Fat: 14-18g
- Fiber: 2-3g
- Sugar: 4-6g
These numbers will vary based on the specific brands you use and whether you add extra cheese or sauce. If you’re watching your sodium, look for low-sodium meatballs and marinara sauce.
On the health front, these sliders actually have some redeeming qualities. The meatballs provide a good amount of protein, which helps keep you full and satisfied. The marinara sauce counts as a serving of vegetables (yes, really!), and it’s packed with lycopene, an antioxidant linked to heart health. The olive slices add healthy monounsaturated fats. It’s not a health food, but for a Halloween party appetizer, it’s not bad at all.
For dietary considerations: This recipe contains gluten and dairy. For a gluten-free version, use gluten-free buns and verify your meatballs are gluten-free. For a dairy-free version, use dairy-free cheese shreds or skip the cheese altogether (though they won’t look as mummy-like).
Conclusion
These Easy Mummy Meatball Sliders for Halloween Parties are everything I want in a party recipe: they’re fun to look at, easy to make, and absolutely delicious to eat. They’ve become a non-negotiable part of my Halloween spread, and every time I make them, someone asks for the recipe. That’s the kind of recipe you hold onto.
I love that they’re customizable, too. You can make them spicy, extra cheesy, or even vegetarian, depending on your crowd. And because they come together in under 30 minutes, you’re not stuck in the kitchen while your guests are having fun. That’s a win in my book.
I’d love to hear how yours turn out! Did you try a fun variation? Did your kids help with the olive eyes? Drop a comment below and let me know. And if you’re looking for more easy party appetizers, check out this easy cheesy garlic bread bites recipe — it’s another crowd-pleaser that comes together in a flash.
Happy Halloween, and happy cooking!
Frequently Asked Questions
Can I use homemade meatballs instead of frozen?
Absolutely! Homemade meatballs work perfectly. Just make sure they’re fully cooked before assembling the sliders. I’ve used my go-to Italian meatball recipe, and they were even better than the frozen ones. Just factor in the extra time for making and cooking the meatballs.
Can I make these ahead of time for a party?
Yes! You can assemble the sliders up to 2 hours ahead and keep them covered in the fridge. When you’re ready to serve, just bake them as directed. You can also freeze them unbaked for up to 3 months — just bake straight from frozen, adding 5-7 minutes to the cooking time.
What if I can’t find string cheese?
If string cheese isn’t available, you can use mozzarella slices cut into thin strips. They won’t look as tattered and mummy-like, but they’ll still taste great. You can also use fresh mozzarella pearls, though they’ll melt differently. Honestly, string cheese is worth hunting down for the visual effect.
Can I use a different type of cheese?
Sure! Provolone, white cheddar, or even havarti would work. Just keep in mind that the color should be light so the mummy effect is visible. Darker cheeses like sharp cheddar won’t look as ghostly. If you’re feeling adventurous, try using part-skim mozzarella string cheese for a slightly firmer texture.
How do I keep the sliders warm during a party?
After baking, transfer the sliders to a slow cooker set to “warm.” They’ll stay perfect for up to an hour. Just don’t leave them in there too long, or the buns will get soggy. If you’re serving them at a buffet, I recommend baking them in batches so they’re always fresh and hot.
Pin This Recipe!
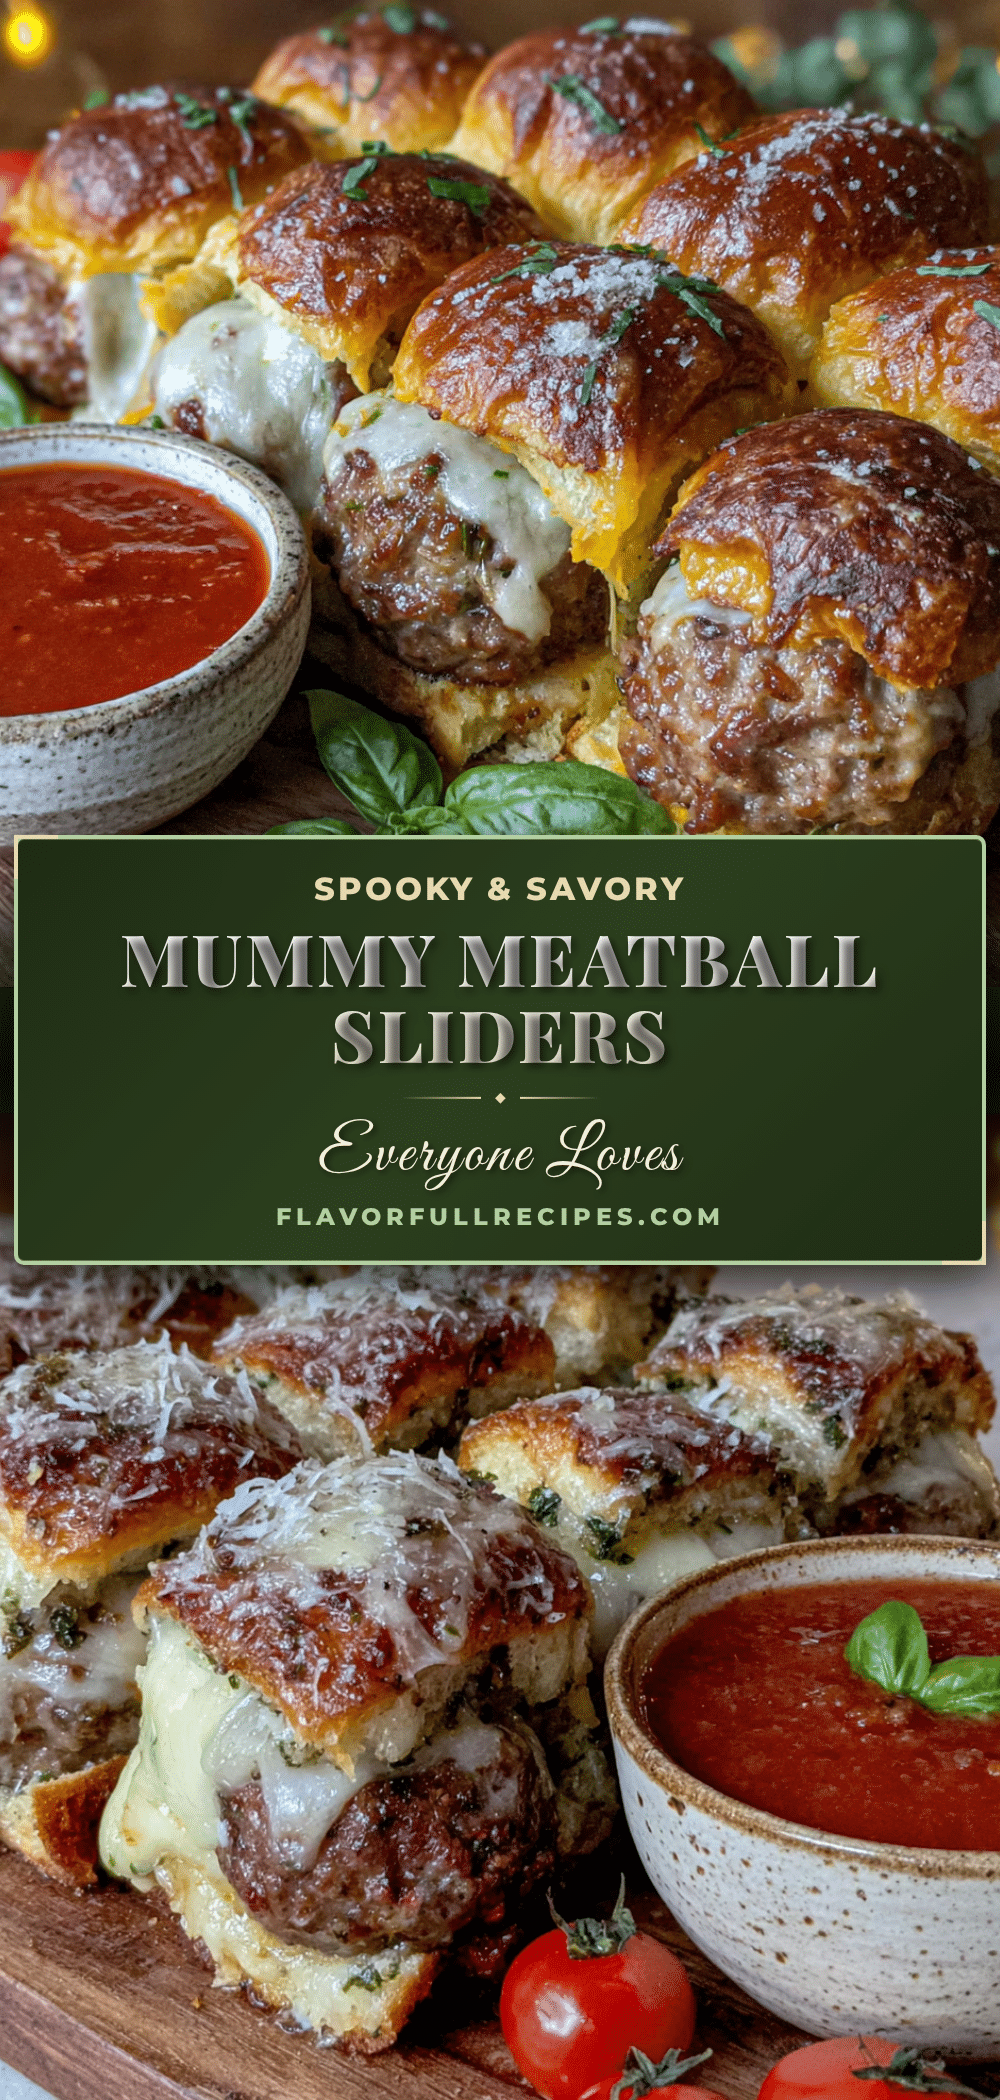

Easy Mummy Meatball Sliders: Best Halloween Party Recipe
- Total Time: 22 minutes
- Yield: 12 servings 1x
Description
These spooky and delicious mummy meatball sliders are the perfect Halloween party appetizer. Made with frozen meatballs, slider buns, mozzarella string cheese, and marinara sauce, they come together in about 20 minutes and are sure to be a crowd-pleaser.
Ingredients
- 24–30 frozen fully cooked meatballs (Italian-style, such as Costco or Trader Joe’s)
- 1 package (12-count) slider buns (King’s Hawaiian recommended)
- 1 package (12 oz) mozzarella string cheese
- 1 cup marinara sauce (such as Rao’s or Classico)
- 24–30 black olive slices
- 1 tablespoon olive oil or melted butter
- 1/2 teaspoon garlic powder (optional)
- Fresh parsley or basil for garnish (optional)
Instructions
- Preheat your oven to 375°F (190°C). Line a baking sheet with parchment paper or a silicone mat.
- Warm the meatballs: Microwave according to package directions (about 3-4 minutes) or warm in a small saucepan with 1/2 cup marinara sauce over medium heat for 5-7 minutes, stirring occasionally.
- Prepare the buns: Slice the entire package of slider buns in half horizontally, keeping them connected as a single slab. Place the bottom half on the prepared baking sheet.
- Assemble the mummies: Place one warm meatball on each bun bottom. Spoon about 1 tablespoon of marinara sauce over each meatball. Pull apart one stick of string cheese into thin strips (about 4-5 strips per stick). Drape 2-3 strips over each meatball in a crisscross pattern, leaving a small gap in the center for the eyes.
- Add the eyes: Press two olive slices into the gap in the cheese bandages.
- Top with the bun lids: Place the top half of the slider buns over the mummies. Press down gently. Brush the tops with melted butter or olive oil (mix with garlic powder if using).
- Bake: Place the baking sheet in the preheated oven and bake for 10-12 minutes, or until the buns are golden brown and the cheese is melted and bubbly.
- Serve immediately: Use a spatula to separate the sliders and transfer to a serving platter. Spoon extra warm marinara sauce into a small bowl for dipping. Garnish with fresh parsley or basil if desired.
Notes
Don’t overbake; aim for 10-12 minutes. Use room temperature string cheese for easier pulling. Make bandages uneven for a more mummy-like look. Press olive slices firmly into cheese to prevent sliding. Can be assembled up to 2 hours ahead and refrigerated before baking. For a crowd, double the recipe.
- Prep Time: 10 minutes
- Cook Time: 12 minutes
- Category: Appetizer
- Cuisine: American
Nutrition
- Serving Size: 1 slider
- Calories: 300
- Sugar: 5
- Sodium: 700
- Fat: 16
- Saturated Fat: 6
- Carbohydrates: 24
- Fiber: 2
- Protein: 15
Keywords: Halloween, mummy, meatball sliders, party appetizer, easy, spooky, kid-friendly