
The farmers market had just closed, and I was standing there with a flat of peaches so fragrant I could smell them through the cardboard. They were perfect—blushing, heavy, dripping with juice. But it was ninety degrees outside, and my kitchen felt like a sauna. Turning on the oven for a traditional cheesecake wasn’t just unappealing; it felt like a personal challenge to the universe. I wanted something that tasted like summer but didn’t require any heat. That’s when I started thinking about what a no-bake cheesecake could actually be if you let a good peach do most of the work.
For a while, I just accepted that no-bake desserts were a little… flat. They were cold, sure, but they often lacked the tangy depth of a real cheesecake or the fresh pop of the fruit itself. I tried versions with gelatin that felt too bouncy, and others with too much cream that slid around on the spoon. It wasn’t until I stopped trying to mimic a baked cheesecake and started building something new that these Creamy No-Bake Peach Cheesecake Cups finally clicked. It’s funny how sometimes the best recipes come from accepting that you can’t have the thing you usually make—and finding something better instead.
The first time I made these, I ate one right out of the fridge at 10 PM. It was quiet, the house was finally cool, and that first spoonful had a little bit of everything—the buttery crunch of the crust, the silky filling, and a piece of peach that tasted like sunshine. I knew I wouldn’t be turning on the oven for dessert again anytime soon. Sometimes the simplest solution is the one you stumble into when you stop forcing it.
Why You’ll Love This Recipe
Let me tell you why these little cups have become my go-to summer dessert. They solve so many of the little problems that pop up when you want something special but don’t want to work for it.
- No oven required. Honestly, this is the biggest selling point. When it’s hot outside, the last thing you want is to heat up your kitchen. This recipe comes together completely on the countertop and sets up in the fridge. No sweat involved—literally.
- Comes together in 5 minutes. The active prep time is genuinely that short. You’re not waiting for butter to soften or crusts to bake. Mix the filling, crush the cookies, layer them up. Done.
- Simple, everyday ingredients. You probably have most of this in your kitchen right now. Cream cheese, heavy cream, a little sugar, some vanilla, and ripe peaches. No fancy extracts, no obscure sweeteners, no trips to a specialty store.
- Perfect for summer gatherings. These are ideal for barbecues, potlucks, or a lazy Sunday afternoon. They look impressive in little glasses or jars, but they’re secretly the easiest thing on the table. I’ve brought them to a few cookouts, and they disappear faster than the brownies.
- Completely customizable. You can swap the fruit, change the crust, or adjust the sweetness. It’s a base recipe that invites experimentation, and that’s my favorite kind of recipe to share.
What makes these different from other no-bake cheesecakes? It’s the texture. The filling uses a combination of whipped cream and cream cheese that sets up light and airy instead of dense and heavy. It doesn’t feel like a compromise. It feels like its own thing. The first time I made this for a friend who loves traditional cheesecake, she asked for the recipe before she finished her cup. That’s when I knew it was a keeper.
What Ingredients You Will Need
This recipe uses simple, wholesome ingredients to deliver a creamy, fruity dessert that feels indulgent without being complicated. Each component plays a specific role, and I’ve tested enough variations to know what works best.
- Ripe peaches (2 medium, or about 1 cup diced): The star of the show. You want peaches that are fragrant and give slightly when you press them. Underripe peaches will be crunchy and tart, while overripe ones can get mushy. In the peak of summer, local peaches are unbeatable. In the off-season, you can use frozen peaches that have been thawed and drained, but fresh is really the way to go here. I like to leave the skin on for color and texture, but you can peel them if you prefer.
- Graham crackers (6 full sheets, or about 1 cup crushed): This makes the buttery crust base. I’ve used store-brand graham crackers and fancy ones, and honestly, they all work fine. You can also use digestive biscuits, vanilla wafers, or even shortbread cookies for a different twist. The key is to crush them finely so they stick together properly. I usually put them in a ziplock bag and go at them with a rolling pin—it’s oddly satisfying.
- Unsalted butter (3 tablespoons, melted): This binds the crust together. I prefer unsalted so I can control the salt level, but salted butter works too—just skip the optional pinch of salt in the crust. Make sure the butter is melted but not hot, or it will make the crumbs clumpy.
- Full-fat cream cheese (8 ounces, softened): This is non-negotiable for the filling. Low-fat cream cheese has too much water and won’t whip up as light and fluffy. Let it sit on the counter for about 30 minutes before you start so it blends smoothly. Cold cream cheese will leave you with little lumps, and nobody wants lumpy cheesecake filling.
- Heavy whipping cream (1 cup): This gives the filling its airy, mousse-like texture. You need cream with at least 36% milk fat for it to whip properly. Don’t substitute half-and-half or milk—it won’t hold its shape. I’ve made that mistake, and it ends up more like a thin pudding.
- Powdered sugar (½ cup): This sweetens the filling without making it grainy. Granulated sugar doesn’t dissolve as well in a no-bake mixture, so powdered sugar is the way to go. You can adjust the amount up or down depending on how sweet your peaches are.
- Vanilla extract (1 teaspoon): A good-quality vanilla rounds out the flavors. Pure vanilla extract is worth the splurge here, but imitation vanilla works in a pinch. You could also use vanilla bean paste for those little specks of vanilla.
- Lemon juice (1 tablespoon): This brightens the filling and helps balance the sweetness. It also adds a little tang that mimics the flavor of a baked cheesecake. Fresh lemon juice is better than bottled, but bottled will do if that’s what you have.
- Salt (a pinch): Just a tiny bit in the filling. It sounds weird, but salt makes everything taste more like itself. It brings out the sweetness of the peaches and the richness of the cream cheese.
Equipment Needed
You don’t need much for this recipe, which is part of its charm. Here’s what you’ll want to have on hand.
- Mixing bowls (2 medium-sized): One for the crust mixture and one for the filling. Glass or stainless steel works best because they stay cool, which helps when you’re whipping cream.
- Hand mixer or stand mixer: You can whip the cream by hand with a whisk, but it takes a solid 5-7 minutes of vigorous arm work. A hand mixer makes it effortless. If you’re using a stand mixer, use the whisk attachment.
- Rolling pin or food processor: For crushing the graham crackers. A food processor gives you the most consistent crumbs, but a rolling pin and a ziplock bag work perfectly fine. I actually prefer the rolling pin method because it’s less cleanup.
- Small glasses or jars (4-6, depending on size): These are for serving. I use 6-ounce mason jars or small juice glasses. You can also use ramekins or even small bowls. The visual appeal of seeing the layers through a clear glass is part of the fun.
- Spatula: For scraping down the sides of the bowl and for layering the filling. A rubber spatula is ideal.
- Sharp knife and cutting board: For dicing the peaches. A sharp knife makes clean cuts without bruising the fruit.
That’s really it. No springform pan, no water bath, no parchment paper. I love recipes that don’t require me to dig through the back of my cabinets for some obscure gadget.
Preparation Method
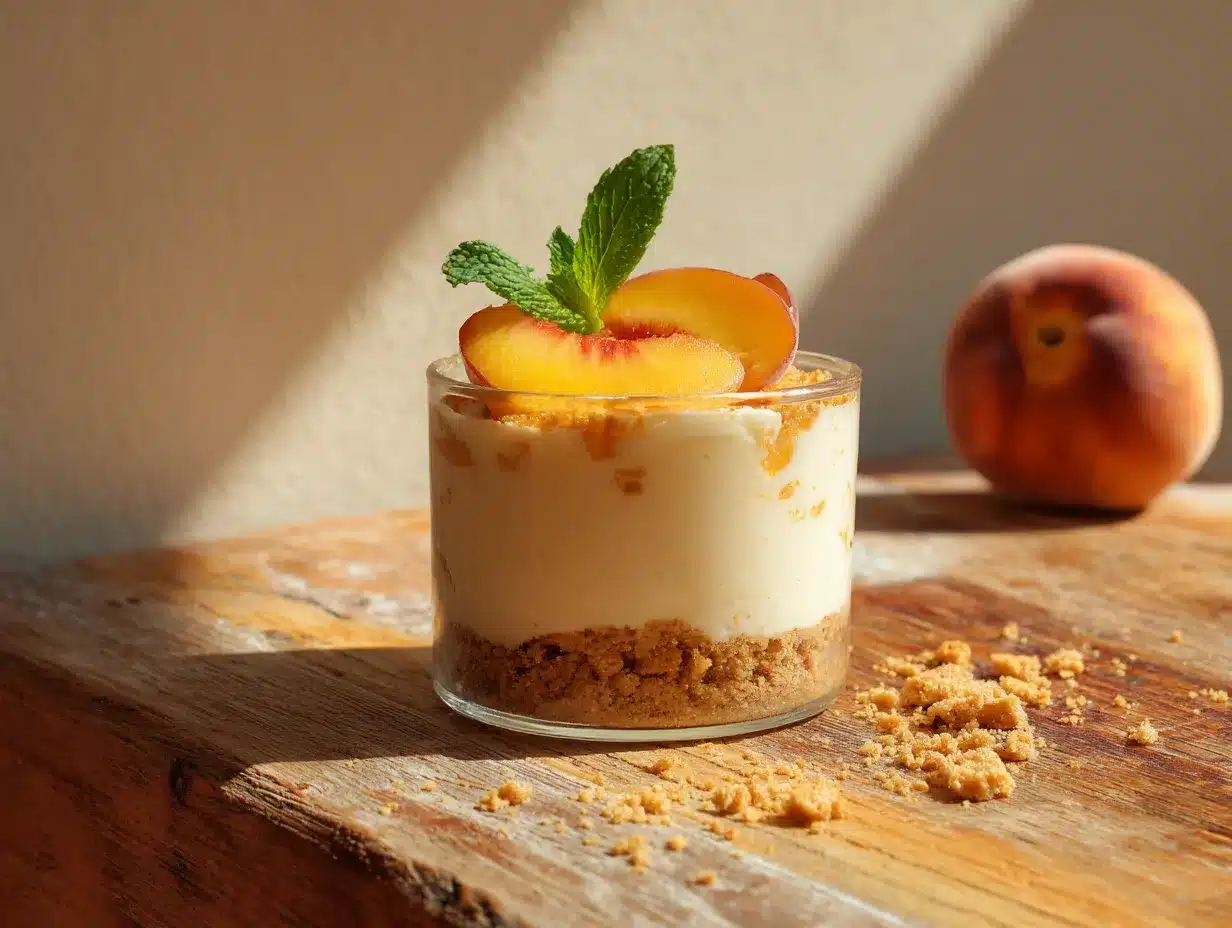
This is where the magic happens. Follow these steps, and you’ll have dessert ready to chill in no time.
- Prepare the crust. Place the graham crackers in a ziplock bag and seal it, squeezing out the air. Use a rolling pin to crush them into fine crumbs. You want them to be uniform—no big chunks. Transfer the crumbs to a small bowl and pour in the melted butter. Stir with a fork until every crumb is coated. The mixture should look like wet sand and hold together when you press it. Set this aside for now.
- Whip the cream. Pour the heavy whipping cream into a clean, cold mixing bowl. Using a hand mixer on medium speed, whip the cream until soft peaks form. This takes about 2-3 minutes. You’ll know it’s ready when the cream holds a gentle peak that flops over slightly when you lift the beaters. Be careful not to overwhip—if it starts to look grainy, you’ve gone too far and it will turn into butter. Set the whipped cream aside in the fridge while you prepare the cream cheese mixture.
- Mix the cream cheese filling. In another mixing bowl, beat the softened cream cheese with the hand mixer on medium speed until it’s smooth and creamy. This takes about 1 minute. Scrape down the sides of the bowl with a spatula. Add the powdered sugar, vanilla extract, lemon juice, and a pinch of salt. Beat again until everything is combined and smooth. The mixture should be fluffy and free of lumps.
- Fold in the whipped cream. Take the whipped cream out of the fridge. Add about one-third of it to the cream cheese mixture and fold it in gently with a spatula. You’re not stirring—you’re folding. Cut through the center of the mixture, scrape along the bottom of the bowl, and bring the spatula up and over. Rotate the bowl and repeat. Once the first third is mostly incorporated, add the remaining whipped cream and fold until no white streaks remain. The filling should be light, airy, and uniform in color. This step takes patience, but it’s what gives the cheesecake its mousse-like texture.
- Dice the peaches. Wash the peaches and pat them dry. Cut them in half, remove the pit, and dice them into small, bite-sized pieces—about ½-inch cubes. If your peaches are very juicy, you can pat them gently with a paper towel to remove excess moisture. This keeps the filling from getting watery as the cups sit.
- Assemble the cups. Grab your glasses or jars. Start with a layer of the crust mixture. Spoon about 2 tablespoons of the graham cracker crumbs into the bottom of each cup and press them down gently with the back of a spoon. Next, add a layer of the cheesecake filling—about ¼ cup per cup, depending on the size of your glasses. Spread it evenly. Then add a layer of diced peaches. Repeat the layers: another sprinkle of crust, more filling, and more peaches on top. I like to save a few peach pieces for the very top as a garnish.
- Chill. Cover each cup with plastic wrap or a small lid and place them in the refrigerator. They need at least 2 hours to set, but overnight is even better. The filling firms up beautifully as it chills, and the flavors meld together. Don’t skip this step—if you eat them right away, the filling will be too soft and the layers won’t hold their shape.
- Serve. When you’re ready to serve, take the cups out of the fridge about 10 minutes beforehand to take the chill off. Garnish with a fresh mint leaf or a tiny sprinkle of graham cracker crumbs on top if you’re feeling fancy. Then dig in.
Cooking Tips & Techniques
I’ve made these cups about a dozen times now, and I’ve picked up a few tricks along the way. Here’s what I wish someone had told me.
Let the cream cheese soften properly. This is the number one mistake I see people make. Cold cream cheese doesn’t blend well, and you’ll end up with little lumps in your filling. Leave it on the counter for 30-45 minutes before you start. If you forget, you can microwave it in 10-second bursts on low power, but be careful—melted cream cheese is a different beast.
Don’t skip the lemon juice. It might seem like a small detail, but that little bit of acid does two things. First, it balances the sweetness of the powdered sugar and the peaches. Second, it helps stabilize the cream cheese filling, giving it a firmer texture that holds up better in the fridge. I’ve made a batch without it, and the filling was noticeably softer.
Use ripe but firm peaches. Overripe peaches will break down and release too much liquid, making the bottom of your cups soggy. Look for peaches that are fragrant and give slightly when you press near the stem, but still hold their shape when you dice them. If your peaches are a little underripe, let them sit on the counter for a day or two.
Press the crust down firmly. This is important for the texture. If you just sprinkle the crumbs in loosely, they’ll mix into the filling and you’ll lose that distinct crunchy layer. Use the back of a spoon or the bottom of a small glass to press each crust layer down firmly before adding the filling.
Make ahead for best results. These cups actually get better after a few hours in the fridge. The crust softens just slightly, the filling sets up perfectly, and the peach flavor infuses into the cream cheese. I usually make them the night before I plan to serve them. Just wait to add any garnishes until right before serving so they stay fresh.
Variations & Adaptations
One of the best things about this recipe is how flexible it is. Here are some ways to make it your own.
Berry cheesecake cups. Swap the peaches for fresh berries—strawberries, blueberries, raspberries, or a mix. Berries release less liquid than peaches, so you don’t have to worry about sogginess. I’ve made a version with sliced strawberries and a drizzle of balsamic reduction on top, and it was incredible.
Gluten-free option. Use gluten-free graham crackers or crushed gluten-free cookies for the crust. I’ve used gluten-free vanilla wafers before, and they work perfectly. Just make sure to check the labels if you’re serving someone with celiac disease.
Vegan adaptation. This one takes a little more work, but it’s doable. Use a vegan cream cheese alternative (I like the one from Miyoko’s) and a vegan heavy cream substitute. Coconut cream whipped up with a little powdered sugar works well for the fluffy texture. Use a vegan butter or coconut oil for the crust. The flavor will be slightly different, but it’s still creamy and delicious.
Spiced peach version. Add a pinch of cinnamon and a tiny pinch of nutmeg to the peach layer. Toss the diced peaches with the spices before adding them to the cups. This gives it a cozy, almost cobbler-like feel. I made this version in early fall, and it was perfect for those transitional days when you’re not ready to give up summer fruit.
Chocolate crust twist. Use crushed chocolate wafers or Oreo cookies (filling removed) instead of graham crackers for the crust. The chocolate pairs surprisingly well with the peach and cream cheese. It’s a little more indulgent, but sometimes that’s exactly what you need.
Serving & Storage Suggestions
These cups are best served cold, straight from the fridge. I like to let them sit out for about 10 minutes before serving, just to take the edge off the chill. The filling softens slightly, and the peach flavor comes through more clearly.
What to serve with them. These cups are rich enough to stand on their own, but they pair beautifully with a simple shortbread cookie on the side for extra crunch. If you’re serving them as part of a summer spread, they go nicely with a light, fruity drink like iced tea or lemonade. For a more decadent dessert, drizzle a little warm caramel sauce over the top right before serving.
Storage instructions. Store any leftover cups in the refrigerator, covered with plastic wrap or a tight-fitting lid. They will keep for up to 3 days. After that, the crust starts to get too soft and the peaches may begin to release more liquid. I’ve never had them last that long in my house, though.
Freezing. You can freeze these cups, but the texture will change slightly. The filling becomes a little icier, and the crust loses its crunch. If you do freeze them, wrap each cup tightly in plastic wrap and then in foil. Thaw in the refrigerator overnight before serving. I’d recommend making them fresh if you can, but frozen is better than nothing in a pinch.
Flavor development. The flavors actually get better after a day in the fridge. The peach flavor infuses into the cream cheese filling, and everything melds together. I’ve found that day-old cups are often more flavorful than freshly made ones. So don’t be afraid to make them ahead.
Nutritional Information & Benefits
This is a dessert, so I’m not going to pretend it’s health food. But it does have some redeeming qualities.
Estimated nutritional values per serving (based on 6 servings):
- Calories: 380
- Fat: 28g
- Carbohydrates: 30g
- Protein: 5g
- Sugar: 18g
- Fiber: 1g
Health highlights. Peaches are a good source of vitamin C and vitamin A, and they contain antioxidants that support overall health. Cream cheese provides calcium and protein, though it’s also high in saturated fat. This isn’t a daily indulgence, but it’s a reasonable treat when you’re craving something sweet.
Dietary considerations. This recipe is vegetarian. It contains dairy and gluten, but both can be adapted as noted in the variations section. It’s naturally nut-free, which is helpful for those with nut allergies.
My take. I believe in balance. I’m not going to tell you to eat this every day, but I also don’t think you should feel guilty about enjoying a dessert made with real ingredients. This is a treat, and treats are part of a happy life. The portion size is reasonable, and you’re getting some actual fruit in there. That counts for something.
Conclusion
These Creamy No-Bake Peach Cheesecake Cups are exactly the kind of dessert I want to make all summer long. They’re simple, they’re beautiful, and they taste like sunshine in a glass. No oven required, no complicated techniques, no stress. Just good ingredients layered together with a little care.
I hope you’ll try them and make them your own. Add a little cinnamon if that’s your thing. Swap in berries when peaches aren’t in season. Use chocolate cookies for the crust if you’re feeling bold. The recipe is a starting point, and the best version is the one that makes you happy.
If you make these, I’d love to hear about it. Leave a comment below and let me know how they turned out. Did you try a variation? Share it! Your version might inspire someone else. And if you’re looking for more no-bake summer desserts, you should definitely check out this no-bake berry icebox cake that’s just as easy and refreshing. For another peach fix, this homemade skillet peach cobbler is a classic that never disappoints. And if you’re in the mood for a different kind of summer dessert, these no-bake strawberry shortcake icebox cake bars are a crowd favorite.
Until next time, happy cooking—and happy eating.
Frequently Asked Questions
Can I use canned peaches instead of fresh?
Yes, you can use canned peaches in a pinch. Just make sure to drain them very well and pat them dry with paper towels. Canned peaches are softer and more syrupy, so they can make the filling watery if you’re not careful. I recommend using peaches packed in juice rather than syrup to keep the sweetness under control.
How long do these cheesecake cups need to set in the fridge?
At least 2 hours, but overnight is ideal. The filling needs time to firm up so the layers hold their shape when you dig in. If you’re in a hurry, you can pop them in the freezer for about 30 minutes, but don’t forget about them—they freeze solid surprisingly fast.
Can I make this recipe dairy-free?
You can, but it takes some adjustments. Use a dairy-free cream cheese alternative and a coconut cream-based whipped topping. The texture will be slightly different—a little softer and more coconut-forward in flavor—but it’s still delicious. I’ve made it with a cashew-based cream cheese, and it worked well.
Why did my filling turn out runny?
There are a few reasons this can happen. Your cream cheese might not have been softened enough, causing lumps that never incorporated properly. Your whipped cream might not have been whipped to stiff enough peaks. Or your peaches might have been too juicy. Next time, pat the diced peaches dry with a paper towel and make sure your cream is cold before whipping.
Can I use a different fruit instead of peaches?
Absolutely. This recipe works with almost any soft fruit. Try sliced strawberries, diced mango, fresh raspberries, or even a mix of berries. Just keep in mind that fruits with high water content, like watermelon or citrus segments, won’t work as well because they release too much liquid. Stick with fruits that hold their shape when diced.
Pin This Recipe!
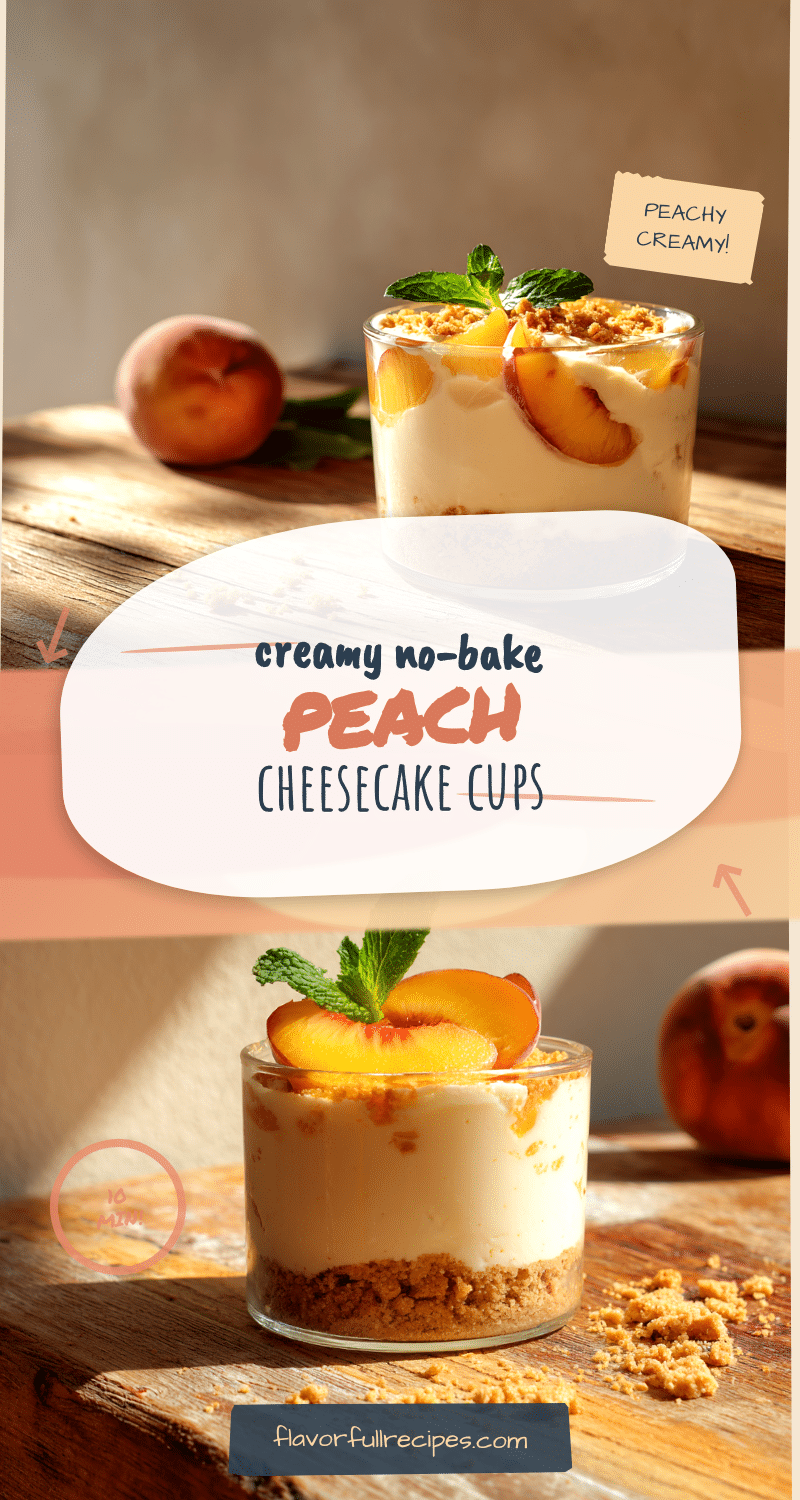
Creamy No-Bake Peach Cheesecake Cups (Easy 5-Min Recipe)
- Total Time: 2 hours 5 minutes (includes chilling time)
- Yield: 4-6 servings 1x
Description
These creamy no-bake peach cheesecake cups are the perfect summer dessert—no oven required, ready in 5 minutes, and made with simple ingredients. Layers of buttery graham cracker crust, light and airy cheesecake filling, and fresh juicy peaches create a refreshing treat that’s ideal for hot days.
Ingredients
- 2 medium ripe peaches (about 1 cup diced)
- 6 full sheets graham crackers (about 1 cup crushed)
- 3 tablespoons unsalted butter, melted
- 8 ounces full-fat cream cheese, softened
- 1 cup heavy whipping cream
- ½ cup powdered sugar
- 1 teaspoon vanilla extract
- 1 tablespoon lemon juice
- A pinch of salt
Instructions
- Prepare the crust: Place graham crackers in a ziplock bag and crush into fine crumbs using a rolling pin. Transfer to a small bowl, add melted butter, and stir until every crumb is coated. Set aside.
- Whip the cream: In a clean, cold mixing bowl, whip heavy cream with a hand mixer on medium speed until soft peaks form (about 2-3 minutes). Refrigerate until needed.
- Mix the cream cheese filling: In another bowl, beat softened cream cheese until smooth. Add powdered sugar, vanilla extract, lemon juice, and a pinch of salt. Beat until combined and fluffy.
- Fold in the whipped cream: Add one-third of the whipped cream to the cream cheese mixture and fold gently with a spatula. Repeat with remaining whipped cream until no white streaks remain and filling is light and airy.
- Dice the peaches: Wash, halve, and pit the peaches. Dice into ½-inch cubes. Pat dry with a paper towel if very juicy.
- Assemble the cups: In small glasses or jars, layer 2 tablespoons of crust mixture, pressing down firmly. Add ¼ cup cheesecake filling, then a layer of diced peaches. Repeat layers, ending with peaches on top.
- Chill: Cover cups with plastic wrap and refrigerate for at least 2 hours, preferably overnight, until set.
- Serve: Remove from fridge 10 minutes before serving. Garnish with fresh mint or extra graham cracker crumbs if desired.
Notes
Let cream cheese soften properly for 30-45 minutes to avoid lumps. Use ripe but firm peaches to prevent sogginess. Press crust layers down firmly for distinct texture. These cups taste even better after a day in the fridge as flavors meld. For best results, make ahead and chill overnight.
- Prep Time: 5 minutes
- Cook Time: 0 minutes
- Category: Dessert
- Cuisine: American
Nutrition
- Serving Size: 1 cup
- Calories: 380
- Sugar: 18
- Sodium: 220
- Fat: 28
- Saturated Fat: 16
- Carbohydrates: 30
- Fiber: 1
- Protein: 5
Keywords: no-bake cheesecake, peach cheesecake cups, summer dessert, easy dessert, no oven dessert, peach dessert, creamy cheesecake


