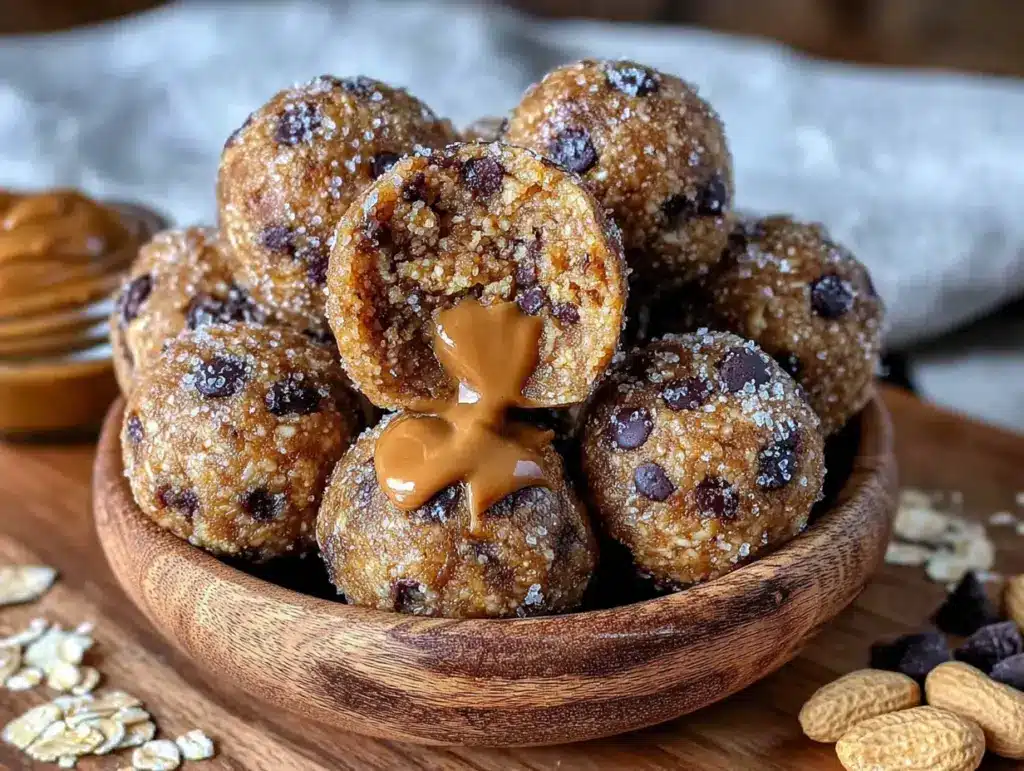
There used to be this tiny, slightly chaotic café tucked between a laundromat and a used bookstore downtown, called “The Gathered Table.” They made these peanut butter energy balls that were, honestly, life-changing. They weren’t dry or crumbly like most health food store versions. They were soft, perfectly sweet, and had this little crunch of chocolate that made you feel like you were getting away with something. When the café closed its doors two years ago—the owner finally retired to go sail around the world, which is the only acceptable reason to close a place like that—I felt a genuine pang of loss. I mean, it was a real problem. I spent the next six months trying to recreate them. The first batch was a sandy disaster. The second was a sticky, peanut-buttery brick. After seven tries—and a lot of messy fingers—I finally nailed it. This is that recipe. It’s the one that finally made me stop chasing a ghost and start enjoying my own creation.
Why You’ll Love This Recipe
These aren’t just any energy balls. They are the result of my personal quest to capture a specific texture and flavor—that perfect balance of chewy, sweet, and satisfying that makes you forget you’re eating something good for you. I tested ratios, swapped ingredients, and even called the café’s old supplier (no luck there). This version is the winner.
- Quick & Easy : You can have these made in under 15 minutes. No oven, no mixer, just a bowl and a spoon. It’s the perfect thing to whip up on a Sunday afternoon when you want to feel productive without actually doing work.
- Simple Ingredients : You probably have everything in your pantry right now. Oats, peanut butter, honey, chocolate chips. That’s it. No weird flours or hard-to-find superfoods.
- Perfect for Cozy Nights : These are my go-to for a quiet evening with a movie, or when I need a little pick-me-up after a long day. They’re comforting without being heavy.
- Crowd-Pleaser : I’ve brought these to potlucks and watched them disappear. Kids love them, adults love them, and no one ever guesses they’re relatively healthy.
- Unbelievably Delicious : The texture is soft and chewy, the chocolate adds little bursts of sweetness, and the peanut butter is, well, peanut butter. It’s a perfect, cozy bite.
This recipe is different because I focused on the technique of getting the right moisture balance. Too many recipes end up dry. This one stays soft and perfect for days, if they last that long. It’s the kind of snack that makes you close your eyes after the first bite. It’s comfort food, reimagined for a busy life.
What Ingredients You Will Need
This recipe uses simple, wholesome ingredients to deliver that perfect, cozy flavor and texture. No fuss, just good food. Most of these are pantry staples, which makes this a great recipe to have on hand for whenever the craving strikes.
- For the Base:
- 1 cup (100g) rolled oats (not quick oats—they get too mushy)
- 1/2 cup (128g) creamy peanut butter (I prefer a natural, no-stir kind like Justin’s for the best flavor, but any creamy kind works)
- 1/3 cup (80ml) honey (or maple syrup for a vegan option)
- 1/4 cup (20g) unsweetened shredded coconut (adds a nice chew and texture)
- For the Mix-Ins:
- 1/3 cup (60g) mini chocolate chips (dark or semi-sweet—I use Enjoy Life brand for a dairy-free option)
- 1/4 cup (30g) flaxseed meal (optional, but adds a nice nutty flavor and a boost of fiber)
- Pinch of sea salt (about 1/8 teaspoon—don’t skip this, it makes the peanut butter pop)
Ingredient Selection Tips: For the best texture, use a peanut butter that is creamy and not too oily. If your peanut butter is very stiff, you might need to warm it up for 10 seconds in the microwave to make it easier to mix. The honey acts as the binder, so don’t substitute it with a liquid sweetener like agave unless you’re prepared for a stickier dough. If you are using a sugar-free chocolate chip, be aware that the overall sweetness will be much lower. I’ve tried it with both, and the mini chips are really key for getting chocolate in every bite.
Equipment Needed
You don’t need much for this recipe, which is part of the beauty of it. It’s a truly low-fuss operation.
- Large Mixing Bowl: Any bowl will do, but a wide one makes mixing easier.
- Measuring Cups and Spoons: For accuracy. I use a standard set for dry ingredients and a liquid measuring cup for the honey.
- Spatula or Wooden Spoon: For mixing the dough. A rubber spatula is my favorite because it scrapes the bowl clean.
- Baking Sheet or Plate: To hold the rolled balls while they chill.
- Parchment Paper (optional): Makes cleanup a breeze and prevents sticking.
- Small Cookie Scoop (optional): If you want perfectly uniform balls. I use a 1.5-tablespoon scoop and it makes the process so fast. You can find a cheap one at any grocery store.
If you don’t have a cookie scoop, just use your hands. It’s more personal that way, honestly.
Preparation Method
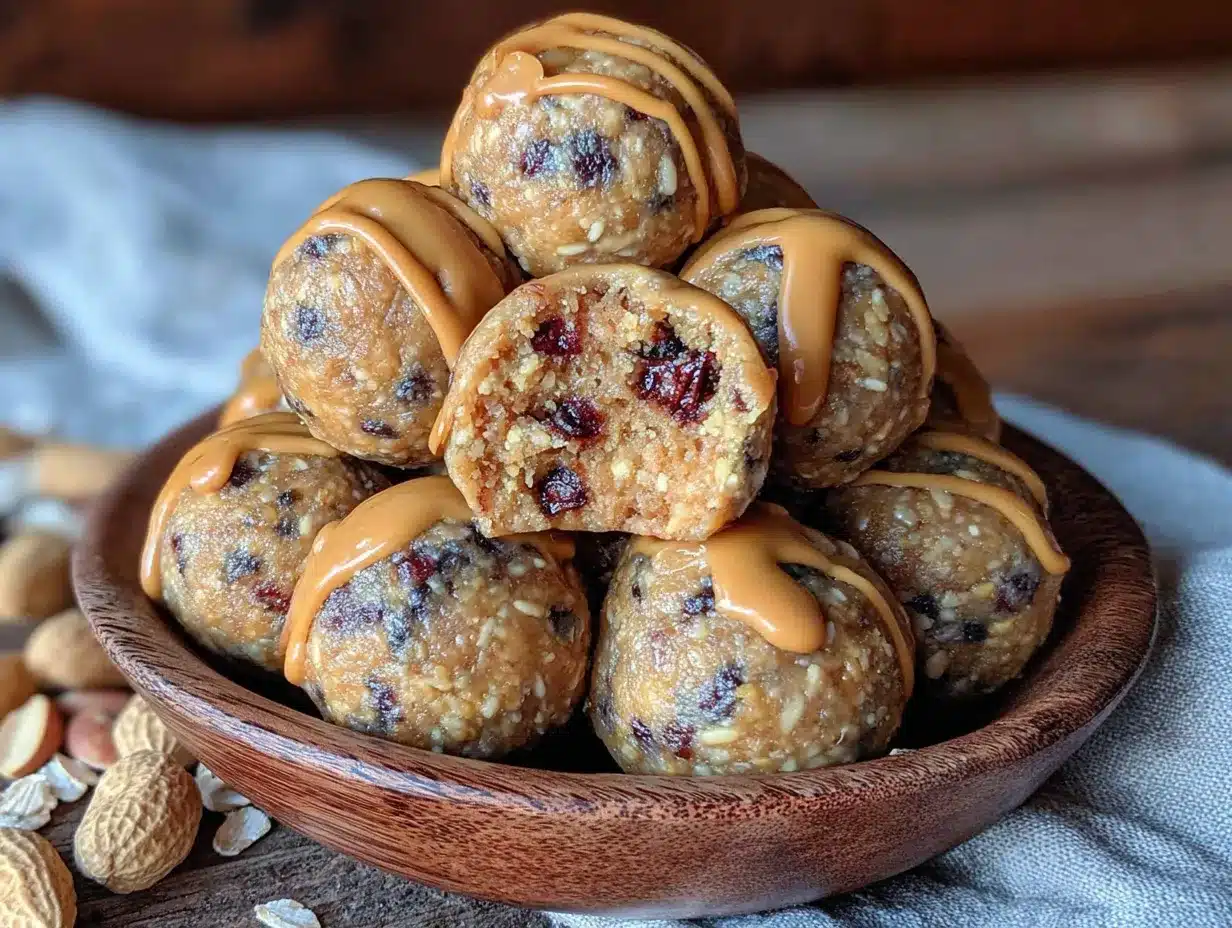
- Combine the Dry Ingredients: In your large mixing bowl, add the rolled oats, shredded coconut, flaxseed meal (if using), and the pinch of sea salt. Give it a quick stir with your spatula to combine everything. This ensures the salt and flax are evenly distributed.
- Add the Wet Ingredients: Spoon in the creamy peanut butter and drizzle in the honey. At this point, the mixture will look a little sad and clumpy. Don’t worry, that’s normal.
- Mix, Mix, Mix: This is the most important step. Use your spatula to fold everything together. Start by pressing the peanut butter and honey into the dry ingredients. It will feel stiff at first, but keep going. You want to make sure every oat flake is coated. If the mixture seems too dry, add a teaspoon of water or a tiny bit more honey. If it’s too sticky, add a tablespoon more oats. You’re looking for a dough that holds together when you squeeze it in your hand. It should feel slightly tacky but not wet. This usually takes about 2 minutes of solid mixing.
- Fold in the Chocolate Chips: Once the base dough is well combined, add the mini chocolate chips. Fold them in gently until they are evenly distributed. Try not to overmix at this stage, or the chips might start to melt from the heat of your hands.
- Chill the Dough (Optional but Recommended): For the easiest rolling, cover the bowl and pop it in the refrigerator for about 15-20 minutes. This firms up the peanut butter and makes the dough much less sticky to handle. I’ve skipped this step many times, but it really does make a difference in the final texture.
- Roll into Balls: Using your hands or a small cookie scoop, portion out the dough. Roll each portion between your palms to form a smooth, round ball. Aim for about 1 to 1.5 tablespoons of dough per ball. This recipe should make about 18-20 balls. If the dough starts sticking to your hands, lightly wet your palms with a little water.
- Final Chill: Place the rolled balls on a parchment-lined baking sheet or plate. Pop them in the refrigerator for at least 30 minutes to set. This is the hardest part—waiting. But it’s what gives them that perfect, firm-but-chewy texture. After they’re set, you can transfer them to an airtight container.
Sensory Cue: When you squeeze the dough in your hand, it should feel like soft Play-Doh. It should hold its shape without cracking. If it cracks, it needs more moisture. If it’s a sticky mess, it needs more oats.
Cooking Tips & Techniques
I learned a few things the hard way during my seven attempts at this recipe. Here are my best tips to save you the trouble.
Don’t Overmix the Oats: You want the oats to stay somewhat intact for the best texture. If you mix too vigorously, you’ll break them down and end up with a pasty, less satisfying ball. Mix just until everything is combined.
The “Squeeze Test”: Before you roll all the balls, do a test. Squeeze a small amount of dough in your hand. If it holds together perfectly, you’re good to go. If it falls apart, add a teaspoon of honey or peanut butter. If it’s too sticky, add a tablespoon of oats. This simple test has saved me more than once.
Wet Hands Are Your Friend: If the dough is sticking to your hands while you roll, just run your hands under cold water and shake off the excess. The thin layer of water prevents the dough from sticking without adding any extra moisture to the recipe. It’s a trick I use for making meatballs, and it works perfectly here.
Chill for the Perfect Texture: I know I mentioned it in the method, but it’s worth repeating. The 30-minute chill is not optional if you want the best texture. It allows the oats to soften slightly and the peanut butter to firm up. The result is a ball that is chewy and satisfying, not crumbly.
Variations & Adaptations
This recipe is incredibly forgiving. I’ve made so many different versions of it, and they’ve all been delicious. Here are a few of my favorites.
- Chocolate Lover’s Dream: Swap the mini chocolate chips for dark chocolate chunks and add a tablespoon of unsweetened cocoa powder to the dry ingredients. You get a double chocolate experience that is just incredible.
- Vegan & Gluten-Free: Use maple syrup instead of honey, and make sure you use certified gluten-free rolled oats. The flaxseed meal helps bind everything together, so this version holds up beautifully.
- Spiced Pumpkin: For a fall twist, replace 1/4 cup of the oats with pumpkin puree, add a teaspoon of pumpkin pie spice, and use white chocolate chips instead of milk chocolate. You might need to add a few more oats to balance the moisture from the pumpkin.
- Crunchy Seed Sensation: Replace the shredded coconut with a mix of sunflower seeds, pumpkin seeds, and chia seeds. This gives you a wonderful crunchy texture and a big boost of healthy fats and protein.
- Tropical Escape: Use dried mango or pineapple, chopped small, in place of the chocolate chips. Add a tablespoon of lime zest to the dough. It sounds weird, but it’s a bright, fresh, and surprisingly cozy flavor combination.
Serving & Storage Suggestions
These energy balls are best served cold, straight from the fridge. The texture is perfectly chewy and firm. They are the ultimate grab-and-go snack for a busy day or a cozy night in.
Serving Ideas: I love to serve them on a small plate with a cup of hot tea or coffee. They also make a fantastic addition to a lunchbox or a post-workout snack. For a fun presentation, you can roll them in a little extra shredded coconut or cocoa powder before serving.
Storage: Store the energy balls in an airtight container in the refrigerator. They will stay fresh and delicious for up to 2 weeks. Honestly, they never last that long in my house, but they do hold up perfectly.
Freezing: These freeze beautifully! Place the balls on a baking sheet in a single layer and freeze for 1-2 hours, or until solid. Then transfer them to a freezer-safe bag or container. You can thaw them in the refrigerator overnight, or eat them straight from the freezer for a cold, chewy treat. They will keep in the freezer for up to 3 months.
Flavor Development: The flavors actually get better after a day in the fridge. The oats soften, the peanut butter and honey meld together, and the chocolate chips become perfectly firm. They are good on day one, but they are amazing on day two.
Nutritional Information & Benefits
These energy balls are not just delicious; they are packed with good-for-you ingredients. They are a great source of healthy fats, protein, and fiber, which makes them a satisfying snack that will keep you full and energized.
Estimated Nutritional Values (per ball, based on 20 balls):
| Nutrient | Amount |
|---|---|
| Calories | 120 |
| Fat | 7g |
| Carbohydrates | 14g |
| Fiber | 2g |
| Sugar | 8g |
| Protein | 4g |
Health Benefits: The oats provide slow-release energy and are great for heart health. The peanut butter is a fantastic source of protein and healthy monounsaturated fats. The flaxseed meal adds a boost of omega-3 fatty acids and fiber. And the dark chocolate, believe it or not, is packed with antioxidants.
Dietary Considerations: This recipe is easily made gluten-free and vegan with the simple swaps I mentioned in the variations section. It is also naturally dairy-free if you use dairy-free chocolate chips. The main allergen to be aware of is peanuts, but you can easily substitute the peanut butter with sunflower seed butter or almond butter for a nut-free version.
Conclusion
These no-bake peanut butter energy balls are more than just a recipe. They are a little piece of comfort that you can make in your own kitchen, any time you need a pick-me-up. They remind me of that cozy little café, but they’ve become their own thing now—a snack I reach for when I need a moment of calm in a busy day. I really hope you try making them. Don’t be afraid to tweak the mix-ins based on what you have in your pantry. That’s the beauty of a recipe like this—it’s a template for your own perfect snack.
I’d love to hear how they turn out for you! Drop a comment below and tell me what variations you tried. Did you add dried cranberries? Swap the chocolate for butterscotch chips? Share your creation! And if you loved this recipe, don’t forget to pin it for later. Happy snacking, friends.
Frequently Asked Questions
My dough is too dry. What should I do?
If your dough is crumbly and won’t hold together, it likely needs more moisture. Add a teaspoon of honey or a splash of milk (dairy or non-dairy) and mix again. The natural peanut butter you use can also affect the moisture level. Some brands are stiffer than others.
My dough is too sticky. How do I fix it?
If the dough is too sticky to handle, simply add a tablespoon more rolled oats. Mix it in and let it sit for a minute to absorb the extra moisture. You can also chill the dough for 15-20 minutes, which will firm up the peanut butter and make it much easier to roll.
Can I use quick oats instead of rolled oats?
I don’t recommend it. Quick oats are more processed and will break down into a mushy paste, giving your energy balls a less pleasant texture. Rolled oats, or old-fashioned oats, provide a much better chew and hold their shape perfectly.
How long do these energy balls last at room temperature?
They are best stored in the refrigerator. At room temperature, they will become soft and the chocolate chips might melt. If you are taking them on a picnic or to work, they will be fine for a few hours in a cool place, but for the best texture and longevity, keep them cold.
Can I make these without chocolate chips?
Absolutely! The chocolate chips are optional. You can leave them out entirely, or swap them for an equal amount of dried fruit, like raisins, dried cranberries, or chopped dates. You can also add a tablespoon of cocoa powder to the dry mix for a chocolate base without the chips.
Pin This Recipe!
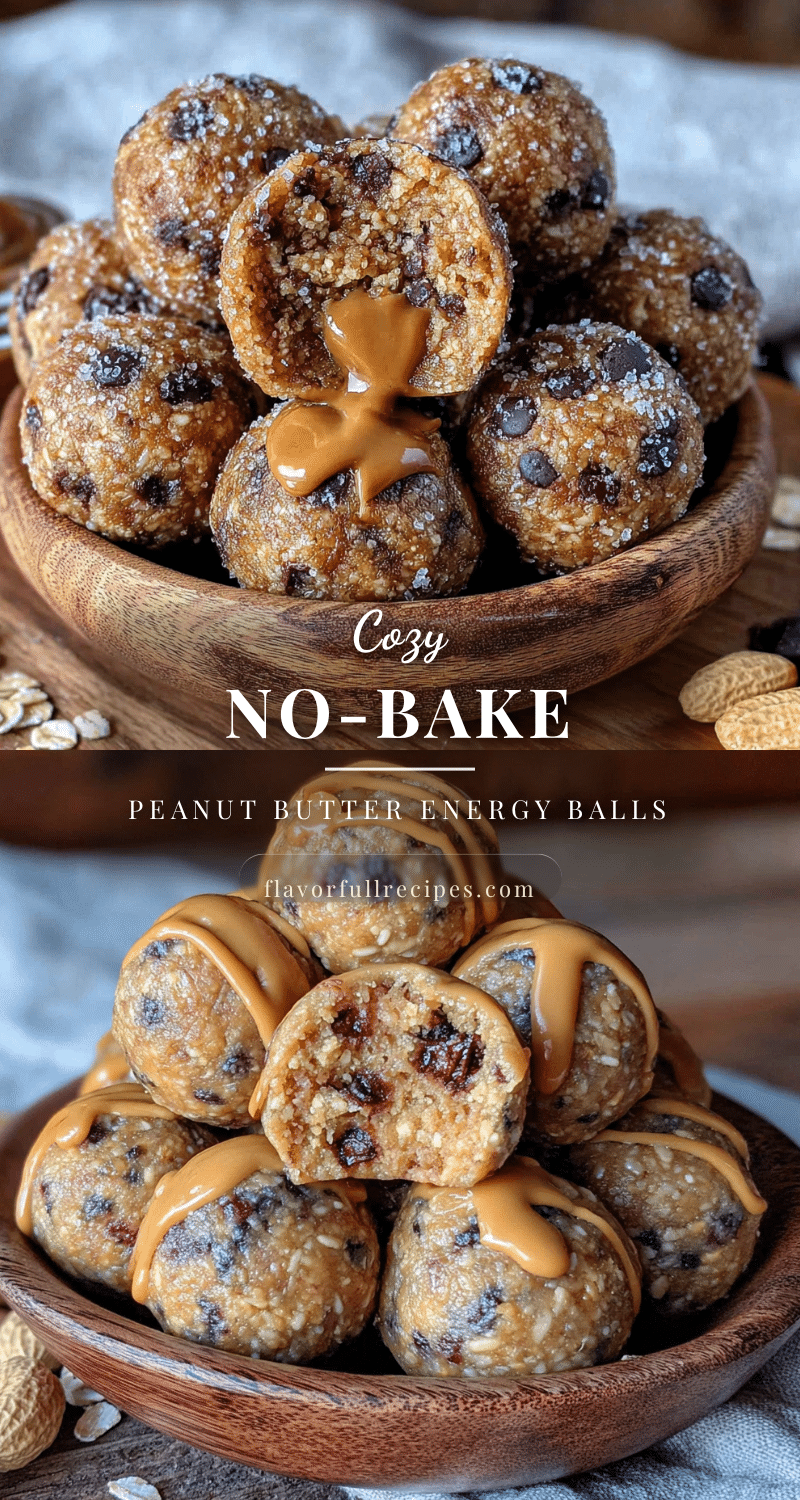
Cozy No-Bake Peanut Butter Energy Balls
- Total Time: 45 minutes (includes chilling)
- Yield: 18-20 balls 1x
Description
These no-bake peanut butter energy balls are soft, perfectly sweet, and have a little crunch of chocolate. They are the perfect quick and easy snack for cozy nights, made with simple pantry ingredients.
Ingredients
- 1 cup (100g) rolled oats (not quick oats)
- 1/2 cup (128g) creamy peanut butter
- 1/3 cup (80ml) honey (or maple syrup for vegan)
- 1/4 cup (20g) unsweetened shredded coconut
- 1/3 cup (60g) mini chocolate chips (dark or semi-sweet)
- 1/4 cup (30g) flaxseed meal (optional)
- Pinch of sea salt (about 1/8 teaspoon)
Instructions
- Combine the dry ingredients: In a large mixing bowl, add the rolled oats, shredded coconut, flaxseed meal (if using), and the pinch of sea salt. Stir to combine.
- Add the wet ingredients: Spoon in the creamy peanut butter and drizzle in the honey. The mixture will look clumpy.
- Mix, mix, mix: Use a spatula to fold everything together, pressing the peanut butter and honey into the dry ingredients. Mix until every oat flake is coated. If too dry, add a teaspoon of water or more honey; if too sticky, add a tablespoon more oats. The dough should hold together when squeezed.
- Fold in the chocolate chips: Add the mini chocolate chips and fold gently until evenly distributed.
- Chill the dough (optional but recommended): Cover the bowl and refrigerate for 15-20 minutes to firm up the dough.
- Roll into balls: Using your hands or a small cookie scoop, portion out the dough and roll into smooth balls, about 1 to 1.5 tablespoons each. Makes about 18-20 balls. If sticky, lightly wet your palms.
- Final chill: Place the rolled balls on a parchment-lined baking sheet or plate and refrigerate for at least 30 minutes to set. Transfer to an airtight container for storage.
Notes
For the best texture, use creamy peanut butter that is not too oily. If the peanut butter is stiff, warm it for 10 seconds in the microwave. The honey acts as a binder; do not substitute with a liquid sweetener like agave unless you want a stickier dough. The 30-minute chill is essential for the perfect chewy texture. The flavors improve after a day in the fridge.
- Prep Time: 15 minutes
- Cook Time: 0 minutes
- Category: Snack
- Cuisine: American
Nutrition
- Serving Size: 1 ball
- Calories: 120
- Sugar: 8
- Sodium: 50
- Fat: 7
- Saturated Fat: 2
- Carbohydrates: 14
- Fiber: 2
- Protein: 4
Keywords: no-bake, peanut butter, energy balls, healthy snack, gluten-free option, vegan option, easy snack