I was standing in the checkout line at the hardware store, of all places, holding a bag of lightbulbs and a pack of zip ties, when the woman behind me leaned forward and pointed at my cart. “You’re one of those people who gives jars of stuff for Christmas, aren’t you?” She wasn’t being rude. She had this knowing smile, like she’d spotted a fellow member of some secret club. I laughed and admitted she was right. Then she told me about the hot cocoa mix her aunt used to make every year—the one everyone fought over. She described the way the powdered milk and cocoa would settle into distinct layers in the mason jars, like a little striped sweater you could drink. I told her I’d never made a hot cocoa mix before, and she just shrugged. “It’s not about being fancy,” she said. “It’s about having something warm to hand someone when it’s cold out.” I scribbled her aunt’s basic ratio on the back of my receipt, right there between the paint samples and the garden gloves.
Honestly, that scrap of paper sat on my fridge for almost a year. I kept meaning to try it, but life got in the way. Then last December, with about four dollars left in the gift budget and a list of neighbors, teachers, and the mail carrier still unchecked, I remembered that receipt. I had cocoa powder in the pantry. I had sugar. I had a bag of mini marshmallows that were mostly just for looking at. I grabbed a dozen mason jars from a bulk bin at the discount store, and I mixed up that first batch while my kids were watching a cartoon. It took me less than fifteen minutes. When I handed a jar to my son’s bus driver, she actually teared up a little. That’s when I knew this homemade hot cocoa mix in a jar was more than a gift—it was a whole feeling in a glass container.
Maybe you’ve been there. You want to give something thoughtful, but the bank account is saying “not this month.” Or maybe you just want to make something with your hands that doesn’t involve a screen. This recipe hits that sweet spot. It looks like you spent way more time and money than you actually did, which is honestly the best kind of gift. Let me show you how to make it.
Why You’ll Love This Recipe
I’ve tested this mix about seven times now, tweaking the ratios and trying different types of cocoa powder. I’ve made it with my kids, I’ve made it solo at midnight when I couldn’t sleep, and I’ve made it as a last-minute hostess gift when I showed up empty-handed to a dinner party. Every single time, it works. Here’s why this version stands out from every other jar mix you’ve seen on the internet.
- Budget-Friendly to the Core: You can make a full jar for less than three dollars, depending on what you already have in your pantry. That’s a gift that costs less than a fancy coffee drink but feels ten times more personal.
- Simple Ingredients, No Fuss: No weird stabilizers, no powdered creamer with ingredients you can’t pronounce. Just cocoa, sugar, a little salt, and real milk powder. You probably have most of it right now.
- Perfect for Gifting Season: Whether it’s Christmas, a birthday, a housewarming, or a “just because” moment, this jar fits. It’s the kind of gift that says “I thought about you” without saying “I spent a lot of money.”
- Crowd-Pleaser for All Ages: Kids love the marshmallow version. Adults appreciate the rich, not-too-sweet chocolate flavor. Even my friend who claims she “doesn’t like hot chocolate” asked for the recipe after trying a cup.
- Unbelievably Quick to Make: From pantry to finished jar in about fifteen minutes. You can crank out a dozen of these while watching a single episode of your favorite show. No baking, no cooling, no mess.
What makes this different from the standard mix you buy at the store? It’s the balance. Most commercial mixes are either cloyingly sweet or taste like watered-down chocolate milk. This one has a pinch of salt that makes the cocoa flavor pop, and the powdered milk gives it a creamy body that doesn’t come from a chemical lab. It’s comfort in a cup, and you made it yourself. That matters.
What Ingredients You Will Need
This recipe uses simple, everyday ingredients to create a rich, creamy hot cocoa that tastes like you spent hours on it. The magic is in the ratios and the quality of your cocoa powder. Here’s what you’ll need for each jar.
- Unsweetened Cocoa Powder: 1/2 cup per jar. I prefer Dutch-processed cocoa for a smoother, less acidic flavor, but natural cocoa works beautifully too. My favorite brand is Ghirardelli for the deep chocolate taste, but store-brand works fine in a pinch. (Dutch-processed gives a darker color and a more mellow taste.)
- Granulated Sugar: 1 cup per jar. Regular white sugar dissolves easily and provides the perfect sweetness. You can reduce it to 3/4 cup if you prefer a less sweet cocoa, but don’t go lower or it will taste bitter. (I’ve tried it with coconut sugar, and it works but gives a slightly caramel flavor that not everyone loves.)
- Powdered Milk: 1 cup per jar. This is what makes your cocoa creamy without needing fresh milk. Look for instant dry milk powder—it dissolves faster. I like Carnation brand for reliability. (For a dairy-free version, use powdered coconut milk or oat milk powder.)
- Powdered Sugar: 1/4 cup per jar. This adds a touch of sweetness and helps the mix dissolve smoothly. Don’t skip it—it makes a difference in texture. (Confectioners’ sugar with cornstarch is fine; the cornstarch actually helps thicken the drink slightly.)
- Salt: 1/2 teaspoon per jar. Fine sea salt or table salt works best. This is non-negotiable. It balances the sweetness and makes the chocolate taste more chocolatey. (I once forgot the salt and the mix was flat and boring. Don’t be like me.)
- Mini Marshmallows (optional): About 1/2 cup per jar for the top layer. You can also use dehydrated marshmallows if you want them to stay crunchy longer. (I add these last so they don’t get crushed under the other ingredients.)
- Optional Add-Ins: A pinch of cinnamon, a dash of cayenne pepper for a Mexican hot chocolate twist, or a few drops of peppermint extract mixed into the sugar. (I’ll cover variations in detail below.)
That’s it. Seven ingredients, most of which are pantry staples. The beauty of this recipe is that you can scale it up or down depending on how many jars you’re making. I usually triple the batch and keep the extra mix in a big airtight container for last-minute gifts or emergency hot cocoa cravings.
Equipment Needed
You don’t need any fancy kitchen gadgets for this project. In fact, you probably have everything already. Here’s what I use.
- Mason Jars: Pint-sized (16 oz) jars work perfectly. You can use wide-mouth or regular—both look great. I buy mine in bulk at the discount store, but you can also reuse jars from pasta sauce or pickles if you wash them well and remove the labels. (Soak them in hot, soapy water overnight to get the glue off.)
- Funnel: A wide-mouth funnel makes filling the jars much less messy. If you don’t have one, you can roll a piece of paper into a cone shape. (I’ve done this more times than I’d like to admit.)
- Mixing Bowl: A large bowl for combining the dry ingredients before layering. This ensures even distribution of the salt and cocoa. (I use my grandmother’s old ceramic bowl, but any bowl works.)
- Whisk: To break up any clumps in the cocoa powder or powdered milk. A fork works in a pinch, but a whisk is faster. (I have a small wire whisk that I keep just for dry ingredients.)
- Spoon or Scoop: For layering the ingredients into the jar. A tablespoon measure works great for creating even layers.
- Ribbon, Twine, or Fabric Scraps: For decorating the jar. This is where you can get creative. I save fabric scraps from old shirts and cut them into strips. (A little hot glue goes a long way.)
- Gift Tags or Labels: To write the instructions. I print simple labels on cardstock, but you can also write directly on the jar with a chalk marker. (Include the ratio: 1/3 cup mix + 1 cup hot milk or water.)
If you don’t have mason jars, you can use any clean, dry glass jar with a tight-fitting lid. I’ve used repurposed salsa jars and even small jam jars for single-serving gifts. The key is making sure the lid seals well to keep the mix fresh.
Preparation Method
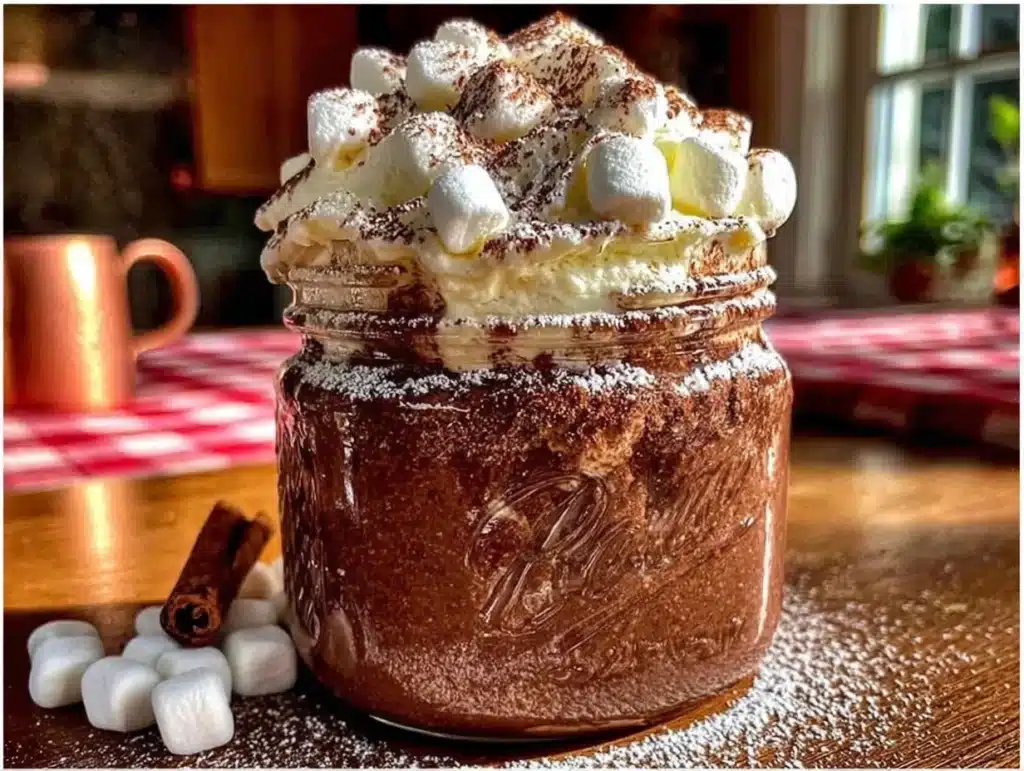
Making this homemade hot cocoa mix is almost embarrassingly easy. But there are a few tricks to getting those beautiful, Instagram-worthy layers that make the jar look like a gift from a boutique. Follow these steps, and you’ll have a dozen jars ready in no time.
- Prepare Your Workspace: Clear your counter and gather all your ingredients. Measure everything out before you start. This makes the process go faster and prevents you from accidentally doubling an ingredient. (I learned this the hard way when I added two cups of sugar to a single jar. It was… intense.)
- Mix the Dry Ingredients (Optional but Recommended): In a large bowl, whisk together the cocoa powder, granulated sugar, powdered milk, powdered sugar, and salt. This ensures the salt and cocoa are evenly distributed. If you skip this step, you might end up with a jar that has a pocket of pure salt in the middle. (Trust me, you don’t want that.)
- Prepare Your Jars: Make sure your jars are completely clean and bone-dry. Any moisture will cause the powdered milk to clump and potentially spoil. I let mine air-dry overnight to be safe. (Wipe the inside with a clean, dry cloth right before filling to catch any stray dust.)
- Layer the Ingredients: This is where the visual magic happens. Using your funnel, add the ingredients in this order for the most striking layers:
- First layer: Cocoa powder (it’s dark and creates a nice base).
- Second layer: Powdered milk (white or off-white, it contrasts with the cocoa).
- Third layer: Granulated sugar (white and fine).
- Fourth layer: Powdered sugar (also white, but slightly different texture).
- Fifth layer: Salt (it’s a tiny amount, so sprinkle it evenly over the top of the powdered sugar).
- Sixth layer (optional): Mini marshmallows on top, filling the remaining space.
(I tap the jar gently on the counter after each layer to help it settle evenly. Don’t pack it down hard—just a few gentle taps.)
- Seal the Jar: Wipe the rim of the jar with a clean, dry cloth to remove any stray powder. Screw the lid on tightly. (If you’re giving these as gifts, I recommend using a seal or a piece of fabric under the lid to make it look extra special.)
- Decorate the Jar: This is the fun part. Cut a piece of fabric or ribbon and tie it around the neck of the jar. Attach a gift tag with the following instructions: “To make: Empty contents of jar into a saucepan or large mug. Add 1 cup of hot milk (or water). Whisk until smooth. Heat gently, stirring constantly. Top with marshmallows if desired. Serves 1-2.” (I always include a little note that says “Made with love by [your name].”)
- Store or Gift: If you’re not giving the jar away immediately, store it in a cool, dry place. The mix will stay fresh for up to six months. (I keep one in my pantry for emergencies. You know, the kind of emergency that requires hot cocoa at 10 PM on a Tuesday.)
A few pro tips: If you want the layers to be extra distinct, use the back of a spoon to gently press down each layer before adding the next. This creates a clean line between the colors. Also, if you’re making a large batch, you can mix all the dry ingredients in a big container and just scoop the mix into jars without layering. It won’t look as pretty, but it tastes exactly the same.
Cooking Tips & Techniques
I’ve made this mix more times than I can count, and I’ve definitely made my share of mistakes. Here’s what I’ve learned so you don’t have to repeat my failures.
Don’t Skip the Salt: I know it sounds weird to put salt in a sweet drink, but it’s essential. Salt enhances the chocolate flavor and cuts through the sweetness. Without it, your cocoa will taste flat and one-dimensional. I once forgot the salt in a batch I was giving to my sister-in-law, and she politely said it was “fine.” “Fine” is the enemy of “delicious.”
Use Room Temperature Ingredients: This isn’t a baking recipe, so it’s less critical, but if your powdered milk or cocoa powder is clumpy from being stored in a humid pantry, sift it before mixing. Clumps won’t dissolve well in hot milk and will leave you with chalky bits floating in your cup. (I store my cocoa powder in the freezer to keep it fresh and clump-free.)
Layer Carefully for Gifts: If you’re making these for gifts, take your time with the layering. The visual appeal is half the gift. I use a small spoon to carefully place each layer, and I tap the jar gently to level it out. If you’re in a hurry, you can just dump everything in and shake it—it will taste the same, but it won’t look as impressive.
Test Your Mix Before Gifting: I always make a test cup from the first jar of each batch. This lets me adjust the sweetness or cocoa level if needed. It also gives me a chance to make sure the instructions on the tag are accurate. (One time I wrote “add 1 cup of hot water” but the mix needed milk for the right creaminess. I caught it because I tested it first.)
Multitask Like a Pro: While you’re measuring and layering, put a kettle on for tea or coffee. The process is repetitive and soothing, and having a warm drink nearby makes it feel less like work. I also put on a podcast or an audiobook. Fifteen minutes of layering jars flies by when you’re listening to a good story.
Variations & Adaptations
This base recipe is delicious on its own, but it’s also a fantastic canvas for customization. Here are some of my favorite variations that I’ve tested and loved.
Mexican Hot Chocolate: Add 1 teaspoon of ground cinnamon and a pinch of cayenne pepper to the dry mix. The warmth of the cinnamon and the subtle heat from the cayenne make this a grown-up version that’s perfect for cold winter nights. (I serve this with a cinnamon stick for stirring.)
Peppermint Hot Cocoa: Crush a few candy canes and add them to the marshmallow layer. You can also mix 1/4 teaspoon of peppermint extract into the sugar before layering. (Be careful with the extract—a little goes a long way. Too much and it tastes like toothpaste.)
Dairy-Free Version: Substitute the powdered milk with powdered coconut milk or oat milk powder. Use dairy-free chocolate chips or cacao nibs if you want to add extra texture. (I’ve found that coconut milk powder gives the creamiest result, but oat milk powder is a close second.)
Spiced Chai Cocoa: Add 1 teaspoon of chai spice blend (cinnamon, cardamom, ginger, cloves, nutmeg) to the dry mix. This creates a cozy, aromatic drink that feels like a hug in a mug. (I make my own chai blend and keep it in a little jar for this purpose.)
White Hot Chocolate Version: Swap the cocoa powder for an equal amount of white chocolate powder or finely chopped white chocolate. Use vanilla powdered sugar instead of regular. (This is dangerously sweet, so I reduce the granulated sugar by half.)
I’ve also made a “s’mores” version where I add crushed graham crackers and a few mini marshmallows to the jar. The graham crackers settle at the bottom and create a slightly crunchy texture when you stir in the hot milk. It’s a hit with kids.
Serving & Storage Suggestions
This hot cocoa mix is best enjoyed fresh, but it stores beautifully for months. Here’s how to serve it and keep it at its best.
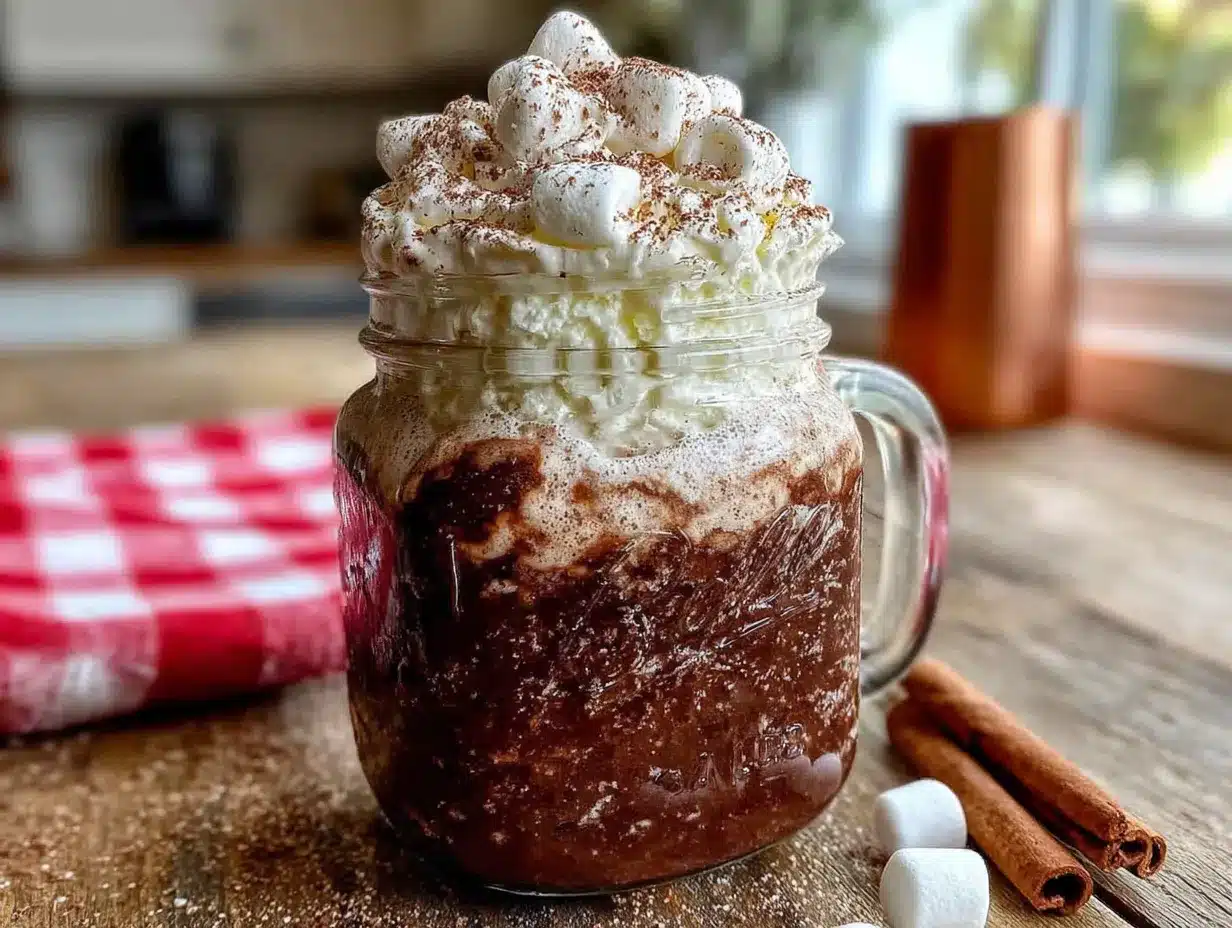
Serving Temperature and Method: For the richest flavor, heat milk (dairy or plant-based) on the stovetop until steaming but not boiling. Pour 1 cup of hot milk over 1/3 cup of the mix in a mug. Whisk vigorously until smooth. Top with marshmallows or a dollop of whipped cream. (If you’re in a hurry, you can use hot water, but the result will be thinner and less creamy. I always recommend milk.)
Complementary Pairings: This cocoa pairs beautifully with buttery shortbread cookies, gingerbread, or a simple slice of pound cake. For a cozy evening, serve it alongside a plate of salted caramel brownies or a warm cinnamon roll. (I once served it with homemade marshmallows and felt very fancy.)
Storage Instructions: Store the sealed jars in a cool, dark place like a pantry or cupboard. Avoid storing them near the stove or in direct sunlight, as heat and light can degrade the cocoa powder and cause the milk powder to go rancid. Properly stored, the mix will stay fresh for 6-8 months. (I write the date on the bottom of each jar with a permanent marker.)
Reheating Tips: If your cocoa gets cold, reheat it gently in a saucepan over low heat, whisking constantly. Do not microwave it for too long, as the milk can scorch and develop a burnt taste. (I’ve done this. It’s not good.)
How Flavors Develop: The mix actually tastes better after it’s been sitting for a week or two. The flavors meld together, and the salt and cocoa become more integrated. If you’re making these for gifts, try to make them at least a few days ahead of time. (I’ve noticed that the marshmallows soften slightly over time, which is actually kind of nice—they melt faster into the hot milk.)
Nutritional Information & Benefits
Let’s be honest: hot cocoa is a treat, not a health food. But that doesn’t mean it can’t have some redeeming qualities. Here’s a rough breakdown per serving (1/3 cup of mix prepared with 1 cup of whole milk).
- Calories: Approximately 280-320 calories per serving
- Fat: 8-10g (mostly from the milk powder and cocoa butter)
- Carbohydrates: 45-50g (mostly sugar, so enjoy in moderation)
- Protein: 8-10g (thanks to the powdered milk)
- Calcium: About 25% of your daily needs (from the milk)
- Iron: About 10% of your daily needs (from the cocoa powder)
Cocoa powder is actually a good source of antioxidants called flavonoids, which can help reduce inflammation and improve heart health. The darker the cocoa, the more flavonoids it contains. Using Dutch-processed cocoa reduces the flavonoid content slightly, but it’s still a better choice than a highly processed commercial mix. (I tell myself this when I’m having my third cup of the day.)
If you’re watching your sugar intake, you can reduce the sugar by half and add a few drops of stevia or monk fruit sweetener. The texture will be slightly different, but it will still be satisfying. (I’ve made a low-sugar version for my dad, who has diabetes, and he said it was the best cocoa he’d had in years.)
Potential allergens include dairy (from the powdered milk) and, in some cases, cocoa (which is rare but possible). If you’re gifting these jars, I recommend including a note with the ingredients listed clearly, just in case.
Conclusion
This homemade hot cocoa mix in a jar has become my go-to gift for almost every occasion. It’s affordable, it’s personal, and it’s something that people actually use. I’ve seen the look on someone’s face when they open a jar and realize you made it yourself—it’s different from opening a store-bought present. There’s a warmth there that goes beyond the drink itself.
I love this recipe because it reminds me that gift-giving doesn’t have to be expensive or complicated. Sometimes the best presents are the ones that come from your kitchen, made with ingredients you already have and a little bit of your time. It’s a way of saying “I thought of you” without spending a lot of money. And honestly, in a world that’s always telling us to spend more, that feels pretty good.
So go ahead and make a batch. Or two. Or ten. Customize the flavors to match the person you’re giving it to—add cinnamon for your spice-loving friend, peppermint for your neighbor who loves the holidays, or extra marshmallows for the kids. And when you hand that jar over, watch their face light up. That’s the real gift right there.
I’d love to hear about your variations! Drop a comment below and tell me how you personalized your hot cocoa jars. Did you add a secret ingredient? Did someone cry happy tears? Share your story—I read every single comment. And if you found this helpful, please pin it to your Pinterest board or share it with a friend who loves making homemade gifts. Let’s spread the warmth, one jar at a time.
Frequently Asked Questions
Can I use hot water instead of milk with this mix?
Yes, you can use hot water, but the result will be thinner and less creamy. The powdered milk in the mix provides some creaminess, but using actual milk gives you that rich, velvety texture that makes hot cocoa so comforting. If you’re in a pinch, water works—just don’t expect the same indulgence.
How long does the homemade hot cocoa mix last?
Stored in an airtight jar in a cool, dark place, this mix will stay fresh for 6 to 8 months. I recommend writing the date on the jar so you know when you made it. If the powdered milk starts to smell off or the cocoa loses its aroma, it’s time to make a fresh batch.
Can I reduce the sugar in this recipe?
Absolutely. You can reduce the granulated sugar to 3/4 cup per jar without significantly affecting the texture. If you want to cut it further, consider adding a zero-calorie sweetener like stevia or monk fruit. Just be aware that the mix might not dissolve as smoothly, and the flavor will be less sweet. I’ve made a half-sugar version that my family enjoys.
What if I don’t have powdered milk?
You can leave it out, but your cocoa will be much thinner. If you’re making the mix for someone who prefers water-based cocoa, you can skip the powdered milk entirely. Alternatively, you can use powdered coconut milk or oat milk powder for a dairy-free version. I’ve also seen recipes that use instant coffee creamer, but I find it too artificial-tasting.
Can I double or triple this recipe for a large batch?
Yes, this recipe scales beautifully. Simply multiply each ingredient by the number of jars you want to make. I often make a triple batch and store the extra mix in a large airtight container. Then, when I need a last-minute gift, I just scoop it into a jar and add a ribbon. It’s a real time-saver during the holiday season.
Pin This Recipe!
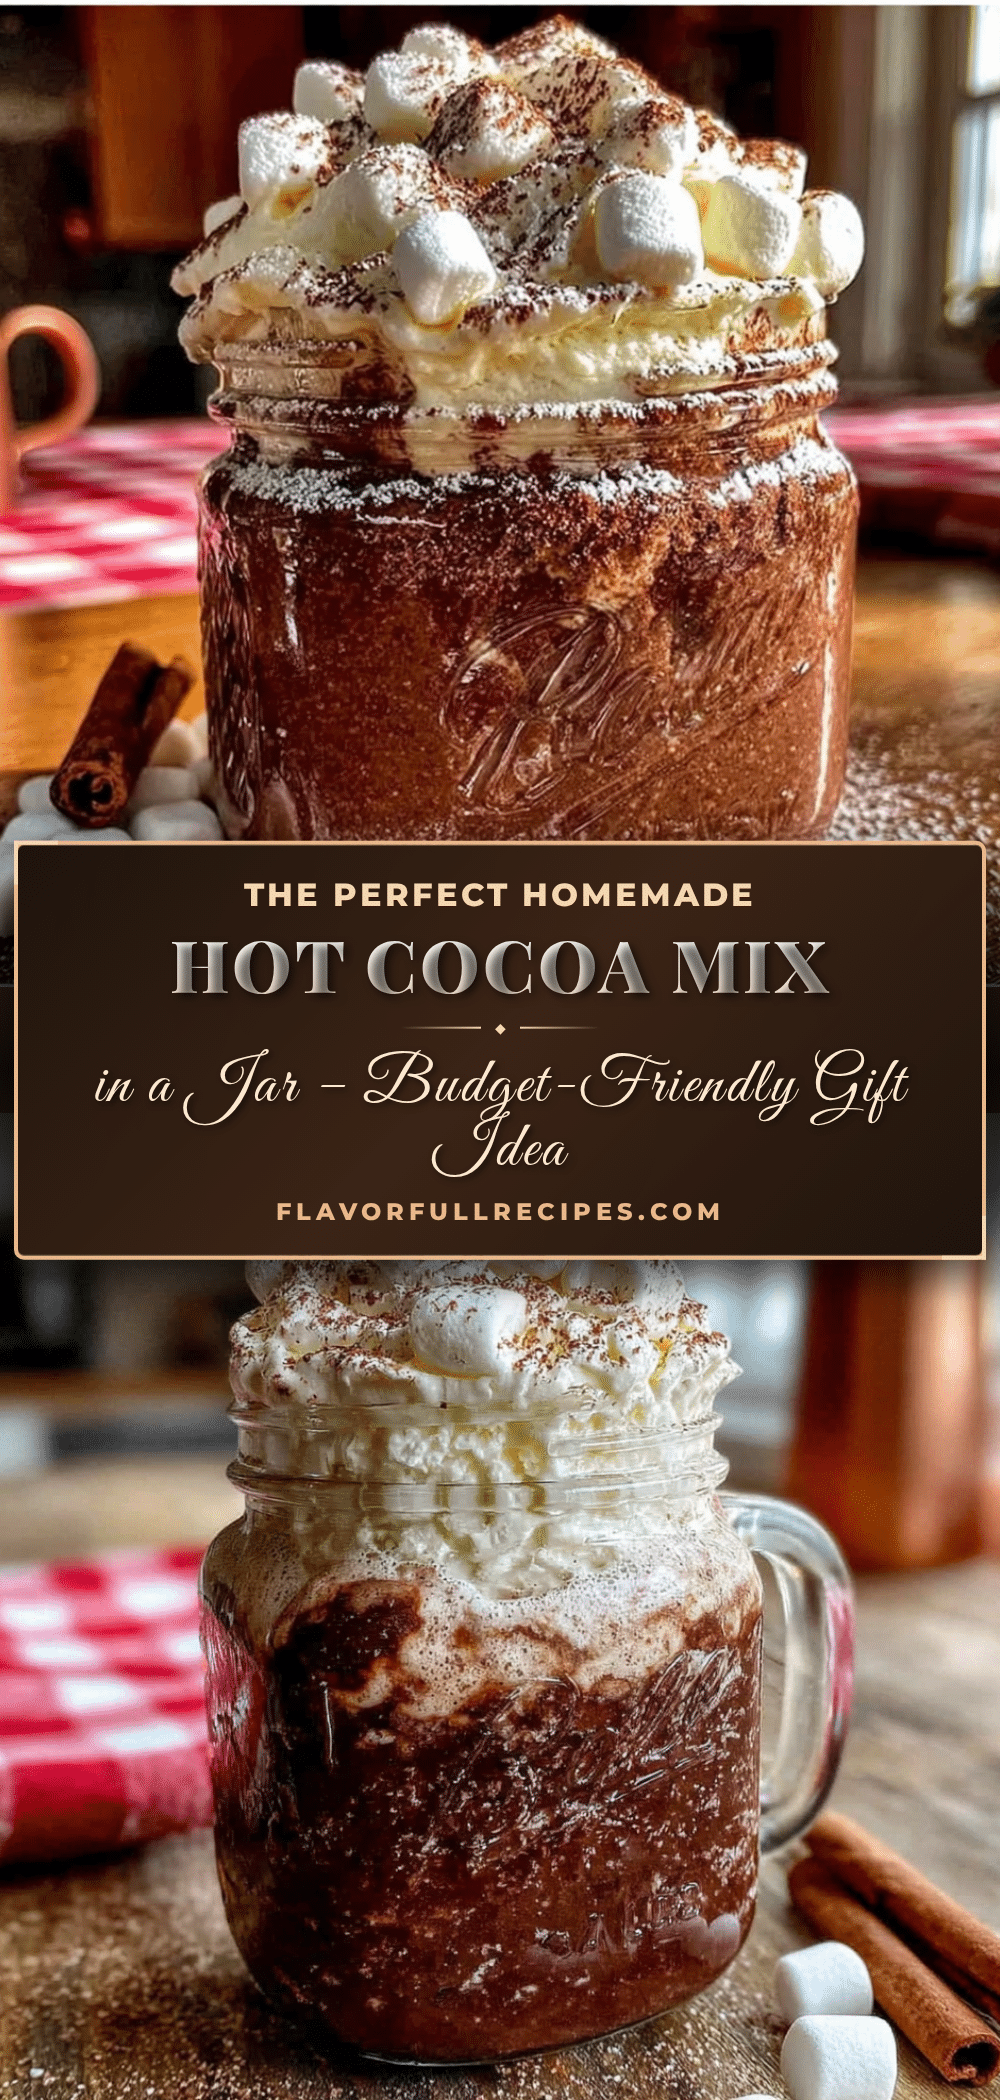
Homemade Hot Cocoa Mix in a Jar: Easy Budget Gift
- Total Time: 20 minutes
- Yield: 1 jar (makes about 6-8 servings) 1x
Description
A simple, budget-friendly homemade hot cocoa mix layered in a jar, perfect for gifting. Made with pantry staples like cocoa powder, sugar, and powdered milk, it creates a rich and creamy cup of hot chocolate.
Ingredients
- 1/2 cup unsweetened cocoa powder (Dutch-processed preferred)
- 1 cup granulated sugar
- 1 cup powdered milk (instant dry milk powder)
- 1/4 cup powdered sugar
- 1/2 teaspoon fine sea salt
- 1/2 cup mini marshmallows (optional, for top layer)
Instructions
- Prepare your workspace: Clear your counter and gather all ingredients. Measure everything out before starting.
- Mix the dry ingredients (optional but recommended): In a large bowl, whisk together the cocoa powder, granulated sugar, powdered milk, powdered sugar, and salt until evenly distributed.
- Prepare your jars: Ensure jars are completely clean and bone-dry. Let them air-dry overnight if possible.
- Layer the ingredients: Using a funnel, add ingredients in this order for striking layers: first cocoa powder, then powdered milk, then granulated sugar, then powdered sugar, then salt (sprinkle evenly), and finally mini marshmallows on top (if using). Tap the jar gently on the counter after each layer to settle.
- Seal the jar: Wipe the rim with a clean, dry cloth and screw the lid on tightly.
- Decorate the jar: Tie fabric or ribbon around the neck. Attach a gift tag with instructions: ‘To make: Empty contents of jar into a saucepan or large mug. Add 1 cup of hot milk (or water). Whisk until smooth. Heat gently, stirring constantly. Top with marshmallows if desired. Serves 1-2.’
- Store or gift: Store in a cool, dry place for up to 6 months.
Notes
For best results, use Dutch-processed cocoa for a smoother flavor. Don’t skip the salt—it enhances the chocolate taste. If gifting, make jars a few days ahead to let flavors meld. For dairy-free, substitute powdered milk with powdered coconut milk or oat milk powder. Store in a cool, dark place for 6-8 months.
- Prep Time: 15 minutes
- Cook Time: 5 minutes
- Category: Beverage
- Cuisine: American
Nutrition
- Serving Size: 1/3 cup mix prepared
- Calories: 300
- Sugar: 42
- Sodium: 250
- Fat: 9
- Saturated Fat: 5
- Carbohydrates: 48
- Fiber: 2
- Protein: 9
Keywords: hot cocoa mix, homemade gift, jar gift, hot chocolate, budget gift, Christmas gift, DIY gift, cocoa mix