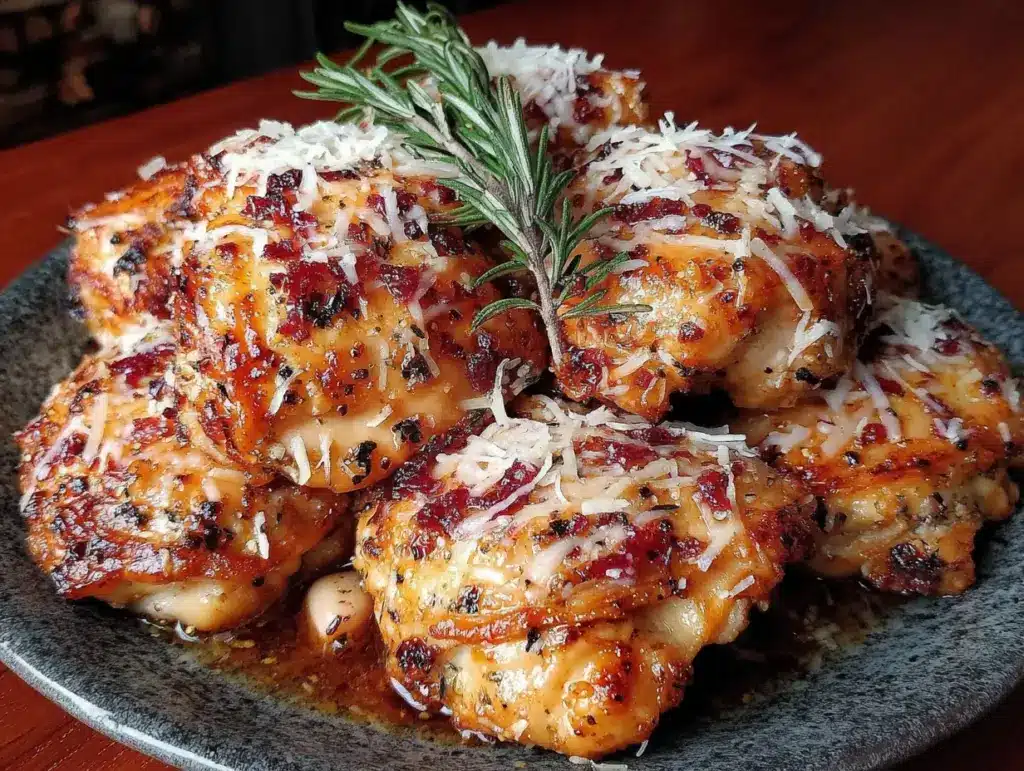
This was supposed to be a simple pan-seared chicken dinner. I had the cast iron ready, the butter measured, and I was feeling pretty good about myself—until I realized the stovetop burner was acting up. Of course. It was a Tuesday, the kids were hungry, and I was already running late. I grabbed the air fryer out of the pantry, muttered something under my breath, and tossed the chicken thighs in with whatever I could find. Garlic powder, some Parmesan I was saving for pasta, and a handful of breadcrumbs that were about to expire. What came out was nothing like the plan—and better.
Honestly, I stood there for a solid minute just staring at them. The skin was that perfect shade of golden brown, crispy in a way I usually only get from deep frying, and the smell? Let me tell you, it filled the whole kitchen with this warm, garlicky, cheesy aroma that made everyone wander in asking what was for dinner. I didn’t even plate them properly—just threw them on a cutting board and we ate them right there, standing up. That’s when I knew this wasn’t just a lucky accident. It was a keeper.
Now, every time fall rolls around and the air gets that crisp, cool edge, I find myself reaching for this recipe. It’s become my go-to for those busy weeknights when you want something hearty and satisfying but don’t have the energy for a long, complicated meal. Maybe you’ve been there too—standing in the kitchen, tired, hungry, and just hoping something works out. Well, this one does. Every single time.
Why You’ll Love This Recipe
Let me be real with you—I’ve tested this recipe at least a dozen times, tweaking the seasoning, adjusting the cook time, and even trying different brands of Parmesan. What I’m sharing with you today is the version that never fails. It’s the one my family requests for Sunday dinners, the one that disappears before I can even get a second helping for myself.
- Quick & Easy : From fridge to table in under 30 minutes. Perfect for those hectic fall evenings when you’ve got soccer practice, homework, and a million other things on your plate.
- Simple Ingredients : You probably have most of these in your kitchen right now. No fancy trips to specialty stores or hunting down obscure spices.
- Perfect for Fall : There’s something about the combination of garlic, Parmesan, and crispy chicken that just screams cozy autumn dinners. It pairs beautifully with roasted vegetables or a warm soup.
- Crowd-Pleaser : I’ve served these at potlucks, family gatherings, and even a casual dinner party. Kids devour them, adults go back for seconds, and I always get asked for the recipe.
- Unbelievably Delicious : The texture is what gets me every time—crispy on the outside, juicy and tender on the inside. That garlic Parmesan crust is pure comfort food magic.
What makes this recipe different from all the other chicken thigh recipes out there? It’s the technique. By combining finely grated Parmesan with panko breadcrumbs and a touch of olive oil, you get a crust that crisps up beautifully in the air fryer without drying out the meat. Plus, the garlic isn’t just sprinkled on top—it’s mixed right into the coating, so every bite is packed with flavor. This isn’t just another version of air fryer chicken. It’s the best version.
This recipe is the kind that makes you close your eyes after the first bite. It’s comfort food reimagined—healthier, faster, but with the same soul-soothing satisfaction. Perfect for impressing guests without stress, or turning a simple Tuesday dinner into something memorable.
What Ingredients You Will Need
This recipe uses simple, wholesome ingredients to deliver bold flavor and satisfying texture without the fuss. Most of these are pantry staples, especially if you keep a well-stocked kitchen during the fall season.
For the Chicken
- 4 bone-in, skin-on chicken thighs (about 1.5 pounds total) — I prefer bone-in for maximum juiciness, but boneless works too (just reduce cook time by 5 minutes). Look for thighs with the skin still attached for that crispy finish.
- 1 tablespoon olive oil — Helps the coating stick and promotes browning. You can use avocado oil if you prefer.
- 1 teaspoon salt — I use fine sea salt. Adjust based on your preference and the saltiness of your Parmesan.
- 1/2 teaspoon black pepper — Freshly ground is always best, but pre-ground works in a pinch.
- 1/2 teaspoon garlic powder — Not the same as granulated garlic! Garlic powder blends more smoothly into the coating.
For the Garlic Parmesan Coating
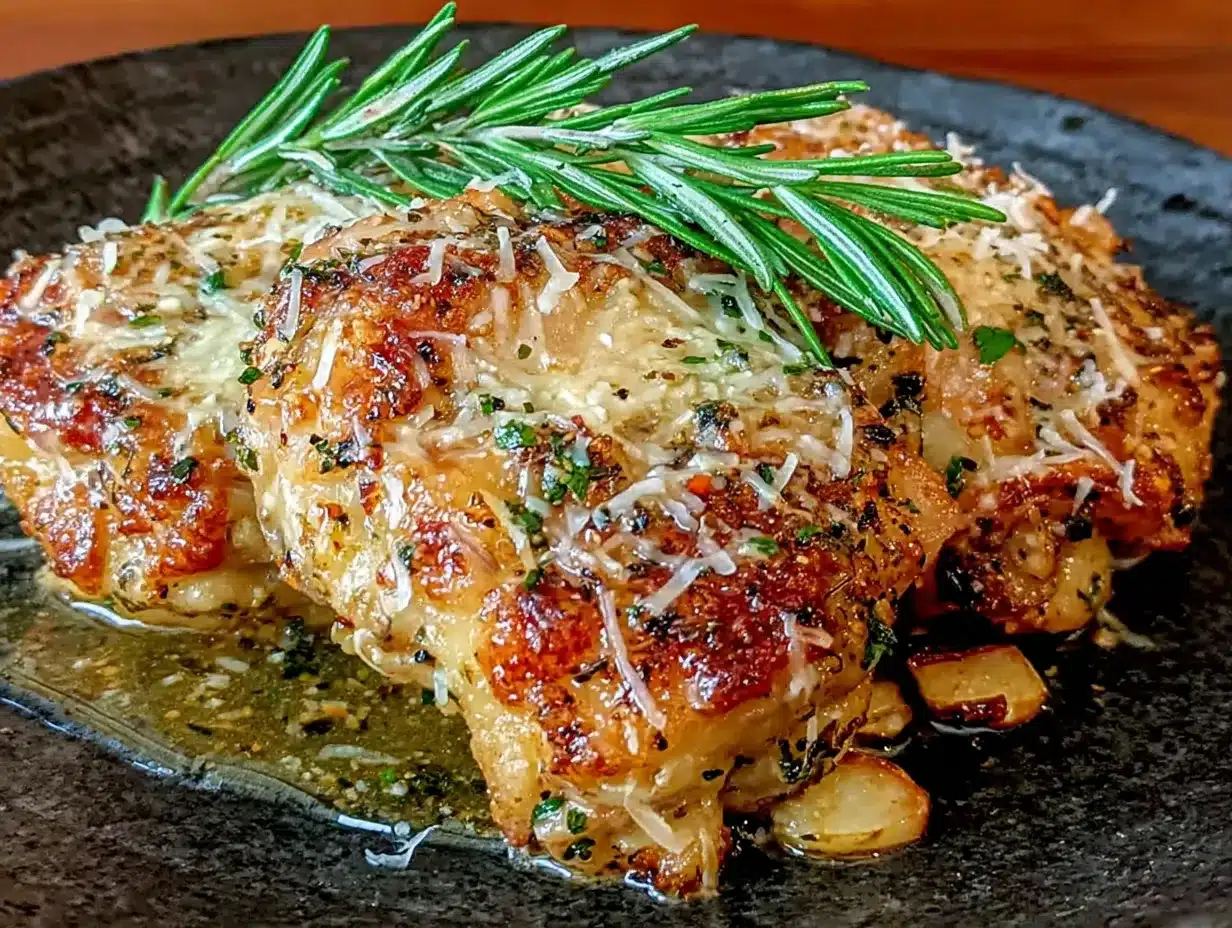
- 1/2 cup panko breadcrumbs — Regular breadcrumbs work, but panko gives you that extra-crispy texture. I’ve tried both, and panko wins every time.
- 1/2 cup finely grated Parmesan cheese — Please, for the love of good food, use the real stuff from a block. The pre-shredded stuff in the green can has anti-caking agents that prevent it from melting properly. I recommend Parmigiano-Reggiano for the best flavor.
- 2 cloves garlic, minced — Fresh garlic makes a huge difference here. You can use 1 teaspoon of jarred minced garlic in a pinch, but fresh is worth the extra 30 seconds.
- 1 tablespoon unsalted butter, melted — Adds richness and helps the coating brown beautifully. Use salted butter and reduce the added salt slightly if that’s all you have.
- 1 tablespoon fresh parsley, chopped — Optional but recommended for a pop of color and freshness. Dried parsley works too—use 1 teaspoon.
- 1/4 teaspoon red pepper flakes (optional) — Adds a tiny kick of heat that balances the richness. Leave it out if you’re serving kids or prefer milder flavors.
For Serving (Optional)
- Fresh lemon wedges — A squeeze of lemon right before eating brightens up all the flavors beautifully.
- Extra fresh parsley for garnish
Substitution Guidance : If you need a gluten-free option, use gluten-free panko breadcrumbs—they work perfectly. For a dairy-free version, swap the Parmesan with nutritional yeast (use about 1/4 cup) and use dairy-free butter or olive oil instead of melted butter. I’ve tested both substitutions, and while the flavor changes slightly, the texture stays wonderfully crispy.
Equipment Needed
You don’t need a professional kitchen to make this recipe work. Here’s what you’ll need:
- Air fryer — Any brand works. I use a 5.8-quart model, but smaller ones work too—just cook in batches to avoid overcrowding. My first air fryer was a tiny 2-quart one, and I spent years making everything in batches before I upgraded. No shame in that game.
- Mixing bowls — One medium bowl for the coating mixture and one small bowl for the melted butter and garlic.
- Tongs — For turning the chicken without messing up the coating. Silicone-tipped tongs are gentle on the air fryer basket.
- Meat thermometer — Honestly, this is non-negotiable for me. Chicken needs to reach 165°F internally, and guessing just isn’t worth the risk. A simple digital one costs about $10 and will save you so much stress.
- Cutting board and knife — For mincing garlic and chopping parsley.
- Paper towels — Patting the chicken dry is a crucial step that many people skip. Don’t be that person.
Budget-Friendly Tip : If you don’t own an air fryer yet, check your local thrift store. I found my first one for $15, and it worked perfectly for years. You can also use this method with a convection oven—just increase the temperature to 400°F and cook for about 25-30 minutes.
Preparation Method
Let’s get cooking! Follow these steps, and you’ll have the crispiest, most flavorful chicken thighs of your life.
- Pat the chicken dry. Use paper towels to remove as much moisture as possible from the chicken thighs. This is the single most important step for crispy skin. Wet skin steams instead of crisps, and we’re not making steamed chicken here. Let the chicken sit at room temperature for about 10 minutes after drying.
- Season the chicken. In a small bowl, mix together the salt, pepper, and garlic powder. Sprinkle this mixture evenly over both sides of the chicken thighs. Rub it in gently with your fingers—yes, get your hands in there. It’s the best way to ensure even coverage.
- Make the coating. In a medium bowl, combine the panko breadcrumbs, finely grated Parmesan cheese, minced garlic, and red pepper flakes if using. Stir everything together with a fork until well mixed. The garlic should be evenly distributed—nobody wants a bite with no garlic and another with too much.
- Add the butter. Pour the melted butter over the breadcrumb mixture and toss with a fork until the crumbs are evenly moistened. The mixture should look slightly clumpy, like wet sand. This helps the coating stick to the chicken and creates those beautiful crispy bits.
- Coat the chicken. Working with one thigh at a time, press the chicken into the breadcrumb mixture, coating all sides generously. Don’t be shy—really press it in. I use my fingers to pat the coating onto any bare spots. Place the coated thighs on a plate or cutting board.
- Preheat the air fryer. Set your air fryer to 375°F (190°C) and let it preheat for 3-5 minutes. Preheating ensures the chicken starts cooking immediately, which helps the crust set quickly.
- Arrange the chicken. Place the coated chicken thighs in the air fryer basket, skin side up, leaving at least 1 inch of space between each piece. If your air fryer is small, cook in batches. Overcrowding leads to steaming, and we’ve already established that’s not the goal.
- Cook the chicken. Air fry at 375°F for 18-22 minutes, depending on the thickness of your thighs. At the 10-minute mark, carefully flip each thigh using tongs. The coating should be lightly golden at this point. Continue cooking for the remaining time.
- Check for doneness. Use your meat thermometer to check the internal temperature. Insert it into the thickest part of the thigh, avoiding the bone. You’re looking for 165°F (74°C). If it’s not there yet, cook for 2-3 more minutes and check again.
- Rest before serving. Once done, transfer the chicken to a plate and let it rest for 5 minutes. This allows the juices to redistribute, keeping the meat tender and moist. I know it’s hard to wait, but trust me on this one.
- Garnish and serve. Sprinkle with fresh parsley and serve with lemon wedges if desired. The lemon juice adds a bright, acidic note that cuts through the richness beautifully.
Sensory Cue : At the 10-minute mark, your kitchen should smell like a warm garlic bread factory. The chicken will be sizzling gently, and the coating will have turned a light golden brown. When you flip them, listen for that satisfying crunch—that’s how you know you’re on the right track.
Cooking Tips & Techniques
After making this recipe more times than I can count, I’ve learned a few things the hard way. Let me save you some trouble.
Don’t skip the patting dry step. I know it seems fussy, but moisture is the enemy of crispiness. I once skipped this step when I was in a rush, and the coating turned into a soggy mess. Never again. Take the extra 30 seconds—your taste buds will thank you.
Use freshly grated Parmesan. I cannot stress this enough. The pre-grated stuff has cellulose and other anti-caking agents that prevent it from melting and browning properly. I learned this lesson after a particularly disappointing batch where the coating just fell off in sad, clumpy pieces. Spend the extra dollar on a block of real Parmesan and grate it yourself. It takes two minutes and makes a world of difference.
Don’t overcrowd the air fryer. I know it’s tempting to throw all the chicken in at once, especially when you’re hungry. But overcrowding drops the temperature and creates steam, which ruins your crispy crust. Cook in batches if you need to. The extra 10 minutes is worth it.
Flip halfway through. This ensures even browning on both sides. I forgot to flip once, and the bottom of the chicken was pale and soft while the top was perfectly crispy. Learn from my mistake.
Let the chicken rest. I know you want to dig in immediately, but resting allows the juices to settle. If you cut into the chicken too soon, all those delicious juices will run out onto the plate, leaving you with dry meat. Five minutes. Set a timer if you have to.
Timing tip : While the chicken is resting, throw some roasted vegetables in the air fryer. Broccoli, Brussels sprouts, or green beans cook in about 8-10 minutes at 375°F and make the perfect side dish. It’s like having a second oven!
Variations & Adaptations
One of the best things about this recipe is how adaptable it is. Here are some variations I’ve tried and loved:
Spicy Buffalo Version : Mix 2 tablespoons of buffalo sauce with the melted butter before adding it to the breadcrumbs. The result is a tangy, spicy crust that’s absolutely addictive. I serve this with ranch dressing for dipping, and it disappears faster than anything else on the table.
Herb and Lemon Variation : Add 1 teaspoon of dried oregano and 1 teaspoon of lemon zest to the breadcrumb mixture. The lemon brightens everything up, making it perfect for those transitional days when fall feels more like late summer. I made this version for a Labor Day barbecue, and everyone asked for the recipe.
Gluten-Free Adaptation : Use gluten-free panko breadcrumbs. They work surprisingly well—I’ve tested several brands, and the texture is nearly identical. Just make sure to check that your Parmesan is also gluten-free (most are, but it’s worth verifying).
Dairy-Free Option : Replace the Parmesan with 1/4 cup of nutritional yeast and use olive oil instead of melted butter. The flavor is different—more savory and cheesy in a non-dairy way—but the texture stays wonderfully crispy. My dairy-free friend actually prefers this version now.
Extra Crispy Hack : For an even crunchier crust, spray the coated chicken lightly with cooking spray before air frying. This helps the panko brown and crisp up even more. I do this when I’m feeling extra fancy or when I want to impress guests.
Serving & Storage Suggestions
These chicken thighs are versatile enough to fit into any fall meal. Here’s how I like to serve and store them.
Serving Temperature : Serve hot, right out of the air fryer. The crust is at its crispiest within the first 10 minutes. If you’re serving a crowd, keep them warm in a 200°F oven on a wire rack (not directly on a baking sheet, or the bottom will get soggy).
Perfect Pairings : I love serving these with roasted Brussels sprouts tossed in balsamic glaze, a simple arugula salad with shaved Parmesan, or creamy mashed potatoes. They also pair beautifully with a warm fall soup like butternut squash or tomato basil. For a complete meal, add some crusty bread to soak up any juices.
Beverage Pairing : A crisp white wine like Sauvignon Blanc cuts through the richness beautifully. For beer lovers, a pale ale or pilsner works perfectly. My personal favorite is a glass of dry hard cider—it’s fall in a glass and complements the garlic Parmesan flavors wonderfully.
Storage Instructions : Store leftover chicken in an airtight container in the refrigerator for up to 4 days. The crust will soften slightly, but don’t worry—we’ll fix that during reheating.
Reheating Methods : The air fryer is your best friend here. Reheat at 350°F for 4-5 minutes, and the crust will crisp right back up. You can also use a toaster oven or regular oven at 350°F for 8-10 minutes. Avoid the microwave at all costs—it turns the crispy coating into a sad, rubbery mess. I learned this the hard way after a particularly disappointing lunch.
Freezer Instructions : These freeze beautifully. Let the chicken cool completely, then wrap each piece individually in plastic wrap and place in a freezer bag. They’ll keep for up to 3 months. To reheat, thaw in the refrigerator overnight and follow the reheating instructions above.
Nutritional Information & Benefits
Here’s the nutritional breakdown per serving (one chicken thigh):
- Calories : Approximately 380-420
- Protein : 32-35g
- Fat : 24-28g
- Carbohydrates : 8-10g
- Fiber : 0.5g
- Sugar : 0.5g
- Sodium : 680-720mg
Health Benefits : Chicken thighs are a great source of lean protein, which helps keep you full and satisfied. They’re also rich in B vitamins, particularly B6 and B12, which support energy metabolism and brain function. Garlic is known for its immune-boosting properties—perfect for fall when cold season is around the corner. Parmesan cheese provides calcium and protein, though it’s also high in sodium, so keep that in mind if you’re watching your salt intake.
Dietary Considerations : This recipe is naturally low-carb and keto-friendly (about 8-10g net carbs per serving). For a gluten-free version, use gluten-free panko. It’s not suitable for dairy-free or vegan diets unless you use the substitutions mentioned above.
Potential Allergens : Contains dairy (Parmesan, butter) and gluten (panko breadcrumbs). May also contain traces of other allergens depending on the brands you use.
Personal Wellness Perspective : I love that this recipe lets me enjoy crispy, satisfying chicken without the guilt of deep frying. The air fryer uses a fraction of the oil, so you get all the flavor and texture with fewer calories and less fat. It’s comfort food that actually fits into a balanced lifestyle—and that’s something I can feel good about serving my family.
Conclusion
This recipe started as a happy accident on a chaotic Tuesday night, but it’s become one of my most treasured fall staples. There’s something magical about the way the garlic and Parmesan come together, creating a crust that’s crispy, golden, and absolutely packed with flavor. And the fact that it comes together in under 30 minutes? That’s just the icing on the cake.
I’d love for you to try this recipe and make it your own. Maybe add a little extra garlic, swap in some different herbs, or serve it with your favorite fall side dish. The beauty of this recipe is that it’s forgiving—even if you tweak things, it’ll still turn out delicious. That’s the kind of recipe we all need in our lives, right?
If you give these crispy air fryer garlic Parmesan chicken thighs a try, I’d love to hear about it. Leave a comment below and let me know how they turned out, or share your own variations. And if you’re looking for more fall dinner ideas, be sure to check out my cozy fall soup recipes for the perfect side dish pairing. Happy cooking, friends!
Frequently Asked Questions
Can I use boneless, skinless chicken thighs for this recipe?
Absolutely! Boneless, skinless thighs work great, but you’ll need to reduce the cooking time by about 5 minutes. Start checking for doneness at the 13-minute mark. The coating might not get quite as crispy without the skin, but it’ll still be delicious.
Why is my coating falling off the chicken?
This usually happens for one of two reasons: either the chicken wasn’t patted dry enough, or the coating wasn’t pressed on firmly enough. Make sure to really press the breadcrumb mixture into the chicken, and don’t skip the drying step. Also, letting the coated chicken rest for 5 minutes before cooking helps the coating adhere better.
Can I make this recipe ahead of time?
Yes, but with a caveat. You can prepare the coating mixture and season the chicken up to 24 hours in advance. Store them separately in the refrigerator, then coat and cook when you’re ready. The cooked chicken is best eaten fresh, but leftovers reheat beautifully in the air fryer.
How do I prevent the garlic from burning?
Fresh minced garlic can burn if it’s exposed to high heat for too long. To prevent this, make sure the garlic is evenly distributed throughout the breadcrumb mixture, and don’t use too much—2 cloves is plenty. If you’re worried, you can use garlic powder instead of fresh garlic in the coating.
Can I use chicken breasts instead of thighs?
You can, but I don’t recommend it for this recipe. Chicken breasts cook faster and can dry out before the coating gets crispy. If you really want to use breasts, pound them to an even thickness (about 1 inch), reduce the cooking time to 15-18 minutes, and check for doneness early. You might also want to brush them with a little extra olive oil to keep them moist.
Pin This Recipe!
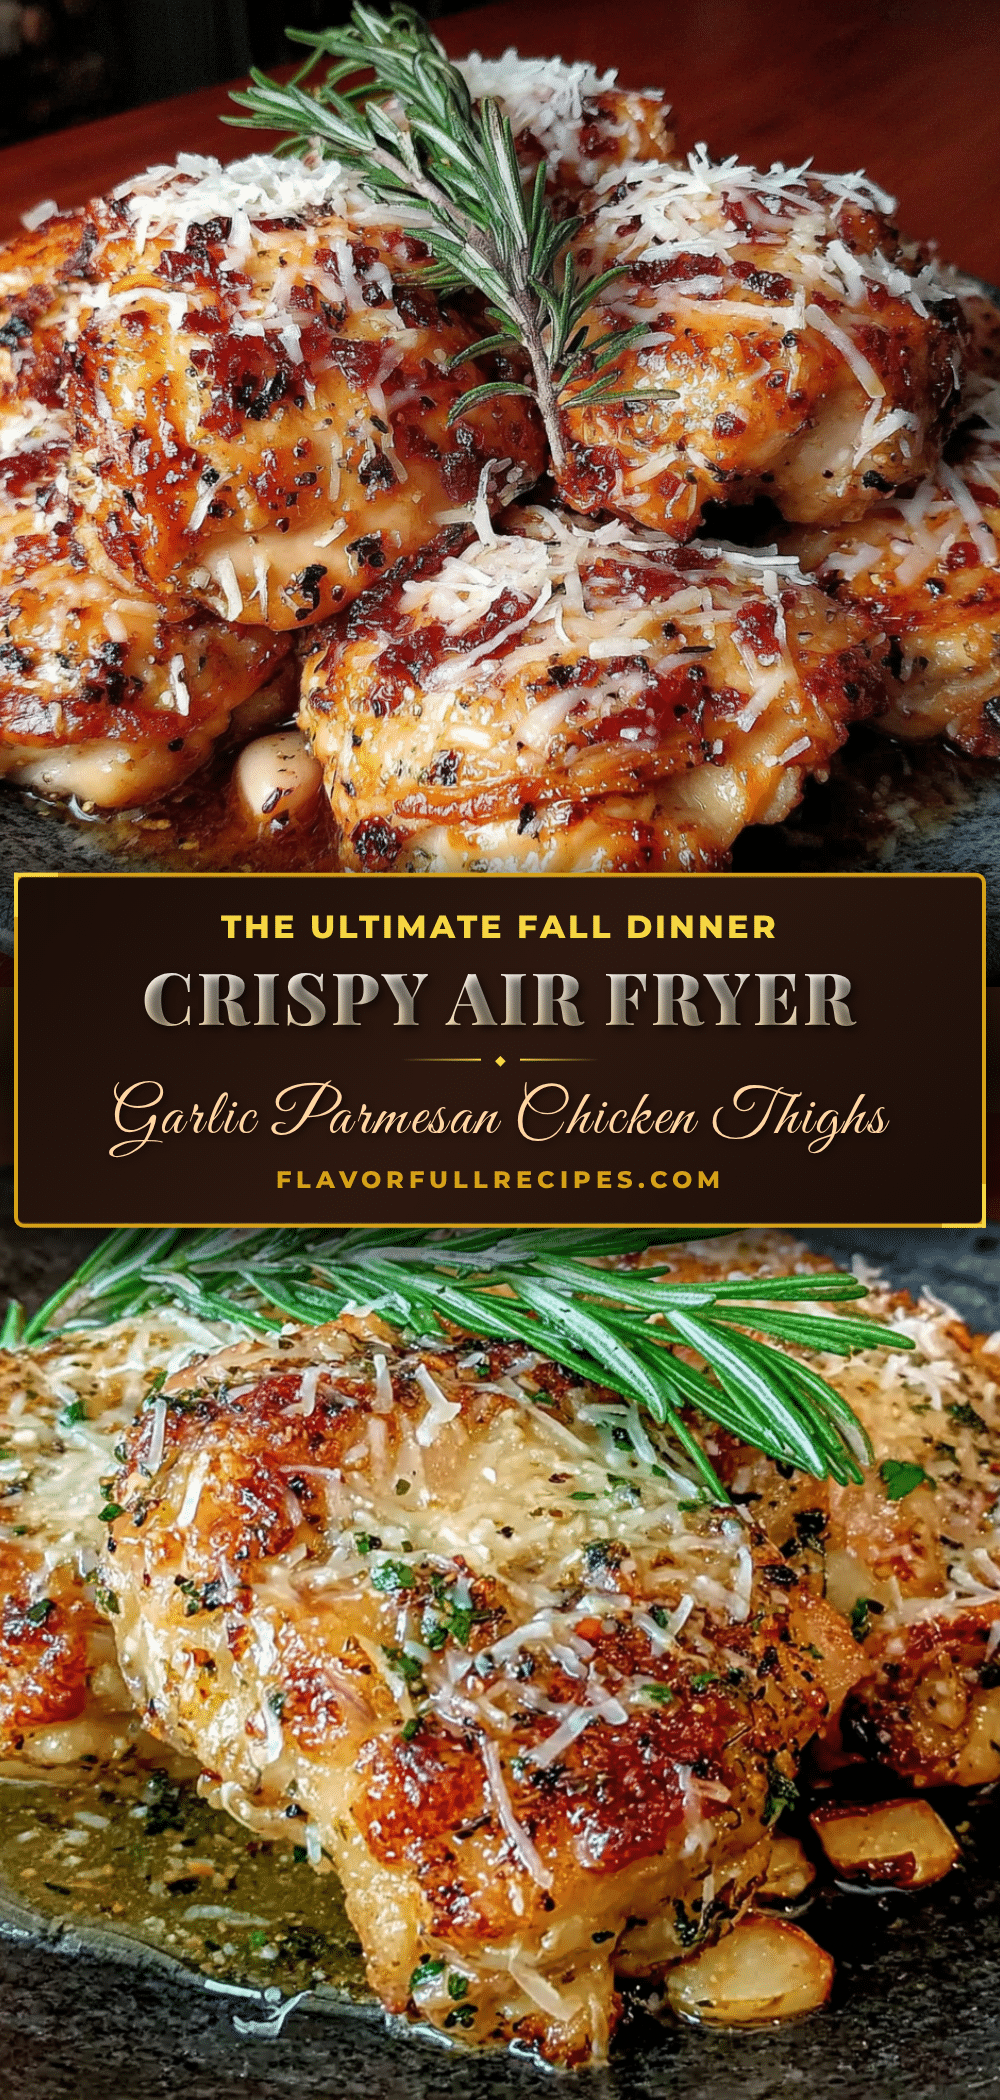

Crispy Air Fryer Garlic Parmesan Chicken Thighs (Best Fall Recipe)
- Total Time: 30 minutes
- Yield: 4 servings 1x
Description
Crispy, golden air fryer chicken thighs coated in a garlic Parmesan crust that’s juicy on the inside and perfectly crunchy on the outside. Ready in under 30 minutes, this easy fall recipe is a weeknight dinner winner.
Ingredients
- 4 bone-in, skin-on chicken thighs (about 1.5 pounds total)
- 1 tablespoon olive oil
- 1 teaspoon fine sea salt
- 1/2 teaspoon black pepper, freshly ground
- 1/2 teaspoon garlic powder
- 1/2 cup panko breadcrumbs
- 1/2 cup finely grated Parmesan cheese (Parmigiano-Reggiano recommended)
- 2 cloves garlic, minced
- 1 tablespoon unsalted butter, melted
- 1 tablespoon fresh parsley, chopped (or 1 teaspoon dried)
- 1/4 teaspoon red pepper flakes (optional)
- Fresh lemon wedges for serving (optional)
- Extra fresh parsley for garnish (optional)
Instructions
- Pat the chicken dry with paper towels to remove as much moisture as possible. Let sit at room temperature for 10 minutes.
- In a small bowl, mix salt, pepper, and garlic powder. Sprinkle evenly over both sides of the chicken thighs and rub in gently.
- In a medium bowl, combine panko breadcrumbs, finely grated Parmesan cheese, minced garlic, and red pepper flakes (if using). Stir with a fork until well mixed.
- Pour melted butter over the breadcrumb mixture and toss with a fork until crumbs are evenly moistened and slightly clumpy.
- Working one thigh at a time, press the chicken into the breadcrumb mixture, coating all sides generously. Place coated thighs on a plate.
- Preheat air fryer to 375°F (190°C) for 3-5 minutes.
- Place coated chicken thighs in the air fryer basket, skin side up, leaving at least 1 inch of space between each piece. Cook in batches if needed.
- Air fry at 375°F for 18-22 minutes. At the 10-minute mark, carefully flip each thigh using tongs.
- Check internal temperature with a meat thermometer; it should reach 165°F (74°C) in the thickest part. Cook 2-3 more minutes if needed.
- Transfer chicken to a plate and let rest for 5 minutes before serving.
- Sprinkle with fresh parsley and serve with lemon wedges if desired.
Notes
Patting the chicken dry is crucial for crispy skin. Use freshly grated Parmesan for best results. Don’t overcrowd the air fryer. Let chicken rest 5 minutes before serving. For gluten-free, use gluten-free panko. For dairy-free, use nutritional yeast and olive oil instead of Parmesan and butter.
- Prep Time: 10 minutes
- Cook Time: 20 minutes
- Category: Main Course
- Cuisine: American
Nutrition
- Serving Size: 1 chicken thigh
- Calories: 400
- Sugar: 0.5
- Sodium: 700
- Fat: 26
- Saturated Fat: 8
- Carbohydrates: 9
- Fiber: 0.5
- Protein: 33
Keywords: air fryer chicken thighs, garlic parmesan chicken, crispy chicken thighs, fall dinner recipe, easy weeknight dinner, keto chicken recipe