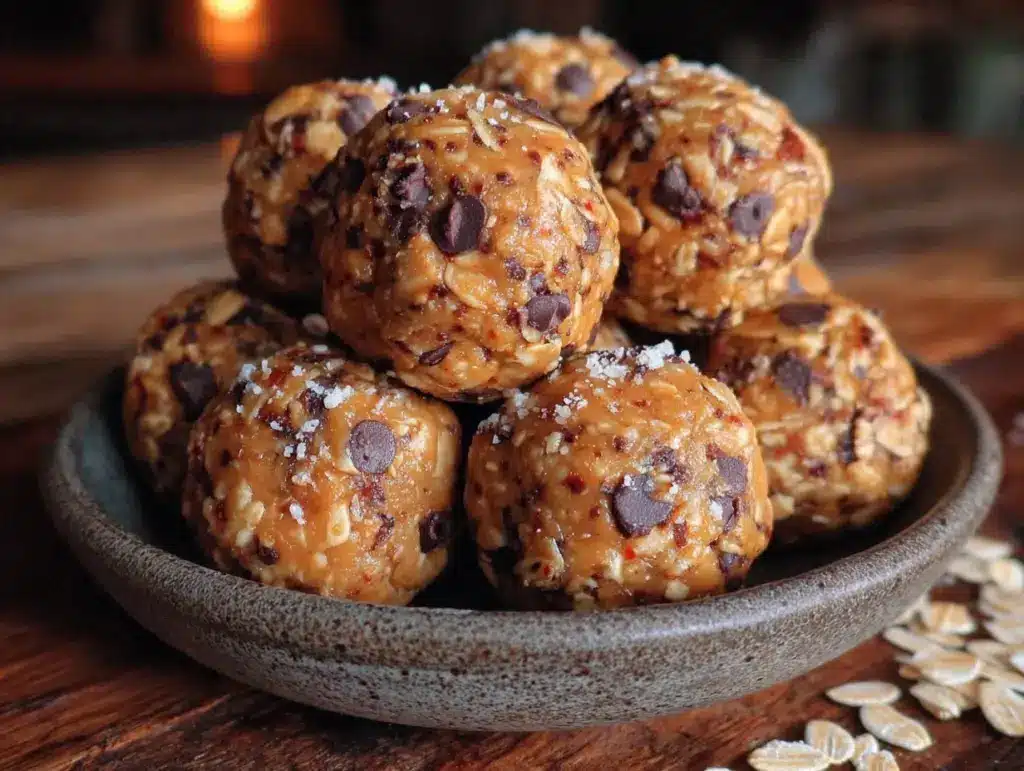
“You know what I need? Something I can eat with one hand while packing a lunchbox.” My sister said this to me last Tuesday, standing in my kitchen with a toddler on her hip and that look—the one that says she’s about five minutes from losing it. I opened the pantry, spotted the peanut butter, and started pulling things out without even thinking. By the time she finished telling me about her morning, I had a bowl of these no-bake peanut butter protein balls sitting on the counter.
She grabbed two on her way out the door. Texted me later that night: “Send me that recipe. Seriously.”
That’s the thing about these little bites of energy—they don’t ask for much. No oven, no fancy equipment, no planning ahead. Just five minutes, a bowl, and a few ingredients you probably already have. They’re the kind of snack that saves your afternoon when the 3 PM slump hits and you need something that actually fills you up, not just something that tastes good for thirty seconds.
I’ve made these more times than I can count now. For road trips, for post-workout recovery, for those days when lunch just isn’t happening. And honestly? They’ve never let me down.
Why You’ll Love This Recipe
Let me tell you why these protein balls have earned a permanent spot in my fridge. I’ve tested this recipe at least a dozen times—tweaking the ratio of oats to peanut butter, trying different mix-ins, even accidentally using crunchy peanut butter once (which, by the way, also works great).
- Ready in 5 Minutes : No baking, no chilling required before serving. Mix, roll, eat. That’s the whole process.
- Simple Ingredients : Oats, peanut butter, honey, chocolate chips, and protein powder. That’s it. Nothing you need to hunt down at a specialty store.
- Perfect for Busy Days : These are my go-to for busy mornings, afternoon slumps, and pre-workout fuel. They travel well, too—I’ve thrown them in my bag for road trips and they hold up perfectly.
- Kid-Approved and Adult-Friendly : My nieces gobble these up, but I’ve also brought them to work and watched grown adults fight over the last one.
- Actually Filling : The combination of protein, healthy fats, and fiber means one or two balls will keep you satisfied for hours. No blood sugar crash an hour later.
What makes these different from every other protein ball recipe out there? It’s the texture. They’re soft and chewy without being sticky or dry—a balance that took me a few tries to nail. The oats soak up just enough moisture from the peanut butter and honey, and the protein powder adds structure without making them taste chalky. I’ve tried versions that use almond butter, sunflower seed butter, even cookie butter (don’t judge), but peanut butter is the one that hits that sweet-salty spot every time.
These are the kind of snack that makes you feel like you’ve got your act together, even on days when you definitely don’t.
What Ingredients You Will Need
This recipe relies on simple, pantry-friendly ingredients to deliver big flavor and lasting energy. No complicated shopping list here—just the basics, plus a few optional add-ins if you want to get creative.
- Rolled Oats (1 cup / 90g) : Use old-fashioned rolled oats, not instant. They give the protein balls their chewy texture and hold up better during mixing. Quick oats will work in a pinch but create a softer, less structured ball. I prefer Quaker Old Fashioned Oats for consistent results.
- Creamy Peanut Butter (½ cup / 130g) : Natural peanut butter works best here—the kind that’s just peanuts and salt. Stir it well before measuring. Avoid the sugary, hydrogenated stuff if you can; it makes the balls greasy and overly sweet. If you only have crunchy, go for it—the texture will be different but still delicious.
- Honey (¼ cup / 85g) : This binds everything together and adds natural sweetness. Maple syrup works as a substitute for a vegan version, though the balls will be slightly softer. Local honey is my preference for flavor and that whole local pollen thing.
- Chocolate Protein Powder (¼ cup / 30g) : I use chocolate whey protein powder for the best flavor and texture. Vanilla works too, but you’ll lose that chocolate-peanut butter combo that makes these so addictive. Plant-based protein powders tend to make the mixture drier, so you may need to add a tablespoon of milk or water if using one. My go-to is Optimum Nutrition Gold Standard Whey in double rich chocolate.
- Mini Chocolate Chips (¼ cup / 45g) : Semi-sweet or dark chocolate chips add little pockets of melty goodness. Mini chips distribute more evenly than regular-sized ones. If you’re out of chocolate chips, chop up a dark chocolate bar into tiny pieces—it works just as well.
- Pinch of Sea Salt : A small pinch balances the sweetness and brings out the peanut butter flavor. Don’t skip this—it makes a surprising difference. If your peanut butter is already salted, you might want to go easy here.
Optional Add-Ins:
- 2 tablespoons ground flaxseed or chia seeds for extra fiber and omega-3s
- 1 tablespoon cocoa powder for a deeper chocolate flavor
- ¼ cup shredded coconut for texture and a tropical twist
- 2 tablespoons mini M&Ms for a fun, colorful variation (kids love this one)
Equipment Needed
You don’t need much for this recipe, which is honestly my favorite part. Here’s what you’ll need:
- Large Mixing Bowl : Any medium-to-large bowl will do. I use a glass mixing bowl because it doesn’t slide around on the counter, but ceramic or stainless steel works just fine.
- Measuring Cups and Spoons : For accuracy. Eyeballing works in a pinch, but protein balls are one of those recipes where the ratios matter for texture.
- Rubber Spatula or Wooden Spoon : For mixing. The mixture gets thick, so a sturdy spoon helps. I prefer a silicone spatula because it scrapes the sides clean and makes less mess.
- Cookie Scoop or Tablespoon : For portioning evenly. A 1-tablespoon scoop gives you perfectly uniform balls. If you don’t have one, just use a regular tablespoon and your hands.
- Parchment Paper or Baking Sheet : To place the rolled balls on. Parchment makes cleanup easier, but a regular plate works too.
- Optional: Food Processor : If you want a finer texture, you can pulse the oats in a food processor first. I don’t usually bother, but it’s an option if you prefer a less chunky bite.
That’s it. No mixer, no oven, no specialty gadgets. I’ve made these in a hotel room with a plastic bowl and a fork before—they still turned out great.
Preparation Method
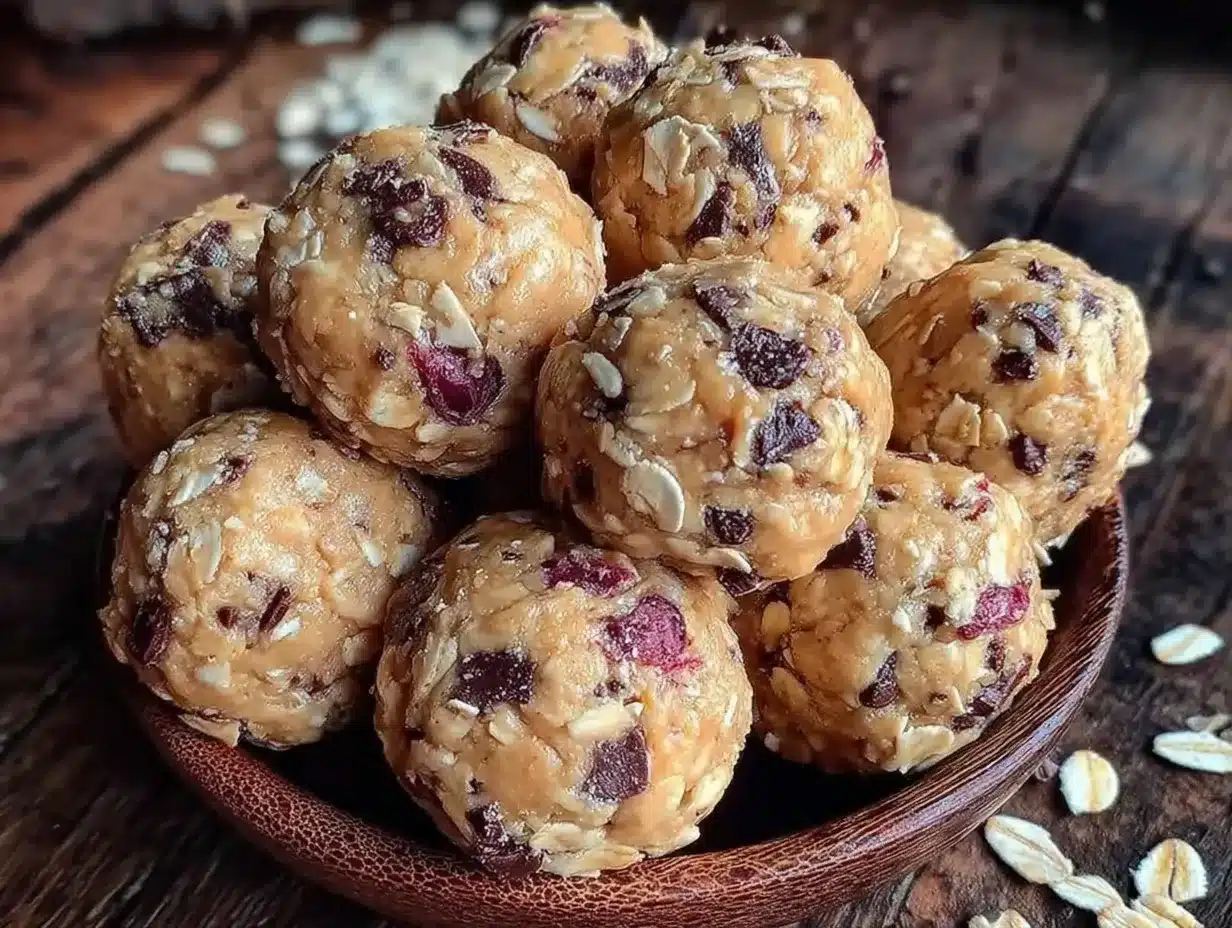
This process is almost embarrassingly simple, but I’ll walk you through every step so you get perfect protein balls every time.
- Combine the dry ingredients. In a large mixing bowl, add 1 cup rolled oats, ¼ cup chocolate protein powder, and a pinch of sea salt. Whisk them together with a fork or your fingers to break up any clumps in the protein powder. This step matters more than you think—nobody wants a chalky pocket of protein powder in their first bite.
- Add the wet ingredients. Spoon in ½ cup creamy peanut butter and ¼ cup honey. Make sure your peanut butter is well-stirred before measuring. If it’s been sitting in the pantry for a while, give it a good stir—the oil separation can throw off the texture.
- Mix until combined. Use your rubber spatula or wooden spoon to stir everything together. At first, it’ll look like a crumbly mess. Keep going. Press the mixture against the sides of the bowl as you stir. After about 30 seconds of vigorous mixing, it should come together into a thick, cohesive dough. If it feels too dry and crumbly, add a teaspoon of honey or a splash of milk. If it’s too sticky, add another tablespoon of oats.
- Fold in the chocolate chips. Add ¼ cup mini chocolate chips and fold them in gently. You want them distributed evenly throughout the dough, not all clustered in one spot. The dough will be thick—this is normal.
- Chill the mixture (optional but recommended). Cover the bowl and pop it in the fridge for 15-20 minutes. This step isn’t strictly necessary, but it makes the dough easier to handle and gives you cleaner, rounder balls. If you’re in a hurry, skip it—just know your balls will be a little stickier to roll.
- Roll into balls. Using a cookie scoop or a tablespoon, scoop out portions of the dough. Roll them between your palms gently—don’t squeeze too hard or they’ll be dense. You should get about 14-16 balls, depending on how big you make them. I aim for 1-inch balls, roughly the size of a golf ball.
- Place on parchment. Line a baking sheet or large plate with parchment paper and place the rolled balls on it. They shouldn’t touch, but they don’t need much space between them either.
- Enjoy immediately or refrigerate. These are ready to eat right away, but they firm up nicely after about 30 minutes in the fridge. The texture improves as they chill—the oats absorb more moisture and the flavors meld together.
Sensory Cues: The dough should feel like a thick, slightly sticky cookie dough. It should hold together when pressed between your fingers but not leave a greasy residue. If it feels oily, you used too much peanut butter. If it crumbles apart, you need a bit more honey or a splash of milk. The finished balls should be soft but firm enough to hold their shape without being hard.
One thing I learned the hard way: don’t overwork the dough. The more you handle it, the warmer it gets, and warm peanut butter makes everything stickier. Roll them quickly and move on.
Cooking Tips & Techniques
After making these more times than I can count, I’ve picked up a few tricks that make the process smoother and the results better.
Use room temperature ingredients. Cold peanut butter straight from the fridge is harder to mix and creates a stiff, difficult dough. Let it sit out for 10-15 minutes before starting. Same goes for honey—if it’s crystallized, warm it gently in the microwave for 10 seconds.
Wet your hands slightly. If the dough is sticking to your palms while rolling, lightly dampen your hands with water. Not too much—just a quick rinse and shake. The moisture creates a barrier that keeps the dough from sticking without adding enough water to affect the texture.
Don’t skip the salt. I mentioned this before, but it bears repeating. That tiny pinch of salt makes the peanut butter taste more peanut-buttery and balances the sweetness of the honey and chocolate chips. It’s the difference between “these are good” and “I can’t stop eating these.”
Chill for cleaner rolling. If you’re making these with kids or in a hurry, skip the chilling. But if you want perfectly round, uniform balls that look like they came from a bakery, chill the dough for 15 minutes first. The difference is noticeable.
Adjust consistency as you go. Different brands of peanut butter and protein powder have different moisture levels. The first time you make these, pay attention to the texture. If the dough seems too dry, add a teaspoon of honey or milk. Too wet? Add a tablespoon of oats. This recipe is forgiving—don’t stress about exact measurements.
Make a double batch. These keep well for up to two weeks in the fridge, so I always double the recipe. It takes the same amount of effort but gives you twice the payoff. Plus, they freeze beautifully, so you can stash some for later.
I once forgot the honey entirely and ended up with dry, crumbly balls that fell apart as soon as I bit into them. Not my finest moment. But you know what? I crumbled them over yogurt and it was still delicious. So even my failures turned into a win.
Variations & Adaptations
One of the best things about this recipe is how easy it is to customize. Here are some variations I’ve tried and loved:
Vegan Version: Swap the honey for maple syrup or agave nectar, and use a plant-based protein powder. The texture will be slightly softer, so you might need to add an extra tablespoon of oats to compensate. I’ve made these with pea protein powder and they turned out great—just a bit earthier in flavor.
Nut-Free Option: Use sunflower seed butter instead of peanut butter. The flavor is different—more savory, less sweet—but still delicious. Note that sunflower seed butter can react with baking soda if you ever bake with it (turns green, totally safe but alarming), but since these are no-bake, you’re fine. I’d add an extra tablespoon of honey to balance the savory notes.
Low-Carb/Keto Adaptation: Replace the oats with unsweetened shredded coconut and almond flour. Use a sugar-free protein powder and sugar-free chocolate chips. The texture will be denser and less chewy, but the flavor is still fantastic. I’ve made these for a friend on keto and she asked for the recipe immediately.
Seasonal Twists: In the fall, add 1 teaspoon pumpkin pie spice and swap the chocolate chips for white chocolate chips and dried cranberries. In the summer, add 2 tablespoons freeze-dried strawberry powder for a fruity version. Around the holidays, roll them in crushed peppermint for a festive touch.
Higher Protein Version: Increase the protein powder to ⅓ cup and reduce the oats by 2 tablespoons. You may need to add a splash of milk to balance the dryness. This version is denser and more filling—great for post-workout recovery.
Cookie Dough Inspired: Omit the protein powder and add an extra ¼ cup oats and 2 tablespoons brown sugar. The result tastes remarkably like cookie dough, minus the raw eggs. This is my secret indulgence when I’m craving something sweet but don’t want to bake a whole batch of cookies.
Serving & Storage Suggestions
These protein balls are versatile when it comes to serving. Here’s how I like to enjoy them:
Serving Temperature: They’re best cold or at room temperature. Straight from the fridge, they’re firm and chewy. Left on the counter for 10 minutes, they soften slightly and the chocolate chips get a little melty. Both are delicious—it just depends on your preference.
How to Serve: I grab two for a quick breakfast on busy mornings, pack one in my gym bag for post-workout fuel, or serve a few on a plate with coffee for an afternoon pick-me-up. They’re also great crumbled over yogurt, sliced banana, or a creamy peanut butter protein smoothie bowl for extra texture and protein.
Storage: Store the protein balls in an airtight container in the refrigerator for up to 2 weeks. Layer them between sheets of parchment paper if stacking to prevent sticking. I use a glass container with a tight lid and they stay fresh for the full two weeks—though they rarely last that long in my house.
Freezing: These freeze beautifully. Place the balls on a baking sheet in a single layer and freeze for 1 hour, then transfer to a freezer-safe bag or container. They’ll keep for up to 3 months. Thaw in the fridge overnight or at room temperature for 15-20 minutes. I always keep a stash in the freezer for busy weeks.
Reheating: No reheating needed. If you want a softer texture, microwave one ball for 5-10 seconds. The chocolate chips will get slightly melty and the whole thing becomes almost like warm cookie dough. Dangerous, but worth it.
Flavor Development: The flavors actually improve after a day in the fridge. The oats absorb moisture from the peanut butter and honey, creating a more uniform texture, and the flavors meld together. I actually prefer them on day two or three. If you can resist eating them all on day one, that is.
Nutritional Information & Benefits
Here’s the approximate nutritional breakdown for one protein ball (based on 15 balls per batch):
| Nutrient | Amount Per Ball |
|---|---|
| Calories | 145 |
| Protein | 7g |
| Carbohydrates | 16g |
| Fiber | 2g |
| Sugar | 9g |
| Fat | 7g |
| Saturated Fat | 2g |
| Sodium | 85mg |
These numbers will vary based on the specific brands and ingredients you use, but they give you a good ballpark estimate.
Health Benefits: Peanut butter provides healthy monounsaturated fats and plant-based protein, which help keep you full and satisfied. Oats are rich in beta-glucan, a type of soluble fiber that supports heart health and stable blood sugar. The protein powder adds an extra boost, making these a great option for post-workout recovery or as a meal-prep snack.
Dietary Considerations: This recipe is naturally vegetarian and can easily be made vegan, gluten-free (using certified gluten-free oats), or nut-free (using sunflower seed butter). The main allergens to note are peanuts and gluten (from oats, unless certified gluten-free). Always check your protein powder label for any additional allergens.
Personal Perspective: I love that these feel like a treat but actually have nutritional substance. They satisfy my sweet tooth without the crash that comes from processed snacks, and they give me lasting energy for the afternoon. That’s a win in my book.
Conclusion
These quick no-bake peanut butter protein balls are the kind of recipe that makes you wonder why you ever bought pre-packaged energy bars. They’re faster, cheaper, and honestly taste better. Plus, you control exactly what goes in them—no weird ingredients you can’t pronounce.
I love that this recipe adapts to whatever you have on hand. Need a vegan version? Swap the honey. Want more protein? Add an extra scoop. Craving something different? Toss in some coconut or dried fruit. It’s forgiving, flexible, and always delicious.
If you make these, I’d love to hear how they turn out. Drop a comment below and let me know what variations you tried, or tag me in your photos. And if you’re looking for other easy snack ideas, you might enjoy my easy game day peanut butter brownie bites or these creamy high-protein peanut butter overnight oats for another quick breakfast option.
Now go make some protein balls. Your future self—the one with the busy afternoon and the growling stomach—will thank you.
Frequently Asked Questions
Can I use quick oats instead of rolled oats?
Yes, you can. Quick oats will work, but the texture will be softer and less chewy. The balls may also be slightly more delicate and prone to falling apart. If using quick oats, consider adding an extra tablespoon of peanut butter to help bind everything together.
How long do these protein balls last at room temperature?
They’re best kept in the fridge, but they can sit at room temperature for up to 2 hours without any issues. If you’re taking them on a road trip or packing them in a lunchbox, they’ll be fine for the day. Just don’t leave them out overnight—the peanut butter can go rancid and the texture will suffer.
Can I use almond butter instead of peanut butter?
Absolutely. Almond butter works great as a substitute, though the flavor will be milder and less distinct. You may need to add a tablespoon of honey to compensate for almond butter’s slightly bitter notes. Cashew butter also works well and creates a creamier texture.
Why are my protein balls too dry and crumbly?
This usually happens when the protein powder absorbs too much moisture. Different brands of protein powder have different absorption rates. Try adding a tablespoon of honey, milk, or even a splash of water to bring the mixture together. Next time, start with slightly less protein powder or add an extra tablespoon of peanut butter.
Can I make these without protein powder?
Yes! Simply omit the protein powder and add an extra ¼ cup of oats and an extra tablespoon of peanut butter or honey to maintain the right texture. The protein content will be lower, but they’ll still be delicious and satisfying. You can also add ground flaxseed or chia seeds for an extra nutritional boost.
Pin This Recipe!
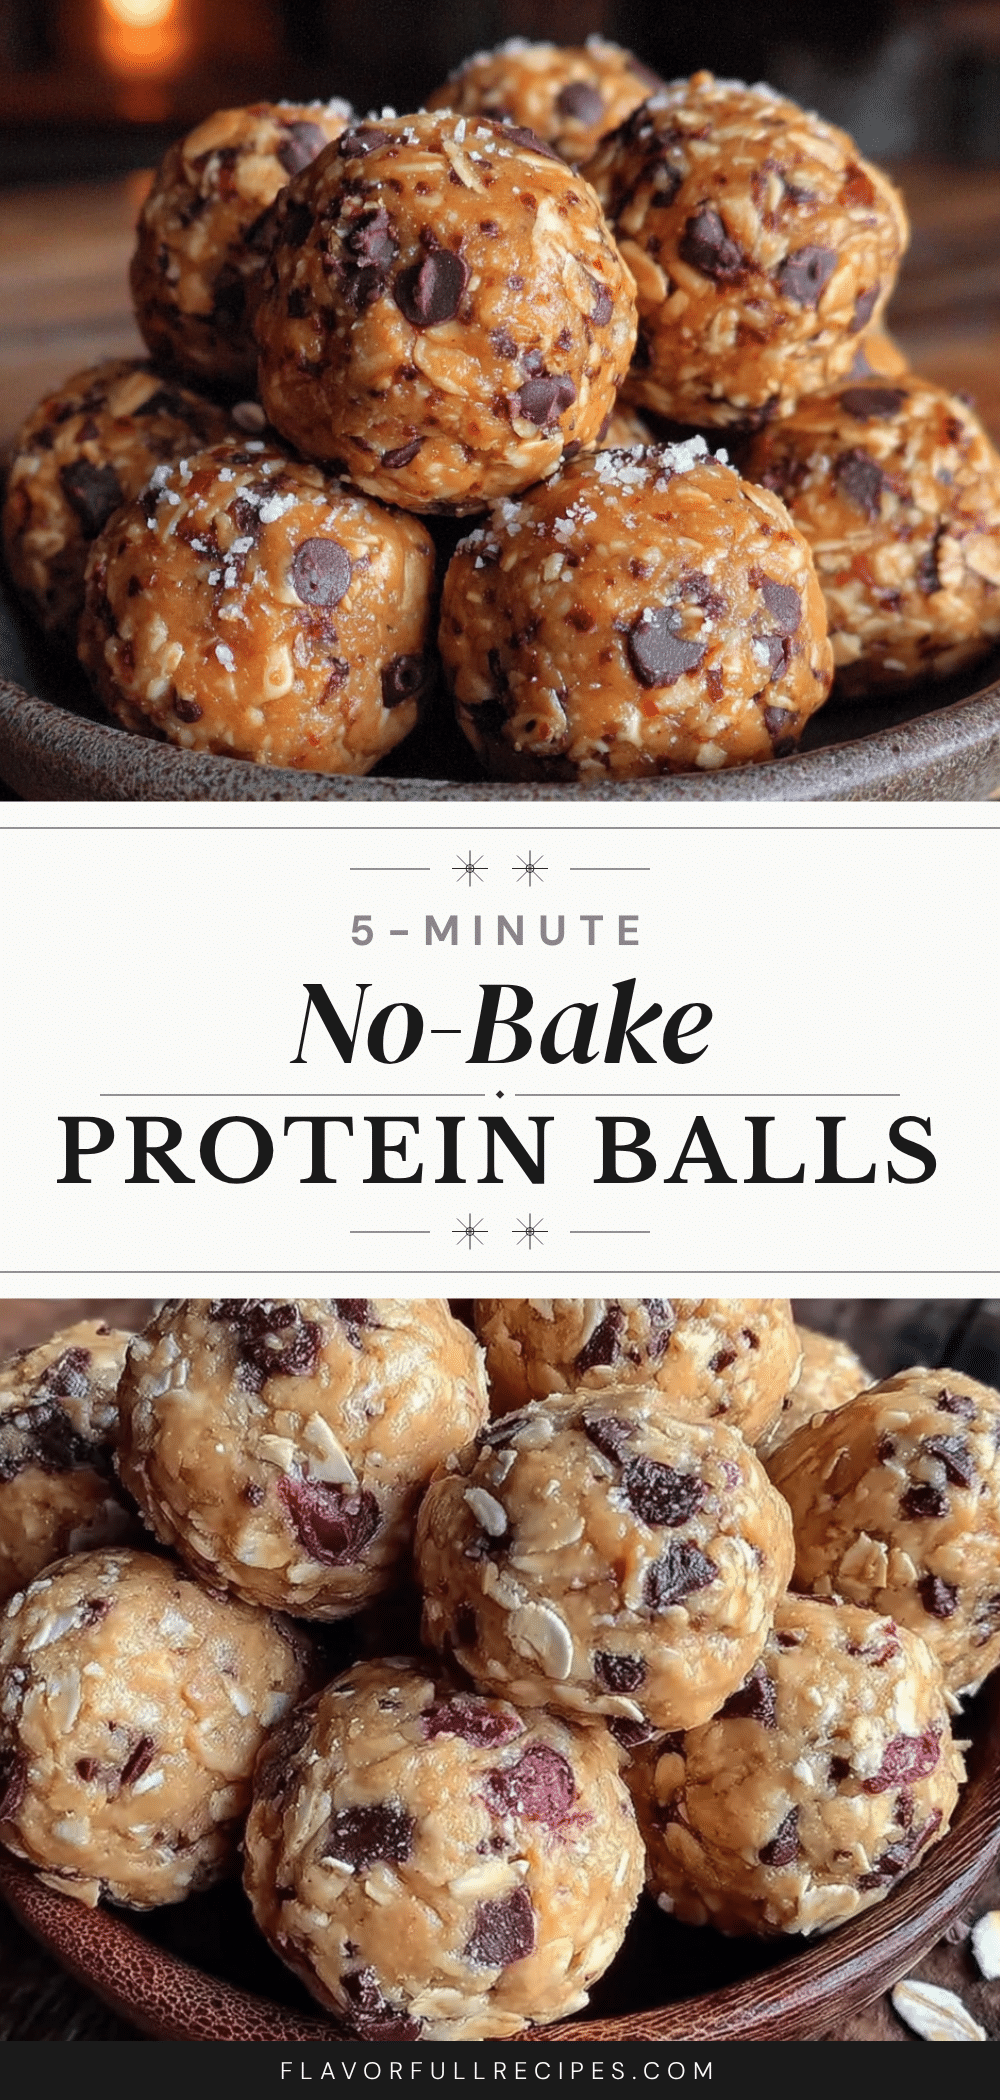
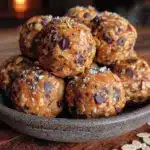
Easy 5-Minute No-Bake Peanut Butter Protein Balls
- Total Time: 5 minutes
- Yield: 14-16 balls 1x
Description
These no-bake peanut butter protein balls are ready in just 5 minutes with simple ingredients like oats, peanut butter, honey, and chocolate chips. They’re the perfect grab-and-go snack for busy days, post-workout recovery, or a healthy treat that actually fills you up.
Ingredients
- 1 cup (90g) rolled oats
- ½ cup (130g) creamy peanut butter
- ¼ cup (85g) honey
- ¼ cup (30g) chocolate protein powder
- ¼ cup (45g) mini chocolate chips
- Pinch of sea salt
- Optional: 2 tablespoons ground flaxseed or chia seeds
- Optional: 1 tablespoon cocoa powder
- Optional: ¼ cup shredded coconut
- Optional: 2 tablespoons mini M&Ms
Instructions
- Combine the dry ingredients: In a large mixing bowl, add 1 cup rolled oats, ¼ cup chocolate protein powder, and a pinch of sea salt. Whisk together to break up any clumps.
- Add the wet ingredients: Spoon in ½ cup creamy peanut butter and ¼ cup honey. Make sure the peanut butter is well-stirred.
- Mix until combined: Stir everything together with a rubber spatula or wooden spoon. Press the mixture against the sides of the bowl. After about 30 seconds, it should form a thick, cohesive dough. If too dry, add a teaspoon of honey or a splash of milk. If too sticky, add another tablespoon of oats.
- Fold in the chocolate chips: Add ¼ cup mini chocolate chips and fold them in gently until evenly distributed.
- Chill the mixture (optional but recommended): Cover the bowl and refrigerate for 15-20 minutes for easier handling.
- Roll into balls: Using a cookie scoop or tablespoon, scoop portions of dough and roll them between your palms gently. You should get about 14-16 balls, about 1 inch in size.
- Place on parchment: Line a baking sheet or plate with parchment paper and place the rolled balls on it.
- Enjoy immediately or refrigerate: These are ready to eat right away, but they firm up nicely after 30 minutes in the fridge.
Notes
For best texture, use room temperature peanut butter and honey. If dough is sticky, lightly wet your hands before rolling. Chilling the dough for 15-20 minutes makes rolling easier. These keep in the fridge for up to 2 weeks and freeze for up to 3 months.
- Prep Time: 5 minutes
- Cook Time: 0 minutes
- Category: Snack
- Cuisine: American
Nutrition
- Serving Size: 1 ball
- Calories: 145
- Sugar: 9
- Sodium: 85
- Fat: 7
- Saturated Fat: 2
- Carbohydrates: 16
- Fiber: 2
- Protein: 7
Keywords: no-bake protein balls, peanut butter protein balls, healthy snack, energy balls, 5-minute recipe, gluten-free option, vegan option