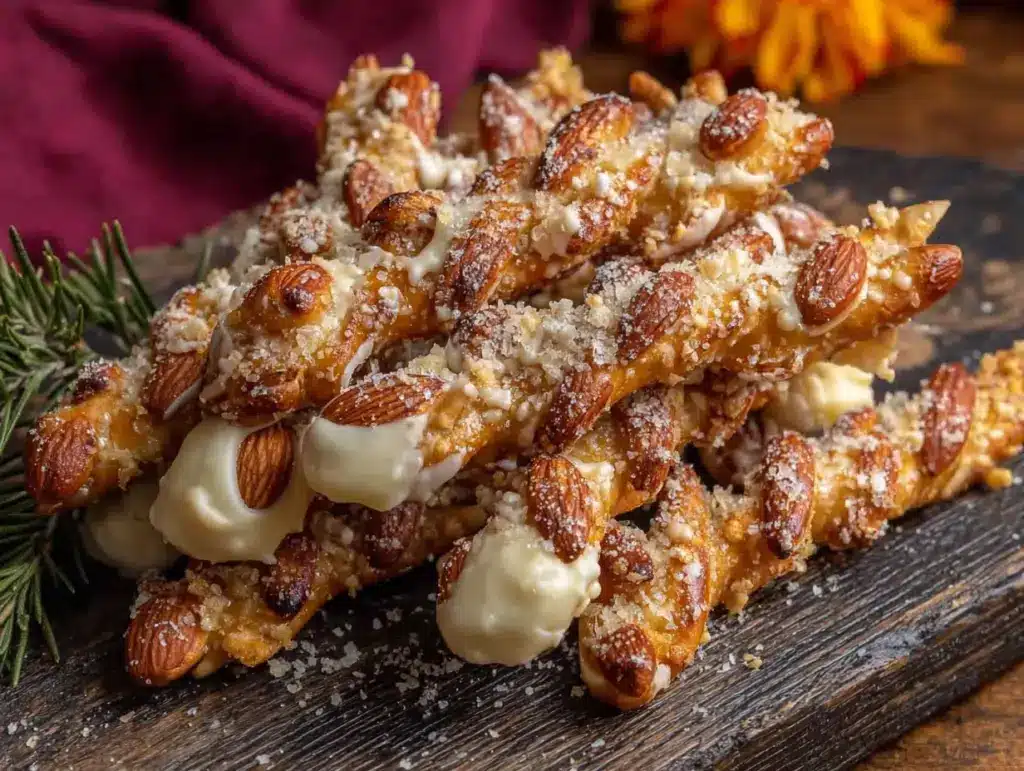
My niece took one look at the tray and whispered, “Auntie, these are creepy. Can I have three?” and I knew I had nailed it. That’s the moment this recipe went from “just another project” to “the new Halloween tradition.” I wasn’t trying to be fancy. Honestly, I was just tired of spending forty bucks on a bag of store-bought cookies that tasted like cardboard and looked mildly disappointed to be there.
These spooky white chocolate witch finger pretzels started as a last-minute idea while I was staring at a bag of pretzel rods and a block of white almond bark I had leftover from a failed Christmas project. I wanted something that looked genuinely unsettling but tasted like you’d want to sneak one before the party started. Something that would make kids giggle and adults do a double-take. Something that didn’t require piping bags or a degree in sugar art.
The trick, I discovered, was in the almond placement. Too straight and they looked like weird fingernails on a normal hand. Too crooked and they looked like something had gone wrong in a lab. But when you get that slight curve, that little bit of dried apricot jam pooling around the “cuticle” area, suddenly you’ve got a plate of witch fingers that look like they crawled out of a storybook. And the best part? These spooky white chocolate witch finger pretzels take maybe twenty minutes of active work. The oven does the rest.
I’ve made these for three Halloweens in a row now. Every year, someone asks for the recipe before the candy bowl is empty. That’s how you know it’s a keeper.
Why You’ll Love This Recipe
Let me be real with you. I’ve tested a lot of Halloween treats over the years. Some are too complicated for a Tuesday night. Some look great but taste like sugary chalk. These spooky white chocolate witch finger pretzels hit that sweet spot where creepy meets genuinely delicious. And you don’t need to be a pastry chef to pull them off.
- Quick & Easy: From start to finish, you’re looking at about 25 minutes. That’s less time than it takes to argue with your kids about what costume they’re wearing.
- Simple Ingredients: Pretzel rods, white chocolate or almond bark, sliced almonds, and a tiny bit of food coloring. That’s it. No weird specialty items you’ll never use again.
- Perfect for Halloween Parties: These show up on a platter and suddenly you’re the cool person who brought the creepy snacks. They work for classroom parties, office potlucks, or just scaring your own family before dinner.
- Crowd-Pleaser: I’ve watched kids who swear they don’t like white chocolate eat three of these. The salty-sweet combo is irresistible, and the crunch factor is off the charts.
- Unbelievably Delicious: The contrast between the salty pretzel, the sweet creamy coating, and the nutty almond “fingernail” is honestly addictive. You’ll find yourself reaching for “just one more” until the tray is empty.
What makes this recipe different from the rest? It’s the texture. Most witch finger cookies are soft and cakey. These are crunchy, snappy, and satisfying. The pretzel gives you that hearty bite, while the white chocolate coating melts slightly on your tongue. Plus, the almond sliver adds a real nutty finish that elevates the whole thing. This isn’t just another Halloween cookie. It’s the one people remember.
What Ingredients You Will Need
This recipe uses simple, everyday ingredients to create something that looks like it came straight out of a haunted bakery. Most of these are probably in your pantry right now, which is exactly how I like to roll.
- Pretzel rods (about 24 rods): Look for ones that are relatively straight and not too thick. The standard size works perfectly. I’ve tried this with mini pretzel sticks and it’s just not the same—you need that longer finger shape for the full effect. Snyder’s or Utz are my go-to brands because they hold up well during dipping.
- White almond bark or white chocolate melting wafers (12 ounces): This is where you want to use almond bark or candy melts, not real white chocolate chips. Real white chocolate can seize up and get grainy when you melt it. Almond bark melts smooth as silk and sets up with a nice shine. I prefer Ghirardelli white melting wafers when I can find them, but the store brand almond bark works great too.
- Sliced almonds (about ¼ cup): You want the flat, sliced ones, not slivered or whole. They need to look like fingernails. Pick through the bag and grab the ones that are relatively uniform in shape. If they’re too curved, they’ll look like claws—which honestly isn’t the worst thing for Halloween.
- Red or pink food coloring (gel works best): A tiny drop goes a long way. You’re going for a subtle bloody or bruised look around the “cuticle” area, not a full-on horror movie. I like using Americolor gel colors because they’re concentrated and don’t thin out the chocolate.
- Dried apricot jam or red jam (optional, for extra creepiness): If you really want to sell the witch finger look, a tiny smear of jam around the almond “nail” gives it that weird, fleshy appearance. Apricot jam has a nice translucent quality that looks disturbingly realistic.
- Wax paper or parchment paper: For setting the finished fingers on. Don’t skip this unless you want to scrape melted chocolate off your counter at midnight.
- Microwave-safe bowl or double boiler: For melting the coating. A glass Pyrex measuring cup works great because it gives you depth for dipping.
Equipment Needed
You don’t need a fancy kitchen setup for these spooky white chocolate witch finger pretzels. Here’s what you’ll actually use:
- Baking sheet or large cutting board: Something flat that fits in your fridge. Line it with wax paper or parchment paper.
- Microwave-safe bowl: A medium-sized glass bowl or a 2-cup Pyrex measuring cup works perfectly. The measuring cup is actually better because it’s deeper and makes dipping easier.
- Spoon or small spatula: For stirring the melted coating and helping coat the pretzels if needed.
- Small offset spatula or butter knife: For spreading any extra coating and cleaning up the edges.
- Tweezers (yes, really): For placing the almond “fingernails” precisely. Your fingers work too, but tweezers give you way more control and keep your hands clean.
- Small piping bag or zip-top bag: For adding the bloody detail around the cuticle area. A tiny zip-top bag with the corner snipped off works like a charm.
- Toothpicks: For creating wrinkles and knuckle lines before the coating sets. This is what makes them look like real fingers instead of just pretzels with almonds on top.
If you don’t have a microwave, you can use a double boiler setup with a heatproof bowl over simmering water. Just be careful not to let any steam get into the chocolate or it’ll seize up. I learned that one the hard way.
Preparation Method
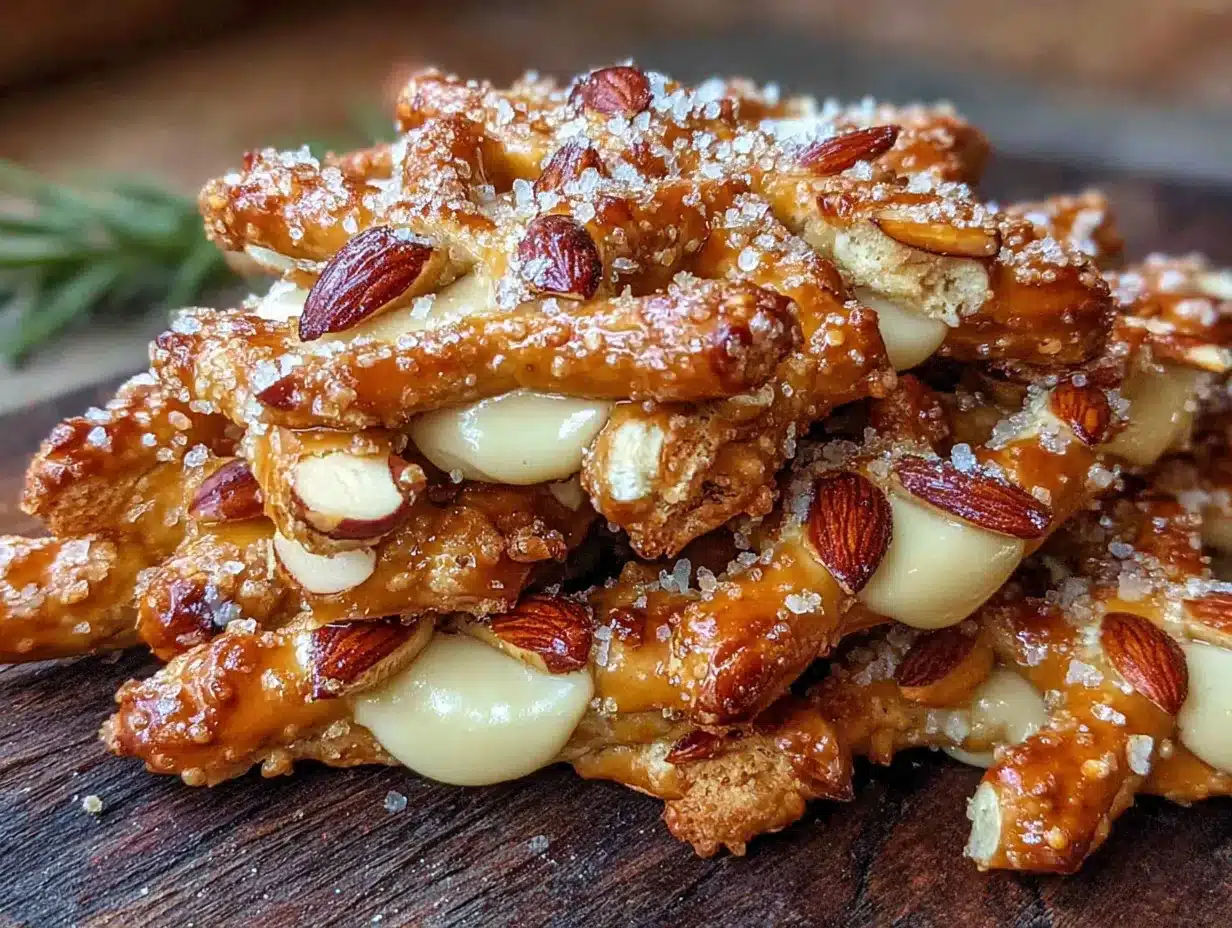
Alright, let’s make some creepy witch fingers. This is easier than you think, I promise.
- Prep your workspace. Line a baking sheet with wax paper or parchment paper. Make sure it fits flat in your fridge. Clear some counter space because you’re going to want room to work quickly once the chocolate is melted.
- Melt the white coating. Place the white almond bark or melting wafers in a microwave-safe bowl. Microwave in 30-second intervals at 50% power, stirring well after each interval. It usually takes about 1.5 to 2 minutes total. Don’t rush this—low and slow prevents scorching. When it’s almost completely melted, stir until the residual heat finishes the job. The coating should be smooth and pourable, not thick and gloppy.
- Add a touch of color (optional). If you want that slightly greenish or pale witchy tint, add a tiny drop of green or yellow food coloring to the melted coating. Stir until fully incorporated. I usually skip this step because the white coating looks plenty creepy on its own, but it’s a fun option if you’re going all-out.
- Dip the pretzels. Hold a pretzel rod by one end and dip it into the melted coating, leaving about an inch undipped at the top (this will be the “wrist” area). You want the coating to cover about three-quarters of the pretzel. Let any excess drip back into the bowl. If the coating is too thick, you can use a spoon to help spread it evenly.
- Place on the prepared sheet. Set the dipped pretzel on the wax paper. Leave a little space between each one so they don’t stick together. Work quickly here—the coating starts to set as it cools.
- Add the fingernail. While the coating is still wet, press a sliced almond onto the tip of the pretzel, angled slightly upward like a real fingernail. The pointed end of the almond should face toward the tip of the finger. Use tweezers for precision if you have them. Gently press down so it sticks.
- Create the wrinkles and knuckles. This is the step that makes them look real. While the coating is still soft, use a toothpick to draw gentle lines across the “finger” at the knuckle areas. Make two or three lines per finger. You can also gently press the sides of the coating to create a slightly irregular shape—real fingers aren’t perfectly round.
- Add the bloody detail (optional but recommended). If you’re using red jam or food coloring, mix a tiny drop of red gel food coloring with a teaspoon of the melted white coating to create a pinkish-red paste. Using a toothpick or a small piping bag, add a thin line of this mixture around the base of the almond “nail.” It looks disturbingly like a cuticle, which is exactly what you want.
- Chill to set. Place the baking sheet in the refrigerator for 10-15 minutes, or until the coating is completely firm. Don’t leave them in too long or condensation can form on the surface.
- Serve and scare. Arrange the witch fingers on a platter. For extra creepiness, scatter them around like they’ve been dropped. You can even arrange them to look like a hand reaching out of the serving dish. Watch people’s faces when they realize what they’re eating.
Cooking Tips & Techniques
I’ve made these spooky white chocolate witch finger pretzels enough times to know exactly where things can go wrong. Here’s what I’ve learned the hard way so you don’t have to.
Don’t overheat the coating. White chocolate and almond bark are sensitive. If you microwave them on full power for too long, they’ll seize up into a grainy, unworkable mess. Always use 50% power and stir frequently. If your coating does get too thick, add a teaspoon of coconut oil or vegetable shortening and stir until smooth. Do not add water—water is the enemy of melted chocolate.
Work in small batches. Don’t dip all 24 pretzels at once unless you’re super fast. Melt half the coating, dip 12 pretzels, add the almonds and details, then melt the second half. The coating will start to set as it cools, and you’ll end up with clumpy fingers if you try to do too many at once. Trust me on this one.
Use the right almonds. Sliced almonds come in different thicknesses. Look for the thinner ones—they look more like real fingernails. If your almonds are too thick, they’ll look like weird prosthetic nails. Also, try to pick almonds that are similar in size and shape so your fingers look consistent.
Create realistic knuckles. The toothpick trick is non-negotiable if you want these to look genuinely creepy. Draw the lines gently—if you press too hard, you’ll cut through the coating and expose the pretzel underneath. You want subtle indentations, not gashes. Unless you’re going for a zombie hand look, in which case, go wild.
Chill properly. The refrigerator sets the coating faster, but don’t leave them in there for hours. Ten to fifteen minutes is perfect. If you leave them overnight, condensation can make the coating look dull and spotty. If you’re making them ahead, store them in an airtight container at room temperature after the initial chill.
Double up for drama. For an even more realistic look, dip the pretzels twice. Let the first layer set, then dip again. This gives you a thicker, more opaque coating that hides the pretzel texture completely. It takes a little more time, but the result is seriously impressive.
Variations & Adaptations
One of the best things about this recipe is how easy it is to change up. Here are some ways I’ve made these spooky white chocolate witch finger pretzels my own over the years.
Chocolate Witch Fingers: Swap the white coating for dark or milk chocolate. The dark chocolate version looks like dirtier, more gnarled fingers—perfect for a zombie or swamp witch theme. Use dark chocolate melting wafers and follow the same steps. The contrast with the almond “nail” is gorgeous.
Green Witch Fingers: Add green food coloring to the white coating for a classic witchy green skin tone. A few drops of neon green gel color will give you that Wicked Witch of the West vibe. Pair it with purple or black sprinkles for extra Halloween flair.
Gluten-Free Version: Use gluten-free pretzel rods. They’re available at most grocery stores now and work exactly the same way. Just check the label to make sure your white coating is also gluten-free. Most almond bark is, but it’s worth verifying.
Spiced Witch Fingers: Add a pinch of cinnamon or pumpkin pie spice to the melted coating. It gives the fingers a warm, fall flavor that pairs beautifully with the salty pretzel. I did this last year and it was a huge hit. The spice doesn’t change the color, so they still look creepy.
Blood Drip Variation: After the coating sets, drizzle red candy melts or strawberry syrup over the fingers to look like blood. Let it drip down naturally. This is a great option if you’re going for a more gruesome, horror-movie aesthetic. Just be warned—kids love this version a little too much.
Matcha Witch Fingers: Stir a teaspoon of matcha powder into the melted white coating for a pale green color that looks genuinely unsettling. Matcha has a slightly earthy flavor that works surprisingly well with the sweetness of the coating. This is my personal favorite for adult Halloween parties.
Serving & Storage Suggestions
These spooky white chocolate witch finger pretzels are best served cold or at room temperature. The coating stays firm and snappy, and the pretzel retains its satisfying crunch. If you serve them straight from the fridge, they’ll have a nice snap when bitten into.
For presentation, arrange them on a dark platter or black serving tray. The contrast makes the white fingers pop. You can scatter them loosely, or arrange them in a cluster to look like a hand reaching up from below. I’ve also seen people stand them upright in a small vase or cup filled with black beans or crushed Oreo “dirt” for a graveyard effect. It’s creepy and brilliant.
These pair beautifully with other Halloween treats. Serve them alongside a batch of salted caramel pumpkin Rice Krispie treats for a sweet and salty combo that disappears fast. Or set them out with a warm mug of spiked apple cider margarita for an adults-only Halloween gathering. The contrast between the crunchy, sweet fingers and a tart, boozy drink is honestly perfect.
Storage: Store finished witch fingers in an airtight container at room temperature for up to a week. Layer them between sheets of wax paper so they don’t stick together. Do not refrigerate them long-term, as the coating can develop condensation and lose its shine. If you’re making them more than a few days ahead, the freezer is actually your best bet.
Freezer instructions: Place the finished fingers in a single layer on a baking sheet and freeze until solid, about 30 minutes. Transfer to a freezer-safe container or zip-top bag, layering with wax paper. They’ll keep for up to 3 months. Thaw at room temperature for about 15 minutes before serving. The coating stays perfectly intact.
Reheating: You don’t really need to reheat these, but if you want to refresh the crunch, pop them in a 300°F oven for 2-3 minutes. Let them cool completely before serving. Honestly, they’re best at room temperature, so I usually just pull them out of the container and let them sit for a few minutes before the party starts.
Nutritional Information & Benefits
Let’s be real—these are Halloween treats, not health food. But I’ve done the math so you know what you’re working with. Per serving (about 2 witch fingers), you’re looking at approximately 180 calories, 9 grams of fat, 24 grams of carbohydrates, and 2 grams of protein. The exact numbers depend on the brand of coating and pretzels you use.
On the bright side, pretzels are lower in fat than many other snack options, and almonds provide a small dose of healthy fats, vitamin E, and magnesium. The white coating is mostly sugar and fat, so moderation is key. But honestly, it’s Halloween. You’re not eating these every day.
Dietary considerations: These are vegetarian and can be made gluten-free with GF pretzels. They contain dairy (white chocolate/almond bark) and tree nuts (almonds). If you need a nut-free version, swap the almond slivers for sunflower seeds or candy corn for the “nail” effect. It changes the look slightly but still works.
For a slightly healthier twist, use dark chocolate coating instead of white. Dark chocolate has more antioxidants and less sugar. It won’t look as pale and witchy, but it’ll taste amazing and you can feel slightly better about eating three of them.
Conclusion
These spooky white chocolate witch finger pretzels have become my go-to Halloween treat for a reason. They’re simple enough to make on a busy weeknight, impressive enough to bring to any party, and just creepy enough to make people do a double-take before grabbing one. The salty-sweet crunch is genuinely addictive, and the almond “fingernails” add a nutty finish that keeps you coming back for more.
I love that this recipe lets you get creative without stressing. You can go full horror movie with blood drips and gnarled knuckles, or keep it cute and spooky for the kids. Either way, you end up with a tray of treats that disappear faster than anything store-bought. And honestly, watching someone’s face when they realize they’re eating a “witch finger” is one of my favorite Halloween moments.
Try these for your next Halloween gathering, or make them just because it’s October and you want something fun. If you come up with your own creepy variation, I’d love to hear about it. Drop a comment below and tell me how yours turned out. And if you’re looking for more fall inspiration, don’t miss my no-crack pumpkin roll or these soft-baked pumpkin snickerdoodle cookies for more seasonal baking ideas.
Happy Halloween, and happy snacking!
Frequently Asked Questions
Can I make these witch finger pretzels ahead of time?
Absolutely. You can make them up to a week in advance and store them in an airtight container at room temperature. For longer storage, freeze them for up to 3 months. Just thaw at room temperature before serving.
Why did my white chocolate coating seize up?
White chocolate and almond bark are sensitive to heat and moisture. If you microwave them on high power or get any water into the bowl, they’ll seize into a grainy mess. Always use 50% power and stir frequently. If it does seize, add a teaspoon of coconut oil and stir gently to smooth it out.
Can I use real white chocolate instead of almond bark?
You can, but it’s trickier. Real white chocolate is more sensitive to heat and requires tempering to set properly. Almond bark or candy melts are much more forgiving and give you a smooth, shiny finish without any fuss. I recommend sticking with almond bark for this recipe.
How do I get the almond “fingernails” to stick?
Press the almond into the coating while it’s still wet and slightly warm. If the coating has started to set, you can dip the almond in the melted coating first, then press it onto the pretzel. This creates a little “glue” that helps it stay put.
Can I make these without a microwave?
Yes! Use a double boiler setup. Place a heatproof bowl over a pot of simmering water, making sure the bottom of the bowl doesn’t touch the water. Stir the coating until melted, then proceed with the recipe. Just be careful not to let any steam get into the bowl.
Pin This Recipe!
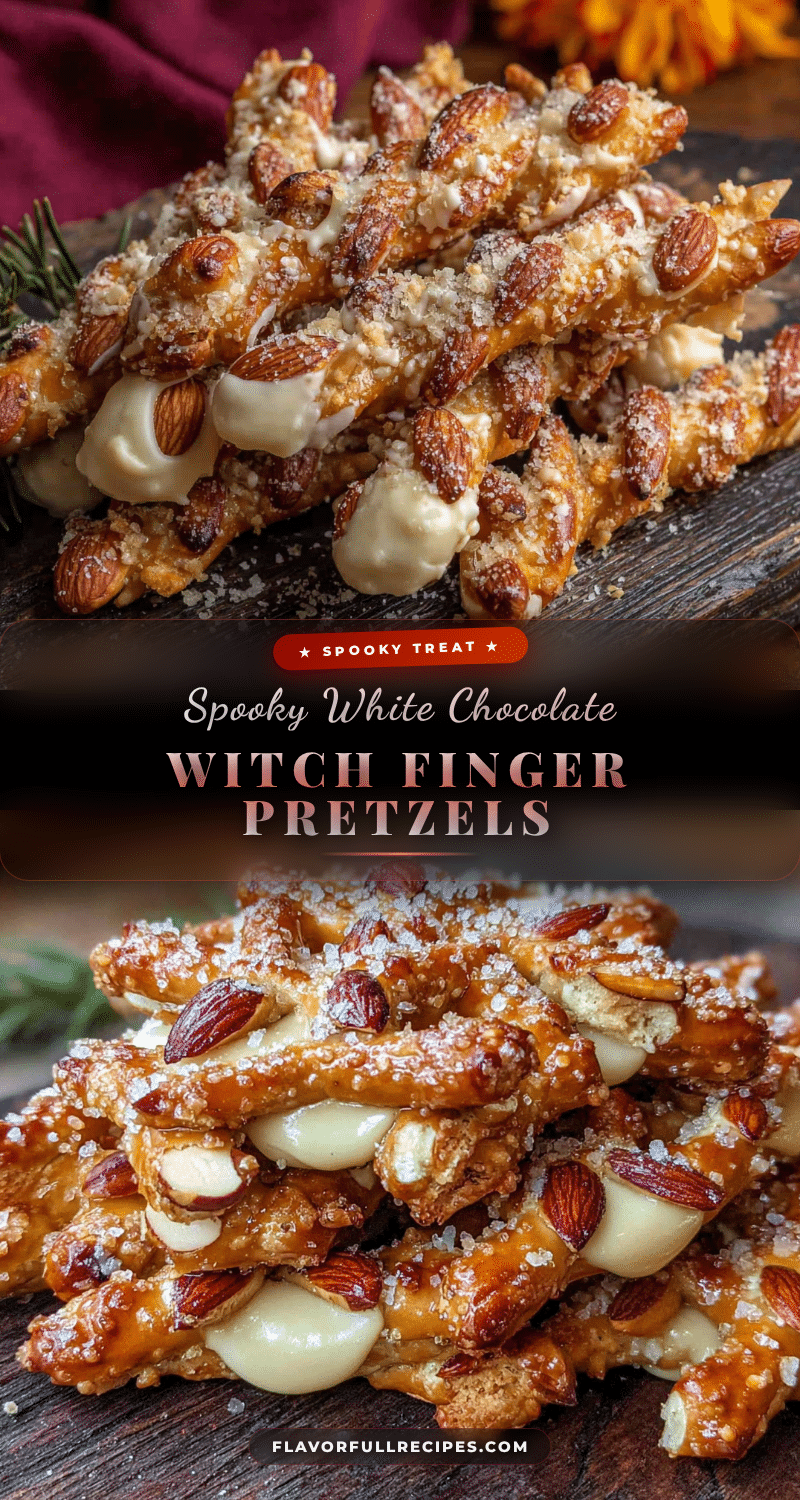

Spooky White Chocolate Witch Finger Pretzels
- Total Time: 25 minutes
- Yield: 24 servings 1x
Description
These spooky white chocolate witch finger pretzels are a quick and easy Halloween treat that looks genuinely unsettling but tastes deliciously addictive. Made with pretzel rods, white chocolate, and sliced almonds, they’re the perfect creepy snack for parties and gatherings.
Ingredients
- 24 pretzel rods (about 1 standard bag)
- 12 ounces white almond bark or white chocolate melting wafers
- ¼ cup sliced almonds
- Red or pink food coloring (gel works best)
- Dried apricot jam or red jam (optional, for extra creepiness)
- Wax paper or parchment paper
Instructions
- Prep your workspace. Line a baking sheet with wax paper or parchment paper. Make sure it fits flat in your fridge.
- Melt the white coating. Place the white almond bark or melting wafers in a microwave-safe bowl. Microwave in 30-second intervals at 50% power, stirring well after each interval. It usually takes about 1.5 to 2 minutes total. When it’s almost completely melted, stir until the residual heat finishes the job.
- Add a touch of color (optional). If you want a slightly greenish or pale witchy tint, add a tiny drop of green or yellow food coloring to the melted coating. Stir until fully incorporated.
- Dip the pretzels. Hold a pretzel rod by one end and dip it into the melted coating, leaving about an inch undipped at the top (this will be the ‘wrist’ area). Let any excess drip back into the bowl.
- Place on the prepared sheet. Set the dipped pretzel on the wax paper. Leave a little space between each one so they don’t stick together.
- Add the fingernail. While the coating is still wet, press a sliced almond onto the tip of the pretzel, angled slightly upward like a real fingernail. The pointed end of the almond should face toward the tip of the finger. Use tweezers for precision if you have them.
- Create the wrinkles and knuckles. While the coating is still soft, use a toothpick to draw gentle lines across the ‘finger’ at the knuckle areas. Make two or three lines per finger. You can also gently press the sides of the coating to create a slightly irregular shape.
- Add the bloody detail (optional but recommended). If you’re using red jam or food coloring, mix a tiny drop of red gel food coloring with a teaspoon of the melted white coating to create a pinkish-red paste. Using a toothpick or a small piping bag, add a thin line of this mixture around the base of the almond ‘nail.’
- Chill to set. Place the baking sheet in the refrigerator for 10-15 minutes, or until the coating is completely firm.
- Serve and scare. Arrange the witch fingers on a platter. For extra creepiness, scatter them around like they’ve been dropped.
Notes
Don’t overheat the coating. Work in small batches. Use the right almonds (thin sliced). Create realistic knuckles with toothpicks. Chill properly for 10-15 minutes. For a more realistic look, dip the pretzels twice. Store in an airtight container at room temperature for up to a week. Freeze for up to 3 months.
- Prep Time: 15 minutes
- Cook Time: 10 minutes
- Category: Dessert
- Cuisine: American
Nutrition
- Serving Size: 2 witch fingers
- Calories: 180
- Sugar: 16
- Sodium: 200
- Fat: 9
- Saturated Fat: 5
- Carbohydrates: 24
- Fiber: 1
- Protein: 2
Keywords: Halloween treats, witch finger pretzels, white chocolate pretzels, easy Halloween recipe, spooky snacks, creepy food, party appetizers