
The fourth time I made this nut-free snack mix in a single week, I caught myself sneaking a handful straight from the cooling tray at 10 p.m. while packing lunch boxes for the next day. The oats were still slightly warm, the coconut flakes had that perfect toasted edge, and the mini chocolate chips were just barely melted—sticky in a way that felt intentional, not messy. I stood there in the quiet kitchen, chewing slowly, and realized I hadn’t actually been testing the recipe anymore. I was just eating it. For fun. Which is honestly the best sign a snack mix can give you.
This whole thing started because my youngest came home with a note taped to his backpack. Nut-free classroom. No exceptions. And I totally get it—allergies are serious, and keeping kids safe matters more than convenience. But here’s the thing nobody tells you: most store-bought nut-free snack mixes taste like cardboard dust sprinkled with regret. They’re either too sweet, too salty, or somehow both at once, with a texture that reminds me of packing peanuts. So I did what any slightly obsessive parent would do—I started making my own.
The first batch was edible but forgettable. The second batch was better, but the seeds kept sinking to the bottom of the bag. By the third batch, I had figured out the right ratio of crunch to chew, the perfect oven temperature that toasts without burning, and the secret ingredient that makes people ask, “Wait, this doesn’t have nuts?” It took four tries to get it right, but now I can’t stop making it. And honestly? I don’t want to. This healthy nut-free snack mix for school lunches has become the thing I look forward to making every Sunday afternoon, and I have a feeling it’s about to become your favorite pantry staple too.
Why You’ll Love This Recipe
Let me tell you why this nut-free snack mix has earned a permanent spot in my weekly rotation—and why it will probably end up in yours too.
- School-Safe and Worry-Free: This mix is completely nut-free, so you can pack it in lunch boxes without a second thought. No labels to check, no ingredients to second-guess. Just pure, crunchy goodness that’s classroom-approved.
- Simple Pantry Ingredients: You probably already have most of what you need in your kitchen right now. Oats, coconut flakes, seeds, chocolate chips—nothing fancy, nothing hard to find. I love recipes that don’t require a special trip to the store.
- Perfect for Busy Mornings: This mix comes together in about 25 minutes, and most of that is hands-off oven time. You can make a big batch on Sunday and have snacks ready for the entire week. It’s a lifesaver when you’re rushing to pack lunches at 6 a.m.
- Kid-Approved and Parent-Loved: My kids literally fight over the last handful. And I’m not going to lie—I’ve caught myself hiding a small bag in my desk drawer for afternoon cravings. It’s that good.
- Endlessly Customizable: Once you have the basic formula down, you can swap in your family’s favorite dried fruits, seeds, or spices. It’s a recipe that grows with your taste buds.
What makes this recipe different from every other snack mix out there? It’s the texture. Most nut-free mixes are either too soft (like sad granola) or way too hard (like you’re chewing on pebbles). This one has that perfect balance—crunchy oats, chewy coconut, little bursts of chocolate, and a subtle salty-sweet finish that keeps you coming back for more. I’ve tested this with my own family, with neighbor kids, and even at a school bake sale. Every single person asked for the recipe. That’s when I knew I had something special.
This isn’t just another snack mix. It’s the one that makes you feel good about what you’re feeding your kids—and yourself. It’s comfort food that happens to be wholesome, and it’s the kind of recipe that makes you look forward to lunch packing duty. Trust me, that’s saying something.
What Ingredients You Will Need
This recipe uses simple, wholesome ingredients that work together to create a snack mix that’s crunchy, slightly sweet, and completely nut-free. Most of these are pantry staples, so you can whip up a batch anytime the craving hits.
The Base Ingredients
- Old-Fashioned Rolled Oats (2 cups / 180g): These are the backbone of the mix. They toast up beautifully in the oven and give you that satisfying crunch. I recommend using old-fashioned oats rather than quick oats—they hold their shape better and don’t turn into mush. My go-to brand is Bob’s Red Mill, but any quality rolled oats work well.
- Unsweetened Coconut Flakes (1 cup / 80g): Look for large, wide coconut flakes rather than the tiny shredded kind. They toast to a gorgeous golden brown and add a chewy texture that contrasts perfectly with the crunchy oats. If you’re not a coconut fan, you can swap this for more oats or pumpkin seeds.
- Pumpkin Seeds (½ cup / 70g): Also called pepitas, these add a nice savory note and a boost of protein. I love the green, hulled variety—they toast up crispy without being too hard. They’re also a great source of magnesium and zinc, which is a nice bonus for growing kids.
- Sunflower Seeds (½ cup / 70g): These are the nut-free hero of this mix. They add that familiar seed crunch without any allergy concerns. Make sure you buy roasted and salted sunflower seeds for the best flavor. If you can only find raw, just add an extra pinch of salt to the mix.
The Sweet and Savory Elements
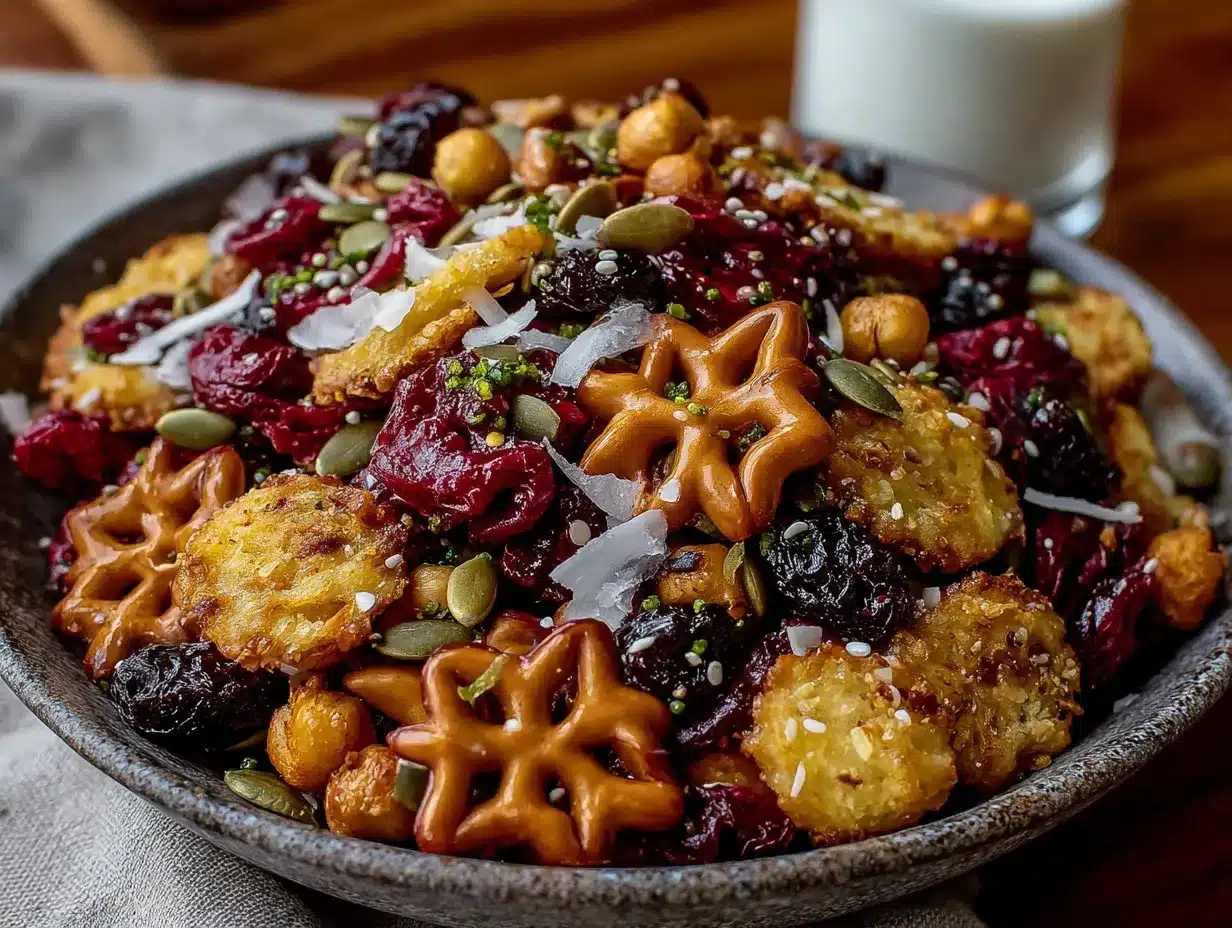
- Pure Maple Syrup (¼ cup / 60ml): This is my preferred sweetener because it adds a warm, caramel-like flavor that pairs beautifully with the oats and coconut. Honey works too, but maple syrup gives a more complex taste. If you’re watching sugar intake, you can reduce this to 3 tablespoons—the mix will still be delicious, just slightly less sweet.
- Coconut Oil (3 tablespoons / 45ml): Melted coconut oil helps everything toast evenly and adds a subtle tropical note. It also helps the mix stay crispy longer. You can substitute with avocado oil or melted butter if that’s what you have on hand. Just note that butter will give a slightly different flavor and won’t keep the mix as shelf-stable.
- Vanilla Extract (1 teaspoon): Pure vanilla extract rounds out the flavors and makes everything taste more indulgent. Skip the imitation stuff if you can—it really does make a difference here.
- Sea Salt (½ teaspoon): Don’t skip this! The salt balances the sweetness and makes all the flavors pop. I use flaky sea salt because it distributes evenly and gives little bursts of saltiness in each bite.
- Cinnamon (1 teaspoon): This is optional but highly recommended. Cinnamon adds warmth and makes the mix smell incredible while it’s baking. You could also try pumpkin pie spice or a pinch of nutmeg for a different flavor profile.
The Finishing Touches
- Mini Chocolate Chips (½ cup / 90g): I use dairy-free mini chocolate chips to keep this mix versatile, but regular ones work too. The mini size is important—they distribute more evenly throughout the mix and give you chocolate in every handful. My favorite brand is Enjoy Life, which is also free of common allergens.
- Dried Cranberries or Cherries (½ cup / 60g): These add a pop of tartness that cuts through the sweetness. I usually go with dried cranberries because they’re easy to find and affordable, but dried cherries or even chopped dried apricots are lovely alternatives.
One quick note about ingredient sourcing: I’ve found that buying oats and seeds from bulk bins at your local grocery store is often cheaper than pre-packaged versions. Just make sure the bins are clearly labeled as nut-free if that’s a concern for your household.
Equipment Needed
You don’t need a fancy kitchen to make this nut-free snack mix. Here’s what you’ll need:
- Large Baking Sheet: A rimmed baking sheet works best—the edges keep everything from sliding off while you stir. I use a half-sheet pan (18×13 inches) for even toasting. If you only have a smaller pan, just spread the mix in a thinner layer or bake in two batches.
- Parchment Paper or Silicone Baking Mat: This makes cleanup effortless and prevents sticking. I’ve forgotten the parchment before, and let me tell you, scraping toasted oats off a metal pan is not fun. Learn from my mistake.
- Large Mixing Bowl: You need enough room to toss everything together without ingredients flying everywhere. A standard 4-quart bowl works perfectly.
- Measuring Cups and Spoons: For accuracy, especially with the maple syrup and coconut oil. I’ve eyeballed it before, and the mix came out either too dry or too sticky. Measuring is worth the extra 30 seconds.
- Spatula or Wooden Spoon: For stirring the mix halfway through baking. I prefer a silicone spatula because it doesn’t scratch my baking sheets.
- Cooling Rack: This is optional but helpful. Letting the mix cool completely on the baking sheet works fine too—just give it at least 30 minutes before transferring to a storage container.
If you don’t have a cooling rack, no worries. Just let the mix sit on the baking sheet until it’s completely cool. The crunch develops as it cools, so patience here is key.
Preparation Method
This recipe is straightforward, but a few small details make a big difference. Follow these steps, and you’ll have the perfect nut-free snack mix every time.
Step 1: Preheat and Prep
Preheat your oven to 325°F (165°C). Line a large baking sheet with parchment paper or a silicone baking mat. While the oven is heating, measure out all your ingredients. I like to do this first so I’m not scrambling later.
Step 2: Mix the Dry Ingredients
In a large mixing bowl, combine the rolled oats, coconut flakes, pumpkin seeds, sunflower seeds, cinnamon, and sea salt. Toss everything together with your hands or a spatula until it’s evenly distributed. Take a moment to break up any clumps of coconut flakes—they tend to stick together straight from the bag.
Step 3: Combine the Wet Ingredients
In a small microwave-safe bowl or a saucepan, melt the coconut oil. Stir in the maple syrup and vanilla extract. The mixture should be warm but not hot—you don’t want to cook the syrup. If it’s too hot, let it cool for a minute before pouring it over the dry ingredients.
Step 4: Coat Everything Evenly
Pour the wet mixture over the dry ingredients. Use a spatula to stir until every oat and seed is coated. This takes about a minute of thorough mixing. You want to see an even sheen across everything—no dry spots. If it looks patchy, keep stirring. I’ve learned the hard way that uneven coating leads to uneven toasting.
Step 5: Spread on the Baking Sheet
Transfer the mixture to your prepared baking sheet. Spread it into an even, single layer. Don’t pile it up—you want each piece to have direct contact with the heat. Use the back of your spatula to press it down slightly, which helps everything toast evenly.
Step 6: Bake and Stir
Bake for 10 minutes, then remove the sheet from the oven. Use your spatula to stir the mixture, making sure the edges don’t burn. Spread it back into an even layer and return to the oven. Bake for another 8-10 minutes, until the oats are golden brown and the coconut flakes have turned a toasty shade. Your kitchen will smell amazing at this point.
Step 7: Cool Completely
Remove the baking sheet from the oven and let the mix cool completely on the pan. This is crucial—the mix continues to crisp up as it cools. If you add the chocolate chips and dried fruit while it’s still warm, the chocolate will melt into a mess. Wait until the pan is cool to the touch, about 20-25 minutes.
Step 8: Add the Finishing Touches
Once the mix is completely cool, sprinkle the mini chocolate chips and dried cranberries over the top. Toss gently to distribute. The residual warmth from the mix might slightly soften the chocolate chips, which is actually lovely—they become a little creamy without fully melting.
Step 9: Store and Enjoy
Transfer the mix to an airtight container. It will keep at room temperature for up to two weeks—if it lasts that long. I usually portion some into small snack bags for lunch boxes and keep the rest in a big jar on the counter for grab-and-go snacking.
Cooking Tips & Techniques
Over the course of making this nut-free snack mix more times than I care to count, I’ve picked up a few tricks that make the process smoother and the results better.
Watch the oven like a hawk during the last few minutes. Oats and coconut flakes can go from perfectly toasted to burnt in about 60 seconds. Every oven runs a little differently, so start checking at the 8-minute mark of the second bake. You’re looking for a deep golden color, not brown. If you see dark spots forming, pull the pan out immediately.
Let the mix cool completely before adding chocolate. I learned this one the hard way. The first time I made this, I was impatient and tossed the chocolate chips in while the mix was still warm. I ended up with a chocolate-coated mess that looked more like a granola bar than a snack mix. The chocolate chips are meant to stay whole—they add little bursts of sweetness in each bite. Patience pays off here.
Double the batch if you’re feeding a crowd. This recipe makes about 4 cups of snack mix, which sounds like a lot until you realize how fast it disappears. I usually double the recipe and bake it on two separate sheets. Just make sure your oven has enough airflow—don’t crowd the racks. Bake one sheet at a time if needed.
Use room temperature ingredients for better coating. If your coconut oil is solid, melt it gently and let it cool slightly before mixing. If your maple syrup is cold from the fridge, it will seize up when combined with the oil. Let everything come to room temperature for the smoothest coating.
Don’t skip the stirring halfway through. This is non-negotiable. The edges of the mix toast faster than the center, so stirring ensures everything cooks evenly. I set a timer on my phone so I don’t forget—it’s easy to get distracted by laundry or emails and end up with burnt edges.
Variations & Adaptations
One of the best things about this nut-free snack mix is how easy it is to customize. Here are some of my favorite variations:
Savory-Spiced Version: Skip the cinnamon and maple syrup, and instead toss the oats and seeds with melted coconut oil, 1 teaspoon of garlic powder, 1 teaspoon of smoked paprika, and ½ teaspoon of onion powder. Add a pinch of cayenne if you like heat. This version is incredible for afternoon snacking and pairs beautifully with a cheese stick or some sliced apple.
Tropical Twist: Swap the dried cranberries for dried mango or pineapple chunks, and add ¼ cup of freeze-dried banana pieces. Use toasted coconut chips instead of flakes for extra crunch. This version tastes like a vacation in a bowl, and my kids go crazy for it.
Chocolate Peanut Butter Alternative (Nut-Free): Since this is a nut-free recipe, use sunflower seed butter or WowButter instead. Drizzle 3 tablespoons of warmed seed butter over the cooled mix along with the chocolate chips. Stir gently to create little clusters. It adds a rich, creamy element that mimics the flavor of peanut butter without any of the allergens.
Lower Sugar Option: Reduce the maple syrup to 2 tablespoons and add ¼ teaspoon of stevia or monk fruit sweetener. The mix will be less sweet but still satisfying, especially if you use dark chocolate chips with higher cacao content. I make this version for myself when I’m trying to cut back on sugar.
Fall Harvest Blend: Add ½ teaspoon of pumpkin pie spice to the cinnamon mixture, and swap the dried cranberries for chopped dried apples. A pinch of ground ginger gives it a warm, cozy flavor that’s perfect for autumn lunch boxes.
Serving & Storage Suggestions
This nut-free snack mix is incredibly versatile when it comes to serving. Here’s how I like to enjoy it:
For School Lunches: Portion the mix into small reusable bags or containers. About ½ cup per serving is perfect for a lunch box addition. It pairs wonderfully with a homemade turkey and cheese lunchable or some make-ahead school lunch wraps for a complete meal.
As an After-School Snack: Serve it in a bowl with a side of fresh fruit or yogurt dip. My kids love dipping apple slices into vanilla Greek yogurt and then grabbing a handful of this mix for crunch.
For On-the-Go: Keep a small container in your car or bag for emergencies. It’s perfect for road trips, sports practices, or long afternoons at the park. No refrigeration needed, which makes it ideal for busy families.
Storage Tips: Store the mix in an airtight container at room temperature for up to 2 weeks. If you live in a humid climate, add a silica gel packet to the container to keep everything crispy. I don’t recommend refrigerating it—the moisture can make the oats soft. Freezing works well if you want to make a big batch; just thaw at room temperature for 10 minutes before serving.
How Flavors Develop: The mix actually tastes better the next day. The oats absorb the maple syrup and coconut oil overnight, creating a deeper, more complex flavor. I always try to make this at least a day before I plan to serve it. It’s one of those happy kitchen accidents that turned into a deliberate practice.
Nutritional Information & Benefits
Here’s the approximate nutritional breakdown for a ½-cup serving of this nut-free snack mix:
- Calories: 220
- Total Fat: 12g
- Saturated Fat: 6g
- Carbohydrates: 26g
- Fiber: 4g
- Sugar: 10g
- Protein: 6g
- Sodium: 95mg
This snack mix is packed with nutritional benefits. Oats provide soluble fiber that supports heart health and keeps kids full longer. Pumpkin seeds are rich in magnesium, zinc, and healthy fats that support brain function and immune health. Sunflower seeds offer vitamin E, an antioxidant that helps protect cells from damage. The coconut oil provides medium-chain triglycerides (MCTs) that can support energy metabolism.
This recipe is naturally gluten-free (just make sure your oats are certified gluten-free if needed), dairy-free, and of course, nut-free. It’s also suitable for vegetarians and can be made vegan by using dairy-free chocolate chips. The only potential allergen to note is coconut, which is technically a fruit but is classified as a tree nut by some organizations. If your school has specific policies about coconut, you can easily omit it and add extra oats or seeds instead.
I love that this snack mix gives me peace of mind knowing exactly what’s in it. No preservatives, no artificial flavors, no hidden allergens. Just real food that tastes good and fuels busy bodies.
Conclusion
This healthy nut-free snack mix has become more than just a recipe in my kitchen—it’s a small act of love that I get to repeat every week. It’s the thing that makes lunch packing feel less like a chore and more like a chance to send a little bit of homemade goodness into my kids’ day. And honestly? It’s the snack I reach for when I need something quick, satisfying, and completely worry-free.
I hope you give this recipe a try and make it your own. Play around with the add-ins, adjust the sweetness to your liking, and don’t be afraid to double the batch. Store a jar on your counter, pack it in lunch boxes, or keep a bag in your car for those moments when hangry strikes. And when your family asks for more—because they will—you’ll know exactly what to do.
If you make this nut-free snack mix, I’d love to hear about it. Drop a comment below and let me know what variations you tried, or tag me in your photos if you share them online. Your feedback helps other readers discover new ways to enjoy this recipe, and it honestly makes my day to see your creations. Happy snacking, friends!
Frequently Asked Questions
Can I use quick oats instead of rolled oats?
You can, but the texture will be different. Quick oats are more finely processed and will give you a softer, less crunchy result. If that’s what you have on hand, reduce the baking time by about 3-4 minutes and watch closely so they don’t burn. Rolled oats really are the best choice for that satisfying crunch.
How do I keep the chocolate chips from melting?
The key is patience. Let the baked oat mixture cool completely—at least 20-25 minutes on the baking sheet—before adding the chocolate chips. If the pan still feels warm to the touch, wait longer. You can also pop the chocolate chips in the fridge for 10 minutes before adding them to the mix.
Is this snack mix safe for school nut-free classrooms?
Yes, this recipe contains no nuts or peanut-based ingredients. However, always check the labels on your individual ingredients—especially oats and chocolate chips—to make sure they were processed in a nut-free facility if that’s a concern. Some brands have cross-contamination warnings on their packaging.
Can I make this in an air fryer?
Absolutely! Set your air fryer to 300°F (150°C). Spread the mixture in an even layer in the air fryer basket—you may need to work in batches. Cook for 5-6 minutes, shaking the basket halfway through, until golden and toasted. Let it cool completely before adding the chocolate and dried fruit.
How long does this snack mix stay fresh?
Stored in an airtight container at room temperature, this mix stays fresh for up to 2 weeks. If it lasts that long in your house! For longer storage, you can freeze it in a freezer-safe bag for up to 3 months. Just let it come to room temperature before serving to restore the crunch.
Pin This Recipe!
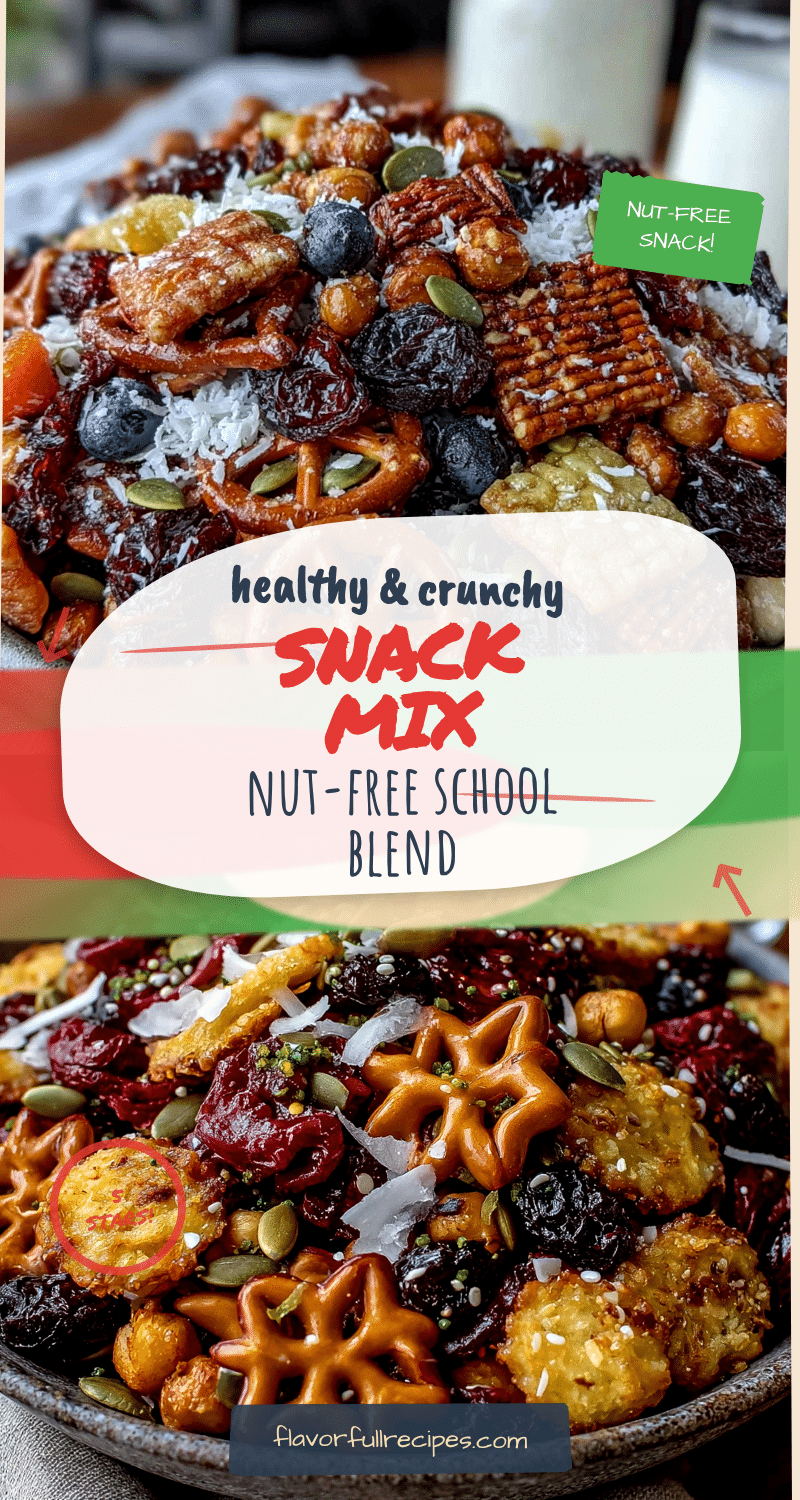

Healthy Nut-Free Snack Mix Perfect for School Lunches
- Total Time: 28-30 minutes
- Yield: 4 cups (8 servings of ½ cup each) 1x
Description
This nut-free snack mix is crunchy, slightly sweet, and completely school-safe. Made with oats, coconut flakes, seeds, and chocolate chips, it’s a wholesome treat that kids and parents love.
Ingredients
- 2 cups (180g) old-fashioned rolled oats
- 1 cup (80g) unsweetened coconut flakes
- ½ cup (70g) pumpkin seeds (pepitas)
- ½ cup (70g) roasted and salted sunflower seeds
- ¼ cup (60ml) pure maple syrup
- 3 tablespoons (45ml) coconut oil, melted
- 1 teaspoon vanilla extract
- ½ teaspoon sea salt
- 1 teaspoon cinnamon
- ½ cup (90g) mini chocolate chips (dairy-free if needed)
- ½ cup (60g) dried cranberries or cherries
Instructions
- Preheat oven to 325°F (165°C). Line a large baking sheet with parchment paper or a silicone baking mat.
- In a large mixing bowl, combine rolled oats, coconut flakes, pumpkin seeds, sunflower seeds, cinnamon, and sea salt. Toss to evenly distribute.
- In a small microwave-safe bowl or saucepan, melt the coconut oil. Stir in maple syrup and vanilla extract until combined.
- Pour the wet mixture over the dry ingredients. Stir with a spatula until every oat and seed is evenly coated.
- Spread the mixture in an even, single layer on the prepared baking sheet.
- Bake for 10 minutes. Remove from oven, stir the mixture, and spread back into an even layer. Return to oven and bake for another 8-10 minutes, until oats are golden brown and coconut flakes are toasted.
- Remove from oven and let cool completely on the baking sheet, about 20-25 minutes.
- Once cool, sprinkle mini chocolate chips and dried cranberries over the top. Toss gently to distribute.
- Transfer to an airtight container. Store at room temperature for up to 2 weeks.
Notes
Let the mix cool completely before adding chocolate chips to prevent melting. The mix tastes even better the next day as flavors develop. For a lower sugar option, reduce maple syrup to 2 tablespoons and add ¼ teaspoon stevia or monk fruit sweetener. For a savory version, omit cinnamon and maple syrup and toss with 1 teaspoon garlic powder, 1 teaspoon smoked paprika, and ½ teaspoon onion powder.
- Prep Time: 10 minutes
- Cook Time: 18-20 minutes
- Category: Snack
- Cuisine: American
Nutrition
- Serving Size: ½ cup
- Calories: 220
- Sugar: 10
- Sodium: 95
- Fat: 12
- Saturated Fat: 6
- Carbohydrates: 26
- Fiber: 4
- Protein: 6
Keywords: nut-free snack mix, school lunch snack, healthy snack mix, gluten-free snack, dairy-free snack, kid-friendly snack


