
“Mom, what’s for lunch tomorrow?” My oldest asked this on a Sunday night, three years ago, while I was still mentally recovering from the week’s chaos. And that was it — the question that finally broke my Sunday scaries. I stood there, staring into the fridge, feeling that familiar guilt creep in. I knew the answer would be some sad, thrown-together sandwich or, worse, another school cafeteria pizza day. Honestly, the thought of waking up at 5:45 AM to assemble lunches made my eye twitch. So I grabbed a stack of tortillas, a block of cream cheese, and whatever deli meat was hiding in the drawer, and I just started rolling.
That messy, late-night experiment turned into a total game-changer for our household. These easy make-ahead school lunch wraps for a week didn’t just save my mornings; they saved my sanity. They’re not fancy, and they don’t pretend to be. They’re just simple, reliable, and actually taste good even after sitting in a lunchbox for a few hours. This recipe is the reason I can sip my coffee in peace instead of wrestling with a sandwich bag at 7 AM. It’s the kind of practical solution that makes you wonder why you didn’t think of it sooner.
Why You’ll Love This Recipe
Let’s be real — getting a lunch packed that your kid will actually eat is a win. Getting five of them done in one go? That’s a parenting victory lap. I’ve tested this method through picky eaters, field trips, and even the dreaded “crust complaints.” These wraps hold up beautifully, and here’s why they work so well for busy families like yours.
- Quick & Easy: You can prep all five wraps in under 20 minutes. Seriously, that’s less time than it takes to argue about homework. It’s a Sunday afternoon task that takes almost no effort.
- Simple Ingredients: No weird, hard-to-find items here. You probably have most of these in your fridge right now. It’s all about using what you have on hand.
- Perfect for Busy Mornings: This is the ultimate grab-and-go solution. No assembly required when you’re half-asleep. Just grab a wrap from the fridge, toss it in a lunchbox, and you’re done.
- Kid-Approved and Parent-Approved: My kids actually finish these, which is the highest compliment I can give a lunch. And I love that they’re packed with protein and veggies without a fight.
- Unbelievably Versatile: You can switch up the fillings every week without getting bored. It’s a blank canvas for whatever your family loves. This isn’t just another wrap recipe; it’s a system that works.
The secret here isn’t a magical ingredient — it’s the technique of creating a “spread barrier” to keep the tortillas from getting soggy. That one little trick makes all the difference between a sad, limp lunch and a perfectly rolled wrap that tastes fresh on Friday as it did on Monday. This is comfort food reimagined for the school week—faster, smarter, but with the same satisfying, familiar taste that makes lunchtime something to look forward to.
What Ingredients You Will Need
This recipe is built on simple, everyday ingredients that work together to create a lunch that’s both delicious and practical. You don’t need a gourmet grocery list; you just need a few staples that you can mix and match. I’ve tested these ingredients to make sure they hold up well over a few days in the fridge.
- Large Flour Tortillas (10-inch): You need the big ones. Burrito-sized tortillas are perfect for rolling without tearing. I prefer the brand “Mission” for their flexibility, but any large flour tortilla works. Avoid “low-carb” or “high-fiber” versions here, as they tend to crack when rolled.
- Cream Cheese (8 oz block), softened: This is your soggy barrier. A thin layer of cream cheese acts like a sealant, keeping the moisture from the fillings away from the tortilla. It also adds a creamy tang that kids love. Let it sit out for 15 minutes to soften before spreading.
- Deli Turkey or Ham (about 1 lb): Go for quality here. I usually get oven-roasted turkey from the deli counter, sliced medium-thick. Thin-shaved meat can get lost in the wrap; you want a nice, hearty layer. Leftover rotisserie chicken works great too.
- Shredded Cheddar or Colby-Jack Cheese (1 cup): The cheese adds a nice binding texture. Pre-shredded is fine in a pinch, but freshly shredded melts and sticks together better. A sharp cheddar gives more flavor.
- Lettuce (Romaine or Butter Lettuce): Stay away from iceberg; it gets watery. Romaine provides a nice crunch and holds up for 4-5 days without getting slimy. Wash and dry it thoroughly before using.
- Thinly Sliced Bell Peppers or Cucumbers: These add a fresh crunch and a bit of veggie power. I like to use red or orange bell peppers because they’re sweeter. If your kid is picky about veggies, you can leave these out or finely dice them.
- Mayonnaise or Ranch Dressing (optional): A light spread of mayo or ranch on top of the cream cheese adds flavor. Just don’t go overboard, or you’ll end up with a soggy mess. I often skip this to keep it simple.
Equipment Needed
You don’t need a fancy kitchen to make these wraps. A few basic tools will make the process smoother and faster. I’ve learned from experience that the right equipment saves time and frustration.
- Cutting Board: A large, sturdy board is essential for rolling and slicing.
- Sharp Chef’s Knife: A good knife makes clean cuts through the wraps without squishing them. A serrated bread knife also works beautifully for this.
- Offset Spatula or Butter Knife: For spreading the cream cheese evenly. An offset spatula is my favorite tool for this job because it creates a thin, even layer.
- Plastic Wrap or Parchment Paper: Wrapping each roll tightly is key to keeping them fresh. Plastic wrap works best for a tight seal, but parchment paper is a great eco-friendly alternative.
- Sharp Scissors: I use these to snip the ends of the plastic wrap. It’s faster than trying to tear it perfectly.
- Large Baking Sheet or Platter: To hold the rolled wraps while you assemble the rest. A rimmed baking sheet is perfect for keeping them from rolling off the counter.
Preparation Method
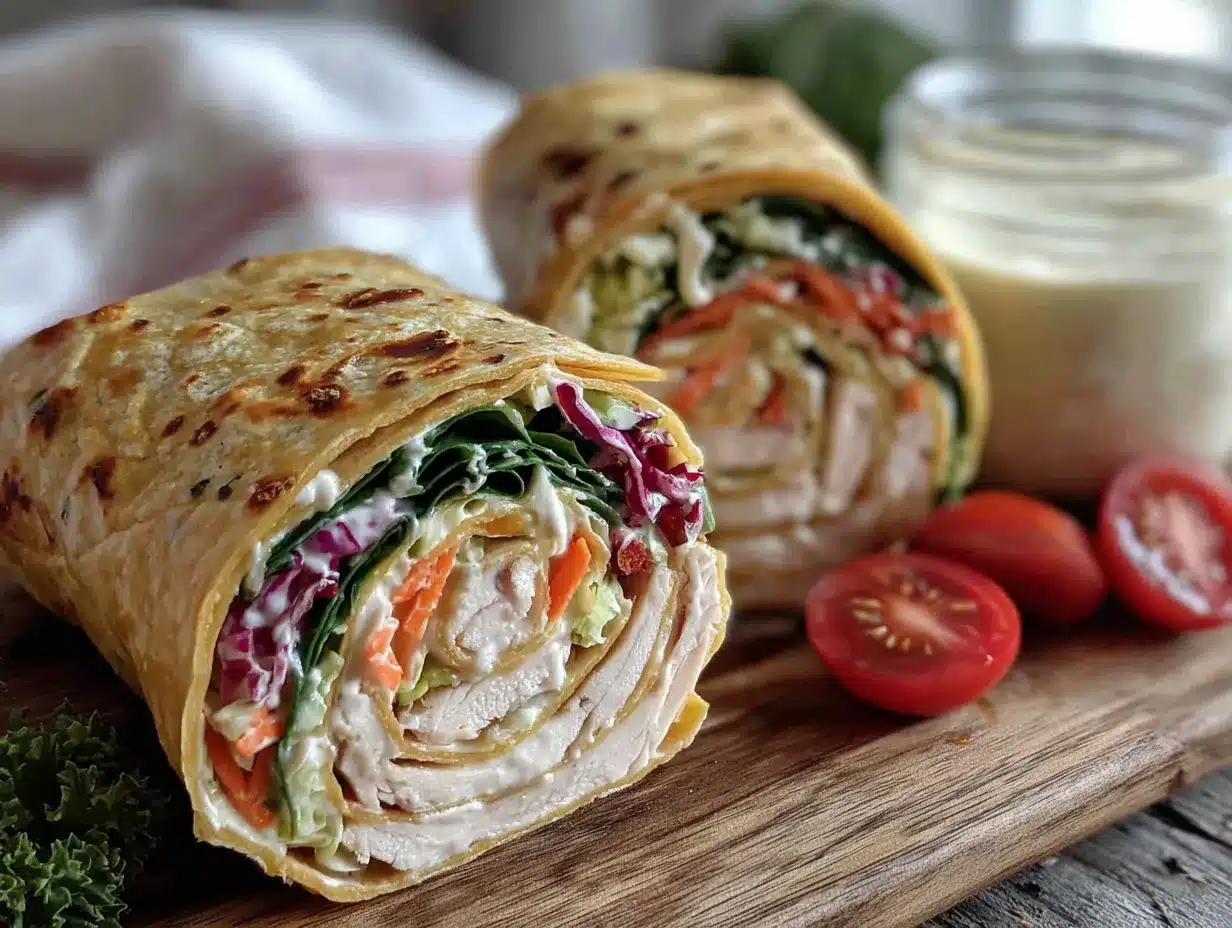
This is where the magic happens. The process is simple, but a few specific steps make all the difference. Follow these instructions, and you’ll have a week’s worth of lunches ready in no time.
- Prep Your Ingredients: Start by taking your cream cheese out of the fridge to soften. While it softens, wash and thoroughly dry your lettuce and bell peppers. Pat them dry with a paper towel — any extra moisture will make your wraps soggy later. Slice the bell peppers into thin strips, and shred your cheese if you bought a block.
- Create the Moisture Barrier: Lay one tortilla flat on your cutting board. Using your offset spatula or butter knife, spread about 1-2 tablespoons of the softened cream cheese in a thin, even layer over the entire surface of the tortilla, all the way to the edges. This step is non-negotiable. It’s the secret to keeping your wraps from turning into a mushy mess by Thursday.
- Layer Your Fillings: Now, it’s time to build. Place 2-3 slices of your deli turkey or ham in the center of the tortilla, leaving about a 2-inch border at the bottom and top. Don’t overstuff it — you need room to roll. Sprinkle about 2 tablespoons of shredded cheese over the meat. Add a few leaves of romaine lettuce and a few strips of bell pepper. If you’re using mayo or ranch, spread a thin line of it on the meat before adding the veggies.
- The Rolling Technique: This is the part that takes a little practice. Fold the bottom edge of the tortilla up and over the fillings, tucking it in tightly. Then, fold the two sides inward. Now, with your fingers holding the fillings in place, roll the tortilla away from you, keeping it tight. Think of it like rolling a burrito — firm but not so tight that the tortilla tears. The cream cheese helps everything stick together.
- Wrap It Tight: Place the finished roll on a piece of plastic wrap or parchment paper. Roll it up snugly, twisting the ends like a candy wrapper. This keeps the roll compact and prevents it from unrolling in the fridge. Repeat this process for all five wraps.
- Chill and Slice: Place all the wrapped rolls on your baking sheet and refrigerate for at least 2 hours, or overnight. This step is crucial — it allows the flavors to meld and the wraps to set. When you’re ready to pack lunch, unwrap a roll and slice it into 4-6 pinwheels using a sharp knife. You can also leave them whole for a less messy option.
Cooking Tips & Techniques
I’ve made a lot of wraps that ended up looking like a science experiment gone wrong. Here are the lessons I learned the hard way, so you don’t have to.
- Don’t Skip the Drying Step: Wet lettuce is the enemy of a good wrap. After washing, lay your lettuce out on a clean kitchen towel and roll it up like a burrito. Let it sit in the fridge for 10 minutes to absorb excess moisture. This simple trick keeps your wraps fresh for days.
- Use Room Temperature Cream Cheese: Cold cream cheese is impossible to spread evenly. If you forget to take it out, microwave it for 5-10 seconds. You want it spreadable, not melted. A thin, even layer is all you need.
- The “Rest” is Mandatory: I once tried to slice a wrap right after rolling it, and it was a disaster. The fillings just fell out. Letting them rest in the fridge for a few hours allows the cream cheese to firm up and act like glue. Patience here pays off.
- Don’t Overfill: It’s tempting to pile on the good stuff, but too many fillings make the wrap impossible to roll and prone to bursting. Think of it as a balanced roll, not a stuffed one. You want about a 1-inch thick log of fillings in the center.
- Use a Serrated Knife for Slicing: A serrated knife cuts through the tortilla cleanly without squishing the roll. Use a gentle sawing motion, and wipe the blade clean between cuts for the prettiest pinwheels.
Variations & Adaptations
This basic recipe is a fantastic starting point, but the real fun is making it your own. Here are some of my favorite variations to keep lunchtime interesting.
- Protein Swap: Replace deli meat with shredded rotisserie chicken mixed with a little ranch dressing. Or try these with turkey ranch pinwheel sandwiches for a flavor-packed twist. For a vegetarian option, use hummus as the base and add roasted red peppers and feta cheese.
- Seasonal Veggie Boost: In the fall, I add thin slices of roasted sweet potato or apple. In the summer, fresh basil leaves and sliced cherry tomatoes (seeded and patted dry) are incredible. Just remember to keep the moisture in check.
- Flavor Profile Changes: Swap the cream cheese for flavored spreads like garden vegetable or chive and onion. Add a smear of pesto or sun-dried tomato paste for an Italian spin. A sprinkle of everything bagel seasoning on the cream cheese is a huge hit with older kids.
- Gluten-Free Option: Use large gluten-free tortillas. They can be a bit more fragile, so handle them gently. Warming them slightly before rolling can help prevent cracking. The same filling rules apply.
- Nut-Free School Option: Many schools are nut-free zones. Skip any nut-based spreads and stick with cream cheese, hummus (check the label for cross-contamination), or sunflower seed butter. These easy cheese quesadilla wedges are another great nut-free lunch idea.
Serving & Storage Suggestions
Getting the wraps from the fridge to the lunchbox is easy, but a few tips will make sure they taste their best. Here’s how I handle serving and storage.
- Serving Temperature: These wraps are best served cold or at room temperature. I pack them directly from the fridge into an insulated lunchbox with an ice pack. They’re perfect for a packed lunch that needs to stay safe until lunchtime.
- Presentation: For little kids, I slice the wraps into pinwheels. It makes them look fun and easy to eat. For older kids, I leave the wrap whole and let them eat it like a burrito. You can even pack a small container of ranch or hummus for dipping.
- Storage: Keep the uncut rolls tightly wrapped in plastic wrap in the refrigerator. They will stay fresh for up to 5 days. I usually make them on Sunday and we eat the last one on Thursday or Friday. Do not freeze these wraps, as the texture of the veggies and cream cheese will suffer.
- How Flavors Develop: The wraps actually get better after a day in the fridge. The flavors meld together, and the cream cheese firms up perfectly. Tuesday’s wrap always tastes better than Monday’s, in my opinion.
- Pairing Suggestions: These wraps are a complete meal on their own, but they pair beautifully with a side of fresh fruit, baby carrots, or a creamy pasta salad lunch box with berries for a more substantial lunch. A small yogurt tube or a handful of no-bake energy bites makes a perfect dessert.
Nutritional Information & Benefits
While I’m not a nutritionist, I do care about what my family eats. These wraps offer a balanced meal that keeps kids full and focused through the afternoon. Here’s a general idea of what you’re getting per wrap (based on the basic turkey and cheese version).
- Estimated Values (per wrap, without slicing): Calories: 380-420, Protein: 25-30g, Fat: 18-22g, Carbohydrates: 28-32g, Fiber: 3-4g.
- Protein Power: The combination of deli meat and cheese provides a solid dose of protein, which is essential for sustained energy and concentration during the school day. It helps stave off that mid-afternoon slump.
- Healthy Fats: The cream cheese and cheese provide healthy fats that are important for brain development and nutrient absorption. They also contribute to the satisfying, creamy texture that makes these wraps so enjoyable.
- Veggie Boost: Even a small amount of lettuce and bell pepper adds vitamins A and C, along with fiber. It’s an easy way to sneak in some vegetables without a fight. You can also add shredded carrots for an extra nutrient punch.
- Dietary Considerations: This recipe is naturally nut-free (check your deli meat labels) and can be made gluten-free with the right tortillas. It is not dairy-free, but you can use dairy-free cream cheese and cheese alternatives if needed. Always check labels for potential allergens.
Conclusion
These easy make-ahead school lunch wraps for a week aren’t just about saving time—they’re about reclaiming your peace of mind. They’ve turned my chaotic Sunday nights into a calm, productive ritual. I love that I can customize them to suit everyone’s tastes, from the picky eater who only wants turkey and cheese to the adventurous one who loves a little pesto. Honestly, this recipe is a lifesaver on days when you just can’t.
I encourage you to make this recipe your own. Swap in your family’s favorite ingredients, try different flavor combinations, and don’t be afraid to get creative. The basic technique is foolproof, and the possibilities are endless. If you give these a try, I’d love to hear how they turned out! Leave a comment below and let me know your favorite filling combination, or share a photo of your lunch prep on social media. Happy rolling, and here’s to a stress-free school week!
Frequently Asked Questions
Can I make these wraps on a Monday for the whole week?
Absolutely! These wraps are designed to be made ahead. They will stay fresh in the refrigerator for up to 5 days if kept tightly wrapped. I recommend making them on Sunday to have a full week of lunches ready to go.
My tortillas always crack when I roll them. What am I doing wrong?
This usually happens when the tortillas are too cold or too dry. Let your tortillas sit at room temperature for about 10 minutes before you start rolling. Warming them slightly in the microwave (10-15 seconds) can also make them more pliable. Also, avoid overfilling, which puts too much pressure on the tortilla.
Can I freeze these wraps for later use?
I don’t recommend freezing these wraps. The moisture from the lettuce and other fresh vegetables will create ice crystals, and the cream cheese will become grainy and watery upon thawing. They are best stored fresh in the refrigerator.
How do I keep the wraps from getting soggy in my child’s lunchbox?
The cream cheese barrier is your best defense against sogginess. It seals the tortilla and prevents moisture from the fillings from soaking in. Also, make sure your veggies are very dry before adding them. Packing the wrap with an ice pack also helps keep everything fresh.
My kids don’t like lettuce. What can I use instead for crunch?
There are plenty of crunchy alternatives! Try using thinly sliced cucumber, shredded carrots, finely chopped celery, or even a handful of crunchy chow mein noodles. You can also use roasted red peppers for a softer texture with a sweet flavor.
Pin This Recipe!
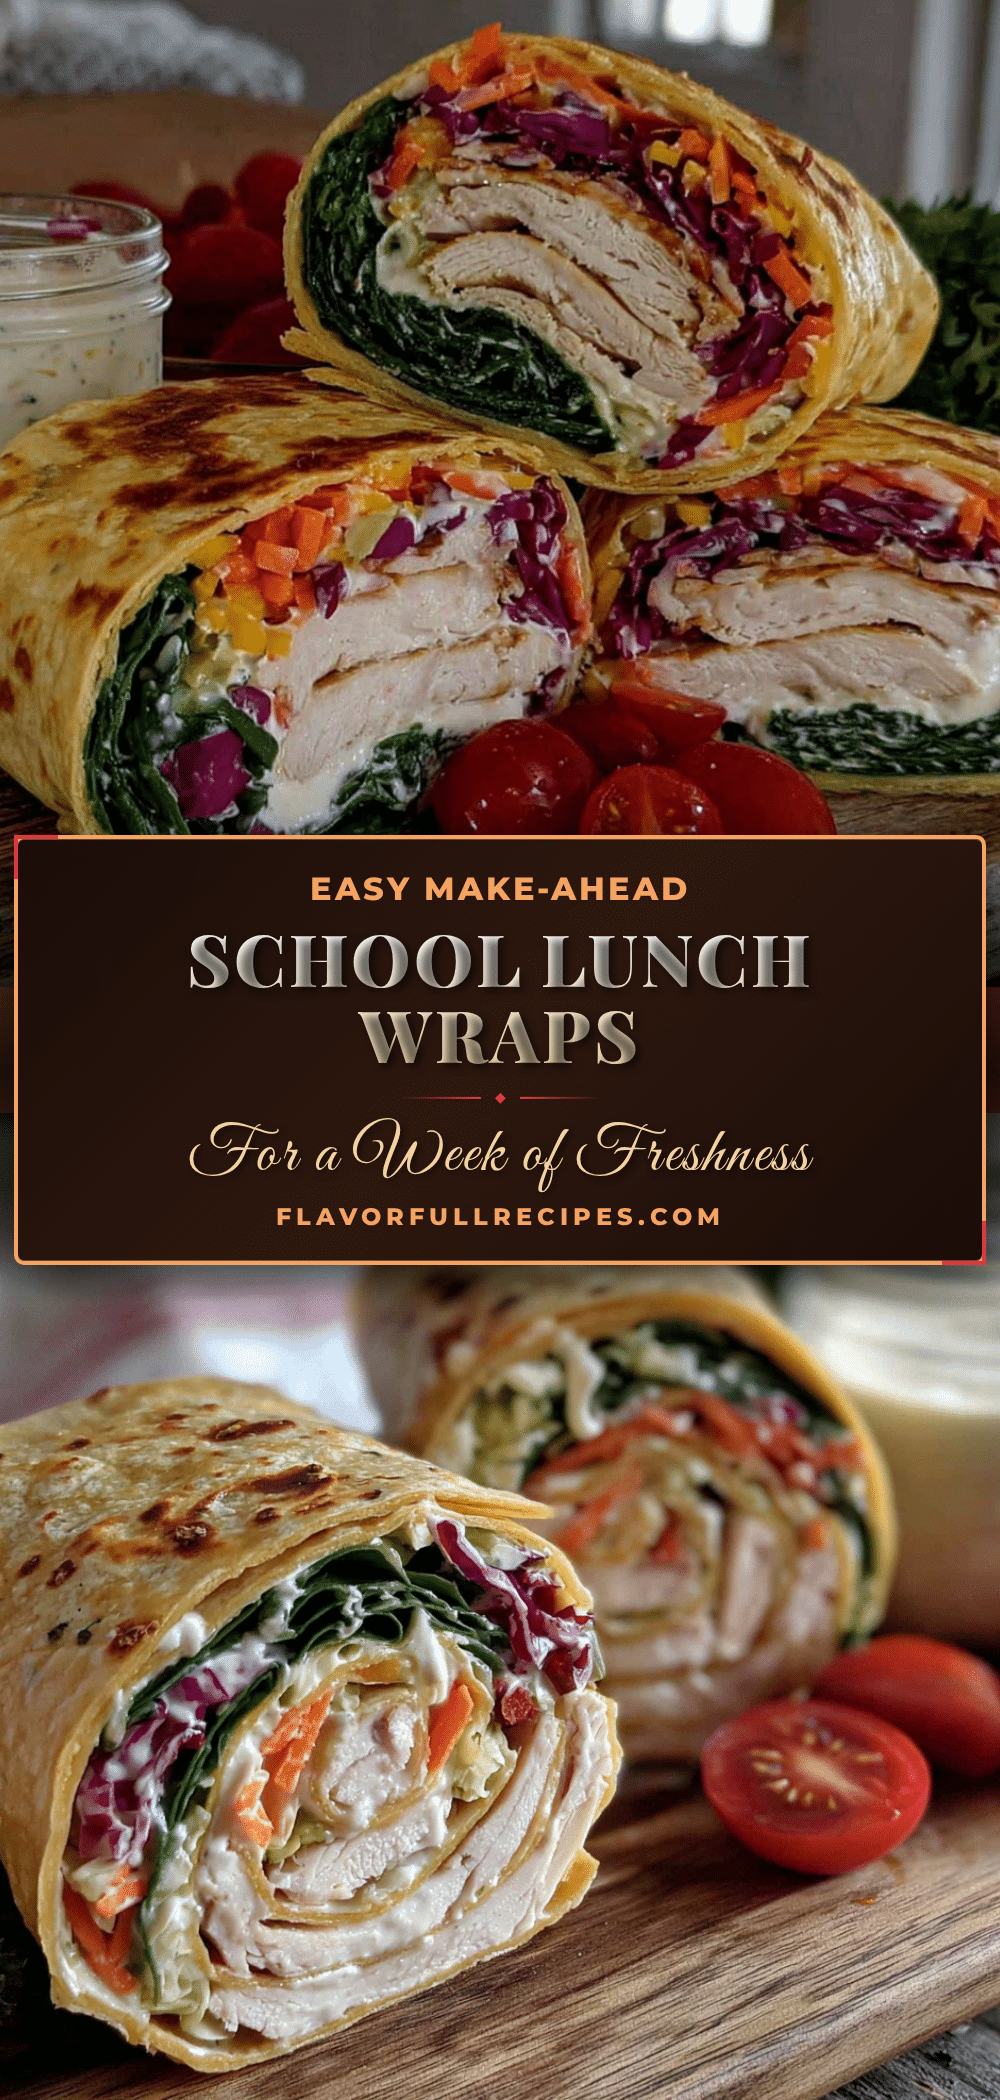

Easy Make-Ahead School Lunch Wraps for a Week
- Total Time: 2 hours 20 minutes (includes chilling time)
- Yield: 5 wraps 1x
Description
These easy make-ahead school lunch wraps are a total game-changer for busy families. They’re simple, reliable, and actually taste good even after sitting in a lunchbox for a few hours, saving your mornings and your sanity.
Ingredients
- 5 large flour tortillas (10-inch)
- 1 (8 oz) block cream cheese, softened
- 1 lb deli turkey or ham, sliced medium-thick
- 1 cup shredded cheddar or Colby-Jack cheese
- Romaine or butter lettuce, washed and dried
- Thinly sliced bell peppers or cucumbers (optional)
- Mayonnaise or ranch dressing (optional)
Instructions
- Prep your ingredients: Take cream cheese out to soften. Wash and thoroughly dry lettuce and bell peppers. Slice bell peppers into thin strips, and shred cheese if using a block.
- Create the moisture barrier: Lay one tortilla flat. Spread 1-2 tablespoons of softened cream cheese in a thin, even layer over the entire surface of the tortilla, all the way to the edges.
- Layer your fillings: Place 2-3 slices of deli meat in the center, leaving a 2-inch border at the bottom and top. Sprinkle about 2 tablespoons of shredded cheese over the meat. Add a few leaves of lettuce and a few strips of bell pepper. If using mayo or ranch, spread a thin line on the meat before adding veggies.
- Roll the wrap: Fold the bottom edge of the tortilla up and over the fillings, tucking it in tightly. Fold the two sides inward. Roll the tortilla away from you, keeping it tight but not so tight that it tears.
- Wrap it tight: Place the finished roll on a piece of plastic wrap or parchment paper. Roll it up snugly, twisting the ends like a candy wrapper.
- Chill and slice: Place all wrapped rolls on a baking sheet and refrigerate for at least 2 hours, or overnight. When ready to pack lunch, unwrap a roll and slice it into 4-6 pinwheels using a sharp knife, or leave whole.
Notes
The cream cheese barrier is key to preventing soggy wraps. Make sure lettuce and veggies are very dry. Let wraps rest in the fridge for at least 2 hours before slicing. Do not freeze. Wraps stay fresh for up to 5 days in the refrigerator.
- Prep Time: 20 minutes
- Cook Time: 0 minutes
- Category: Lunch
- Cuisine: American
Nutrition
- Serving Size: 1 wrap (about 4-6 pi
- Calories: 400
- Sugar: 3
- Sodium: 800
- Fat: 20
- Saturated Fat: 10
- Carbohydrates: 30
- Fiber: 3.5
- Protein: 27
Keywords: make-ahead lunch, school lunch wraps, easy lunch recipe, kid-friendly lunch, pinwheel sandwiches, turkey wraps, ham wraps, meal prep lunch


