
My husband looked at the jar of peanut butter and then at the browning bananas on the counter, then back at me. “You’re not going to make me eat another sad, dry oatmeal bar, are you?” he asked, eyebrow raised. I couldn’t blame him for the skepticism. My last few attempts at healthy breakfast bars had been, well, let’s just say they were more like edible cardboard than anything you’d actually look forward to eating. They crumbled, they tasted like nothing, and honestly, they were a waste of good peanut butter. But I had this idea kicking around in my head for a while. What if I stopped trying to bake them into submission and just let the ingredients do their thing overnight? No heat. No complicated steps. Just a little patience and a refrigerator. So I told him, “Trust me on this one.” I mashed those bananas, stirred in the oats and peanut butter, pressed it all into a dish, and slid it into the fridge before bed. The next morning, I cut a square, handed it to him, and watched him take a bite. He didn’t say a word for a second. Then he took another bite. And another. And then he asked me to make a double batch next time. That was the moment I knew these easy overnight peanut butter banana oat bars were the real deal. They’re not fancy. They’re not fussy. But they are exactly what a breakfast bar should be—soft, satisfying, and genuinely good.
Why You’ll Love This Recipe
Let me tell you straight up—I’ve tested this recipe more times than I can count. I’ve made it with old-fashioned oats and quick oats. I’ve tried it with chunky peanut butter and creamy. I’ve even accidentally left it in the fridge for two days (spoiler: it was still amazing). So when I say these bars work, I mean it. Here is why they’ve become a staple in my kitchen and why I think they’ll become one in yours too.
- No Baking Required – Seriously. You mix, you press, you wait. The oven stays off, which is a huge win during those sticky summer months or when you just don’t want to deal with the heat.
- Five Simple Ingredients – Oats, peanut butter, bananas, honey (or maple syrup), and a pinch of salt. That is it. You probably have all of them right now.
- Perfect for Meal Prep – Make them on Sunday night and you have breakfast sorted for the whole week. They are just as good on day five as they are on day one. I pack them in lunchboxes, grab them for a quick pre-workout snack, or eat one with my coffee when I am running late.
- Kid-Approved and Parent-Approved – My kids devour these. And I feel good about giving them something that actually has protein and fiber instead of a granola bar that is basically candy in disguise.
- Endlessly Customizable – Throw in some chocolate chips, a handful of chopped nuts, a sprinkle of chia seeds—whatever you have on hand. The base is so forgiving.
What makes these different from every other oat bar recipe out there? It is the texture. Because you are not baking them, the oats stay tender and almost creamy. The banana and peanut butter meld together into something that feels like a cross between a no-bake cookie and a soft granola bar. It is not dry. It is not crumbly. It is just right. Honestly, this is the kind of recipe that makes you feel like you actually have your life together, even on the chaotic mornings.
What Ingredients You Will Need
This recipe is about as straightforward as it gets. You do not need any weird health food store ingredients or specialty items. Everything here is a pantry staple, which is exactly how I like my recipes. Let me walk you through each one.
- 2 cups rolled oats – Old-fashioned rolled oats are your best bet here. They hold their shape and give the bars a nice, chewy texture. Quick oats will work in a pinch, but the bars will be a little softer and less structured. I would not recommend steel-cut oats—they stay too crunchy and do not soften enough overnight.
- 1 cup creamy peanut butter – Go with a natural peanut butter if you can. The kind that is just peanuts and salt. It blends more smoothly and does not have all that added sugar and palm oil. But honestly, I have used Skippy and Jif too, and they work fine. Just know that the sweeter peanut butters will make your bars sweeter overall. If you are using a very oily natural peanut butter, give it a good stir before measuring.
- 2 large ripe bananas, mashed – The riper, the better. You want bananas that are spotty and soft. They are sweeter, easier to mash, and they bind everything together beautifully. If your bananas are still a little green, you can soften them in a 300°F oven for about 10 minutes. I have done that more times than I care to admit.
- 3 tablespoons honey or maple syrup – Honey adds a nice floral sweetness that pairs well with peanut butter. Maple syrup gives it a slightly earthier, more caramel-like flavor. Both work. Use whichever you have. If you want to make these vegan, go with maple syrup.
- Pinch of sea salt – This is not optional in my book. Salt makes the peanut butter taste more peanut-buttery and balances the sweetness from the bananas and honey. A little flaky sea salt on top before refrigerating is also a nice touch if you are feeling fancy.
Optional add-ins: I almost always throw in a handful of dark chocolate chips. Mini chocolate chips work best because they distribute more evenly. You can also add a tablespoon of chia seeds or flaxseed meal for extra fiber. Chopped peanuts add a nice crunch. Dried fruit like raisins or chopped dates would be great too, though I would reduce the honey a bit if you go that route since dates are very sweet.
One thing I learned the hard way—do not use instant oatmeal packets. The oats are too finely ground and the bars will turn into a paste. Stick with plain rolled oats and you are golden.
Equipment Needed
You do not need much for this recipe, which is part of the appeal. Here is what you will need:
- 8×8 inch baking dish – This is the perfect size for getting bars that are about an inch thick. A 9×9 will work too, but your bars will be a little thinner and may need slightly less chilling time to set.
- Parchment paper – Line your dish with it, leaving a little overhang on two sides. This makes lifting the bars out so much easier. Trust me on this one. I have tried without parchment and ended up with a sticky mess.
- Large mixing bowl – Any bowl big enough to mash bananas and stir everything together.
- Fork or potato masher – For mashing those bananas. A fork works fine. A potato masher is faster.
- Spatula or wooden spoon – For mixing and pressing the mixture into the dish.
- Measuring cups and spoons – Standard set will do.
If you do not have an 8×8 dish, you can use a loaf pan or even a small casserole dish. Just keep an eye on the thickness. You want the mixture to be about an inch deep so the bars hold together well. I have also made these in a muffin tin lined with parchment paper cups for individual portions. They set up just fine and are great for grab-and-go breakfasts.
Preparation Method
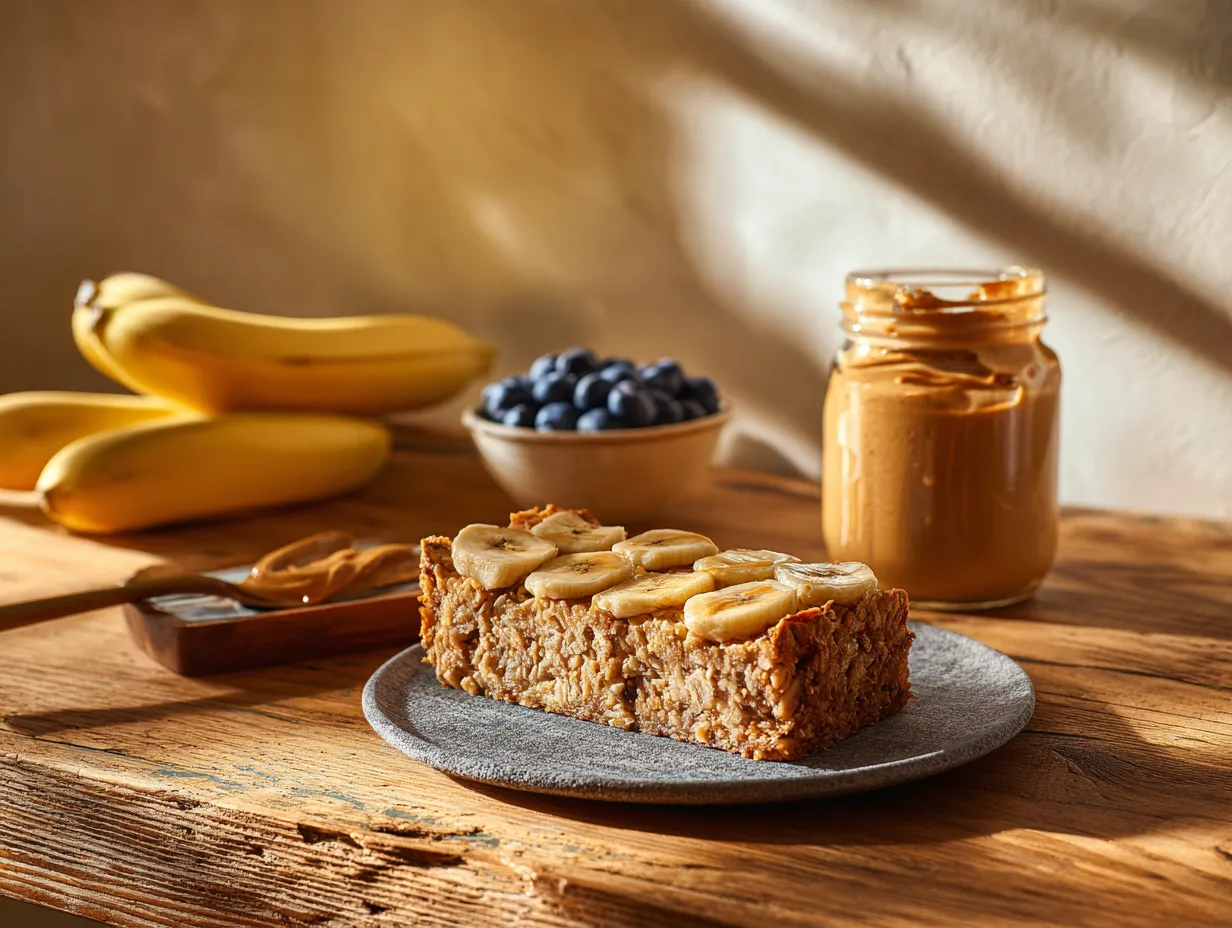
Alright, let us make these bars. The process is simple, but I want to walk you through every step so you get perfect results the first time.
- Line your dish. Tear off a sheet of parchment paper and press it into your 8×8 baking dish. Leave a couple inches hanging over two opposite sides. This creates little handles that let you lift the whole block of bars out later. Do not skip this step. I am speaking from experience when I say that trying to pry sticky oat bars out of an unlined dish is a special kind of kitchen frustration.
- Mash the bananas. Peel your two ripe bananas and drop them into a large mixing bowl. Mash them with a fork or potato masher until they are mostly smooth with just a few small lumps remaining. You want some texture here, not baby food consistency. Think chunky applesauce.
- Add the peanut butter and sweetener. Scoop in your cup of peanut butter and drizzle in the honey or maple syrup. Stir everything together with a spatula until it is well combined. The mixture will be thick and a little sticky. That is exactly what you want. If your peanut butter was refrigerated, you might want to let it sit at room temperature for a few minutes first so it mixes in more easily.
- Fold in the oats. Add the rolled oats to the bowl. Stir gently until all the oats are coated in the peanut butter-banana mixture. Make sure you get the oats at the bottom of the bowl. There should be no dry patches. If the mixture looks too dry, you can add another tablespoon of honey or a splash of milk. If it looks too wet, add a tablespoon or two more of oats. The texture should be like a thick, sticky cookie dough.
- Add any mix-ins. Now is the time to fold in your chocolate chips, nuts, seeds, or dried fruit. Stir just until they are evenly distributed. Do not overmix or the oats will start to break down too much.
- Press into the dish. Scrape the mixture into your lined baking dish. Use the back of your spatula or a slightly wet hand to press it down firmly and evenly into the corners. The more evenly you press, the more uniform your bars will be. I like to lay a piece of parchment paper on top and press down with a flat-bottomed measuring cup to get it really smooth and compact.
- Refrigerate overnight. Cover the dish with plastic wrap or a reusable beeswax wrap and place it in the refrigerator. Let it chill for at least 6 hours, but overnight is best. The waiting is the hardest part, I know. But this is where the magic happens. The oats absorb the moisture from the bananas and peanut butter, softening and binding together into a cohesive bar.
- Slice and serve. The next morning, lift the block out of the dish using the parchment paper handles. Place it on a cutting board. Use a sharp knife to cut it into 9 or 12 bars, depending on how big you want them. I usually do 9 for a heartier breakfast portion and 12 for snack-sized bars. Wipe the knife clean between cuts for neater edges.
One thing I want to mention—if you are in a hurry, you can let these set in the freezer for about 2 hours instead of the full overnight chill. They will be a little softer but still sliceable. I have done this on a Sunday afternoon when I forgot to prep ahead and needed bars for Monday morning. Worked like a charm.
Cooking Tips & Techniques
Over the dozens of batches I have made, I have picked up a few tricks that make these bars turn out perfectly every time. Let me share them with you.
Press firmly. This is the most important tip I can give you. If you do not press the mixture down firmly enough, the bars will be crumbly and fall apart when you try to cut them. Really pack it in there. Use your hands, the back of a measuring cup, whatever works. You want the mixture to feel dense and compact.
Use room temperature peanut butter. Cold peanut butter is stiff and hard to mix. Let it sit on the counter for 15-20 minutes before you start. If you forget, you can microwave it for about 15 seconds to soften it up. Just be careful not to heat it too much or it will get runny.
Do not overmix the oats. Once you add the oats, stir just until they are coated. Overmixing can break down the oats too much and make the bars gummy. You want them to retain their shape and texture.
Let them rest before cutting. I know it is tempting to cut into them as soon as you pull them out of the fridge, but letting them sit at room temperature for about 5 minutes makes slicing much cleaner. The bars will be slightly less firm and the knife will glide through more easily.
Use a wet knife for clean cuts. Run your knife under warm water and dry it off before slicing. The moisture helps the knife slide through the sticky mixture without dragging. Wipe and rewet the knife between cuts for the cleanest edges.
I once made the mistake of using old oats that had been sitting in my pantry for over a year. They were still technically good, but they were dry and didn’t soften as nicely. The bars turned out a little crumbly. So try to use relatively fresh oats for the best texture. If your oats smell a little stale, toast them in a dry skillet for a few minutes first. It wakes up their flavor and helps them absorb moisture better.
Variations & Adaptations
One of the best things about this recipe is how easily it adapts to whatever you have in your pantry or whatever dietary needs you are working with. Here are some of my favorite variations.
Chocolate Peanut Butter Banana Bars. This is my most-requested version. Stir in ¼ cup of cocoa powder along with the oats. Use maple syrup instead of honey to keep the flavor clean. Add a generous handful of dark chocolate chips. The result is basically a healthy, no-bake chocolate peanut butter cup in bar form. My kids ask for this version every single time.
Vegan and Gluten-Free. Use maple syrup instead of honey to keep it vegan. Make sure your oats are certified gluten-free if that is a concern for you. Everything else in the recipe is naturally gluten-free and plant-based. I have served these to vegan friends and gluten-sensitive family members, and everyone was happy.
High-Protein Version. Replace ¼ cup of the oats with a scoop of vanilla or chocolate protein powder. You may need to add an extra tablespoon of milk or a little more mashed banana to keep the mixture from getting too dry. I like using a plant-based protein powder because it blends more smoothly than whey in no-bake recipes. These are great post-workout snacks.
Nut-Free Option. Swap the peanut butter for sunflower seed butter or tahini. Sunflower seed butter has a similar creamy texture and works beautifully here. Just be aware that if you use sunflower seed butter, the bars may turn a slightly greenish color after a day or two in the fridge. That is a natural chemical reaction and totally safe—it is just the chlorophyll in the sunflower seeds reacting with the baking soda. It does not affect the taste at all.
Seasonal Twist. In the fall, I add a teaspoon of pumpkin pie spice and swap half the peanut butter for pumpkin puree. The bars come out a little softer but so flavorful. In the summer, I fold in fresh blueberries or chopped strawberries. The berries burst as you bite into them and add a lovely freshness.
I once made a batch with crunchy peanut butter and added toasted coconut flakes. The texture was incredible—creamy from the banana, chewy from the oats, and crunchy from the nuts and coconut. That one did not last long in our house.
Serving & Storage Suggestions
These bars are incredibly versatile when it comes to serving. I like them straight out of the fridge—cold, firm, and satisfying. But they are also delicious at room temperature. If you want a softer, almost warm bar, you can microwave one for about 10 seconds. It gets a little gooey and reminds me of warm oatmeal.
For breakfast, I pair one bar with a hard-boiled egg or a Greek yogurt for extra protein. Sometimes I crumble one over a bowl of yogurt with fresh berries for a kind of deconstructed parfait situation. For a snack, they are perfect on their own with a cup of coffee or tea.
These bars also travel really well. I pack them in lunchboxes, take them on road trips, and even bring them on hikes. They do not melt or get messy, which is more than I can say for most homemade snack bars. If you are packing them for a lunchbox, wrap each bar individually in parchment paper or beeswax wrap. They stay fresh and do not stick to the wrapper.
Storage: Keep the bars in an airtight container in the refrigerator. They will stay fresh for up to a week. I have also frozen them with great success. Wrap each bar individually in plastic wrap, then place them in a freezer-safe bag or container. They will keep for up to 3 months. To thaw, just let them sit in the fridge overnight or at room temperature for about 30 minutes. You can also eat them straight from the freezer—they are a little harder but still delicious, kind of like a frozen peanut butter banana treat.
One thing I have noticed—the flavors actually get better after a day or two in the fridge. The oats soften more, the banana flavor mellows and blends with the peanut butter, and everything becomes more cohesive. So do not be afraid to make these a few days ahead. They are honestly at their best on day two or three.
Nutritional Information & Benefits
These bars are not just tasty—they actually have some solid nutritional credentials. Here is a rough breakdown for one bar, assuming you cut the recipe into 9 servings.
Per bar (approximate): Calories: 280, Fat: 14g, Carbohydrates: 33g, Fiber: 5g, Sugar: 14g, Protein: 9g
The numbers will vary depending on your specific ingredients and any add-ins you use. If you add chocolate chips, expect the sugar and calorie count to go up a bit. If you use a sugar-free peanut butter, it will go down.
The real benefit here is the combination of protein, healthy fats, and complex carbohydrates. The peanut butter provides protein and monounsaturated fats that keep you full and satisfied. The oats are full of beta-glucan, a type of soluble fiber that is great for heart health and helps stabilize blood sugar. Bananas add potassium, vitamin B6, and natural sweetness without refined sugar.
These bars are naturally dairy-free and can be made vegan and gluten-free with simple swaps. They are also free of refined sugar if you use maple syrup or a very ripe banana as your only sweetener. The only potential allergen to watch out for is peanuts, but that is easy to swap as I mentioned above.
From a wellness perspective, I love that these bars give me sustained energy without a sugar crash. They are my go-to before a morning run or a busy afternoon of chasing kids around. They feel like a treat but fuel my body like real food should.
Conclusion
These easy overnight peanut butter banana oat bars have become a non-negotiable part of my weekly meal prep. They save me on busy mornings, they keep my kids happy, and they make me feel like I have at least one thing figured out in the chaos of daily life. They are forgiving, adaptable, and genuinely delicious. I have made them for friends, brought them to brunches, and stashed them in my bag for road trips. Every single time, someone asks for the recipe.
I hope you give them a try. Start with the basic version, then make them your own. Throw in some chocolate chips if that is your thing. Swap the peanut butter for almond butter. Add a sprinkle of cinnamon. The beauty of this recipe is that it works with whatever you have and whatever you love. And if you come up with a variation that blows your mind, I want to hear about it. Drop a comment below and tell me how your bars turned out. Did you add something unexpected? Did your kids love them? Did you eat three in one sitting like I definitely did not do? Share your story. I read every single comment and I love hearing how these recipes come to life in your kitchen.
Now go mash those bananas. Your future self will thank you.
Frequently Asked Questions
Can I use quick oats instead of rolled oats?
Yes, you can. Quick oats will work, but the bars will have a softer, more uniform texture. They will not be as chewy as bars made with rolled oats. I would not recommend steel-cut oats because they stay too firm and do not soften enough during the overnight rest.
How long do these bars need to set in the fridge?
At least 6 hours, but overnight is best. The longer they sit, the more the oats soften and the better the bars hold together. If you are in a hurry, you can pop them in the freezer for about 2 hours. They will be a little softer but still sliceable.
Can I freeze these oat bars?
Absolutely. Wrap each bar individually in plastic wrap and place them in a freezer-safe bag or container. They will keep for up to 3 months. Thaw in the fridge overnight or at room temperature for about 30 minutes. You can also eat them straight from the freezer for a cold, chewy treat.
My bars turned out crumbly. What went wrong?
The most common reason is not pressing the mixture firmly enough into the dish. You really need to pack it down. Another possibility is that your bananas were not ripe enough. Very ripe bananas have more moisture and natural sugar, which helps bind everything together. Next time, make sure your bananas are spotty and soft, and press the mixture down firmly with the back of a measuring cup or a spatula.
Can I make these without peanut butter for a nut-free version?
Yes. Sunflower seed butter is the best substitute. It has a similar creamy texture and works perfectly in this recipe. Tahini (sesame seed paste) also works, though it has a stronger, more distinct flavor. Just be aware that sunflower seed butter can cause the bars to turn a greenish color after a day or two in the fridge. This is a natural reaction and completely safe to eat.
Pin This Recipe!
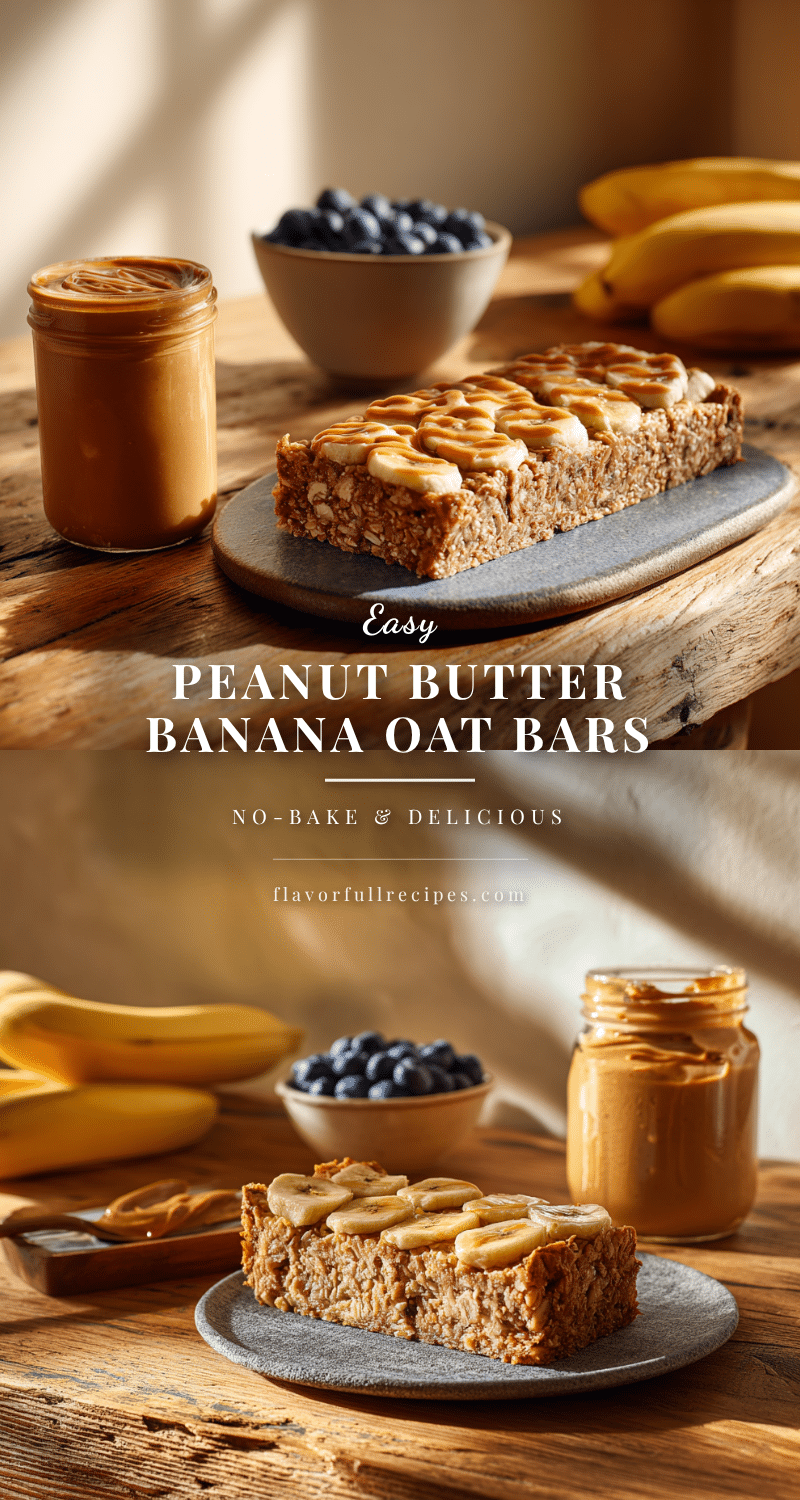
Easy Overnight Peanut Butter Banana Oat Bars
- Total Time: 6 hours 15 minutes (includes chilling)
- Yield: 9 servings 1x
Description
No-bake, five-ingredient breakfast bars that are soft, satisfying, and perfect for meal prep. Made with oats, peanut butter, bananas, and honey, these bars set overnight in the fridge for a grab-and-go breakfast or snack.
Ingredients
- 2 cups rolled oats
- 1 cup creamy peanut butter
- 2 large ripe bananas, mashed
- 3 tablespoons honey or maple syrup
- Pinch of sea salt
- Optional: dark chocolate chips, chia seeds, flaxseed meal, chopped peanuts, dried fruit
Instructions
- Line an 8×8 inch baking dish with parchment paper, leaving overhang on two sides.
- Mash the bananas in a large mixing bowl until mostly smooth with a few small lumps.
- Add peanut butter and honey (or maple syrup) to the bananas. Stir until well combined.
- Fold in the rolled oats until all oats are coated and no dry patches remain.
- Fold in any optional mix-ins (e.g., chocolate chips, nuts, seeds).
- Scrape the mixture into the lined dish. Press down firmly and evenly with a spatula or wet hand.
- Cover and refrigerate for at least 6 hours, preferably overnight.
- Lift the block out using parchment handles. Cut into 9 or 12 bars with a sharp knife.
- Serve cold or at room temperature. Store leftovers in the refrigerator.
Notes
Press mixture firmly to prevent crumbling. Use very ripe bananas for best binding and sweetness. Bars keep in the fridge for up to a week or freeze for up to 3 months. For a nut-free version, substitute sunflower seed butter.
- Prep Time: 15 minutes
- Cook Time: 0 minutes
- Category: Breakfast
- Cuisine: American
Nutrition
- Serving Size: 1 bar
- Calories: 280
- Sugar: 14
- Sodium: 120
- Fat: 14
- Saturated Fat: 2.5
- Carbohydrates: 33
- Fiber: 5
- Protein: 9
Keywords: overnight oat bars, no-bake breakfast bars, peanut butter banana bars, healthy snack bars, meal prep breakfast


