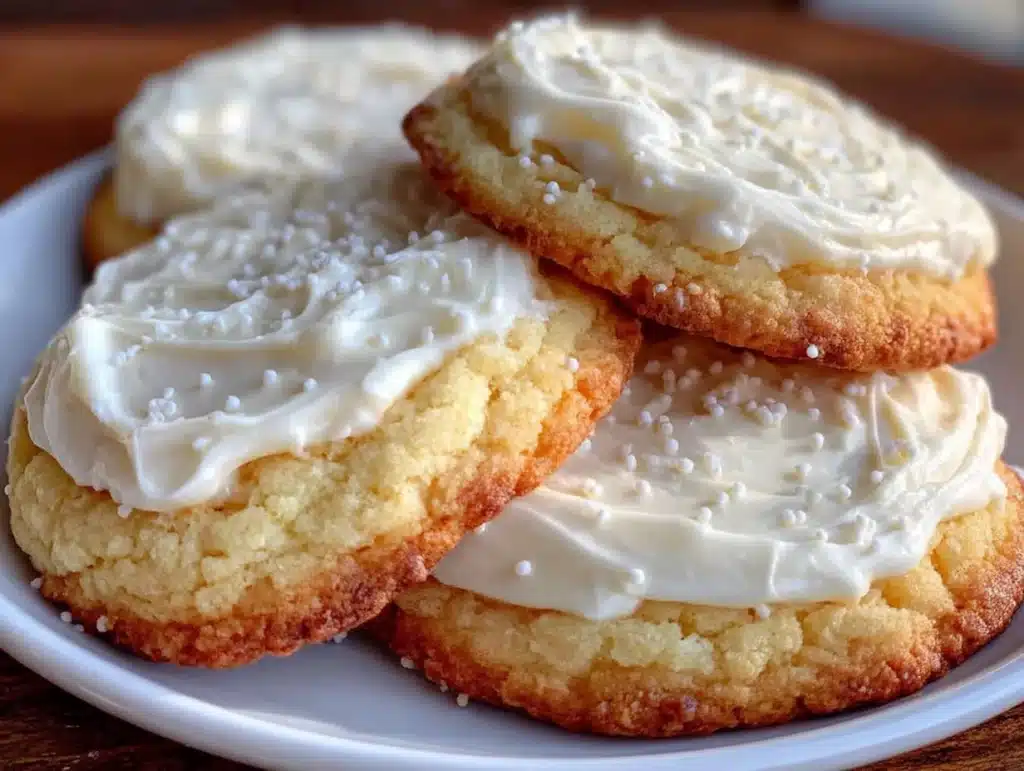
This was supposed to be a simple batch of royal icing for my sugar cookies—something classic and foolproof. I grabbed the wrong sugar, the mixer was halfway on when my phone buzzed, and honestly, I was already running late for the neighborhood potluck. What came out was nothing like the slick, glossy icing I had envisioned—thicker, a bit grainy, and oddly satisfying. At first, I was ready to toss it out and start over. But then, as I started spreading it, the icing hardened just right—firm yet not brittle, with a smooth finish that held up perfectly even hours later. It wasn’t what I planned, but I quietly celebrated this little kitchen mishap that ended up being my go-to hard-set sugar cookie icing recipe with no corn syrup and just three simple ingredients.
You know that feeling when you’re juggling too many things and a recipe goes sideways? Maybe you’ve been there—scrambling to impress guests, hoping your sweet treats don’t flop. This icing is exactly what I reach for now when I want those crisp-edged, beautifully decorated sugar cookies that steal the show at dinner parties, potlucks, or any festive get-together. And the best part? It’s easy, straightforward, and corn syrup-free—perfect for hosts who want to impress without stress.
So, let me tell you how this accidental recipe became my secret weapon when hosting. It’s proof that sometimes the best dishes come out of the messiest moments.
Why You’ll Love This Recipe
Having tested countless icings over the years, this easy hard-set sugar cookie icing recipe stands out for several reasons. I mean, as a host, you want your cookies to look stunning but also be bite-perfect without that sticky mess. Here’s why this recipe has become my reliable crowd-pleaser:
- Quick & Easy: Comes together in under 10 minutes—ideal for last-minute decorating sessions before guests arrive.
- Simple Ingredients: No need to hunt down corn syrup or specialty items; just powdered sugar, egg whites, and a splash of vanilla.
- Perfect for Gatherings: Whether you’re prepping for a festive get-together or a casual potluck, these cookies stand out on the table.
- Crowd-Pleaser: Kids and adults alike love the firm yet tender texture of the icing—no cracking, no stickiness.
- Unbelievably Delicious: The slight vanilla aroma and smooth sweetness perfectly complement the buttery sugar cookies.
What makes this icing different? It’s the no corn syrup twist that gives it a clean finish without the cloying sweetness or stickiness you sometimes get with traditional recipes. Plus, whipping the egg whites just right creates that perfect hard-set texture that holds up beautifully at room temperature—or even after a day or two on the cookie tray.
Honestly, this icing recipe isn’t just a step in a baking process—it’s that magic touch that turns simple sugar cookies into the star of your dinner party spread, all without the stress of complicated ingredients or techniques.
What Ingredients You Will Need
This recipe uses simple, wholesome ingredients to deliver bold flavor and a satisfying texture without any fuss. You likely have everything already stocked in your pantry or fridge, which makes it a breeze to whip up when guests are on their way.
- Powdered Sugar (Confectioners’ Sugar): About 2 cups (240g) – I recommend using a finely sifted brand like Domino for the smoothest texture.
- Egg Whites: 2 large (approximately 60 ml) – Fresh is best, but pasteurized egg whites from a carton work well too, especially for safety and convenience.
- Pure Vanilla Extract: 1 teaspoon (5 ml) – Adds a lovely depth of flavor; opt for Nielsen-Massey or any quality brand you trust.
Optional tweaks:
- You can swap vanilla for almond extract if you want a different flavor profile that’s still crowd-pleasing.
- For a dairy-free version, this icing is naturally compliant, but double-check your powdered sugar brand for any additives.
Note: No corn syrup or cream of tartar is needed here, which simplifies your ingredient list and keeps the icing light and clean-tasting. This recipe’s brilliance is in its simplicity, avoiding sticky finishes while still hardening perfectly.
Equipment Needed
To get this easy hard-set sugar cookie icing just right, here’s a rundown of the kitchen tools you’ll want handy for stress-free prep:
- Mixing Bowl: Medium size, preferably glass or metal to help with beating air into the egg whites.
- Electric Mixer or Stand Mixer: A hand mixer works fine, but a stand mixer with a whisk attachment makes the process quicker and more hands-free.
- Measuring Cups and Spoons: For accurate measurements—precision matters when balancing powdered sugar and egg whites.
- Sifter or Fine Mesh Strainer: To sift powdered sugar for the smoothest icing texture.
- Spatula: For scraping down the bowl and folding in vanilla extract gently.
- Piping Bags or Zip-Top Bags: Optional but helpful if you want neat, decorative edges. You can also use a butter knife or spoon for spreading.
Personally, I’ve learned that investing in a quality stand mixer saves me from frantic arm workouts during party prep. But if you’re on a budget, a sturdy hand mixer or even a whisk and some elbow grease will do just fine. Just keep in mind that mixing time might be longer.
Preparation Method
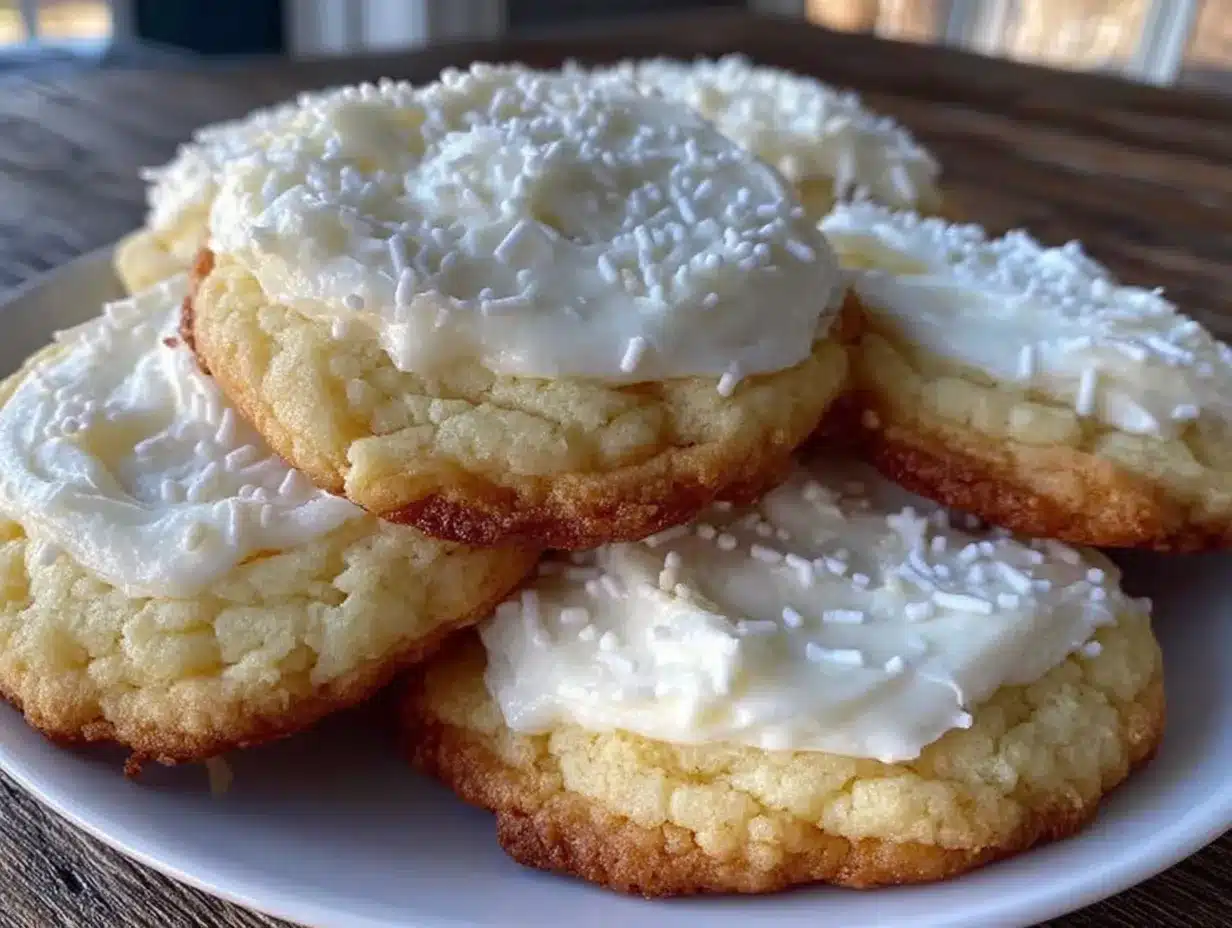
- Sift the powdered sugar: Measure 2 cups (240g) of powdered sugar and sift it into your mixing bowl. This helps prevent lumps, giving you that silky smooth icing everyone loves. (Time: 3 minutes)
- Whip the egg whites: Add 2 large egg whites to the bowl. If you’re using pasteurized whites, measure about 60 ml. Begin mixing on medium speed with your electric mixer. You want the mixture to become frothy and start to thicken, but not yet form peaks. (Time: 2-3 minutes)
- Add vanilla extract: Pour in 1 teaspoon (5 ml) of pure vanilla extract. Continue mixing gently to combine it evenly without deflating your whipped whites. (Time: 30 seconds)
- Increase mixing speed: Crank the mixer up to medium-high and beat until the icing becomes glossy, thick, and holds its shape when you lift the whisk. This usually takes about 4-5 minutes. You’re aiming for a texture that’s spreadable but firm enough to harden well. (Time: 4-5 minutes)
- Test consistency: Drag a spoon through the icing—it should hold a trail without immediately filling back in. If it’s too runny, add a little more sifted powdered sugar, one tablespoon at a time. If it’s too stiff, add a tiny bit of water or an additional egg white carefully. (Time: 2 minutes)
- Use immediately or store: Spoon or pipe your icing onto cooled sugar cookies right away. It starts to harden quickly, so don’t wait too long. Leftover icing can be covered tightly with plastic wrap and refrigerated for up to 2 days. When ready to use again, give it a quick stir. (Time: Prep 10-15 minutes total)
Pro tip: If the kitchen gets warm, chilling the bowl for a few minutes before mixing helps keep the egg whites stable. Also, avoid any grease or yolk mixing in with your whites—that’s a classic pitfall that prevents proper whipping.
Cooking Tips & Techniques
Getting that perfect hard-set sugar cookie icing can be a bit tricky at first, but here are some tips I’ve picked up that really helped me master this recipe:
- Beat egg whites just right: Underwhipping makes the icing runny, while overwhipping can cause it to dry out and crack. Watch for the glossy finish and soft peaks as your cue.
- Sift powdered sugar well: Skipping this step often leads to gritty icing, which can ruin the smooth look you want for decorated cookies.
- Work quickly: Once mixed, the icing starts to set fast. Have your cookies cooled and ready to decorate to avoid frustration.
- Use room temperature ingredients: Cold egg whites can take longer to whip and may not achieve the right volume.
- Practice piping pressure: If you’re using a piping bag, steady and even pressure helps create smooth lines and edges. Don’t rush!
- Avoid humidity: High humidity can prevent icing from setting properly. If your kitchen feels muggy, a quick blast of air conditioning or fan helps.
Honestly, I’ve had plenty of moments where my icing split or cracked, but these little lessons made all the difference. Plus, multitasking by prepping other dishes while it whips keeps the kitchen moving smoothly during busy hosting.
Variations & Adaptations
While this basic hard-set sugar cookie icing is a classic, I’ve played around with some variations to suit different tastes and dietary needs at gatherings:
- Flavor twists: Swap vanilla extract for lemon or orange zest and a teaspoon of juice for a bright, citrusy zing that guests adore during spring parties.
- Natural coloring: Add a few drops of natural food coloring like beet juice or spirulina powder for vibrant, crowd-pleasing hues without artificial dyes.
- Egg-free option: Use aquafaba (chickpea brine) whipped to stiff peaks instead of egg whites for a vegan-friendly icing that still hardens nicely.
- Gluten-free adaptation: This icing is naturally gluten-free, so pair it with gluten-free sugar cookies to accommodate guests with sensitivities.
- Thicker or thinner consistency: For flood icing (smooth surface with a shiny finish), thin with a teaspoon of water. For detail work or borders, keep the icing thicker to hold shapes better.
One time, I swapped in almond extract and toasted slivered almonds on the cookies for a subtle nutty flair that got rave reviews at a holiday potluck. Feel free to experiment! The icing’s forgiving nature makes it easy to tweak without losing that perfect hard set.
Serving & Storage Suggestions
For hosting, presentation is everything. I like to serve sugar cookies decorated with this hard-set icing at room temperature, as the icing keeps a slight sheen and firm texture that makes each bite satisfying. Arrange them on a colorful platter or tiered stand to really steal the show.
Pair these cookies with warm beverages like spiced cider or a robust coffee to balance the sweet icing. For a full dessert spread, they go wonderfully alongside rich chocolate brownies or a fresh fruit tart, adding variety and color to your table.
To store, place iced cookies in an airtight container at room temperature for up to 3 days. Avoid stacking them directly on top of each other to keep decorations intact. They freeze well too—just wrap individually in plastic wrap and place in a freezer-safe container. Thaw at room temperature before serving.
Reheating isn’t necessary, but if you want to soften the cookie slightly, a few seconds in the microwave (covered) helps. Keep in mind the icing remains hard-set, so it won’t melt or get sticky again.
Flavors actually deepen after a day, making these cookies even more crave-worthy if you prepare them ahead of your get-together.
Nutritional Information & Benefits
Here’s a rough estimate per cookie (assuming about 1 tablespoon of icing per cookie):
| Nutrient | Amount |
|---|---|
| Calories | 60-70 kcal |
| Sugar | 14-16 g |
| Fat | 0 g |
| Protein | 1-2 g (from egg whites) |
Because this recipe skips corn syrup and heavy additives, it offers a cleaner sweetness that’s easier on the palate. Egg whites provide a small protein boost without fat or cholesterol, making the icing lighter than buttercream alternatives.
If you’re mindful of allergens, note that this contains egg, so it’s not suitable for those with egg allergies unless you use the aquafaba substitution mentioned earlier.
From a wellness perspective, I appreciate this icing for its simplicity and quick preparation, which helps me avoid overly processed ingredients while still delivering that festive, indulgent treat everyone loves.
Conclusion
This easy hard-set sugar cookie icing recipe with no corn syrup and just three ingredients has truly become my secret weapon for impressing guests without the usual icing headaches. It’s simple, reliable, and creates those stunning cookies that make dinner parties or potlucks feel extra special.
Feel free to customize the flavor or color to fit your occasion, and remember—sometimes the best recipes come from kitchen chaos, as mine did. I hope this icing helps you bring joy to your gatherings as much as it has to mine.
If you try it out, I’d love to hear how it goes! Drop a comment with your tweaks or questions, and share this recipe with friends who love baking for their next festive get-together. Happy hosting and happy decorating!
Frequently Asked Questions
Can I use pasteurized egg whites for this icing?
Yes! Pasteurized egg whites from a carton are a safe and convenient alternative to fresh eggs, especially when serving to guests.
How long does the icing take to harden fully?
Typically, the icing sets firm within 1 to 2 hours at room temperature, depending on humidity and thickness of application.
Can I store leftover icing for later use?
Absolutely. Cover it tightly with plastic wrap and refrigerate for up to 2 days. Stir well before using again.
Is this icing suitable for piping detailed designs?
Yes, it holds shape well, but for very fine details, keep the icing slightly thicker and use a small piping tip for best control.
What should I do if my icing cracks after drying?
Cracking often happens if the icing is too stiff or applied too thickly. Try thinning it slightly with a few drops of water next time and apply in thinner layers.
Pin This Recipe!
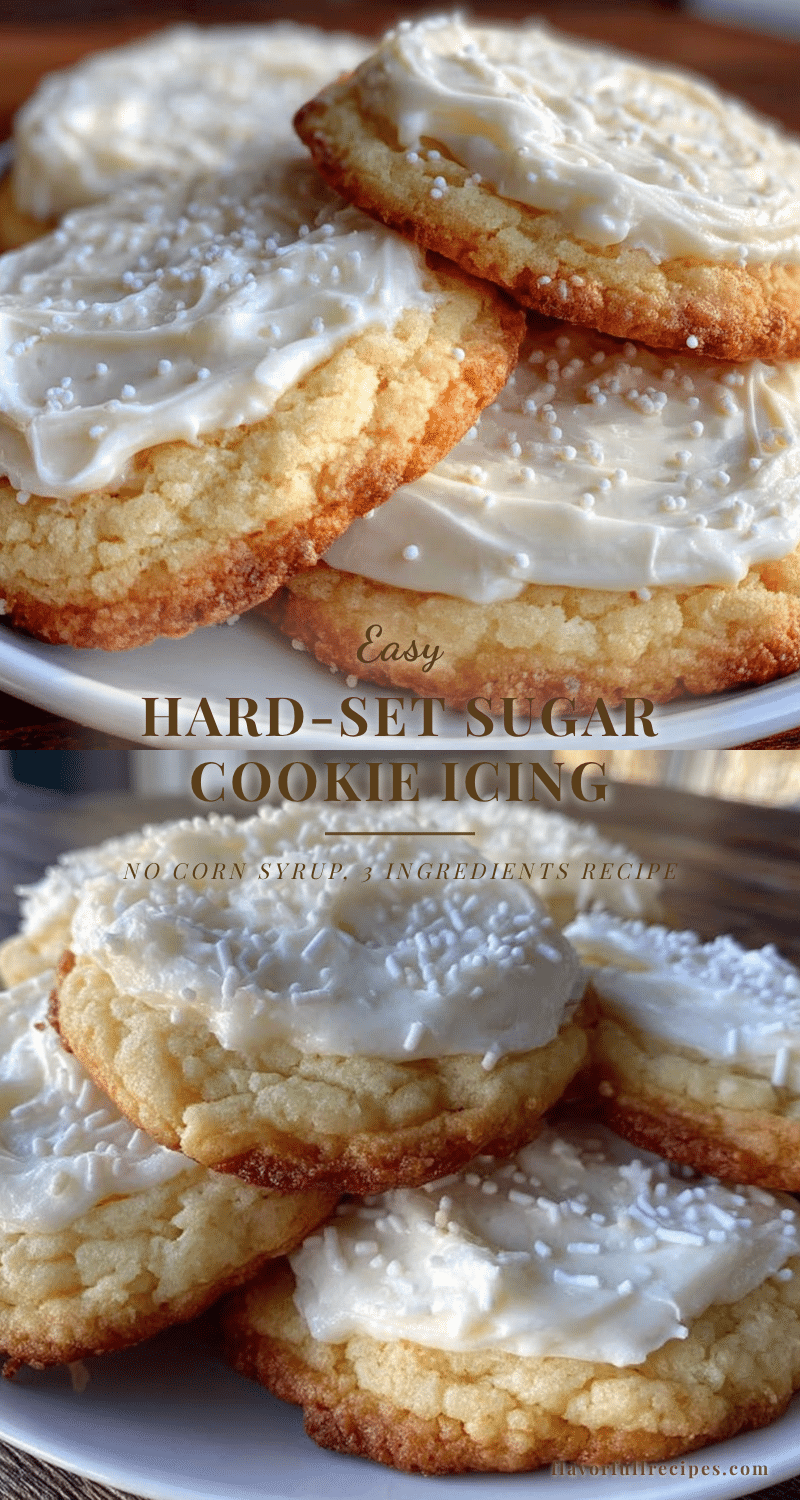

Easy Hard-Set Sugar Cookie Icing Recipe No Corn Syrup 3 Ingredients
- Total Time: 10-15 minutes
- Yield: Approximately 24 cookies (assuming 1 tablespoon icing per cookie) 1x
Description
A simple, foolproof hard-set sugar cookie icing recipe made with just three ingredients and no corn syrup. Perfect for crisp-edged, beautifully decorated sugar cookies that hold up well at room temperature.
Ingredients
- 2 cups (240g) powdered sugar (confectioners’ sugar), sifted
- 2 large egg whites (approximately 60 ml)
- 1 teaspoon (5 ml) pure vanilla extract
Instructions
- Sift 2 cups (240g) of powdered sugar into a mixing bowl to prevent lumps and ensure a smooth texture.
- Add 2 large egg whites (about 60 ml) to the bowl. Begin mixing on medium speed with an electric mixer until the mixture becomes frothy and starts to thicken, but does not form peaks (2-3 minutes).
- Pour in 1 teaspoon (5 ml) of pure vanilla extract and mix gently to combine without deflating the whipped whites (30 seconds).
- Increase mixer speed to medium-high and beat until the icing becomes glossy, thick, and holds its shape when lifting the whisk, about 4-5 minutes.
- Test the consistency by dragging a spoon through the icing; it should hold a trail without filling back in immediately. If too runny, add more sifted powdered sugar one tablespoon at a time. If too stiff, add a tiny bit of water or an additional egg white carefully (2 minutes).
- Use the icing immediately to spoon or pipe onto cooled sugar cookies. Leftover icing can be covered tightly with plastic wrap and refrigerated for up to 2 days. Stir well before reuse.
Notes
Beat egg whites just right to avoid runny or cracked icing. Sift powdered sugar well for smooth texture. Work quickly as icing sets fast. Use room temperature egg whites for best volume. Avoid humidity to prevent icing from not setting properly. Leftover icing can be refrigerated for up to 2 days and stirred before reuse.
- Prep Time: 10-15 minutes
- Cook Time: 0 minutes
- Category: Dessert
- Cuisine: American
Nutrition
- Serving Size: 1 tablespoon of icin
- Calories: 65
- Sugar: 15
- Carbohydrates: 15
- Protein: 1.5
Keywords: sugar cookie icing, hard-set icing, no corn syrup icing, royal icing alternative, easy cookie icing, egg white icing, vanilla icing