It was 11:47 PM on a random Wednesday in January, and I had a very specific craving for something cold and creamy. I didn’t have any ice cream in the freezer—typical, right?—but I had a fridge full of snow outside and a half-empty can of sweetened condensed milk staring at me from the pantry. The idea hit me like a snowball to the face: what if I just… made ice cream from the actual snow?
Honestly, I felt a little unhinged standing there in my pajamas at midnight, scooping fresh snow into a mixing bowl. But let me tell you—that first spoonful was pure vindication. It was creamy, sweet, and had that perfect vanilla warmth that made me forget I was eating frozen water from my backyard. I mean, who needs fancy ice cream makers when Mother Nature does the heavy lifting?
Maybe you’ve been there too—staring out at a snow-covered yard, wondering if there’s a way to turn that winter wonderland into something delicious. Well, there is. And it only takes three ingredients. This creamy snow ice cream with vanilla and sweetened condensed milk became my late-night obsession, and now it’s the only way I celebrate a snow day. It’s the kind of recipe that feels like a secret—simple, silly, and absolutely unforgettable.
Why You’ll Love This Recipe
This isn’t just another snow ice cream recipe you’ll find floating around the internet. After testing this version through three different snowstorms (and one very questionable batch with yellow snow—don’t ask), I can confidently say this is the one. Here’s why you’ll keep coming back to it:
- Quick & Easy: Comes together in under 10 minutes, perfect for spontaneous snow-day cravings or late-night kitchen adventures.
- Simple Ingredients: No fancy grocery trips needed; you likely already have vanilla extract and sweetened condensed milk in your pantry. The snow? That’s free!
- Perfect for Hosting: Imagine serving this at a winter dinner party or holiday gathering. Your guests will think you’re a culinary genius, and you can make it right before they arrive—no churning required.
- Crowd-Pleaser: Kids absolutely lose their minds over this, and adults can’t resist the nostalgic charm. It’s a conversation starter every single time.
- Unbelievably Delicious: The texture is silky, the sweetness is balanced, and the vanilla adds that cozy warmth that makes winter feel magical.
What makes this recipe different from the rest? It’s the sweetened condensed milk. Most snow ice cream recipes use regular milk and sugar, which can turn icy or watery. The condensed milk adds richness and a velvety texture that actually holds up—even when the snow starts melting. It’s comfort food reimagined: faster, simpler, but with the same soul-soothing satisfaction. Perfect for impressing guests without stress, or turning a simple snow day into something memorable.
What Ingredients You Will Need
This recipe uses just three simple ingredients to deliver that creamy, dreamy texture without any fuss. Each one plays a specific role, so here’s what to grab and why it matters.
- Fresh, Clean Snow (about 8 cups): This is the star of the show. You want fresh snow—ideally collected after the first few hours of a snowfall, not the old, crusty stuff. I recommend scooping from a clean surface like a patio table or a fresh patch of grass. Avoid snow near roads or anything that looks discolored. (Trust me, I learned this the hard way.)
- Sweetened Condensed Milk (1 can, 14 ounces): This is your secret weapon. It adds sweetness, creaminess, and that luscious texture that makes this taste like real ice cream. I prefer Eagle Brand or Borden for consistent results. No need to add extra sugar—this does all the heavy lifting.
- Vanilla Extract (1 teaspoon): Pure vanilla extract makes a noticeable difference. Imitation vanilla works in a pinch, but the real stuff adds a warmth and depth that elevates the whole experience. I like Nielsen-Massey for its rich flavor profile.
Optional add-ins: A pinch of salt balances the sweetness, and a splash of whole milk can help adjust the texture if the snow is too dry. For a dairy-free version, you can substitute the sweetened condensed milk with a coconut-based condensed milk alternative—just note the texture will be slightly different.
Pro tip: If you’re hosting a gathering, double or triple the recipe. Trust me, people will go back for seconds. And if you don’t have snow on hand (I know, bummer), you can use shaved ice from a blender—but it won’t be quite as fluffy.
Equipment Needed
You don’t need any fancy gadgets for this recipe, which is part of the charm. Here’s what you’ll need:
- Large Mixing Bowl: A stainless steel or glass bowl works best. I’ve used plastic before, and it’s fine, but metal helps keep the mixture cold longer.
- Wooden Spoon or Rubber Spatula: Something sturdy to fold the snow into the milk mixture. A whisk will work, but it can be a little messy.
- Measuring Cups and Spoons: For the condensed milk and vanilla. Eyeballing it is possible, but measuring ensures consistency.
- Freezer-Safe Container: If you’re not serving immediately, you’ll need a container to store any leftovers. A glass loaf pan or plastic freezer tub works great.
- Ice Cream Scoop: Optional but nice for serving. It makes the portions look pretty.
I’ve made this with just a bowl and a spoon when I was too lazy to wash dishes, and it still turned out perfect. Don’t overthink the equipment—just grab what you have.
Preparation Method
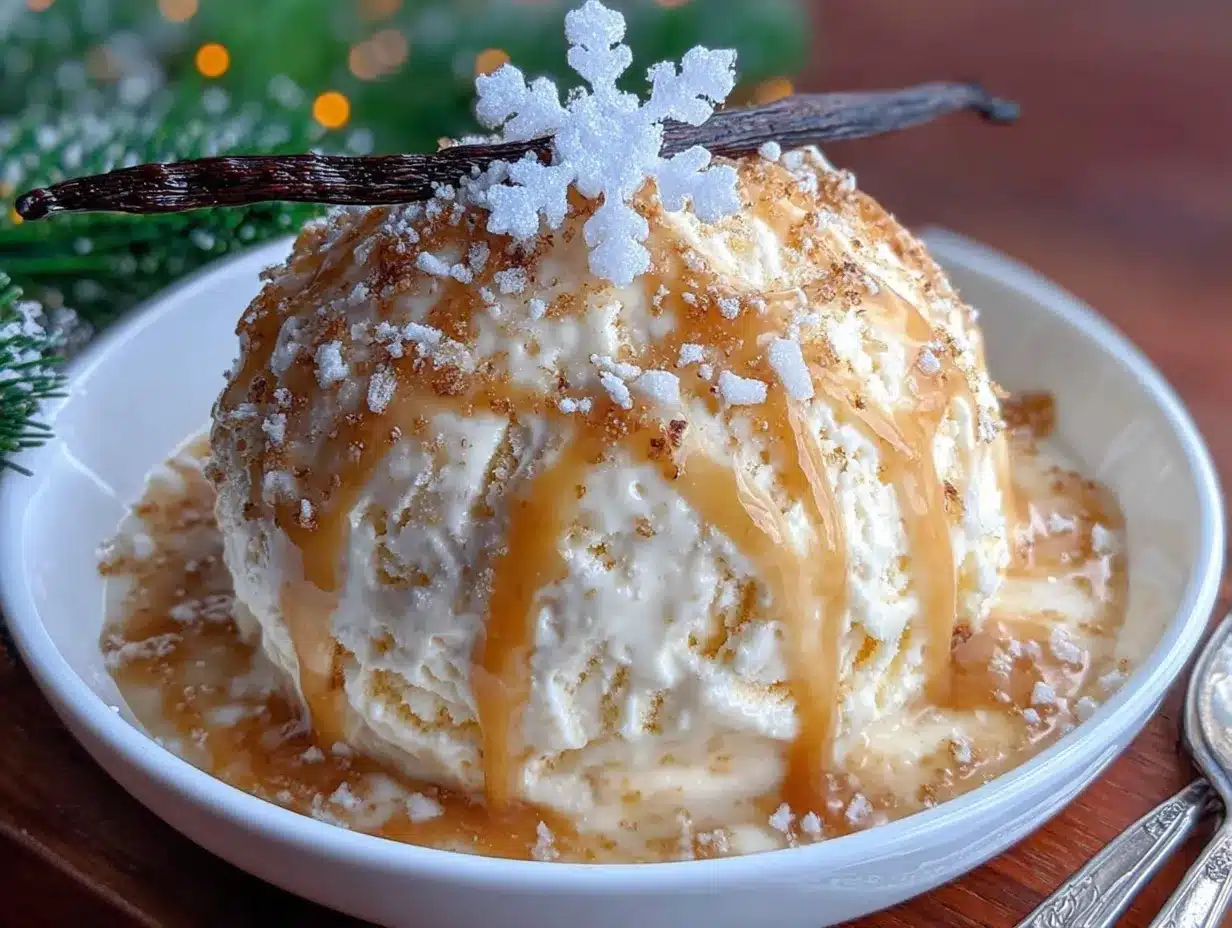
Follow these steps, and you’ll have creamy snow ice cream in under 10 minutes. I’ve included sensory cues so you know exactly what to look for at each stage.
- Collect the Snow (5 minutes): Head outside with your large mixing bowl and scoop up about 8 cups of fresh, clean snow. You want it fluffy and light—not packed or icy. If it’s been snowing for a few hours, the top layer is usually the best. Bring it inside immediately and place the bowl in the freezer while you prep the other ingredients. (This keeps the snow from melting too fast.)
- Mix the Base (2 minutes): In a separate small bowl, combine the entire can of sweetened condensed milk and 1 teaspoon of vanilla extract. Whisk until smooth. The mixture should be thick, pale, and smell like vanilla heaven. If you’re adding a pinch of salt, stir it in now.
- Combine (3 minutes): Take the snow out of the freezer. Pour the condensed milk mixture over the snow in a slow, steady stream. Using your wooden spoon or spatula, fold the mixture gently into the snow. Don’t stir vigorously—you want to incorporate the milk without deflating the fluffiness. The texture should look like soft-serve ice cream: creamy, slightly glossy, and holding its shape when you lift the spoon.
- Taste and Adjust (1 minute): Take a small spoonful and taste it. Is it sweet enough? If you want more vanilla, add another 1/4 teaspoon. If it’s too thick, add a splash of whole milk or cream. If it’s too thin (meaning the snow melted too much), pop it back in the freezer for 5 minutes.
- Serve Immediately or Freeze: For the best texture, serve right away. Scoop into bowls and enjoy the fluffy, creamy magic. If you need to store it, transfer to a freezer-safe container and freeze for up to 1 hour. After that, it will become more like a snow block—still tasty, but you’ll need to let it soften for 5-10 minutes before scooping.
One warning: don’t overmix. I did that once during a particularly aggressive snow day, and I ended up with sweetened snow soup. Gentle folds are your friend here.
Cooking Tips & Techniques
After making this recipe more times than I care to admit, I’ve picked up a few tricks that make all the difference. Here are my hard-earned lessons:
- Keep Everything Cold: The biggest enemy of snow ice cream is melting. Chill your mixing bowl in the freezer for 10 minutes before you start. Same goes for the condensed milk—don’t let it sit out at room temperature.
- Work Fast: Once you combine the snow with the milk, the clock is ticking. Have your bowls and spoons ready before you bring the snow inside. I learned this the hard way when I had to answer the door mid-recipe and came back to a puddle.
- Don’t Skip the Vanilla: I know it’s tempting to leave it out if you don’t have it, but vanilla is what makes this taste like “real” ice cream. It adds that warm, comforting depth that transforms snow into something special.
- Texture Check: If your snow is too dry and powdery (common in very cold temperatures), add an extra tablespoon of condensed milk or a splash of whole milk. If it’s too wet (snow that’s been sitting), use a little less milk and freeze the snow longer before mixing.
- Scale Smart: When hosting, make multiple batches rather than one giant one. Large batches are harder to mix evenly and tend to melt faster. I usually make one batch per 4-6 people.
One of my biggest failures? I once tried to use old, crusty snow from the bottom of the pile. It was gritty, icy, and tasted like dirt. Fresh snow is non-negotiable. Also, don’t add extra sugar—the condensed milk is already plenty sweet. Trust the recipe.
Variations & Adaptations
Once you’ve mastered the basic version, here are some fun twists to try. I’ve tested all of these, and each one brings something unique to the table.
- Chocolate Dream: Add 2 tablespoons of unsweetened cocoa powder to the condensed milk mixture before folding in the snow. Stir until smooth. It turns a beautiful chocolate brown and tastes like a frosty hot cocoa. My kids beg for this version.
- Mint Chocolate Chip: Replace the vanilla with 1/2 teaspoon of peppermint extract and fold in 1/4 cup of mini chocolate chips after mixing. The minty freshness is perfect for winter, and the chocolate adds a nice crunch.
- Dairy-Free Version: Use a coconut-based sweetened condensed milk alternative (I like Nature’s Charm). The texture is slightly less creamy but still delicious. Add an extra tablespoon of coconut cream for richness.
- Berry Swirl: Warm 1/2 cup of frozen berries with a tablespoon of maple syrup, then let it cool completely. Swirl it into the finished snow ice cream for a fruity twist. The color is gorgeous for holiday parties.
- Spiced Winter: Add 1/2 teaspoon of cinnamon and a pinch of nutmeg to the condensed milk. It tastes like a snow day in a bowl—warm, cozy, and slightly festive.
For a boozy adult version (because why not?), add 1 tablespoon of bourbon or dark rum to the milk mixture. The alcohol lowers the freezing point slightly, so the texture stays softer even after freezing. Just don’t serve it to the kids!
Serving & Storage Suggestions
This snow ice cream is best served immediately, but here’s how to make it shine at your next gathering:
- Serving Temperature: Serve right after mixing for that perfect soft-serve texture. If it’s been in the freezer, let it sit at room temperature for 5-10 minutes to soften before scooping.
- Presentation Tips: Scoop into chilled bowls or cups for a pretty presentation. Top with a drizzle of chocolate syrup, a sprinkle of crushed cookies, or a few fresh berries. For holiday parties, add a sprig of mint or a dusting of powdered sugar (ironic, I know).
- What to Serve Alongside: This pairs beautifully with warm desserts like brownies, apple crisp, or a slice of pound cake. The contrast of hot and cold is divine. For drinks, serve with hot cocoa, spiced cider, or coffee.
- Storage Instructions: Transfer leftovers to a freezer-safe container with a tight lid. Press a piece of plastic wrap directly onto the surface to prevent ice crystals. It will keep for up to 1 week, but the texture becomes more like a snow block after 24 hours.
- Reheating (Sort Of): To bring back some creaminess, let the frozen ice cream sit at room temperature for 15-20 minutes, then stir vigorously with a fork. It won’t be as fluffy as fresh, but it’s still tasty.
Flavor note: The sweetness mellows slightly after freezing, so don’t worry if it tastes a little strong when fresh. It balances out beautifully.
Nutritional Information & Benefits
Let’s be real—this is a treat, not a health food. But here’s what you should know:
- Estimated Per Serving (1 cup): About 250 calories, 6g fat, 44g carbs, 4g protein. The sweetness comes entirely from the condensed milk, so there’s no added refined sugar beyond that.
- Key Ingredients: Snow is just frozen water—zero calories, zero guilt. The sweetened condensed milk provides calcium and a small amount of protein. Vanilla extract has trace antioxidants.
- Dietary Considerations: This recipe is naturally vegetarian. For a vegan version, use coconut-based condensed milk. It’s not low-carb (sorry), but you can try a sugar-free condensed milk alternative if needed.
- Allergens: Contains dairy. If you’re lactose intolerant, the dairy-free version works well. Always check your vanilla extract for gluten if that’s a concern (most are gluten-free).
My take? Life is short. Eat the snow ice cream. It’s a once-a-year treat that brings pure joy, and that counts for something.
Frequently Asked Questions
Can I use store-bought ice instead of snow?
Yes, but it won’t be as fluffy. Shave ice from a blender or use a snow cone machine. The texture will be more like a snow cone than ice cream, but it still tastes great.
How do I know if the snow is clean enough?
Stick to fresh snow collected from a clean surface—like a patio table, clean grass, or a dedicated snow collection bowl. Avoid snow near roads, driveways, or areas where pets roam. When in doubt, use the top layer after a fresh snowfall.
Can I make this ahead of time for a party?
You can, but it’s best made fresh. If you need to prep, mix the condensed milk and vanilla ahead of time and store it in the fridge. Then just add the snow right before serving. Your guests will love watching you make it!
My snow ice cream turned out watery. What went wrong?
Either the snow was too old/wet, or you overmixed it. Next time, use fresh, fluffy snow and fold gently. Also, make sure your bowl and ingredients are cold before you start.
Can I add mix-ins like sprinkles or chocolate chips?
Absolutely! Fold them in gently after the milk mixture is incorporated. Sprinkles, crushed cookies, chopped nuts, or mini chocolate chips are all fantastic. Just don’t go overboard—keep it to about 1/4 cup total.
Conclusion
Honestly, this creamy snow ice cream with vanilla and sweetened condensed milk is one of those recipes that reminds me why cooking (and eating) is so much fun. It’s simple, silly, and absolutely delicious. Whether you’re making it for a crowd at a winter gathering or just treating yourself after a midnight craving, it never fails to bring a smile to people’s faces. I love that it turns something as ordinary as snow into something special—a little bit of magic in a bowl.
I’d love to hear how yours turns out! Did you try one of the variations? Add your own twist? Drop a comment below and let me know. And if you’re looking for more cozy winter treats, be sure to check out my cozy winter desserts or this homemade hot fudge sauce that pairs perfectly with snow ice cream. Share this recipe with a friend who loves snow days—they’ll thank you for it. Happy scooping!
Pin This Recipe!
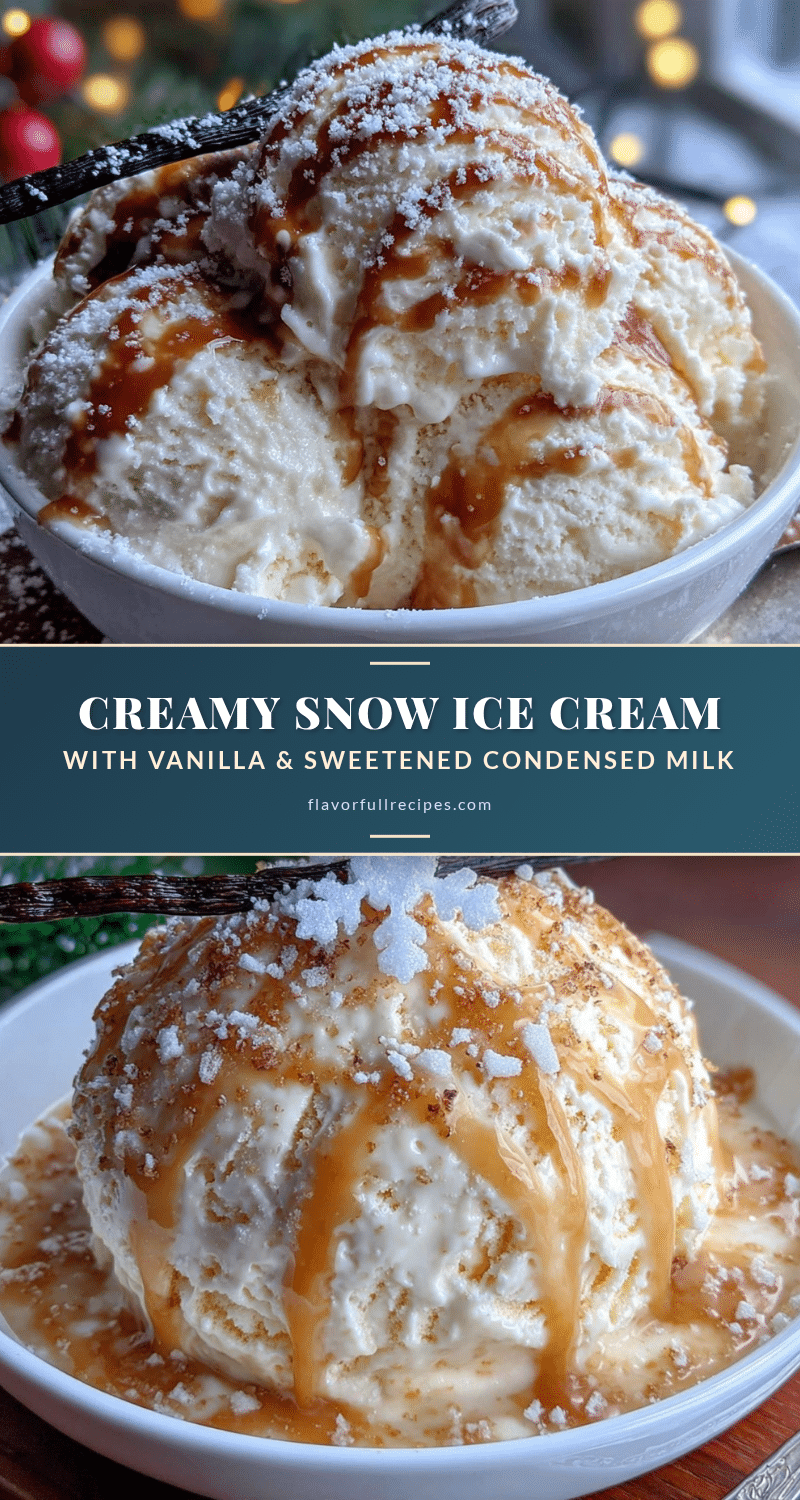

Easy 3-Ingredient Creamy Snow Ice Cream Recipe
- Total Time: 10 minutes
- Yield: 4 servings 1x
Description
This creamy snow ice cream with vanilla and sweetened condensed milk is a quick and easy treat that turns fresh snow into a delicious dessert in under 10 minutes. Perfect for snow days or late-night cravings, it requires just three simple ingredients and no ice cream maker.
Ingredients
- 8 cups fresh, clean snow
- 1 can (14 ounces) sweetened condensed milk
- 1 teaspoon pure vanilla extract
- Pinch of salt (optional)
- Splash of whole milk (optional, for texture adjustment)
Instructions
- Collect the Snow: Head outside with your large mixing bowl and scoop up about 8 cups of fresh, clean snow. You want it fluffy and light—not packed or icy. Bring it inside immediately and place the bowl in the freezer while you prep the other ingredients.
- Mix the Base: In a separate small bowl, combine the entire can of sweetened condensed milk and 1 teaspoon of vanilla extract. Whisk until smooth. If adding a pinch of salt, stir it in now.
- Combine: Take the snow out of the freezer. Pour the condensed milk mixture over the snow in a slow, steady stream. Using a wooden spoon or spatula, fold the mixture gently into the snow. Don’t stir vigorously—you want to incorporate the milk without deflating the fluffiness. The texture should look like soft-serve ice cream.
- Taste and Adjust: Take a small spoonful and taste it. If you want more vanilla, add another 1/4 teaspoon. If it’s too thick, add a splash of whole milk or cream. If it’s too thin, pop it back in the freezer for 5 minutes.
- Serve Immediately or Freeze: For the best texture, serve right away. Scoop into bowls and enjoy. If you need to store it, transfer to a freezer-safe container and freeze for up to 1 hour. After that, it will become more like a snow block—still tasty, but you’ll need to let it soften for 5-10 minutes before scooping.
Notes
Use fresh, clean snow collected from a clean surface. Avoid snow near roads or discolored areas. Work quickly to prevent melting. For best texture, serve immediately. If storing, press plastic wrap directly onto the surface to prevent ice crystals. Let frozen ice cream sit at room temperature for 5-10 minutes before scooping.
- Prep Time: 10 minutes
- Cook Time: 0 minutes
- Category: Dessert
- Cuisine: American
Nutrition
- Serving Size: 1 cup
- Calories: 250
- Sugar: 42
- Sodium: 100
- Fat: 6
- Saturated Fat: 4
- Carbohydrates: 44
- Protein: 4
Keywords: snow ice cream, 3-ingredient ice cream, easy ice cream, snow day recipe, winter dessert, no churn ice cream, vanilla ice cream