I was standing in my kitchen last Tuesday, staring at a half-empty jar of store-bought aioli and feeling genuinely annoyed. You know that feeling? When you pay good money for something that tastes like it was made in a lab and has a shelf life longer than your car registration? That was me. I’d just spent ten minutes reading ingredient labels in the grocery store aisle, and every single option had something weird in it — preservatives, stabilizers, or worse, raw egg.
That’s when I decided to figure out my own version. And let me tell you, this quick creamy garlic aioli changed everything. It takes exactly five minutes, uses ingredients I already had, and honestly tastes better than anything I’ve bought. The best part? No raw egg, so I don’t have to worry about food safety or weird textures.
Here’s what makes this recipe stand out:
- Five minutes flat — from start to finish, including garlic peeling. I timed it.
- No raw egg — uses full-fat mayonnaise as the base, so it’s safe for everyone including pregnant women and kids.
- Pantry ingredients — you probably have everything right now. Seriously, go check.
- Better than store-bought — the fresh garlic and lemon make it taste like something from a fancy restaurant.
- Endlessly adaptable — add herbs, spices, or roasted garlic for different flavors.
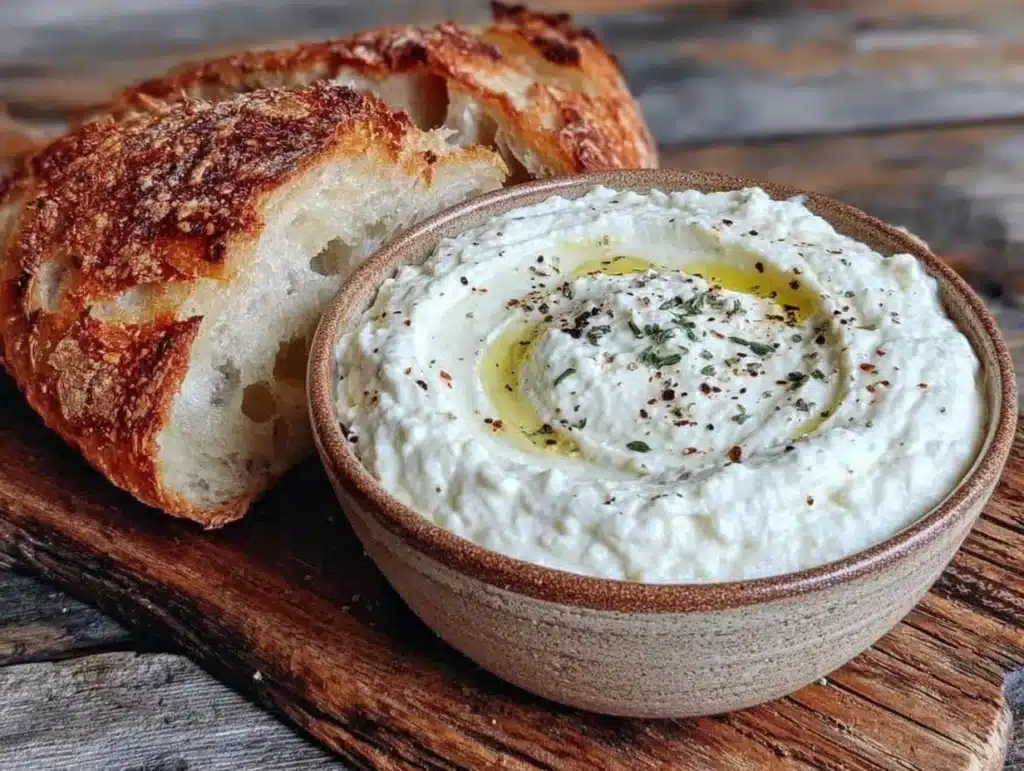
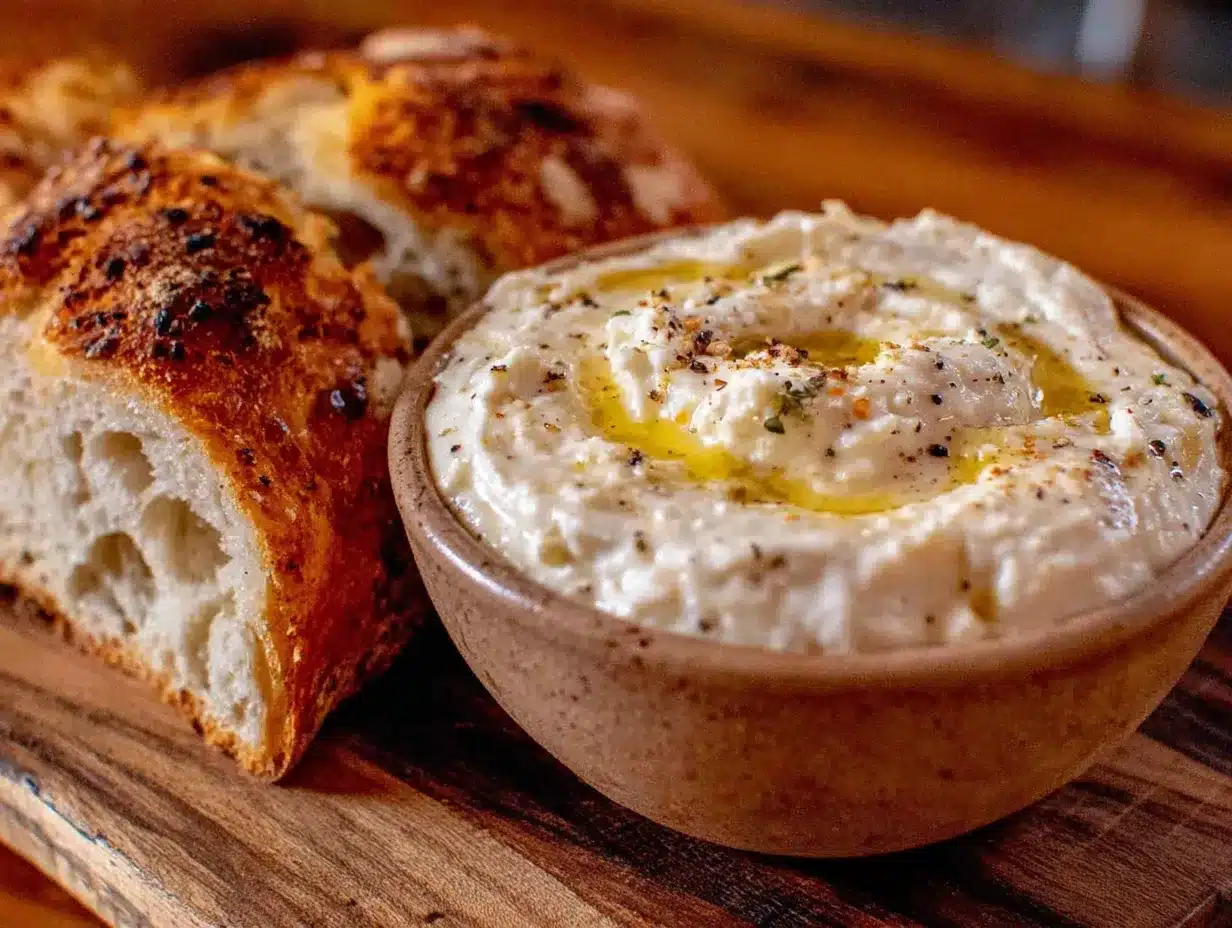
This isn’t just another condiment recipe. It’s the kind of thing that makes you wonder why you ever bought the jarred stuff. The texture is silky and smooth, the garlic flavor is punchy but not overwhelming, and it comes together so fast you’ll be dipping fries into it before your takeout order would have arrived.
I’ve made this for dinner parties, lazy Sunday afternoons, and everything in between. Every single time, someone asks for the recipe. And I love telling them it takes five minutes — their faces are priceless.
What Ingredients You Will Need
This quick creamy garlic aioli uses simple, everyday ingredients to create something that tastes surprisingly gourmet. The beauty is in the balance — good quality basics come together to make something greater than the sum of their parts.
- ½ cup full-fat mayonnaise — This is your base. I recommend Duke’s or Hellmann’s for the best flavor and texture. Don’t use low-fat or miracle whip here; the texture won’t be right.
- 2 cloves fresh garlic — Fresh is non-negotiable. Pre-minced jarred garlic has a different flavor profile and won’t give you that sharp, bright garlic punch. Look for firm cloves without green sprouts in the center.
- 1 tablespoon fresh lemon juice — Bottled lemon juice tastes flat and metallic. A real lemon takes thirty seconds to squeeze and makes a noticeable difference.
- 1 teaspoon Dijon mustard — Adds depth and helps emulsify everything. Grey Poupon is my go-to, but any quality Dijon works.
- 2 tablespoons extra virgin olive oil — Use a good one here since you’ll taste it. I like California Olive Ranch for everyday use.
- ¼ teaspoon salt — Fine sea salt dissolves better than kosher salt in this application.
- ⅛ teaspoon black pepper — Freshly ground is best, but pre-ground works in a pinch.
- Optional: 1 teaspoon water — Only if you want a thinner consistency for drizzling.
That’s it. Seven ingredients, most of which you probably already have. The garlic and lemon are doing the heavy lifting here, so try to use the freshest ones you can find. If your garlic has started sprouting, it’ll be more bitter — better to buy a new head.
For a roasted garlic version, you can swap the raw garlic for 2 tablespoons of roasted garlic paste. It’s milder and sweeter, and takes this in a completely different direction. I’ll talk more about variations later.
Equipment Needed
The equipment list for this quick creamy garlic aioli is embarrassingly short. You don’t need a food processor or immersion blender — just a few basic tools you already own.
- Small mixing bowl — Any bowl works, but a narrow one makes whisking easier.
- Wire whisk — A fork works in a pinch, but a whisk gives you smoother results faster.
- Garlic press or microplane — You can mince garlic with a knife, but a press or microplane makes it finer and more paste-like, which distributes better through the aioli.
- Measuring spoons — For accuracy, though honestly I eyeball the salt and pepper after the first few times.
- Rubber spatula — For scraping every last bit out of the bowl. Waste not, want not.
- Airtight container or jar — For storing your finished aioli.
If you don’t have a garlic press, don’t worry. Finely mince the garlic with a knife, then use the flat side of your blade to smear it into a paste. It takes an extra minute but works beautifully. I actually prefer this method when I’m feeling patient — something meditative about it.
Preparation Method
Making this quick creamy garlic aioli is almost too easy. Here’s exactly how to do it, with all the little details that make the difference between good and great.
- Prepare your garlic. Peel two cloves of garlic and either press them through a garlic press or grate them on a microplane. You want a fine paste, not chunks. If using a knife, mince as finely as possible, then sprinkle with a pinch of salt and use the flat of your blade to scrape and smear it into a paste. This takes about 30 seconds and makes a noticeable difference in texture.
- Combine the base ingredients. In your small mixing bowl, add the ½ cup mayonnaise, 1 tablespoon fresh lemon juice, and 1 teaspoon Dijon mustard. Whisk these together until smooth and uniform. The mustard helps everything come together, so don’t skip it.
- Add the garlic. Add your garlic paste to the bowl and whisk vigorously for about 30 seconds. You want the garlic fully incorporated — no streaks or clumps. Taste a tiny bit on a clean spoon. It should taste sharp and bright at this stage.
- Stream in the olive oil. While whisking continuously, slowly drizzle in the 2 tablespoons of olive oil. This helps create a smoother, more luxurious texture. If you dump it all in at once, the oil can separate and make the aioli look greasy. Slow and steady wins this race.
- Season and adjust. Add the ¼ teaspoon salt and ⅛ teaspoon pepper. Whisk again, then taste. This is where you adjust. Need more tang? Add another squeeze of lemon. Want more garlic punch? Grate in half a clove more. Too thick? Whisk in a teaspoon of water until it reaches your desired consistency.
- Let it rest. Here’s the trick most recipes don’t tell you: let the aioli sit for 5-10 minutes before serving. This allows the garlic flavor to mellow slightly and meld with the other ingredients. The difference is subtle but real. If you serve it immediately, the garlic can be a bit harsh.
- Transfer and store. Scrape the aioli into your airtight container using the rubber spatula. If you’re serving it right away, a small bowl works fine. For later use, refrigerate in a jar with a tight-fitting lid.
That’s genuinely it. Seven steps, most of which take less than a minute. The whole process from pulling ingredients out of the fridge to having finished aioli is under five minutes — I’ve tested this multiple times with a timer.
One thing I learned the hard way: don’t over-whisk. Mayonnaise-based aioli can break if you go at it too aggressively for too long. You want it smooth and combined, not overworked. Stop when it looks uniform and tastes balanced.
Cooking Tips & Techniques
After making this quick creamy garlic aioli probably fifty times, I’ve picked up a few tricks that make the process smoother and the results better.
On garlic prep: The finer you get your garlic, the better the texture. Chunks of raw garlic in aioli are unpleasant — you get these sudden sharp explosions of flavor that overwhelm everything. A microplane or garlic press solves this instantly. If you’re using a knife, really take your time with the smearing step. I once rushed through it and ended up with garlic chunks floating in my aioli. Not my finest moment.
On resting time: I mentioned this in the method, but it bears repeating. Five minutes of resting transforms the flavor. The garlic mellows just enough that it doesn’t dominate, and the lemon and mustard have time to marry. I’ve made two batches side by side — one served immediately and one rested for ten minutes — and the difference was obvious even to my skeptical husband.
On temperature: Cold ingredients don’t whisk together as smoothly. Let your mayonnaise sit out for five minutes before starting if you can. Room temperature everything blends more easily and gives you a silkier final texture. This isn’t a dealbreaker, just a nice touch.
On fixing mistakes: If your aioli tastes too garlicky, add more mayonnaise to balance it. Too thin? Add a little more mayo or let it sit in the fridge for thirty minutes — it will thicken as it chills. Too thick? A splash of water or extra lemon juice thins it right out. Almost everything is fixable, so don’t panic.
On making ahead: This aioli actually improves after a few hours in the fridge. The flavors meld and mellow, and the texture firms up nicely. Make it the morning of a party and you’ll have one less thing to think about when guests arrive.
Variations & Adaptations
Once you’ve mastered the basic quick creamy garlic aioli, the possibilities are endless. Here are some of my favorite variations.
Herb Aioli: Add 1 tablespoon of finely chopped fresh herbs — parsley, chives, dill, or a combination. Stir them in at the end and let rest for five minutes. This is perfect for grilled fish or vegetable platters.
Smoky Chipotle Aioli: Add 1 teaspoon of adobo sauce from a can of chipotle peppers, plus one finely minced chipotle pepper if you want heat. This version is incredible on tacos, burgers, or sweet potato fries. I make this at least once a week during summer grilling season.
Roasted Garlic Aioli: Replace raw garlic with 2 tablespoons of roasted garlic paste. Roast a whole head of garlic at 400°F for 40 minutes until soft and golden, then squeeze the cloves out and mash them into a paste. This version is sweeter, mellower, and completely different from the original. It’s my go-to for spreading on sandwiches.
Lemon-Free Version: If you’re out of lemons or someone at your table has a citrus sensitivity, replace the lemon juice with white wine vinegar or apple cider vinegar. Use the same amount and proceed as usual. The flavor shifts slightly but remains delicious.
Vegan Adaptation: Use vegan mayonnaise (I like Follow Your Heart or Hellmann’s plant-based) and follow the recipe exactly. The texture and flavor are surprisingly close to the original. My vegan friends always ask for seconds.
Spicy Harissa Aioli: Stir in 1-2 teaspoons of harissa paste for a North African-inspired version. This is amazing on roasted vegetables or as a dipping sauce for lamb meatballs.
Don’t be afraid to experiment. I once added a pinch of smoked paprika and cayenne on a whim, and it became my husband’s new favorite. The base recipe is so simple that any addition feels like a discovery.
Serving & Storage Suggestions
This quick creamy garlic aioli is versatile enough to show up at breakfast, lunch, and dinner. Here’s how I use it most often.
Serving temperature: Serve chilled or at room temperature. If it’s been in the fridge, let it sit out for 10 minutes before serving so the texture softens slightly. Cold aioli can be a bit stiff — a few minutes at room temperature fixes this.
Classic pairings: This aioli was practically made for french fries, roasted potatoes, and crispy chicken tenders. It’s also incredible on burgers, sandwiches, and wraps. I use it as a spread for turkey and avocado sandwiches, and it elevates a simple BLT into something special.
Seafood companion: Garlic aioli and seafood are a natural match. Serve it with grilled shrimp, fish tacos, crab cakes, or as a dip for fried calamari. The tangy garlic cuts through the richness of fried seafood beautifully.
Vegetable dip: Set out a bowl with crudités — carrots, celery, bell peppers, cherry tomatoes, cucumber — and watch it disappear. It’s also fantastic drizzled over roasted vegetables like asparagus, broccoli, or Brussels sprouts.
Storage: Keep your aioli in an airtight container in the refrigerator for up to one week. The garlic flavor will mellow and deepen over the first day or two, which some people actually prefer. Don’t leave it at room temperature for more than two hours.
Freezing: I don’t recommend freezing this aioli. The mayonnaise base can separate when thawed, leaving you with a grainy texture. Make a fresh batch when you need it — it only takes five minutes.
Flavor development: Here’s something interesting — the aioli actually tastes better on day two. The garlic mellows, the lemon brightens, and everything settles into harmony. I often make it the night before I plan to serve it, just for this reason.
Nutritional Information & Benefits
This quick creamy garlic aioli is a condiment, so portion sizes tend to be small. Here’s the approximate nutritional breakdown for a 2-tablespoon serving.
- Calories: 140
- Total Fat: 15g
- Saturated Fat: 2g
- Cholesterol: 10mg
- Sodium: 200mg
- Total Carbohydrates: 1g
- Sugars: 0g
- Protein: 0g
These values will vary based on the specific brands you use. The olive oil adds healthy monounsaturated fats, and the garlic provides allicin, a compound associated with immune support and anti-inflammatory benefits. Lemon juice contributes vitamin C, and the Dijon mustard is virtually calorie-free while adding flavor depth.
Because this recipe uses no raw egg, it’s safe for pregnant women, young children, elderly individuals, and anyone with a compromised immune system. The pasteurized mayonnaise eliminates the salmonella risk that comes with traditional raw-egg aioli recipes.
If you’re watching your sodium intake, use low-sodium mayonnaise and reduce or omit the added salt. The flavor will still be good — the garlic and lemon do most of the heavy lifting.
I personally love that this aioli lets me enjoy that rich, garlicky flavor without worrying about food safety. It’s one less thing to stress about when I’m feeding a crowd.
Conclusion
This quick creamy garlic aioli has become one of those recipes I never knew I needed until I had it. It’s the kind of thing that makes every meal feel a little more special — a dollop on roasted vegetables, a spread on a sandwich, a dip for crispy fries. Five minutes of effort for days of deliciousness.
What I love most is how forgiving it is. You can adjust the garlic, the lemon, the herbs — make it your own. The base is solid enough to handle almost any variation you throw at it. And knowing there’s no raw egg means I can make it for anyone without hesitation.
I’d love to hear how you use this aioli. Do you add something unexpected? Serve it with something unusual? Drop a comment below and share your version. And if you found this helpful, pass it along to a friend who’s still buying the jarred stuff. They’ll thank you later.
Now go make some aioli. Your french fries are waiting.
Frequently Asked Questions
Can I use Greek yogurt instead of mayonnaise?
You can, but the texture will be thinner and tangier. Greek yogurt-based aioli works well as a lighter option, but it won’t have the same rich, creamy consistency. If you try it, add a teaspoon of olive oil to help with texture.
How long does homemade aioli last in the fridge?
Up to one week in an airtight container. The flavor actually improves after the first day as the garlic mellows. If you see any separation, just whisk it back together before using.
Can I use garlic powder instead of fresh garlic?
You can, but the flavor won’t be the same. Garlic powder has a different, more muted flavor profile. If you’re in a pinch, use ½ teaspoon garlic powder and let the aioli rest for 15 minutes to rehydrate the powder.
Why did my aioli turn out too thin?
You might have added too much lemon juice or water, or your mayonnaise was a thinner brand. Fix it by whisking in an additional tablespoon of mayonnaise until it reaches your desired consistency.
Can I make this aioli spicy?
Absolutely. Add ¼ teaspoon cayenne pepper, 1 teaspoon sriracha, or a minced chipotle pepper in adobo sauce. Start with less and taste as you go — you can always add more heat, but you can’t take it away.
Pin This Recipe!
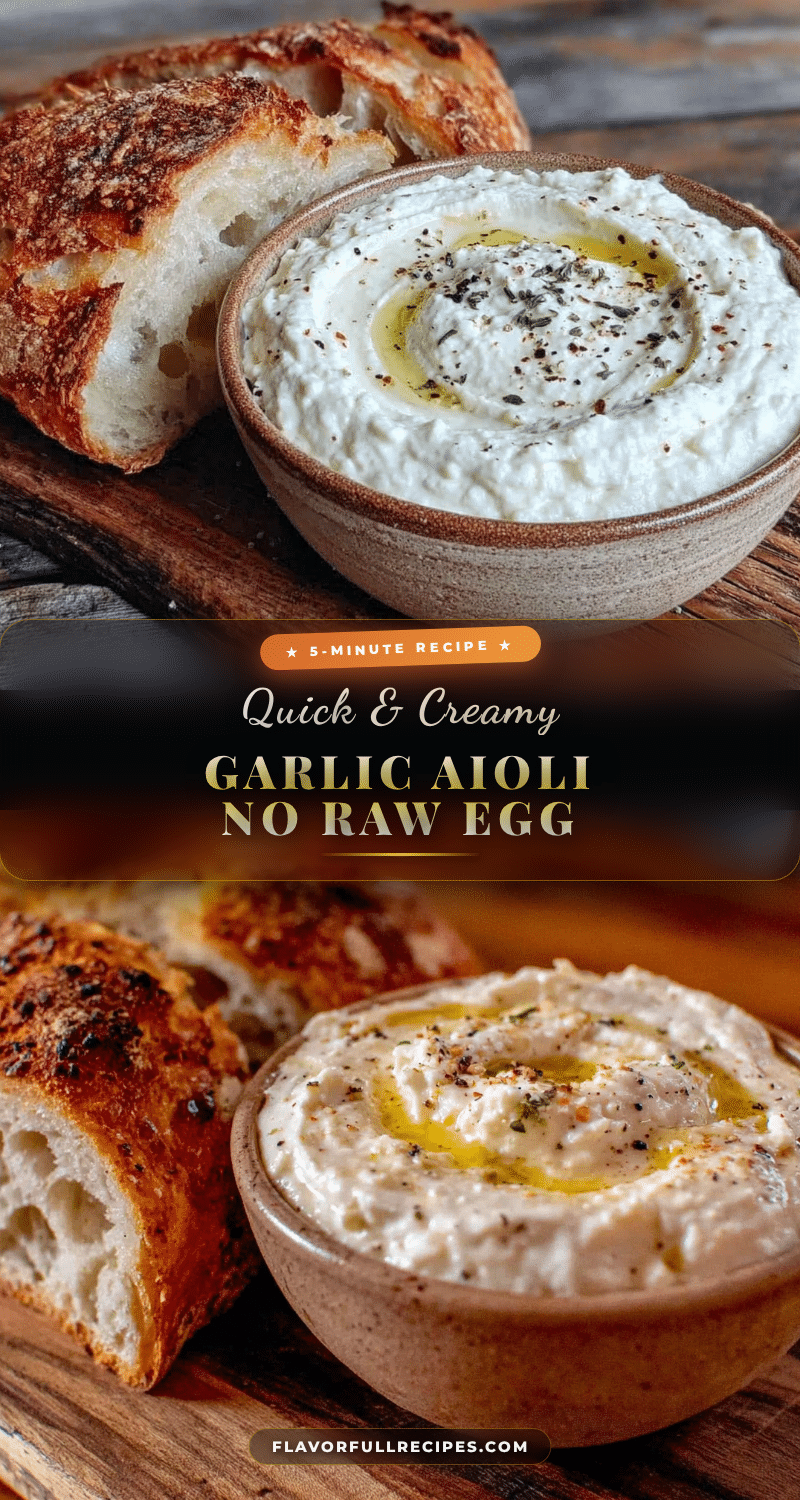
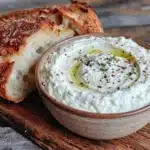
Quick 5-Minute Creamy Garlic Aioli (No Raw Egg)
- Total Time: 5 minutes
- Yield: 4 servings 1x
Description
This quick creamy garlic aioli takes exactly five minutes, uses pantry ingredients, and tastes better than store-bought. No raw egg means it’s safe for everyone, including pregnant women and kids.
Ingredients
- ½ cup full-fat mayonnaise
- 2 cloves fresh garlic
- 1 tablespoon fresh lemon juice
- 1 teaspoon Dijon mustard
- 2 tablespoons extra virgin olive oil
- ¼ teaspoon fine sea salt
- ⅛ teaspoon black pepper
- 1 teaspoon water (optional, for thinner consistency)
Instructions
- Prepare your garlic: Peel two cloves of garlic and either press them through a garlic press or grate them on a microplane to a fine paste. If using a knife, mince finely, then sprinkle with a pinch of salt and use the flat of your blade to scrape and smear into a paste.
- Combine the base ingredients: In a small mixing bowl, add the ½ cup mayonnaise, 1 tablespoon fresh lemon juice, and 1 teaspoon Dijon mustard. Whisk until smooth and uniform.
- Add the garlic: Add the garlic paste to the bowl and whisk vigorously for about 30 seconds until fully incorporated.
- Stream in the olive oil: While whisking continuously, slowly drizzle in the 2 tablespoons of olive oil to create a smoother texture.
- Season and adjust: Add the ¼ teaspoon salt and ⅛ teaspoon pepper. Whisk again, then taste. Adjust with more lemon, garlic, or water as needed.
- Let it rest: Let the aioli sit for 5-10 minutes before serving to allow the garlic flavor to mellow and meld.
- Transfer and store: Scrape the aioli into an airtight container using a rubber spatula. Refrigerate if not serving immediately.
Notes
Let the aioli rest for 5-10 minutes before serving to mellow the garlic. The aioli actually tastes better on day two. For a thinner consistency, whisk in 1 teaspoon of water. For a roasted garlic version, replace raw garlic with 2 tablespoons of roasted garlic paste.
- Prep Time: 5 minutes
- Cook Time: 0 minutes
- Category: Condiment
- Cuisine: American
Nutrition
- Serving Size: 2 tablespoons
- Calories: 140
- Sodium: 200
- Fat: 15
- Saturated Fat: 2
- Carbohydrates: 1
Keywords: garlic aioli, quick aioli, no egg aioli, creamy garlic sauce, homemade aioli, 5-minute recipe, easy condiment