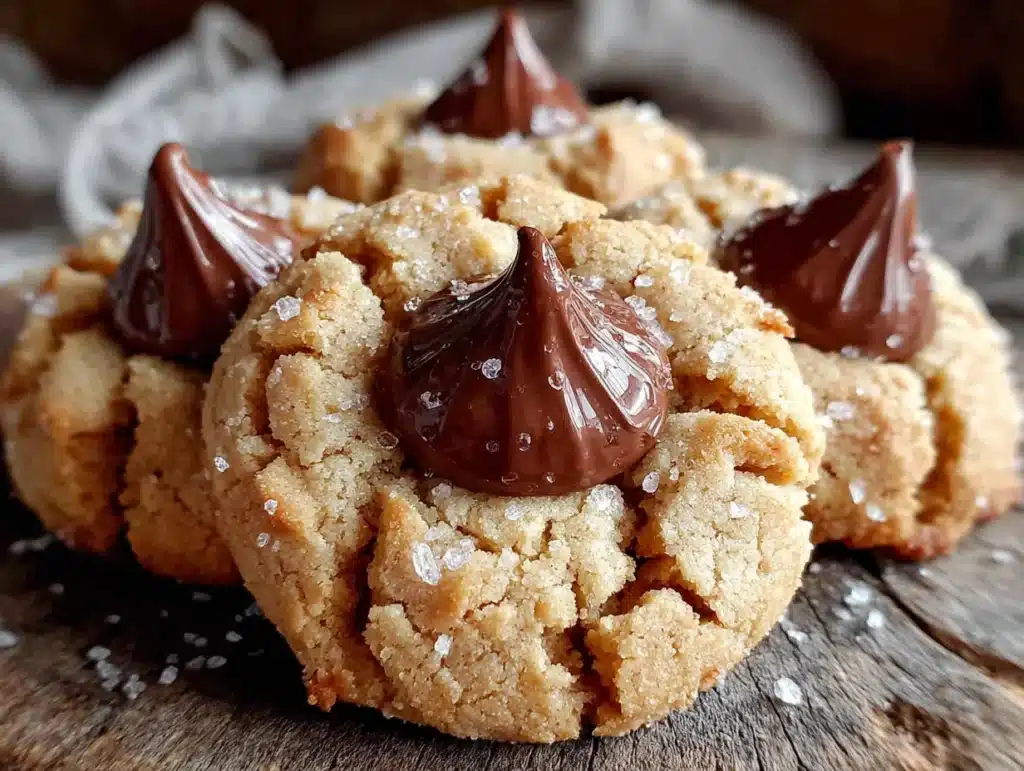
My sister asked why I couldn’t just press the chocolate kiss into the cookie right when it came out of the oven. I started to explain why that wouldn’t work — then stopped. I had always chilled my peanut butter blossoms first, let them cool completely, then gently nudged the chocolate in. That’s how I’d done it for years. That’s how you were supposed to do it. But my sister, who bakes maybe twice a year, had a point I couldn’t argue with. What if the heat is actually the secret?
Honestly, I felt a little ridiculous when I tried her method. I had a batch of peanut butter blossom cookies cooling on the counter, and I grabbed a handful of chocolate kisses. I pressed one into a still-warm cookie, fully expecting a melted, gooey mess. The chocolate softened just enough to stay put without losing its shape. The cookie cracked beautifully around the edges. It was one of those moments where you realize you’ve been making things harder than they need to be for no good reason. I mean, I’ve been baking these things since I was twelve, and my sister figured out a better way in about thirty seconds.
The whole thing happened on a random Tuesday night, which made it feel even more absurd. I was trying to show her how to make a classic holiday cookie, and she ended up teaching me. The kitchen was a disaster — flour on the floor, a measuring cup in the sink, peanut butter smeared on the counter. But those cookies turned out perfect. The chocolate stayed centered, the cookie stayed soft, and the whole process got cut by about twenty minutes. That’s the version I’ve been making ever since, and it’s the one I’m sharing with you today. Maybe you’ve been doing it the hard way too. Let me tell you — there’s a better way.
Why You’ll Love This Recipe
These quick peanut butter blossom cookies are the kind of recipe that saves your day. I’ve tested this method more times than I can count, and every single batch came out better than the last. The shortcut my sister stumbled onto isn’t just faster — it actually improves the texture. The cookie stays softer, the chocolate stays intact, and you get that perfect crackled top every time.
- Quick & Easy: From start to finish, you’re looking at about 25 minutes. No chilling, no waiting, no complicated steps. Perfect for weeknight baking emergencies or last-minute cookie swaps.
- Simple Ingredients: You probably have everything in your pantry right now. Peanut butter, butter, sugar, flour, eggs — and a bag of chocolate kisses. No fancy grocery runs required.
- Perfect for Holidays & Weeknights: These cookies show up at Christmas parties, bake sales, and random Tuesday cravings. They’re versatile enough for any occasion.
- Crowd-Pleaser: I’ve brought these to potlucks, neighbor gifts, and family dinners. They disappear faster than anything else on the table. Kids and adults go crazy for them.
- Unbelievably Delicious: The combination of salty peanut butter and sweet chocolate is a classic for a reason. The texture is soft, chewy, and absolutely irresistible.
What makes this recipe different from the rest? It’s the timing. Most recipes tell you to chill the dough, bake the cookies, let them cool, then press in the chocolate. My version skips the chill step and presses the kiss in while the cookie is still warm. The result is a softer cookie with a perfectly set chocolate center. I’ve tested both methods side by side, and the warm-press version wins every time. It’s not just another peanut butter blossom cookie — it’s the best version I’ve ever made.
This recipe is the kind that makes you close your eyes after the first bite. It’s comfort food at its finest — familiar, satisfying, and just a little bit better than you remembered. Perfect for impressing guests without stress, or turning a simple evening into something special.
What Ingredients You Will Need
This recipe uses simple, pantry-friendly ingredients to create cookies that taste anything but basic. Every ingredient plays a specific role in the texture and flavor, and I’ve tested enough batches to know what works best. Here’s what you’ll need:
For the Cookie Dough
- 1/2 cup unsalted butter, softened (I prefer Kerrygold for the richness, but any brand works)
- 1/2 cup creamy peanut butter (Jif or Skippy work great — avoid natural peanut butter that separates, as it changes the texture)
- 1/2 cup granulated sugar, plus extra for rolling (the sugar adds sweetness and helps create that crackled top)
- 1/2 cup packed light brown sugar (adds moisture and a hint of molasses flavor)
- 1 large egg, room temperature (cold eggs can make the dough stiff)
- 1 teaspoon vanilla extract (pure vanilla makes a difference, but imitation works in a pinch)
- 1 3/4 cups all-purpose flour (spoon and level for accuracy — scooping directly can pack the flour)
- 1 teaspoon baking soda (helps the cookies spread just enough)
- 1/2 teaspoon salt (balances the sweetness and enhances the peanut butter flavor)
For the Topping
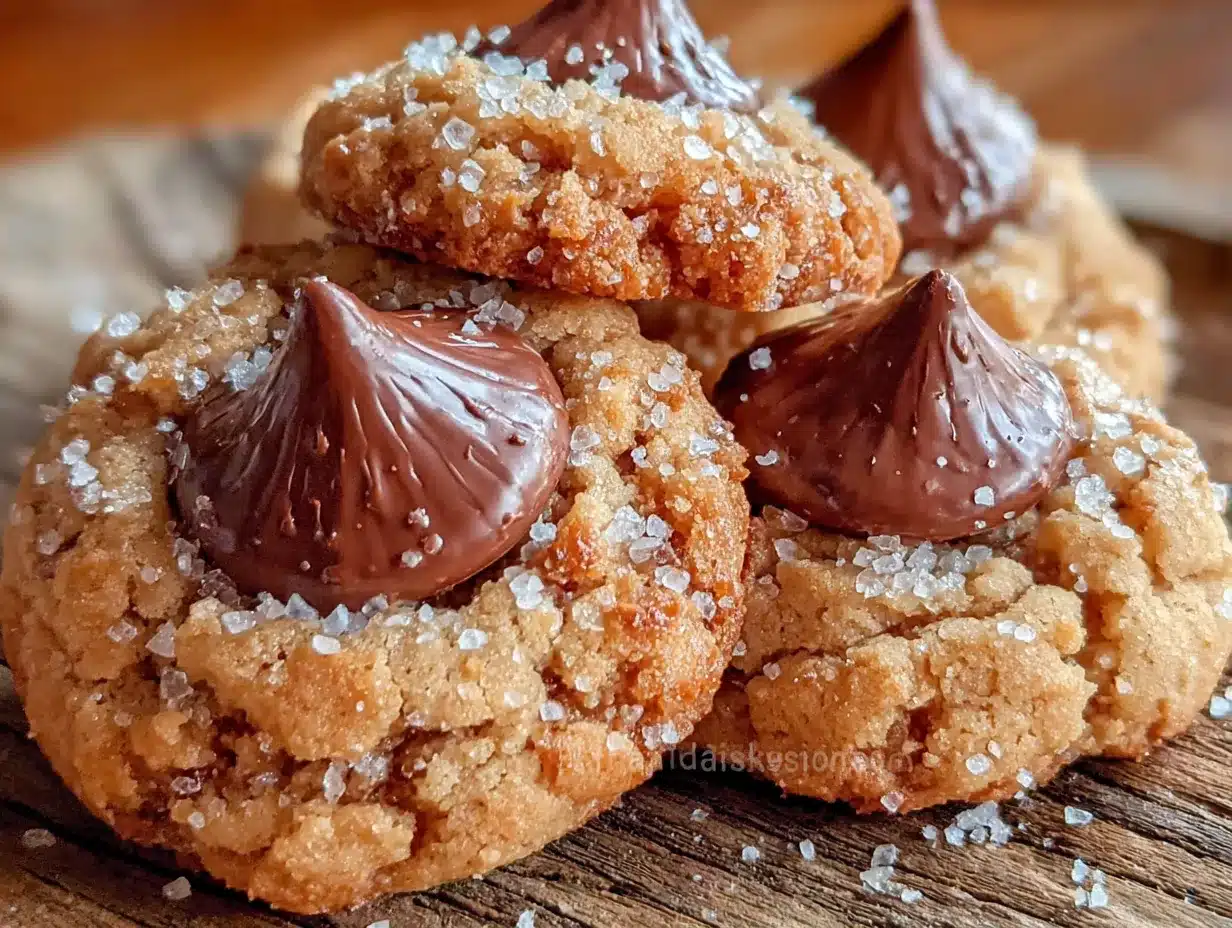
- 36 chocolate kiss candies, unwrapped (Hershey’s are the classic choice, but any milk chocolate kiss works)
- Extra granulated sugar, for rolling (about 1/4 cup)
A quick note on ingredient selection: Make sure your peanut butter is the creamy, processed kind — not the natural stuff with oil on top. I learned this the hard way when a batch spread too thin and the cookies fell apart. The stabilizers in processed peanut butter help the cookies hold their shape. Also, let your butter and egg come to room temperature before starting. It takes about 30 minutes, but it makes a noticeable difference in how the dough comes together.
If you’re out of chocolate kisses, you can use chocolate chips pressed into the center, but the shape won’t be as iconic. For a fun twist, try white chocolate or dark chocolate kisses instead. The recipe is flexible, but the classic version is hard to beat.
Equipment Needed
You don’t need a fancy kitchen to make these peanut butter blossom cookies. Here’s what I use every time:
- Electric mixer (handheld or stand mixer — both work fine. I use a KitchenAid stand mixer, but a hand mixer with beaters does the job)
- Large mixing bowl (any bowl big enough to hold the dough)
- Baking sheets (I use two half-sheet pans to rotate batches)
- Parchment paper or silicone baking mats (parchment is cheaper and works just as well)
- 1-inch cookie scoop or tablespoon measure (for uniform cookies)
- Small bowl for rolling sugar
- Cooling rack (wire rack helps cookies cool evenly)
- Spatula for transferring cookies
If you don’t have a cookie scoop, use a tablespoon to portion the dough. The cookies don’t need to be perfectly round — a little imperfection adds character. I’ve used cheap baking sheets and expensive ones, and honestly, parchment paper is the great equalizer. Just make sure your baking sheets are cool between batches. Running them under cold water and drying them off works in a pinch.
Preparation Method
This method is streamlined for speed without sacrificing quality. Here’s how to make quick peanut butter blossom cookies that taste like you spent hours on them.
- Preheat your oven to 375°F (190°C). Line two baking sheets with parchment paper. Getting the oven hot before you start mixing ensures even baking from the first batch.
- Cream the butter and sugars. In a large mixing bowl, beat the softened butter, peanut butter, granulated sugar, and brown sugar together until light and fluffy. This takes about 2-3 minutes with an electric mixer on medium speed. Scrape down the sides of the bowl halfway through. The mixture should look pale and slightly aerated.
- Add the egg and vanilla. Beat in the egg and vanilla extract until fully combined. The dough will look smooth and glossy at this point. If it looks curdled, your butter might have been too cold — keep mixing and it will come together.
- Mix the dry ingredients. In a separate bowl, whisk together the flour, baking soda, and salt. This ensures the baking soda is evenly distributed so your cookies rise consistently.
- Combine wet and dry ingredients. Gradually add the flour mixture to the peanut butter mixture, mixing on low speed until just combined. Don’t overmix — stop as soon as you don’t see any more streaks of flour. Overmixing develops gluten and makes the cookies tough.
- Roll the dough balls. Scoop about 1 tablespoon of dough (15 grams) and roll it into a smooth ball. Roll each ball in the extra granulated sugar until fully coated. Place them on the prepared baking sheets, spacing them about 2 inches apart. You should get about 36 cookies total.
- Bake the cookies. Bake for 8-10 minutes, or until the cookies are lightly golden and just set around the edges. The centers will look slightly underbaked — that’s exactly what you want. They’ll continue cooking on the hot baking sheet after you pull them out.
- Press in the chocolate kisses. Remove the baking sheet from the oven and immediately press a chocolate kiss into the center of each cookie. Press gently — about halfway down. The heat from the cookie will soften the chocolate just enough to hold it in place. If the cookie cracks a little around the edges, that’s a good sign.
- Cool completely. Let the cookies cool on the baking sheet for 5 minutes, then transfer them to a wire rack to cool completely. The chocolate will set as they cool. Don’t move them too soon, or the chocolate might slide out of place.
A few sensory cues to watch for: The dough should feel soft but not sticky when you roll it into balls. If it’s too sticky, refrigerate it for 10 minutes. The cookies should smell like toasted peanut butter and vanilla when they come out of the oven. The chocolate kisses should feel slightly warm and pliable when you press them in — if they feel hard, the cookies need another minute in the oven.
Cooking Tips & Techniques
I’ve made more batches of these peanut butter blossom cookies than I can count, and I’ve learned a few things the hard way. Here are the tips that make a real difference.
Don’t overbake. This is the most common mistake. Pull the cookies out when the edges are set but the centers still look soft and slightly puffy. They’ll continue baking on the hot sheet. Overbaked cookies turn out dry and crumbly instead of soft and chewy.
Use room temperature ingredients. Cold butter doesn’t cream properly, and cold egg can make the dough stiff. Let your butter and egg sit on the counter for 30 minutes before you start. I’ve rushed this step before, and the dough never comes together as smoothly.
Press the kisses in while the cookies are hot. This is the tip my sister taught me, and it’s a game-changer. Don’t wait for the cookies to cool. The residual heat softens the chocolate just enough to hold it in place without melting it completely. If you wait too long, the chocolate won’t stick and might fall out.
Rotate your baking sheets halfway through. If you’re baking two sheets at once, swap their positions in the oven after 4-5 minutes. Ovens have hot spots, and rotating ensures even browning. I forgot to do this once, and one batch came out golden while the other was pale.
Keep the dough cool between batches. If your kitchen is warm, the dough can get soft and sticky. Pop the bowl of dough in the fridge for 10 minutes between batches. It makes rolling easier and helps the cookies hold their shape.
Use a cookie scoop for uniformity. Same-size dough balls mean same-size cookies that bake evenly. I use a 1-inch scoop, but a tablespoon measure works too. Eyeballing it leads to some cookies burning while others are underdone.
Variations & Adaptations
One of the best things about this recipe is how flexible it is. Here are some variations I’ve tried and loved.
Gluten-Free Version: Swap the all-purpose flour with a 1:1 gluten-free baking flour blend. I’ve used Bob’s Red Mill with great results. The texture is slightly more delicate, but the flavor is just as good. Make sure your baking soda is fresh — gluten-free bakes need all the help they can get with rising.
Dark Chocolate Kisses: For a less sweet version, use dark chocolate kisses instead of milk chocolate. The bitterness of the dark chocolate balances the sweet peanut butter beautifully. I tried this for a friend who prefers darker chocolate, and it’s become my second-favorite version.
Crunchy Peanut Butter Twist: Use crunchy peanut butter instead of creamy for added texture. The little pieces of peanut in the dough add a nice crunch that contrasts with the soft cookie. Just be careful not to overmix — you want those peanut bits to stay intact.
Holiday Colors: Roll the dough balls in colored sugar instead of plain white sugar for festive cookies. Red and green for Christmas, pastels for Easter, orange for Halloween. It’s an easy way to dress them up for any occasion.
Stuffed Cookies: Press a small chocolate chip or a piece of chocolate bar into the center of each dough ball before baking, then top with the kiss after baking. It creates a double-chocolate surprise in the middle. I tried this for a birthday party, and people couldn’t stop talking about them.
Vegan Adaptation: Use vegan butter, a flax egg (1 tablespoon ground flaxseed mixed with 3 tablespoons water), and vegan chocolate kisses. The texture is slightly different — a bit more crumbly — but the flavor is still fantastic. I’ve made this version for vegan friends, and it always gets eaten up.
Serving & Storage Suggestions
These peanut butter blossom cookies are best served at room temperature, which is when the texture is softest and the chocolate is perfectly set. If you’re serving them at a party, arrange them on a platter with the chocolate kisses facing up so everyone can see that iconic shape.
Beverage Pairings: A cold glass of milk is the classic choice, but these cookies also pair beautifully with coffee, hot chocolate, or a warm mug of chai tea. The salty-sweet combination works with just about anything.
Storage Instructions: Store the cookies in an airtight container at room temperature for up to 5 days. Layer them between sheets of parchment paper to prevent the chocolate kisses from sticking together. Don’t refrigerate them — the fridge dries out the cookies and makes the chocolate develop a white bloom.
Freezer Instructions: You can freeze the baked cookies for up to 3 months. Place them in a single layer on a baking sheet and freeze until solid, then transfer to a freezer-safe bag or container. Thaw at room temperature for about 30 minutes before serving. You can also freeze the unbaked dough balls — just roll them in sugar, place them on a baking sheet, freeze until solid, then store in a freezer bag. Bake straight from frozen, adding 2-3 minutes to the baking time.
Reheating Tips: If you want that just-baked warmth, pop a cookie in the microwave for 8-10 seconds. It softens the chocolate and makes the cookie taste fresh out of the oven. Don’t overdo it, or the chocolate will melt completely.
Flavor note: These cookies actually taste better the day after baking. The flavors meld together overnight, and the texture softens slightly. If you can resist eating them all on day one, you’re in for a treat on day two.
Nutritional Information & Benefits
Here’s the estimated nutritional breakdown for one peanut butter blossom cookie (based on 36 cookies per batch):
| Nutrient | Amount Per Cookie |
|---|---|
| Calories | 135 |
| Total Fat | 7g |
| Saturated Fat | 3.5g |
| Cholesterol | 15mg |
| Sodium | 85mg |
| Total Carbohydrates | 16g |
| Dietary Fiber | 1g |
| Sugars | 11g |
| Protein | 3g |
While these cookies are definitely a treat, the peanut butter does bring some benefits. It provides a small amount of protein and healthy fats that help keep you satisfied. The chocolate contains antioxidants from cocoa, especially if you use dark chocolate kisses. Of course, these are still cookies — they’re meant to be enjoyed in moderation as part of a balanced diet.
Dietary considerations: This recipe contains peanuts, wheat (gluten), dairy, and eggs. For allergen-friendly versions, check the variations section above. If you’re watching your sugar intake, you can reduce the sugar by 1/4 cup without significantly affecting the texture, though the cookies will be less sweet.
From my perspective, these cookies are about joy more than nutrition. They’re the kind of treat that makes a Tuesday feel special or turns a holiday gathering into something memorable. Sometimes that’s exactly what you need.
Conclusion
These quick peanut butter blossom cookies are proof that sometimes the best recipes come from questioning what you think you know. My sister’s simple suggestion — press the chocolate in while the cookie is still hot — changed the way I make these forever. The cookies are softer, the process is faster, and the result is just as beautiful and delicious as the traditional method.
I love this recipe because it’s forgiving. You don’t need to be a perfect baker to get perfect results. The dough comes together in minutes, the bake time is short, and the chocolate kiss topping makes every cookie look like you put in way more effort than you actually did. It’s the kind of recipe that makes you look good with very little work.
I’d love to hear how these turn out for you. Did you try any variations? Did your family fight over the last one? Drop a comment below and let me know. And if you’re looking for more quick and easy cookie recipes, check out my chewy chocolate chip cookies or my no-chill sugar cookies — both are perfect for busy weeknights. Happy baking, friend. You’ve got this.
Frequently Asked Questions
Can I use natural peanut butter for these cookies?
I don’t recommend it. Natural peanut butter that separates has a different fat content and consistency. The cookies tend to spread too thin and can turn out greasy. Stick with creamy, processed peanut butter like Jif or Skippy for the best results.
Why did my chocolate kisses fall off?
This usually happens when the cookies have cooled too much before you press the kisses in. Make sure to press them in immediately when the cookies come out of the oven. If the cookies are too cool, the chocolate won’t soften enough to stick. Also, press gently but firmly — about halfway down into the cookie.
Can I make the dough ahead of time?
Absolutely. You can refrigerate the dough for up to 3 days or freeze it for up to 3 months. If refrigerating, let the dough sit at room temperature for 10-15 minutes before rolling, as cold dough is harder to shape. If freezing, roll the dough into balls first, then freeze on a baking sheet before transferring to a freezer bag.
How do I keep the cookies from spreading too much?
If your cookies are spreading into flat discs, your butter might have been too soft, or your dough might have been too warm. Try refrigerating the rolled dough balls for 10-15 minutes before baking. Also, make sure your baking soda is fresh — old baking soda loses its leavening power and can cause spreading.
Can I use chocolate chips instead of kisses?
You can, but the look will be different. Chocolate chips don’t have the same iconic shape as kisses. If you want to use chips, press 3-4 chips into the center of each warm cookie. They’ll melt slightly and create a chocolate pool. It’s delicious, just not as photogenic.
Pin This Recipe!
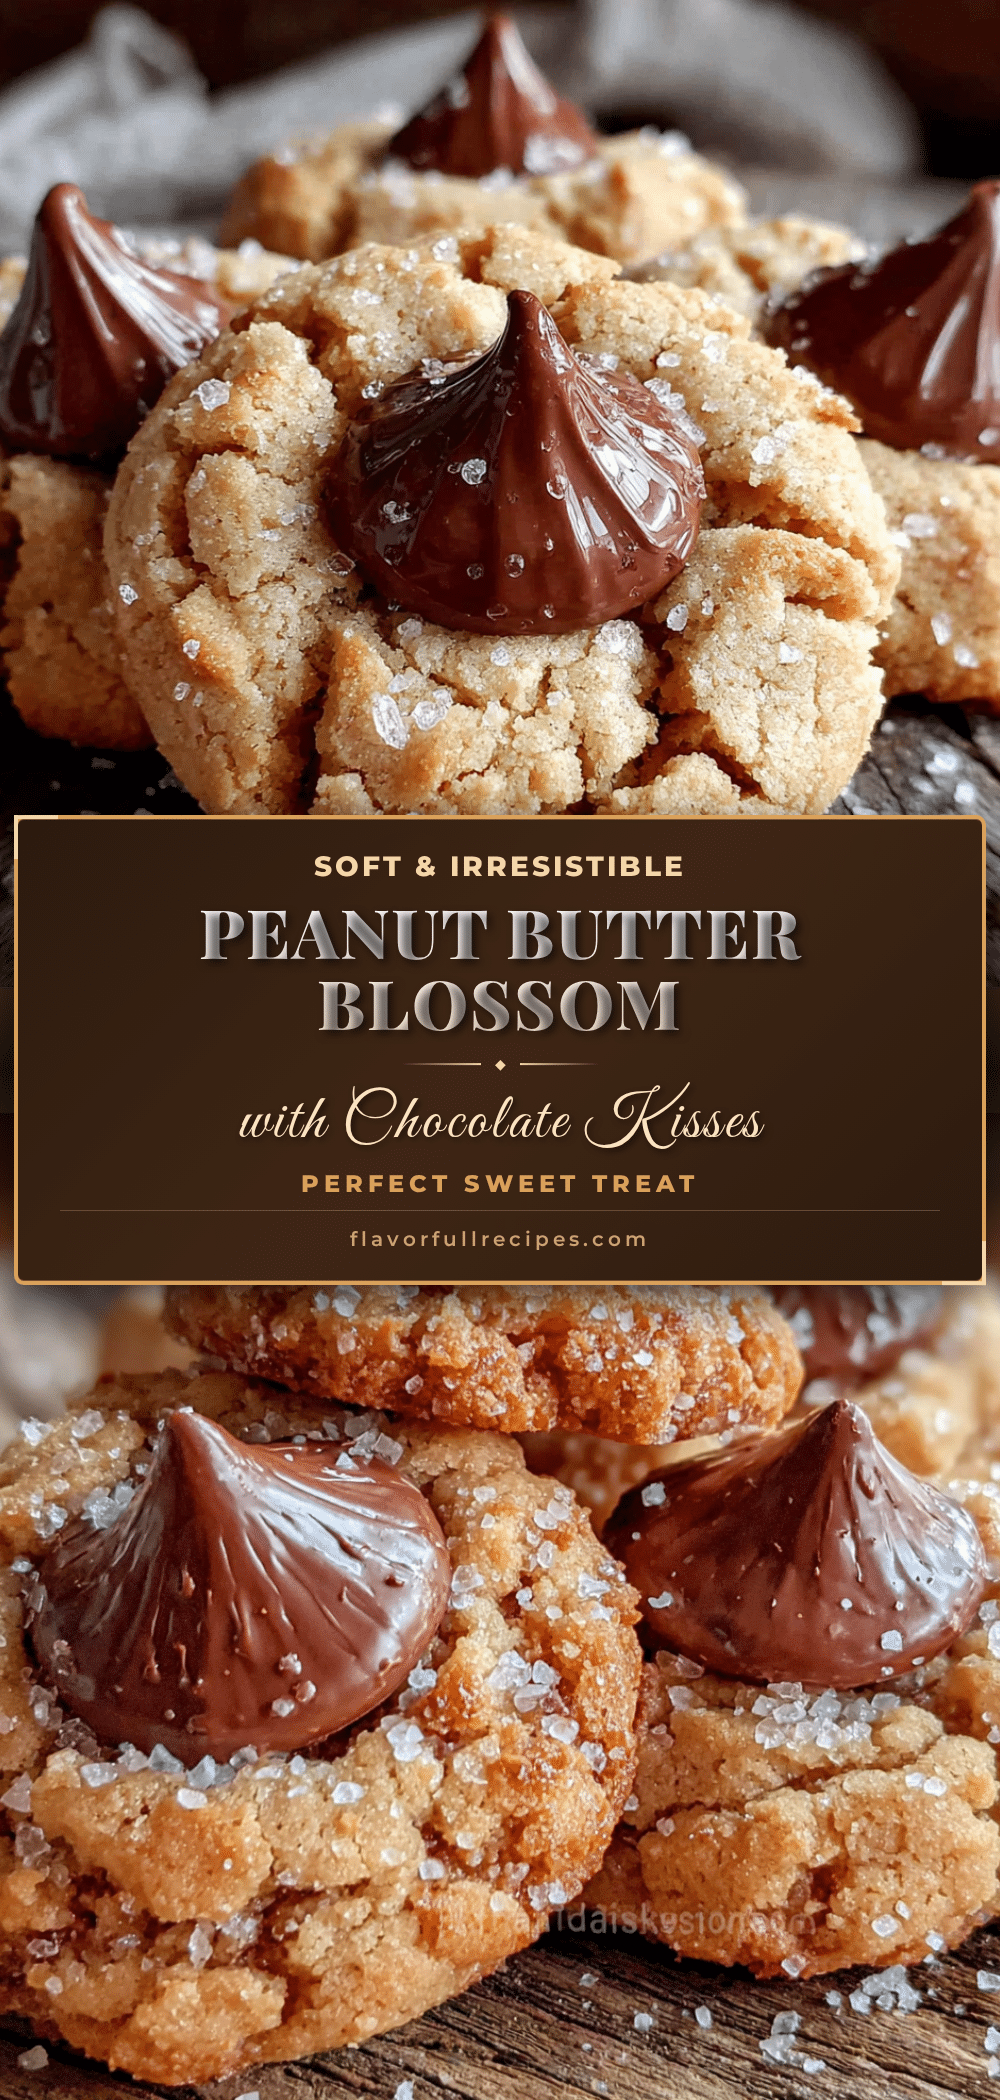

Easy Peanut Butter Blossom Cookies with Chocolate Kisses
- Total Time: 25 minutes
- Yield: 36 cookies 1x
Description
These quick peanut butter blossom cookies skip the chilling step and press the chocolate kiss in while the cookie is still warm, resulting in a softer cookie with a perfectly set chocolate center. Ready in about 25 minutes, this recipe is perfect for weeknight baking emergencies or last-minute cookie swaps.
Ingredients
- 1/2 cup unsalted butter, softened
- 1/2 cup creamy peanut butter (Jif or Skippy recommended)
- 1/2 cup granulated sugar, plus extra for rolling
- 1/2 cup packed light brown sugar
- 1 large egg, room temperature
- 1 teaspoon vanilla extract
- 1 3/4 cups all-purpose flour
- 1 teaspoon baking soda
- 1/2 teaspoon salt
- 36 chocolate kiss candies, unwrapped
- Extra granulated sugar for rolling (about 1/4 cup)
Instructions
- Preheat your oven to 375°F (190°C). Line two baking sheets with parchment paper.
- In a large mixing bowl, beat the softened butter, peanut butter, granulated sugar, and brown sugar together until light and fluffy, about 2-3 minutes on medium speed. Scrape down the sides of the bowl halfway through.
- Beat in the egg and vanilla extract until fully combined. The dough should look smooth and glossy.
- In a separate bowl, whisk together the flour, baking soda, and salt.
- Gradually add the flour mixture to the peanut butter mixture, mixing on low speed until just combined. Do not overmix.
- Scoop about 1 tablespoon of dough (15 grams) and roll into a smooth ball. Roll each ball in the extra granulated sugar until fully coated. Place on prepared baking sheets, spacing about 2 inches apart. You should get about 36 cookies.
- Bake for 8-10 minutes, or until the cookies are lightly golden and just set around the edges. The centers will look slightly underbaked.
- Remove the baking sheet from the oven and immediately press a chocolate kiss into the center of each cookie. Press gently — about halfway down.
- Let the cookies cool on the baking sheet for 5 minutes, then transfer to a wire rack to cool completely.
Notes
Press the chocolate kisses in immediately when cookies come out of the oven while still hot. The residual heat softens the chocolate just enough to hold it in place without melting it completely. Do not overbake – pull cookies out when edges are set but centers still look soft. Use room temperature ingredients for best results. Store in an airtight container at room temperature for up to 5 days. Cookies taste even better the day after baking.
- Prep Time: 15 minutes
- Cook Time: 10 minutes
- Category: Dessert
- Cuisine: American
Nutrition
- Serving Size: 1 cookie
- Calories: 135
- Sugar: 11
- Sodium: 85
- Fat: 7
- Saturated Fat: 3.5
- Carbohydrates: 16
- Fiber: 1
- Protein: 3
Keywords: peanut butter blossom cookies, chocolate kiss cookies, easy cookie recipe, quick cookies, no-chill cookies, holiday cookies, peanut butter cookies