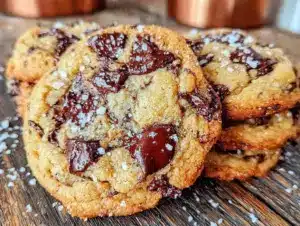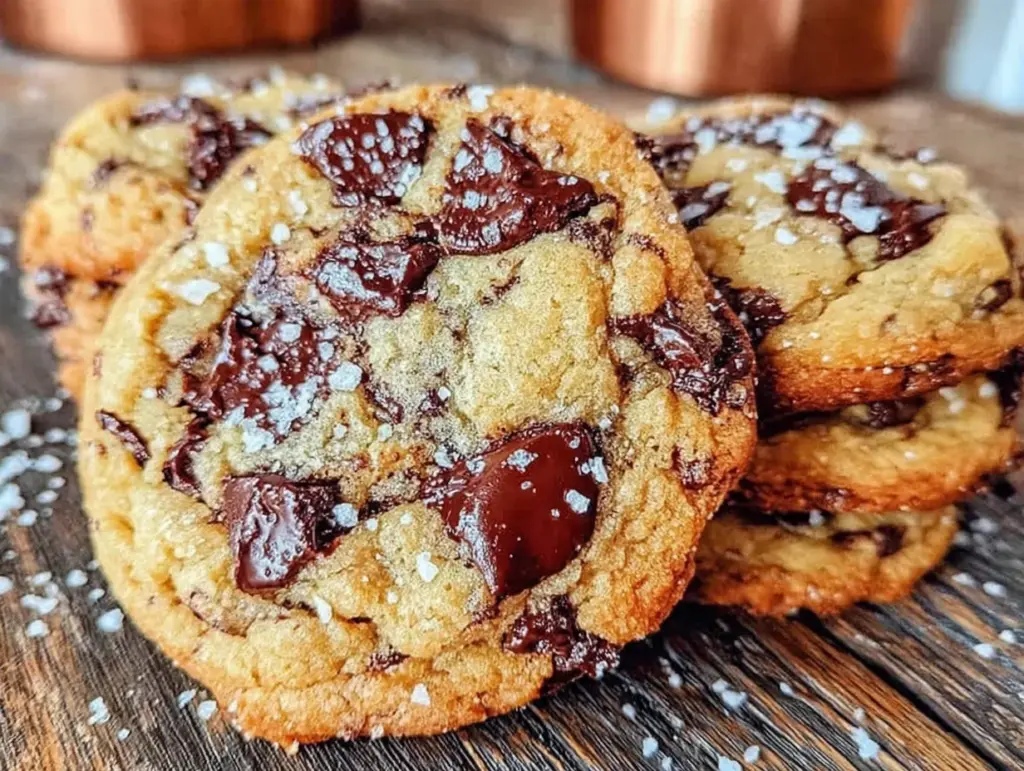
There used to be a tiny bakery tucked between a vintage bookstore and a dry cleaner on the corner of Elm and 4th that made the most incredible chocolate chip cookies I have ever tasted. When they closed their doors two summers ago—a “For Lease” sign appearing overnight like a bad dream—I honestly felt a little lost. I mean, I had driven across town in a snowstorm once just to grab a half-dozen before they sold out. That bakery, Sweet Nothings, had this way of making their cookies stay perfectly chewy for days, with this deep, nutty flavor that I couldn’t quite place. After twelve tries—twelve!—and one particularly disastrous batch that turned into a flat, greasy mess, I finally cracked the code. The secret, let me tell you, was browning the butter. And getting the timing just right on the chill time. I remember standing in my kitchen at 11 PM on a Tuesday, a batch just out of the oven, and when I took that first bite, I almost cried. It was the exact same texture, the same caramelized warmth, the same chew that made me close my eyes and forget everything else. Maybe you’ve been there—chasing a flavor from a place that doesn’t exist anymore. This is that cookie. And I’m so excited you get to make it at home now.
Why You’ll Love This Recipe
Let’s be honest—there are a thousand chocolate chip cookie recipes out there. But this one? This one is different. After testing this recipe for months, my friends started calling it “the dangerous cookie” because a batch never lasts more than 24 hours in my house. Here is why this version stands head and shoulders above the rest:
- Unbelievably Chewy Texture: The combination of melted brown butter and an extra egg yolk creates a texture that stays soft and chewy for days—not cakey, not crispy, just that perfect bend-in-your-hand chew.
- Deep, Nutty Flavor: Browning the butter isn’t just a fancy trick—it unlocks this toasty, caramel-like flavor that makes these cookies taste like they came from a professional bakery.
- Simple Pantry Ingredients: No weird specialty flours or obscure extracts here. You likely have everything you need already, except maybe a little extra patience for chilling the dough.
- Perfect for Hosting: These cookies are the ultimate dinner party move. Bake a batch while guests are finishing their coffee, and watch them disappear. They look impressive, but they’re secretly low-stress.
- Crowd-Pleaser Guaranteed: I’ve brought these to potlucks, holiday parties, and casual get-togethers. Every single time, someone asks for the recipe. Every. Single. Time.
What makes this recipe different from the rest is the technique. Most cookie recipes just cream butter and sugar together. But browning the butter first? That changes everything. It adds a complexity that regular butter simply cannot achieve. Plus, the brief chill time ensures the cookies don’t spread into thin, crispy discs—they stay thick and perfectly chewy in the center. This isn’t just another chocolate chip cookie recipe. It’s the one you’ll come back to again and again.
What Ingredients You Will Need
This recipe relies on simple, high-quality ingredients to deliver that unforgettable texture and flavor. Nothing fancy, just the right stuff used the right way.
- Unsalted butter, 1 cup (2 sticks or 226g) – You will brown this, so unsalted is crucial to control the salt level. I prefer using European-style butter like Kerrygold for a richer flavor, but any good unsalted butter works.
- Dark brown sugar, 1 cup packed (200g) – This is the key to that chewy texture and deep molasses flavor. Light brown sugar works in a pinch, but dark brown gives you more of that caramelized depth.
- Granulated sugar, ½ cup (100g) – Adds a little crispness to the edges while keeping the center soft.
- Large egg, 1 whole + 1 egg yolk – The extra yolk adds richness and helps create that dense, chewy crumb. Save the leftover egg white for breakfast or freeze it.
- Pure vanilla extract, 2 teaspoons – Use the real stuff here. Imitation vanilla just won’t give you that warm, aromatic flavor these cookies deserve.
- All-purpose flour, 2 cups + 2 tablespoons (270g) – Spoon and level your flour! Scooping directly from the bag can add too much flour and make your cookies dry.
- Baking soda, 1 teaspoon – Helps the cookies spread just enough and gives them a little lift.
- Salt, ½ teaspoon (plus a pinch for sprinkling) – I use fine sea salt for the dough and a flaky sea salt like Maldon for finishing the warm cookies. That salty crunch on top? Pure magic.
- Semi-sweet chocolate chips, 2 cups (340g) – I recommend Guittard or Ghirardelli for the best melt and flavor. You can also chop a high-quality chocolate bar for those beautiful pools of chocolate.
One quick note on substitutions: if you need a dairy-free option, you can use a high-quality vegan butter stick (not margarine), but the texture will be slightly less chewy. For a gluten-free version, swap the all-purpose flour with a 1:1 gluten-free baking flour blend that contains xanthan gum. I’ve tested both, and while they’re not identical to the original, they’re still delicious in their own right.
Equipment Needed
You don’t need a professional kitchen to nail these cookies, but a few key tools make the process much smoother.
- Large skillet or saucepan – A light-colored skillet is ideal for browning butter because you can see the color change clearly. I use my stainless steel pan, but a non-stick works too.
- Mixing bowls – One medium bowl for the dry ingredients and one large bowl for the wet ingredients.
- Whisk and rubber spatula – A whisk for combining dry ingredients, and a sturdy spatula for folding everything together.
- Cookie scoop – A 1.5-tablespoon scoop (about #40 size) gives you perfectly uniform cookies. If you don’t have one, use two spoons to portion the dough.
- Baking sheets – Two rimmed baking sheets. I prefer light-colored aluminum sheets because they promote even browning. Dark sheets can cause the bottoms to burn.
- Parchment paper or silicone baking mat – Non-negotiable for easy cleanup and preventing sticking.
- Cooling rack – Lets the cookies cool evenly so they don’t get soggy on the bottom.
If you’re on a budget, skip the fancy cookie scoop and just use a tablespoon measure. And honestly, I’ve baked these on a single sheet pan in a pinch—just let it cool completely between batches so the dough doesn’t start melting before it hits the oven.
Preparation Method
Follow these steps closely, and you will have the best cookies of your life. Trust the process, especially the chill time.
- Brown the butter. Place the butter in a light-colored skillet over medium heat. Stir constantly with a rubber spatula or whisk. After about 5-7 minutes, the butter will start to foam, then turn golden, and finally develop brown specks at the bottom. It will smell nutty and amazing. Immediately pour the browned butter into a large heatproof bowl, scraping every last bit of those brown bits in. Let it cool for 10 minutes—don’t skip this, or the heat will cook your eggs later.
- Mix the sugars and butter. Once the browned butter has cooled slightly but is still liquid, add the dark brown sugar and granulated sugar. Whisk vigorously for about 2 minutes until the mixture looks like wet sand and has thickened slightly. This step is important for creating that chewy texture.
- Add the eggs and vanilla. Whisk in the whole egg and the extra egg yolk, one at a time, mixing well after each addition. Then stir in the vanilla extract. The mixture should look smooth, glossy, and slightly lighter in color.
- Combine the dry ingredients. In a separate medium bowl, whisk together the flour, baking soda, and salt. Make sure there are no lumps—baking soda clumps can create bitter spots in your cookies.
- Fold in the dry ingredients. Gradually add the flour mixture to the wet mixture, folding gently with a rubber spatula. Stop mixing as soon as you see the last streak of flour disappear. Overmixing develops gluten and makes tough cookies.
- Fold in the chocolate chips. Add the chocolate chips and fold just until evenly distributed. The dough will be thick and slightly sticky—that’s perfect.
- Chill the dough. Cover the bowl with plastic wrap and refrigerate for at least 30 minutes, but 1 hour is better. This step is non-negotiable if you want thick, chewy cookies. Chilling solidifies the butter and prevents excessive spreading.
- Preheat and prepare. About 15 minutes before baking, preheat your oven to 375°F (190°C). Line two baking sheets with parchment paper or silicone mats.
- Portion the dough. Use a cookie scoop or tablespoon to portion dough into balls about 1.5 tablespoons each (roughly 30g). Place them 2 inches apart on the prepared baking sheets. If you want bakery-style domed cookies, roll each ball between your palms briefly to smooth them.
- Bake. Bake one sheet at a time for 10-12 minutes. The edges should be golden brown and set, while the centers still look slightly underdone and puffy. They will continue to set on the hot pan. For softer cookies, pull them at 10 minutes; for slightly crispier edges, go to 12.
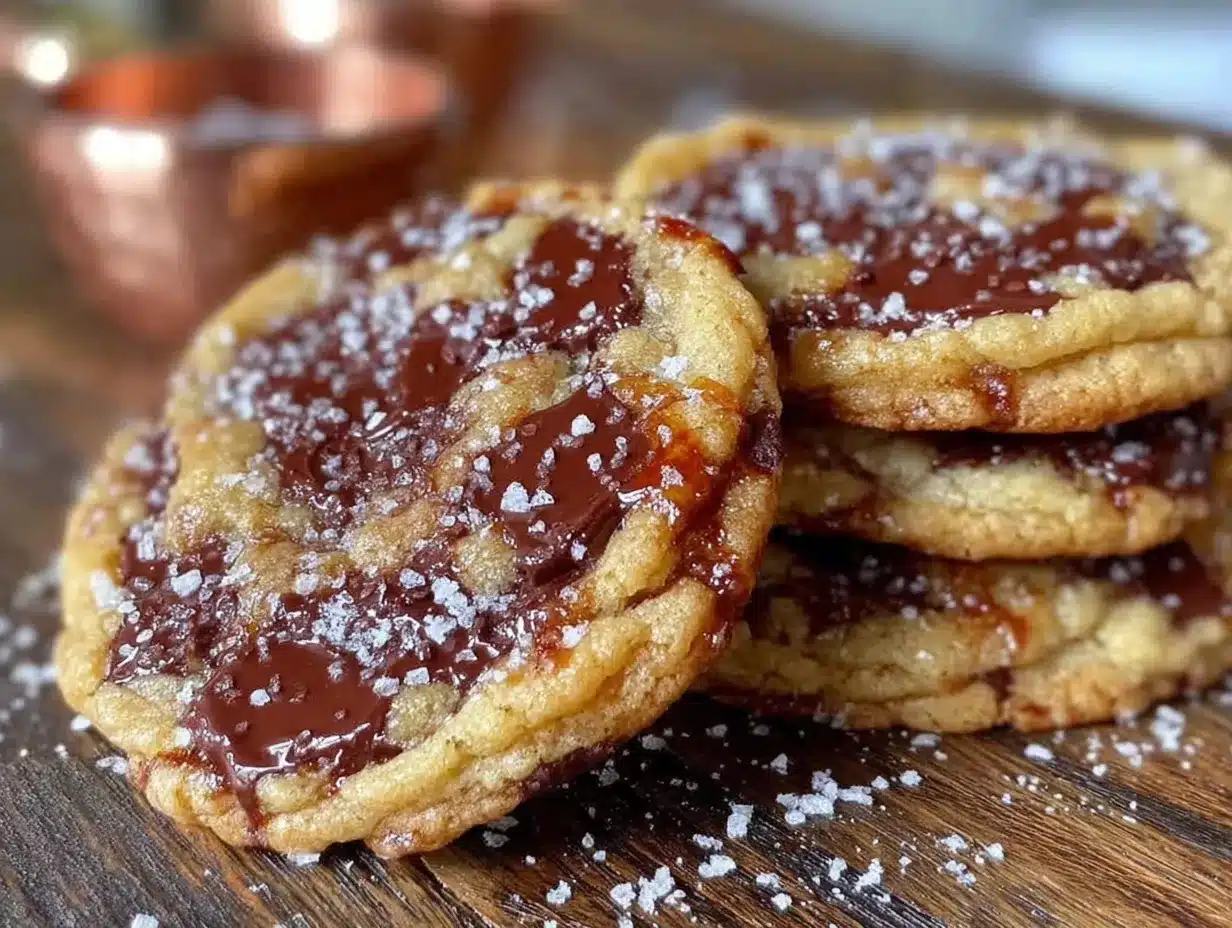
- Cool and sprinkle. Let the cookies rest on the baking sheet for 5 minutes. During this time, sprinkle a tiny pinch of flaky sea salt on each warm cookie. Then transfer them to a wire rack to cool completely—or eat them warm, which is highly recommended.
Cooking Tips & Techniques
I learned most of these lessons the hard way—through flat cookies, burnt bottoms, and one particularly sad batch that tasted like flour. Here is what I wish someone had told me from the start.
Don’t rush the brown butter. This is the most common mistake I see. People get impatient and crank up the heat, which burns the butter before it browns evenly. Keep the heat at medium and stir constantly. The moment you see those brown specks form, pull it off the heat. Burnt brown butter tastes bitter, not nutty.
Use a kitchen scale for the flour. I know, I know—extra dishes. But flour is notoriously tricky to measure by volume. One cup scooped directly from the bag can weigh anywhere from 120g to 150g, which dramatically changes your cookie texture. A $15 kitchen scale is the best investment you can make for consistent baking.
Chill the dough, seriously. I once skipped the chill because I was in a hurry to bring cookies to a friend’s house. The result? A giant, flat, greasy cookie pancake that spread into one massive blob. The chill time allows the flour to fully hydrate and the butter to firm up. If you’re really pressed for time, 20 minutes in the freezer works, but 1 hour in the fridge is ideal.
Bake one sheet at a time. I know you want to get them all done at once, but placing two sheets in the oven leads to uneven baking. The top rack cookies will brown faster on top, while the bottom rack cookies may burn on the bottom. Bake one sheet in the center rack, and you’ll get consistent results every time.
Underbake slightly. The best cookie tip I ever received: pull them when they look just barely done in the center. They will continue to cook from the residual heat of the pan. If you wait until the centers look fully set, you’ll end up with dry, crunchy cookies instead of soft, chewy ones.
Variations & Adaptations
Once you’ve mastered the basic recipe, feel free to play around. Here are a few variations I’ve tested and loved.
Double Chocolate Chip Cookies: Replace ¼ cup of the all-purpose flour with ¼ cup of unsweetened cocoa powder. Use white chocolate chips instead of semi-sweet for a beautiful contrast. The brown butter and chocolate combination is absolutely decadent.
Nutty Brown Butter Cookies: Add ½ cup of toasted, chopped pecans or walnuts along with the chocolate chips. Toast the nuts in a dry skillet for 3-4 minutes until fragrant before chopping—it makes a huge difference in flavor. I made these for a holiday cookie exchange and they were the first to disappear.
Gluten-Free Adaptation: Substitute the all-purpose flour with a 1:1 gluten-free baking flour blend that contains xanthan gum (I like Bob’s Red Mill). Add an extra tablespoon of milk or water if the dough seems too dry. The texture will be slightly more tender, but still wonderfully chewy.
Sea Salt Caramel Version: Press a soft caramel candy (like Werther’s Soft Caramels) into the center of each dough ball before baking. The caramel melts into a gooey pocket, and the flaky salt on top creates that sweet-salty magic. Just warn your guests about the hot caramel—it’s worth the burn risk.
Spiced Brown Butter Cookies: Add 1 teaspoon of cinnamon and ¼ teaspoon of nutmeg to the dry ingredients. These are incredible during fall and winter, and they pair beautifully with a cup of chai or hot apple cider.
Serving & Storage Suggestions
These cookies are best served warm, about 5-10 minutes after they come out of the oven. The chocolate is still melty, the edges are crisp, and the center is pillowy soft. For a dinner party, I like to bake a fresh batch right before dessert so the kitchen smells amazing and guests get that warm-from-the-oven experience.
If you’re serving a crowd, set up a cookie bar with a few different variations—plain, nutty, and sea salt caramel. Pair them with a glass of cold milk, a scoop of vanilla ice cream, or a strong cup of coffee. Honestly, they’re also incredible crumbled over a bowl of vanilla bean ice cream.
Storage instructions: Store baked cookies in an airtight container at room temperature for up to 5 days. Place a slice of bread in the container to keep them extra soft—the cookies will absorb the moisture from the bread. Change the bread slice every other day.
Freezer instructions: You can freeze the unbaked dough balls on a baking sheet until solid, then transfer them to a freezer bag. Bake directly from frozen, adding 1-2 extra minutes to the baking time. This is my favorite hosting hack—I always have a batch of dough balls in the freezer for unexpected guests or late-night cravings.
Reheating: Pop a cookie in the microwave for 10-15 seconds to bring back that fresh-from-the-oven softness. Or warm them in a 300°F oven for 3-4 minutes if you’re reheating a whole batch.
Nutritional Information & Benefits
Let’s be real—these are cookies, not health food. But knowing what’s in them helps you enjoy them mindfully. Per cookie (based on a batch of 24), here’s the approximate breakdown:
- Calories: 210
- Fat: 12g
- Carbohydrates: 26g
- Protein: 3g
- Sugar: 17g
- Sodium: 95mg
From a wellness perspective, dark chocolate contains antioxidants called flavonoids, which can support heart health. The brown butter adds a small amount of vitamin A and healthy fats. And honestly? Sometimes the best thing you can do for your mental health is eat a warm, homemade cookie and not feel guilty about it. I believe in balance—these cookies are for celebrations, cozy nights, and moments when you just need something beautiful and delicious.
Allergen note: This recipe contains dairy (butter), eggs, gluten (flour), and may contain traces of soy depending on your chocolate chip brand. For dairy-free or gluten-free adaptations, see the variations section above.
Conclusion
These chewy brown butter chocolate chip cookies are more than just a recipe—they’re a little piece of that bakery memory I’ve been chasing. Every time I make them, I think about Sweet Nothings and that first bite that made me fall in love with baking all over again. I hope this recipe becomes that for you too—a go-to, a crowd-pleaser, a cookie that makes people close their eyes and smile.
Don’t be afraid to make these your own. Add extra chocolate, swap in different chips, or double the batch because trust me, they will disappear fast. I would love to hear how they turn out for you! Drop a comment below and tell me your favorite variation, or tag me in your photos—I genuinely get so excited seeing these cookies in other people’s kitchens.
Now go preheat that oven. Your new favorite cookie is waiting.
Frequently Asked Questions
Can I use salted butter instead of unsalted?
You can, but reduce the added salt in the recipe to ¼ teaspoon. The salt content in salted butter varies by brand, so your cookies might end up a little saltier than intended. I recommend sticking with unsalted so you have full control over the flavor.
Why did my cookies turn out flat?
Flat cookies usually mean the dough wasn’t chilled long enough, or the butter was too warm when you mixed it. Make sure your browned butter has cooled for at least 10 minutes before adding the sugars, and always chill the dough for at least 30 minutes. Also, check that your baking soda is fresh—old baking soda loses its leavening power.
Can I make the dough ahead of time?
Absolutely! You can refrigerate the dough for up to 72 hours. In fact, longer chilling often improves the flavor as the ingredients meld together. Just let the dough sit at room temperature for 10-15 minutes before scooping if it feels too hard to portion.
How do I get bakery-style domed cookies?
Two tricks: First, roll each dough ball into a smooth sphere between your palms instead of leaving them craggy. Second, after baking, immediately place a round cookie cutter or glass slightly larger than the cookie over each warm cookie and gently swirl it in a circular motion for about 10 seconds. This rounds out the edges and creates that perfect bakery dome.
Can I use milk chocolate chips instead of semi-sweet?
Yes, but the cookies will be significantly sweeter. Milk chocolate has more sugar and less cocoa butter, so it melts differently. If you prefer milk chocolate, consider reducing the granulated sugar by 2 tablespoons to balance the sweetness. I personally love the contrast of semi-sweet against the sweet, buttery dough.
Pin This Recipe!
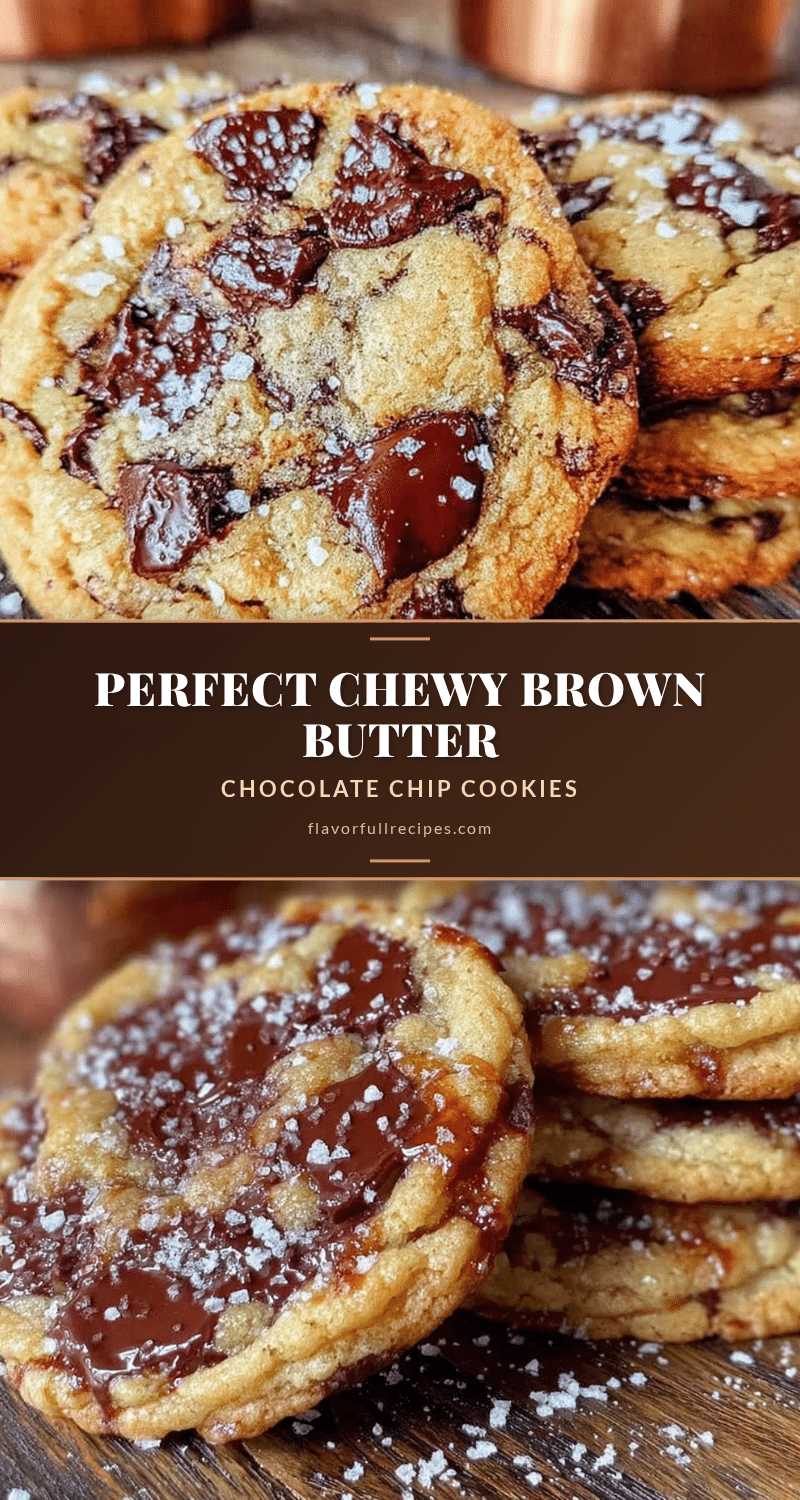
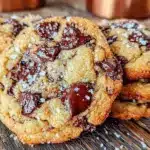
Best Chewy Brown Butter Chocolate Chip Cookies
- Total Time: 1 hour 27 minutes (including 1 hour chill time)
- Yield: 24 servings 1x
Description
These chewy brown butter chocolate chip cookies have a deep, nutty flavor and a perfectly soft texture that stays delicious for days. The secret is browning the butter and a brief chill time, creating a cookie that rivals any bakery.
Ingredients
- 1 cup (2 sticks or 226g) unsalted butter
- 1 cup packed (200g) dark brown sugar
- ½ cup (100g) granulated sugar
- 1 large egg + 1 egg yolk
- 2 teaspoons pure vanilla extract
- 2 cups + 2 tablespoons (270g) all-purpose flour
- 1 teaspoon baking soda
- ½ teaspoon fine sea salt (plus a pinch for sprinkling)
- 2 cups (340g) semi-sweet chocolate chips
Instructions
- Brown the butter: Place butter in a light-colored skillet over medium heat. Stir constantly for 5-7 minutes until it foams, turns golden, and develops brown specks. Immediately pour into a large heatproof bowl, scraping all brown bits. Let cool for 10 minutes.
- Mix the sugars and butter: Add dark brown sugar and granulated sugar to the cooled browned butter. Whisk vigorously for about 2 minutes until the mixture looks like wet sand and thickens slightly.
- Add the eggs and vanilla: Whisk in the whole egg and extra egg yolk one at a time, mixing well after each. Stir in vanilla extract until smooth and glossy.
- Combine dry ingredients: In a separate bowl, whisk together flour, baking soda, and salt until no lumps remain.
- Fold in dry ingredients: Gradually add flour mixture to wet mixture, folding gently with a rubber spatula until just combined. Do not overmix.
- Fold in chocolate chips: Add chocolate chips and fold until evenly distributed. Dough will be thick and slightly sticky.
- Chill the dough: Cover bowl with plastic wrap and refrigerate for at least 30 minutes (1 hour is better).
- Preheat and prepare: About 15 minutes before baking, preheat oven to 375°F (190°C). Line two baking sheets with parchment paper or silicone mats.
- Portion the dough: Use a cookie scoop or tablespoon to portion dough into 1.5-tablespoon balls (about 30g each). Place 2 inches apart on prepared sheets. Optionally roll each ball smooth for bakery-style domes.
- Bake: Bake one sheet at a time for 10-12 minutes. Edges should be golden and set, centers slightly underdone and puffy.
- Cool and sprinkle: Let cookies rest on baking sheet for 5 minutes. Sprinkle a tiny pinch of flaky sea salt on each warm cookie. Transfer to a wire rack to cool completely or enjoy warm.
Notes
For best results, use a kitchen scale for flour. Chill the dough for at least 30 minutes to prevent spreading. Underbake slightly for chewier cookies. Store in an airtight container at room temperature for up to 5 days; place a slice of bread in the container to keep them soft. Freeze unbaked dough balls for up to 3 months.
- Prep Time: 15 minutes
- Cook Time: 12 minutes
- Category: Dessert
- Cuisine: American
Nutrition
- Serving Size: 1 cookie
- Calories: 210
- Sugar: 17
- Sodium: 95
- Fat: 12
- Saturated Fat: 7
- Carbohydrates: 26
- Fiber: 1
- Protein: 3
Keywords: brown butter chocolate chip cookies, chewy chocolate chip cookies, bakery-style cookies, easy cookie recipe, homemade cookies