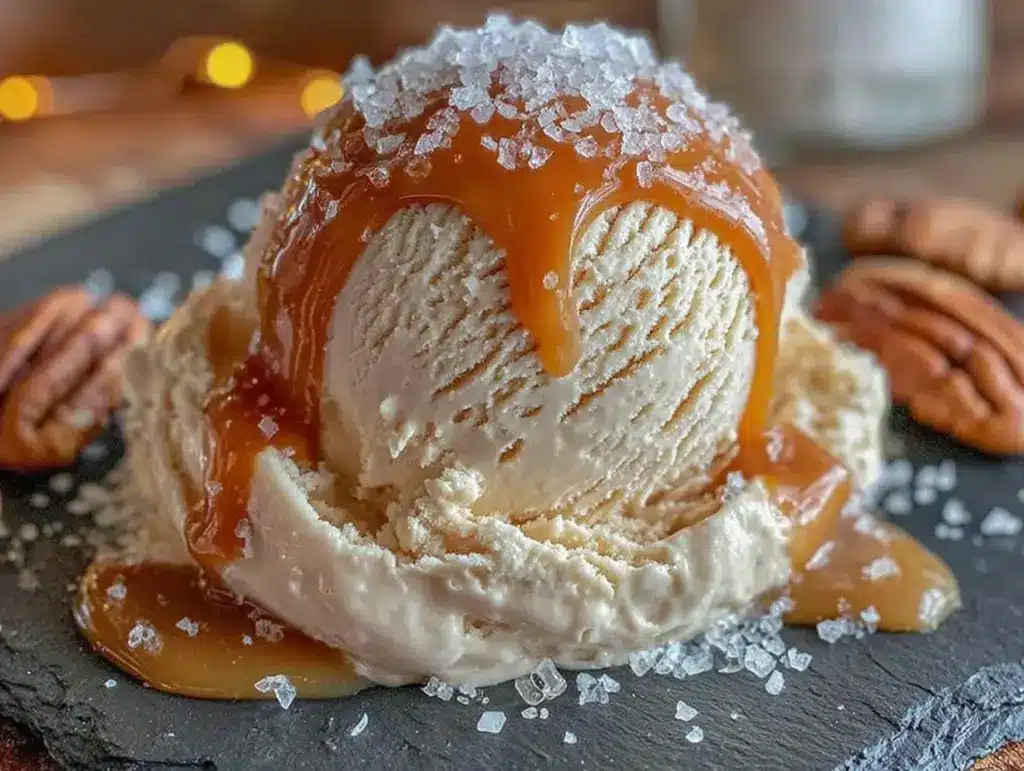
I had sworn off homemade ice cream for years. Way too much fuss, you know? Between the egg custards that could curdle if you blinked wrong, the constant stirring, the ice cream maker taking up cabinet space, and the rock-hard results that needed a chisel to scoop—honestly, it just wasn’t worth the hassle for a weeknight treat. My neighbor, a sweet woman named Carol, kept telling me about her no-churn method, and I’d smile politely while thinking, “No thanks, I’d rather just buy a pint.” Then last Thursday, I walked into her kitchen to borrow an egg, and there she was. Spoon in hand, digging into a container of the creamiest, most swirly-looking ice cream I’d ever seen. She caught me staring, shrugged, and handed me the spoon. That first bite of her salted caramel number? It was game over for my stubbornness.
That moment changed everything. I mean, here was this ridiculously decadent dessert, and she’d made it without a single piece of fancy equipment. No custard. No churning. Just a few ingredients and some serious arm strength for whipping cream. I went home that night, found a can of sweetened condensed milk in my pantry, and decided to prove to myself it was a fluke. Spoiler alert: it wasn’t. The texture was unbelievably smooth, the caramel was rich and buttery, and that flaky salt on top? Absolute perfection. Maybe you’ve been in that same place—thinking homemade ice cream is a weekend project reserved for patient people with lots of time. Let me tell you, this easy no-churn salted caramel ice cream recipe is about to change your mind, too. I’ve been making it every single week since, and I’m not even sorry about it.
Why You’ll Love This Easy No-Churn Salted Caramel Ice Cream
Let’s be real for a second. You’re busy. You’re tired. And you deserve a dessert that feels like a hug without requiring a culinary degree or a trip to a specialty store. This easy no-churn salted caramel ice cream delivers on every single front. I’ve tested this recipe more times than I can count—tweaking the salt level, trying different caramel sauces, even messing up the whipped cream consistency once (don’t whip it into butter, trust me). What I landed on is the perfect balance of creamy, sweet, and salty that works every single time.
- No Ice Cream Maker Required: Seriously. No machine, no churning, no fuss. Just a mixer and a freezer.
- Simple Ingredients: You probably have heavy cream and salt in your kitchen right now. The rest is just a quick grocery run away.
- Perfect for Weeknights: This comes together in about 20 minutes of active prep. The hardest part is waiting for it to freeze.
- Crowd-Pleaser: I’ve brought this to parties, family dinners, and even a book club meeting. It disappears every time.
- Unbelievably Delicious: That ribbon of salted caramel running through creamy vanilla base? It’s the kind of dessert that makes you close your eyes after the first bite.
What makes this recipe different from the dozens of other no-churn recipes out there? It’s the technique. I use a slightly softer whipped cream fold and a specific method for layering the caramel sauce so you get those gorgeous, gooey ribbons in every single scoop. Plus, I found the perfect brand of caramel sauce that doesn’t seize up when it hits the cold cream—more on that in a minute. This isn’t just another version; it’s the one I’ve perfected after a lot of trial and error, so you don’t have to make the same mistakes I did.
What Ingredients You Will Need
This easy no-churn salted caramel ice cream uses a handful of simple, wholesome ingredients to deliver that rich, creamy texture and deep caramel flavor without any complicated steps. Everything here is a pantry or fridge staple, which makes this perfect for those “I need a dessert right now” moments.
For the Ice Cream Base
- 2 cups (480 ml) heavy cream or heavy whipping cream – This is the backbone of your ice cream. Look for cream with at least 36% milk fat for the best, fluffiest whip. I prefer Organic Valley or Horizon for consistency, but any good brand works. Keep it super cold straight from the fridge.
- 1 can (14 oz or 397 g) sweetened condensed milk – This is your secret weapon for sweetness and creaminess without needing to make a custard. Make sure you get sweetened condensed milk, not evaporated milk. They are not the same thing, and I learned that the hard way (sad, watery ice cream).
- 1 teaspoon vanilla extract – Pure vanilla extract makes a real difference here. I use Nielsen-Massey Madagascar vanilla for its rich, floral notes. Avoid imitation vanilla if you can—it leaves a weird aftertaste in such a simple base.
- 1/4 teaspoon fine sea salt – This balances the sweetness and enhances the caramel flavor. Don’t skip it!
For the Salted Caramel Swirl
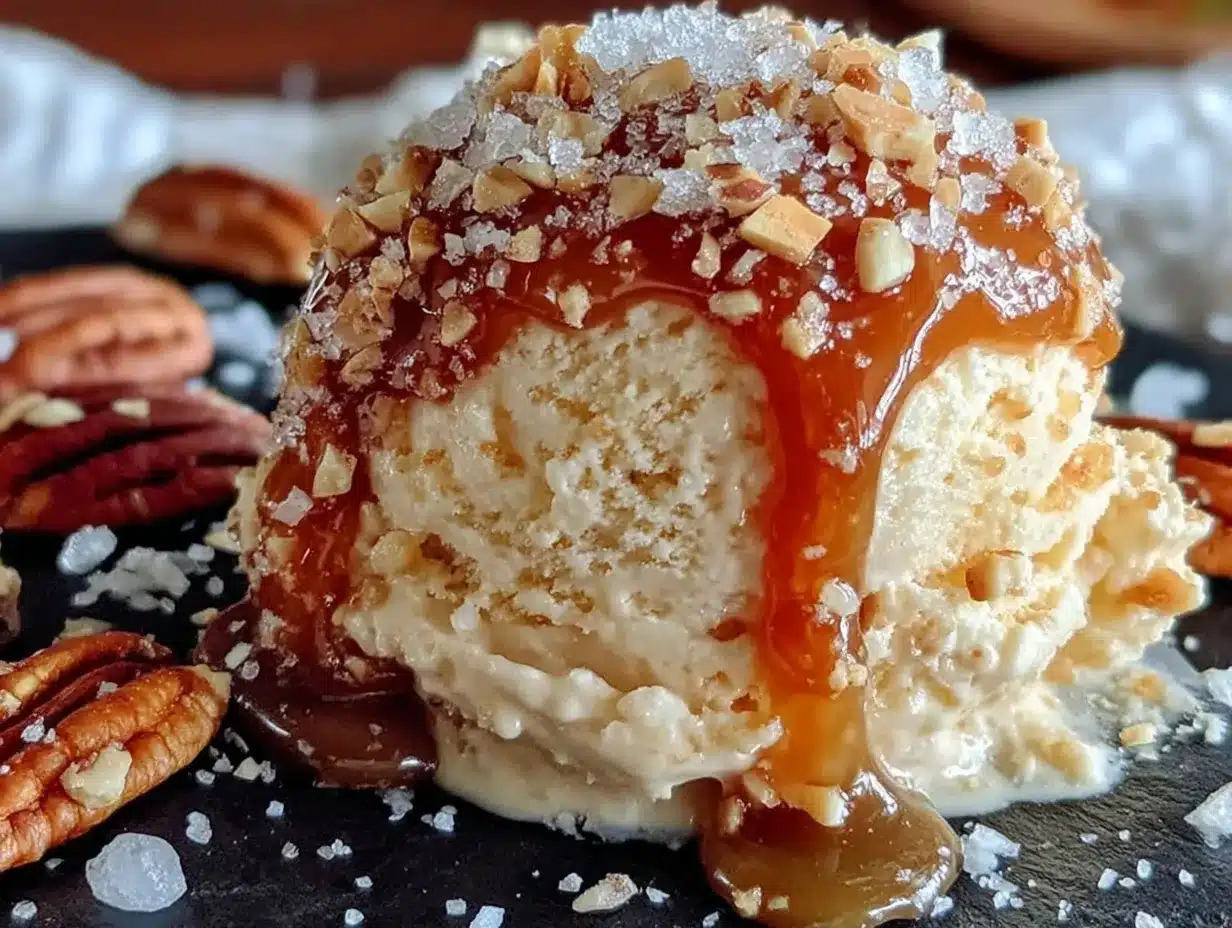
- 1 cup (about 300 g) good quality store-bought or homemade caramel sauce – This is where I got picky. I tested several brands, and my absolute favorite is Trader Joe’s Fleur de Sel Caramel Sauce. It’s thick, not too runny, and has just the right amount of salt. If you can’t find that, use a thick, premium caramel sauce—avoid the thin, runny ice cream topping kind. You want something that will hold its shape in ribbons. (adds richness and that perfect swirl)
- 1 teaspoon flaky sea salt, plus more for garnish – Maldon sea salt flakes are my go-to. They provide those little bursts of salty crunch that make this ice cream so addictive. Regular table salt is too fine and will dissolve.
Equipment Needed
The beauty of this easy no-churn salted caramel ice cream is how little equipment it requires. You don’t need an ice cream maker, a candy thermometer, or any fancy gadgets. Here’s what you’ll actually need:
- Large mixing bowl – Any large bowl works. I prefer a stainless steel or glass bowl because they stay colder longer, which helps the cream whip up faster.
- Electric hand mixer or stand mixer – You can whip cream by hand with a whisk, but honestly, your arm will get very tired. I use a KitchenAid hand mixer, and it takes about 3-4 minutes. A stand mixer with the whisk attachment works great too.
- Rubber spatula – For folding the condensed milk into the whipped cream gently. A silicone spatula is best because it won’t scratch your bowl and it scrapes every last bit.
- 9×5-inch loaf pan or 2-quart freezer-safe container – A standard metal loaf pan works perfectly. Metal freezes faster than glass, which helps prevent ice crystals. I’ve also used a round 2-quart plastic container with a lid in a pinch.
- Plastic wrap or parchment paper – To press directly onto the surface of the ice cream before freezing. This prevents freezer burn and that weird icy top layer.
- Spoon or small offset spatula – For dolloping and swirling the caramel sauce into the ice cream base.
Budget-friendly tip: If you don’t have a loaf pan, use a deep baking dish or even a clean, empty yogurt container. Just make sure it’s freezer-safe.
Preparation Method
Alright, let’s get to the fun part. This easy no-churn salted caramel ice cream comes together in about 20 minutes of active work. The waiting is the hardest part, I promise.
- Chill your bowl and beaters. This is a pro tip that makes a big difference. Pop your large mixing bowl and the beaters from your hand mixer into the freezer for at least 15 minutes before you start. Cold equipment helps the heavy cream whip up faster and hold its shape better. I usually do this while I’m gathering my ingredients.
- Whip the heavy cream. Pour the cold heavy cream into your chilled bowl. Using your electric hand mixer or stand mixer fitted with the whisk attachment, start on low speed and gradually increase to medium-high. Whip the cream until stiff peaks form. This means when you lift the beaters, the cream stands up straight and doesn’t flop over. It should look thick, luscious, and billowy. Be careful not to overwhip—if you go too far, you’ll end up with butter. You’ll know you’re close when the cream starts to look grainy. Stop immediately if you see that! (This usually takes about 3-5 minutes with a hand mixer.)
- Fold in the sweetened condensed milk and vanilla. In a separate small bowl, stir together the sweetened condensed milk, vanilla extract, and the 1/4 teaspoon of fine sea salt. Now, gently pour this mixture over the whipped cream. Using your rubber spatula, fold the mixture together. The key word is “fold”—you want to cut down through the center of the cream, scrape along the bottom of the bowl, and bring the mixture up and over itself. Rotate the bowl as you go. Do this until no white streaks remain and the mixture is a uniform pale ivory color. It should be thick and mousse-like. Don’t stir vigorously, or you’ll deflate all that lovely air.
- Layer the ice cream base and caramel sauce. Take your loaf pan or freezer container. Spoon about one-third of the ice cream base into the pan and spread it into an even layer. Drizzle about one-third of your caramel sauce over the top in a zigzag pattern. Sprinkle a tiny pinch of flaky sea salt over the caramel. Repeat these layers two more times: base, caramel, salt. You should end with a final layer of caramel and salt on top.
- Create the swirls. Here’s the trick for those beautiful, bakery-style ribbons. Take a butter knife or a skewer and gently drag it through the layers in a figure-eight or back-and-forth motion. Don’t over-swirl! You want distinct ribbons of caramel, not a muddy brown mess. Just a few passes is enough. I usually do about 4-5 figure-eights.
- Cover and freeze. Press a piece of plastic wrap directly onto the surface of the ice cream. This is crucial—it prevents ice crystals from forming on top. Then cover the pan with its lid or another layer of foil. Place it in the coldest part of your freezer. Freeze for at least 6 hours, but preferably overnight. The longer it freezes, the firmer and more scoopable it gets. I always make mine the day before I plan to serve it.
Personal tip for efficiency: While the cream is whipping, I get my caramel sauce and salt ready so I’m not scrambling when it’s time to layer. Also, if you’re in a hurry, you can pour the base into a shallow, wide metal pan—it freezes much faster because of the increased surface area.
Cooking Tips & Techniques
After making this easy no-churn salted caramel ice cream at least a dozen times, I’ve collected my fair share of hard-earned wisdom. Here are the tips that will save you from my mistakes.
Don’t overwhip the cream. I cannot stress this enough. I once got distracted by a phone call and whipped my cream into a grainy, buttery mess. It was heartbreaking. The cream should be billowy and smooth, holding stiff peaks but still looking silky. If you see it start to separate or look curdled, you’ve gone too far. Start over with fresh cream.
Use room temperature sweetened condensed milk. This is a weird one, but it helps. If your condensed milk is straight from the fridge, it can cause the whipped cream to seize up a little when you fold it in. Let it sit on the counter for 15-20 minutes before you start. It folds in much more smoothly.
Patience with freezing is key. I know, I know—you want to eat it right now. But if you scoop it too early, you’ll get a soft, icy mess instead of a creamy scoop. Give it the full 6 hours minimum. Overnight is best. The texture improves dramatically as it sets.
Warm your knife for clean slices. If you’re serving this in scoops, run your ice cream scoop under hot water before each scoop. For slicing into neat portions, dip a sharp knife in hot water and wipe it dry. This makes cutting through the frozen caramel ribbons so much easier.
Timing strategy: Make this on a Sunday afternoon, and you’ll have a week’s worth of emergency dessert ready to go. It keeps beautifully for up to two weeks in the freezer, though it rarely lasts that long in my house.
Variations & Adaptations
One of the best things about this easy no-churn salted caramel ice cream is how easy it is to customize. Here are a few ways I’ve adapted it for different cravings and dietary needs.
Chocolate Salted Caramel: This is my personal favorite variation. Before folding in the condensed milk, whisk 3 tablespoons of unsweetened cocoa powder (I use Hershey’s Special Dark) into the condensed milk mixture. It creates a chocolate base that pairs beautifully with the salted caramel swirl. It tastes like a fancy chocolate caramel bar.
Vegan Adaptation: You can absolutely make this dairy-free! Substitute the heavy cream with two cans of full-fat coconut cream (chilled overnight, with the solid cream scooped out) and use a vegan sweetened condensed coconut milk. The texture is slightly different—a bit icier—but still incredibly delicious. I’ve made this for a friend with dairy allergies, and she was over the moon.
Nutter Butter Crunch: For a salty-sweet crunch, crumble about 1/2 cup of Nutter Butter cookies or salted pretzels and sprinkle them between the layers along with the caramel. The contrast of creamy, chewy caramel, and crunchy cookie is next-level. I did this for a Super Bowl party, and people lost their minds.
Boozy Salted Caramel: Add 2 tablespoons of bourbon or dark rum to the condensed milk mixture before folding. The alcohol lowers the freezing point, so the ice cream stays a bit softer and scoopable straight from the freezer. Plus, bourbon and caramel are a match made in heaven. Just don’t add too much, or it won’t freeze properly.
Mocha Swirl: Dissolve 1 tablespoon of instant espresso powder in 1 tablespoon of hot water and let it cool. Fold it into the base along with the condensed milk. The coffee flavor enhances the caramel and cuts through the sweetness. It’s my go-to for an afternoon pick-me-up disguised as dessert.
Serving & Storage Suggestions
This easy no-churn salted caramel ice cream is best served straight from the freezer, but let it sit at room temperature for about 5-10 minutes before scooping. This softens it just enough to make scooping easy and lets the caramel ribbons become a little gooey again. I like to serve it in chilled bowls or cones for that classic ice cream parlor feel.
Presentation ideas: For a simple but stunning dessert, scoop a couple of generous balls into a bowl, drizzle with a little extra caramel sauce, and sprinkle with another pinch of flaky sea salt. A few chocolate shavings or a shortbread cookie on the side never hurts. If you’re feeling fancy, serve it alongside a warm brownie or a slice of apple pie. The hot-and-cold contrast is unbeatable.
Storage instructions: Keep the ice cream tightly covered with plastic wrap pressed directly onto the surface, plus the lid or foil. Stored this way, it will stay fresh and creamy for up to 2-3 weeks in the freezer. After that, it might start to develop ice crystals, but it’s still perfectly edible.
Reheating (sort of): If the ice cream gets too hard after a week or so, just let it sit on the counter for 15 minutes before serving. You can also microwave the container on low power for 10-15 seconds to soften it up. Don’t overdo it, or you’ll end up with soup.
How flavors develop: Honestly, this ice cream is at its best on day two or three. The caramel continues to meld with the vanilla base, and the salt distributes more evenly. It gets even better with a little time.
Nutritional Information & Benefits
Let’s be honest—this is a treat, not a health food. But knowing what’s in it can help you enjoy it mindfully. Here’s an approximate breakdown per 1/2 cup serving (based on 8 servings per batch):
- Calories: 380
- Fat: 24g
- Carbohydrates: 38g
- Protein: 4g
- Sugar: 35g
- Sodium: 280mg (from the salt)
Health highlights: The heavy cream provides a good dose of vitamin A and healthy fats that help keep you full. The salt, especially if you use a high-quality sea salt, provides trace minerals. Sweetened condensed milk contains calcium and protein, though it is high in sugar. This recipe is naturally gluten-free and egg-free, making it a great option for those with those specific dietary restrictions. If you’re watching your sugar intake, you can experiment with a sugar-free sweetened condensed milk, though the texture will be slightly different.
Potential allergens: This recipe contains dairy. It is free of nuts, eggs, and gluten as written, but always check your caramel sauce label for any hidden allergens. The vegan variation using coconut cream is a great alternative for those avoiding dairy.
My personal perspective? I believe in balance. A small bowl of this rich, homemade ice cream after a long week is a beautiful thing. It’s made with real ingredients, which already puts it ahead of most store-bought pints. Enjoy it slowly, savor every bite, and don’t feel guilty.
Conclusion
This easy no-churn salted caramel ice cream is proof that you don’t need fancy equipment or hours in the kitchen to create something truly spectacular. It’s creamy, it’s indulgent, and that ribbon of salted caramel running through every scoop is absolutely magical. Whether you’re making it for a weeknight treat, a summer party, or just because you deserve something sweet, this recipe delivers every single time.
I love this recipe because it feels like a small victory every time I make it. It’s simple enough for a beginner but impressive enough to wow your guests. And honestly, knowing I have a container of this in my freezer makes even a Monday feel a little bit special. I hope you give it a try and make it your own—maybe add some chocolate, or extra salt, or crumble in your favorite cookie. The possibilities are endless.
I’d love to hear how yours turns out! Drop a comment below and let me know what variations you tried, or tag me in your photos on social media. Happy scooping, friends!
Frequently Asked Questions
Can I use a different type of milk instead of heavy cream?
Unfortunately, no. Heavy cream is essential for this no-churn recipe because its high fat content allows it to whip into stiff peaks and creates that creamy, scoopable texture. Lighter milks like whole milk or half-and-half won’t whip properly and will result in a icy, dense mess. Stick with heavy cream for the best results.
My caramel sauce sank to the bottom. What did I do wrong?
This usually happens if your caramel sauce is too thin or runny. When you drizzle a thin sauce into the ice cream base, it tends to sink. Make sure you’re using a thick, premium caramel sauce (like Trader Joe’s Fleur de Sel or a homemade thick caramel). Also, don’t over-swirl—just a few gentle passes with a knife is enough to create ribbons without forcing the sauce down.
Can I make this without an electric mixer?
Yes, you can! You can whip the heavy cream by hand using a large balloon whisk and some elbow grease. It will take about 8-10 minutes of steady whisking, and your arm will definitely get a workout. Make sure your cream and bowl are very cold, and use a whisking motion that incorporates air. It’s totally doable, just a little tiring.
How long will this ice cream last in the freezer?
Stored properly with plastic wrap pressed directly onto the surface and a tight-fitting lid, this ice cream will stay fresh and creamy for up to 2-3 weeks. After that, it may start to develop ice crystals, but it’s still safe to eat. For the best texture, try to finish it within the first two weeks.
Can I use homemade caramel sauce instead of store-bought?
Absolutely! Homemade caramel sauce works wonderfully, but make sure it’s thick and has cooled completely to room temperature before using. A warm or thin caramel will melt into the base and create a muddy texture instead of distinct ribbons. My favorite homemade version is a simple butter, brown sugar, and cream caramel cooked until it reaches a deep amber color.
Pin This Recipe!
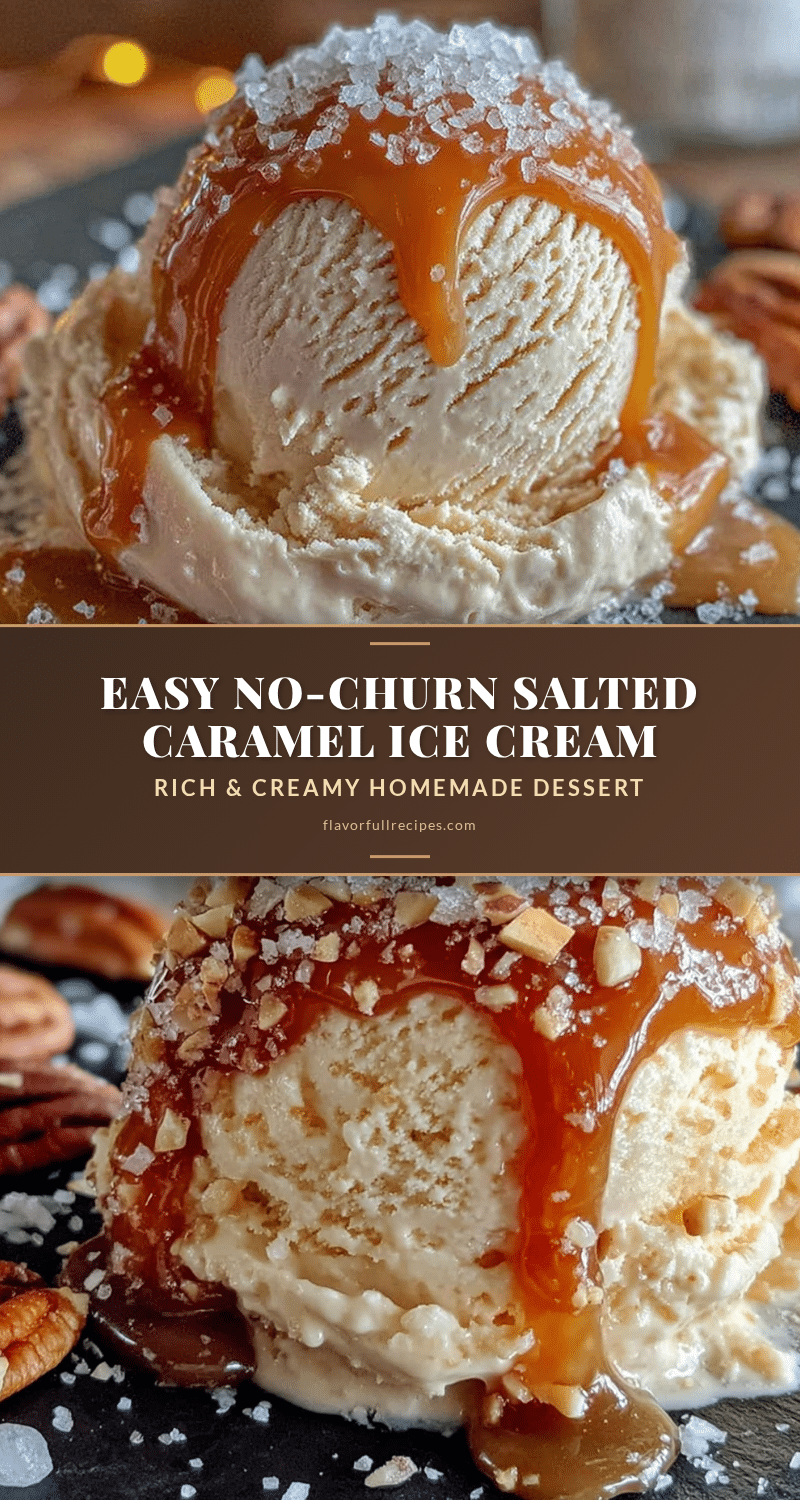

Easy No-Churn Salted Caramel Ice Cream Best Homemade Dessert
- Total Time: 6 hours 20 minutes (includes freezing)
- Yield: 8 servings 1x
Description
This easy no-churn salted caramel ice cream is creamy, indulgent, and requires no ice cream maker. With simple ingredients and a perfect salted caramel swirl, it’s the ultimate weeknight treat.
Ingredients
- 2 cups (480 ml) heavy cream or heavy whipping cream
- 1 can (14 oz or 397 g) sweetened condensed milk
- 1 teaspoon vanilla extract
- 1/4 teaspoon fine sea salt
- 1 cup (about 300 g) good quality store-bought or homemade caramel sauce
- 1 teaspoon flaky sea salt, plus more for garnish
Instructions
- Chill your large mixing bowl and beaters in the freezer for at least 15 minutes.
- Pour the cold heavy cream into the chilled bowl. Using an electric hand mixer or stand mixer with whisk attachment, start on low speed and gradually increase to medium-high. Whip until stiff peaks form (about 3-5 minutes). Be careful not to overwhip.
- In a separate small bowl, stir together the sweetened condensed milk, vanilla extract, and 1/4 teaspoon fine sea salt.
- Gently pour the condensed milk mixture over the whipped cream. Using a rubber spatula, fold together until no white streaks remain and the mixture is uniform and mousse-like.
- Spoon about one-third of the ice cream base into a 9×5-inch loaf pan or 2-quart freezer-safe container and spread into an even layer. Drizzle about one-third of the caramel sauce over the top in a zigzag pattern. Sprinkle a tiny pinch of flaky sea salt over the caramel. Repeat layers two more times, ending with a final layer of caramel and salt on top.
- Using a butter knife or skewer, gently drag through the layers in a figure-eight or back-and-forth motion to create swirls. Do not over-swirl.
- Press a piece of plastic wrap directly onto the surface of the ice cream. Cover with lid or foil. Freeze for at least 6 hours, preferably overnight.
Notes
For best results, chill the bowl and beaters before whipping. Use a thick caramel sauce to prevent sinking. Let the ice cream sit at room temperature for 5-10 minutes before scooping. Store with plastic wrap pressed directly onto the surface to prevent ice crystals.
- Prep Time: 20 minutes
- Cook Time: 0 minutes
- Category: Dessert
- Cuisine: American
Nutrition
- Serving Size: 1/2 cup
- Calories: 380
- Sugar: 35
- Sodium: 280
- Fat: 24
- Saturated Fat: 15
- Carbohydrates: 38
- Protein: 4
Keywords: no-churn ice cream, salted caramel ice cream, easy ice cream, homemade ice cream, no ice cream maker