
The office holiday potluck was in six hours and I’d completely forgotten. Everyone else would be bringing elaborate casseroles, homemade pies, and those fancy charcuterie boards that look like they belong on a magazine cover. I had a bag of brown sugar, a carton of oat milk, and a desperate need for caffeine. Honestly, I was less concerned about the food contribution and more about surviving the afternoon without falling asleep at my desk.
So I did what any reasonable person would do under pressure—I started making coffee. But not just any coffee. I had this vague memory of a brown sugar oat milk shaken espresso from a certain chain that costs, like, seven dollars per cup. And I thought, maybe I could recreate it? With my pantry ingredients and zero planning? It sounded ridiculous, even to me.
The kitchen at work is tiny and the sink was full of someone else’s dirty dishes—you know that feeling when you’re already stressed and then you see a mess that isn’t yours? I grabbed a mason jar from the breakroom (slightly suspicious, but I rinsed it twice), threw in the brown sugar, a splash of hot water, and some espresso I’d brewed way too strong. I shook it like I was mad at it, poured it over ice, and topped it with oat milk. The whole thing took maybe four minutes.
Let me tell you what happened next. People kept asking what I’d brought to drink. The brown sugar oat milk iced espresso became the unexpected star of the potluck. Someone called it “better than the coffee shop version.” I didn’t even have a recipe written down—I just kept making rounds of it from memory. And honestly? That’s how this whole thing started. This isn’t a story about being prepared. It’s a story about making something good out of a scramble. Maybe you’ve been there too.
Why You’ll Love This Recipe
Listen, I’ve tested this brown sugar oat milk iced espresso more times than I care to admit. I’ve made it with different ratios, different milks, different brewing methods. This version? It’s the one. Here’s why you’ll love it as much as I do:
- Quick & Easy : Comes together in under five minutes. No fancy equipment, no complicated steps. Just you, a jar, and a caffeine craving.
- Simple Ingredients : You probably already have brown sugar in your pantry. Oat milk is in every grocery store now. The espresso part is flexible—instant, brewed, or even strong coffee works.
- Perfect for Hosting : This is the drink that makes you look like you put in effort when you absolutely did not. Make a pitcher for brunch, serve it at a dinner party, or whip up individual servings for guests. It’s impressive without being fussy.
- Crowd-Pleaser : Non-coffee drinkers love it. Coffee snobs respect it. Kids? Okay, maybe not kids, but everyone else is hooked after one sip.
- Unbelievably Delicious : The brown sugar dissolves into the hot espresso and creates this caramel-like sweetness that pairs perfectly with the creamy oat milk. It’s not too sweet, not too bitter—it’s just right.
What makes this recipe different from the other copycat versions floating around? It’s the technique. Most recipes just dump everything in a glass and call it a day. But I figured out that shaking the brown sugar with hot espresso (not cold!) creates a syrup that actually blends into the drink instead of sinking to the bottom. That little detail changes everything. Plus, I’ve tested this with multiple oat milk brands and found the one that doesn’t separate or get weirdly slimy. Trust me, I’ve had some sad, separated iced coffees so you don’t have to.
This isn’t just a coffee drink—it’s the kind that makes you close your eyes after the first sip. It’s comfort in a glass, but faster and cheaper than driving to a coffee shop. Perfect for impressing guests without stress, or turning a regular Tuesday morning into something a little more special.
What Ingredients You Will Need
This recipe uses simple, everyday ingredients to create something that tastes way more complex than it is. Most of these are probably already in your kitchen, which is the whole point. Here’s what you need and why each one matters:
For the Espresso Base
- 2 shots of espresso (about 2 ounces) — Freshly brewed is ideal, but I’ve used instant espresso powder in a pinch and it works fine. If you don’t have an espresso machine, brew a very strong cup of coffee using twice the usual amount of grounds. The key is intensity—you want the coffee flavor to stand up to the milk and sugar.
- 2 tablespoons brown sugar, packed — Light or dark brown sugar both work, but dark gives a deeper, molasses-like flavor that I personally prefer. The sugar needs to be packed firmly into the measuring spoon for the right sweetness level. I use Domino brand because it’s consistently moist and dissolves well.
- 1 tablespoon hot water — This helps the brown sugar dissolve completely before you add the espresso. Yes, even though you’re using hot espresso, that extra splash of water makes a difference in getting a smooth syrup.
- Pinch of sea salt — Trust me on this one. A tiny pinch of salt balances the sweetness and makes the coffee taste more rounded. You won’t taste saltiness, I promise. You’ll just wonder why your coffee tastes better than usual.
For the Milk and Ice
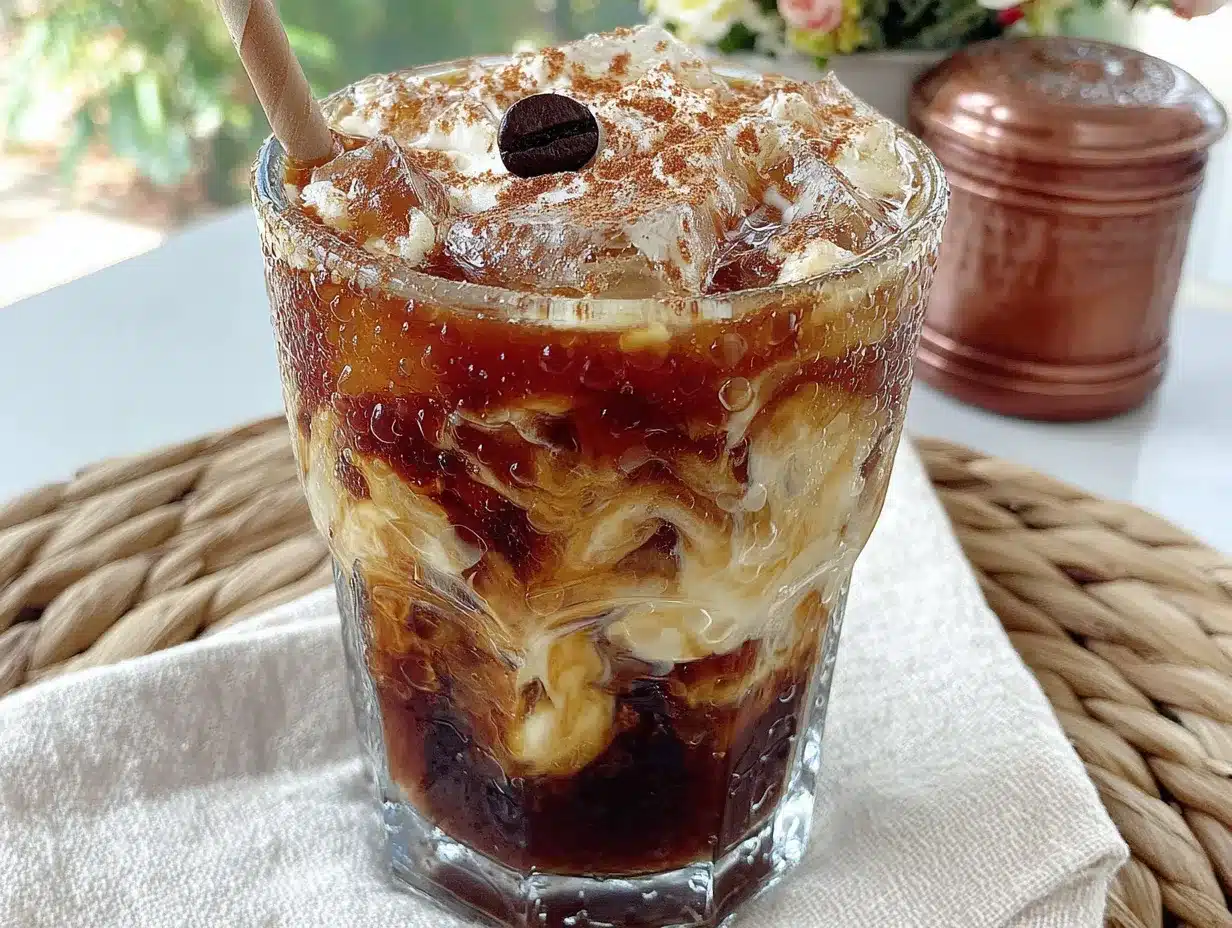
- 1 cup oat milk — This is where brand choice matters. I’ve tested this with Oatly Barista Edition, Califia Farms, Planet Oat, and Chobani. Oatly Barista is my top pick because it’s extra creamy and doesn’t separate when poured into cold coffee. Califia Farms is a close second. Avoid generic store brands—they tend to be watery and can curdle slightly with the acidity of the coffee. Look for “barista blend” or “extra creamy” on the label if you can find it.
- 1 cup ice cubes — Use large ice cubes if you have them—they melt slower and won’t water down your drink as fast. I’m not picky though; whatever comes out of my freezer tray works.
Optional Add-Ins
- Vanilla extract (1/4 teaspoon) — Adds a subtle warmth that complements the brown sugar. I add this when I’m feeling fancy.
- Cinnamon (sprinkle on top) — For garnish and a tiny bit of spice. It looks pretty too.
- Whipped cream — Okay, this turns it into a dessert drink, but sometimes you deserve that.
For substitutions, here’s what I’ve learned through trial and error: You can use regular milk if you don’t have oat milk, but the texture won’t be as creamy. Almond milk works but can separate. Coconut milk adds a coconut flavor that’s nice but changes the profile entirely. Brown sugar is non-negotiable if you want that specific caramel-like sweetness—white sugar just doesn’t give the same depth. If you’re watching sugar intake, try using half the amount of brown sugar or a brown sugar substitute like Swerve, but the texture might be slightly different.
Equipment Needed
You don’t need much for this recipe, which is honestly my favorite part. Here’s what you’ll need:
- A mason jar or cocktail shaker with a tight-fitting lid — This is the most important tool. I use a 16-ounce mason jar that I bought in a pack of twelve for like eight dollars. A cocktail shaker works even better if you have one, but a jar is perfectly fine. Just make sure the lid is on tight before you start shaking—I learned that one the hard way, with brown sugar syrup all over my counter.
- Espresso machine, stovetop moka pot, or Aeropress — I use a Breville espresso machine because I’m lucky enough to have one, but I’ve also made this with a Bialetti moka pot and it was excellent. The Aeropress is my budget-friendly recommendation—it makes strong, concentrated coffee that works perfectly for iced drinks.
- A tall glass (12-16 ounces) — You’ll serve the finished drink in this. A clear glass shows off the beautiful layers of brown sugar syrup, espresso, and oat milk.
- A long spoon or straw — For stirring everything together before drinking. The layers look pretty, but you want to mix them before you sip.
- Measuring spoons — For the brown sugar and vanilla. I use a regular set from Target—nothing fancy.
If you don’t have a jar or shaker, you can whisk the brown sugar and hot water together in a bowl and then combine everything in the glass. It won’t be as frothy, but it’ll still taste great. I’ve also used a blender bottle (the kind with the wire ball) in a pinch—it worked surprisingly well.
Preparation Method
This recipe is simple, but the order of steps matters more than you’d think. Here’s exactly how I make it, with all the little details I’ve picked up along the way:
- Make the brown sugar syrup. In your mason jar or shaker, combine the packed brown sugar and hot water. Stir with a spoon until the sugar is mostly dissolved. It doesn’t need to be perfect yet—the shaking step will finish the job. If you’re using vanilla extract, add it now. This is also where you add that pinch of salt.
- Brew your espresso. While the sugar is sitting, brew your espresso or strong coffee. You want it hot—this helps the sugar dissolve completely. If you’re using instant espresso powder, dissolve it in 2 ounces of hot water. I like to brew the espresso directly into a small measuring cup so I can pour it easily later. Let me tell you, I’ve tried adding cold espresso to the sugar and it just doesn’t work the same—you get gritty bits of undissolved sugar at the bottom of your glass.
- Combine and shake. Pour the hot espresso into the jar with the brown sugar mixture. Screw the lid on tight—I mean really tight, check it twice. Shake vigorously for about 15-20 seconds. You should hear the ice rattling (wait, there’s no ice yet—sorry, I’m getting ahead of myself). Shake until the sugar is fully dissolved and the mixture looks slightly frothy on top. The color should be a deep, caramel brown.
- Fill your glass with ice. Add the ice cubes to your serving glass. I use about a cup of ice, but adjust based on how strong you like your coffee. More ice means a slightly more diluted drink, which some people prefer.
- Pour the espresso mixture over the ice. This is where you get those beautiful layers. The brown sugar espresso will sink to the bottom slightly, creating a dark base. Don’t stir yet—the layers are part of the presentation.
- Add the oat milk. Slowly pour the oat milk over the back of a spoon held just above the ice. This technique helps the milk float on top instead of mixing in immediately. You’ll get a gorgeous three-layer effect: dark espresso at the bottom, creamy oat milk on top, and a gradient in between.
- Stir and enjoy. Give everything a good stir with a long spoon or straw. The brown sugar syrup should blend evenly throughout. Taste and adjust—add more oat milk if it’s too strong, or a pinch more sugar if you want it sweeter. I like to take a photo of the layers before stirring because they’re so pretty, but honestly, the drink tastes better mixed.
A few notes from experience: If your brown sugar is clumpy (which happens when it’s been sitting in the pantry too long), break it up with your fingers before adding water. Also, don’t skip the shaking step—stirring doesn’t create the same frothy texture. And if you’re making this for a crowd, you can multiply the recipe and shake everything in a larger container, then divide into individual glasses with ice.
Cooking Tips & Techniques
I’ve made this brown sugar oat milk iced espresso probably fifty times by now, and I’ve learned a few things the hard way. Here are the tips that actually matter:
Temperature matters more than you think. The espresso needs to be hot when it hits the brown sugar. Cold espresso won’t dissolve the sugar properly, and you’ll end up with gritty sweetness at the bottom of your glass. I’ve made this mistake more times than I’d like to admit, especially when I was rushing. If your espresso has cooled down, microwave it for 10 seconds before adding it to the sugar.
Don’t over-shake the oat milk. Oat milk can get weirdly frothy and almost slimy if you shake it too much. That’s why I only shake the espresso and sugar together, then add the oat milk afterward. If you put everything in the shaker at once, you’ll end up with a drink that has a strange texture. Trust me on this—I learned it after making a batch for friends and watching them take one sip with a confused look.
Use large ice cubes if you can. Smaller ice cubes melt faster, which waters down your drink. I keep a bag of large square ice cubes in my freezer specifically for iced coffee. If you don’t have them, it’s not a disaster—just drink it a little faster before the ice melts too much.
Make a batch of brown sugar syrup ahead of time. This is my favorite hosting hack. Mix equal parts brown sugar and hot water (like 1 cup sugar to 1 cup water), stir until dissolved, and store it in the fridge for up to two weeks. Then when guests want coffee, you just pour the syrup, add espresso, shake, and serve. It saves so much time when you’re hosting brunch or a dinner party.
One mistake I still make: Forgetting to taste before serving. Sometimes the brown sugar is more or less sweet depending on the brand, and sometimes my espresso is stronger than usual. Always take a sip before handing the drink to someone else. I’ve served overly sweet coffee to guests before, and it’s embarrassing.
Variations & Adaptations
This recipe is flexible, and I’ve tried several variations over the years. Here are my favorites:
Vanilla Brown Sugar Version: Add 1/2 teaspoon of vanilla extract to the brown sugar mixture before shaking. It adds a warm, sweet note that makes the drink taste even more like a coffee shop creation. I do this when I’m making it for myself on a weekend morning.
Dairy-Free and Vegan: This recipe is already vegan if you use oat milk, but you can also try it with almond milk, cashew milk, or coconut milk. Cashew milk is the creamiest alternative if you can’t do oats. Just avoid rice milk—it’s too watery and doesn’t create that satisfying texture.
Spiced Brown Sugar Version: Add 1/4 teaspoon of cinnamon and a tiny pinch of nutmeg to the brown sugar mixture. This turns it into a fall-inspired drink that’s perfect for cool mornings. I started doing this after Thanksgiving one year and now I can’t stop.
Less Sweet Version: Use only 1 tablespoon of brown sugar instead of 2. The drink will still be sweet but more balanced toward the coffee flavor. You can also use a sugar substitute like monk fruit or stevia, though the texture will be slightly different since those don’t dissolve as well.
Hot Version: Skip the ice and use warm oat milk instead. Heat the oat milk on the stovetop or in the microwave until steaming, then pour the shaken espresso mixture into a mug and top with the warm milk. It’s a completely different experience but just as delicious.
For a Crowd: Multiply the recipe by however many servings you need. Mix the brown sugar and hot water in a large pitcher, add the brewed espresso, and stir well. Fill glasses with ice, pour the espresso mixture, and top with oat milk. This is my go-to for brunch parties—it looks impressive and takes almost no effort.
Serving & Storage Suggestions
This drink is best enjoyed immediately, but here’s how to serve it and what to do if you have leftovers (unlikely, but possible).
Serving temperature: Serve over ice, immediately after assembling. The ice should be fresh and not starting to melt. If you’re serving this at a party, keep the oat milk and espresso mixture separate until guests arrive, then assemble on demand. The espresso mixture can sit at room temperature for an hour or two without issue.
Presentation tips: Use clear glasses so the layers show. Add a cinnamon stick or a sprinkle of cinnamon on top for a polished look. If you’re feeling extra fancy, rim the glass with brown sugar by wetting the rim with a little oat milk and dipping it in brown sugar. I did this for a brunch once and people lost their minds over it.
What to serve alongside: This drink pairs beautifully with anything sweet or savory. I love it with banana bread, pancakes, or a simple butter croissant. For a savory option, try it with a breakfast sandwich or avocado toast. The sweetness of the brown sugar complements salty and rich flavors perfectly.
Storage: You can make the brown sugar espresso mixture ahead of time and store it in the fridge for up to 3 days. Just shake it again before using (the sugar settles at the bottom). Don’t add the oat milk until you’re ready to serve—it doesn’t hold up well once mixed and can separate or get thick.
Reheating: If you want to turn leftovers into a hot drink, microwave the espresso mixture for 30 seconds and add warm oat milk. It’s not quite the same as fresh, but it works in a pinch.
Flavor development: The brown sugar syrup actually gets better after sitting for a day or two. The flavors meld together and become more complex. I sometimes make the syrup a day ahead specifically for this reason.
Nutritional Information & Benefits
Here’s a rough estimate for one serving of this brown sugar oat milk iced espresso (made with 2 tablespoons brown sugar and 1 cup oat milk):
- Calories: Approximately 180-200
- Fat: 4-5g (from oat milk)
- Carbohydrates: 35-40g
- Sugar: 25-30g (mostly from brown sugar and natural oat milk sugars)
- Protein: 3-4g
- Caffeine: Approximately 120-150mg (from 2 shots of espresso)
Health benefits: Oat milk is a good source of fiber, specifically beta-glucans, which can help support heart health and digestion. It’s also naturally lactose-free and lower in saturated fat than dairy milk. Brown sugar contains molasses, which has trace amounts of minerals like calcium and potassium—though honestly, the amount in this drink is minimal. The main benefit here is the caffeine boost, which can improve focus and alertness when consumed in moderation.
Dietary considerations: This recipe is naturally vegan, dairy-free, and nut-free (depending on your oat milk brand). It’s not low-carb due to the brown sugar, but you can reduce the sugar to lower the carb count. If you have celiac disease or gluten sensitivity, check your oat milk label—some brands process oats in facilities that also process wheat. Oatly and Califia Farms are generally considered gluten-free.
Allergen note: Oats are naturally gluten-free but can be cross-contaminated. If you’re highly sensitive, look for certified gluten-free oat milk. Also, some people with celiac disease react to oats even without cross-contamination, so proceed with caution if that applies to you.
My personal perspective: I don’t drink this for health reasons—I drink it because it makes me happy. But I do appreciate that it’s lower in calories than a latte made with whole milk and flavored syrup at a coffee shop. It feels like a treat without being over-the-top indulgent.
Conclusion
So there you have it—a brown sugar oat milk iced espresso that tastes like it came from a fancy coffee shop but costs pennies to make at home. This recipe started as a panic move before a potluck and ended up becoming my most-requested drink. It’s proof that you don’t need expensive equipment or complicated techniques to make something genuinely delicious.
What I love most about this recipe is how adaptable it is. You can make it sweeter or less sweet, add spices, serve it hot or cold, and it always works. It’s the kind of recipe that makes you look like you know what you’re doing in the kitchen, even when you’re just winging it. And honestly, isn’t that the best kind of recipe?
I’d love to hear how yours turns out. Did you add cinnamon? Try it with a different milk? Serve it at a brunch and watch everyone’s eyes light up? Drop a comment below and let me know—I read every single one and I answer questions too. And if you loved this recipe, share it with a friend who needs a good coffee moment in their life. You know the one.
Now go make yourself a glass. You deserve it.
Frequently Asked Questions
Can I use regular milk instead of oat milk?
Absolutely. Regular milk works fine, though the texture will be different. Whole milk gives the creamiest result, while skim milk will be thinner. The brown sugar flavor still shines through regardless of what milk you use.
Can I make this without an espresso machine?
Yes! Use a moka pot, an Aeropress, or even strongly brewed drip coffee. The key is making the coffee concentrated so the flavor isn’t diluted by the ice and milk. If using drip coffee, use half the water you normally would.
How do I make this less sweet?
Start with 1 tablespoon of brown sugar instead of 2. You can also use a sugar-free brown sugar substitute, though the texture might be slightly different. Another option is to add more oat milk to balance the sweetness.
Can I prep this ahead of time for a party?
Yes! Make the brown sugar espresso mixture ahead and store it in the fridge for up to 3 days. When guests arrive, fill glasses with ice, pour the mixture, and top with oat milk. It takes about 30 seconds per serving.
Why does my oat milk sometimes separate in coffee?
Oat milk can separate when it meets hot, acidic coffee. Using a barista-blend oat milk (like Oatly Barista Edition) helps prevent this. Also, letting the espresso cool slightly before adding the oat milk can reduce separation. If it still happens, just stir it—it’ll still taste fine.
Pin This Recipe!
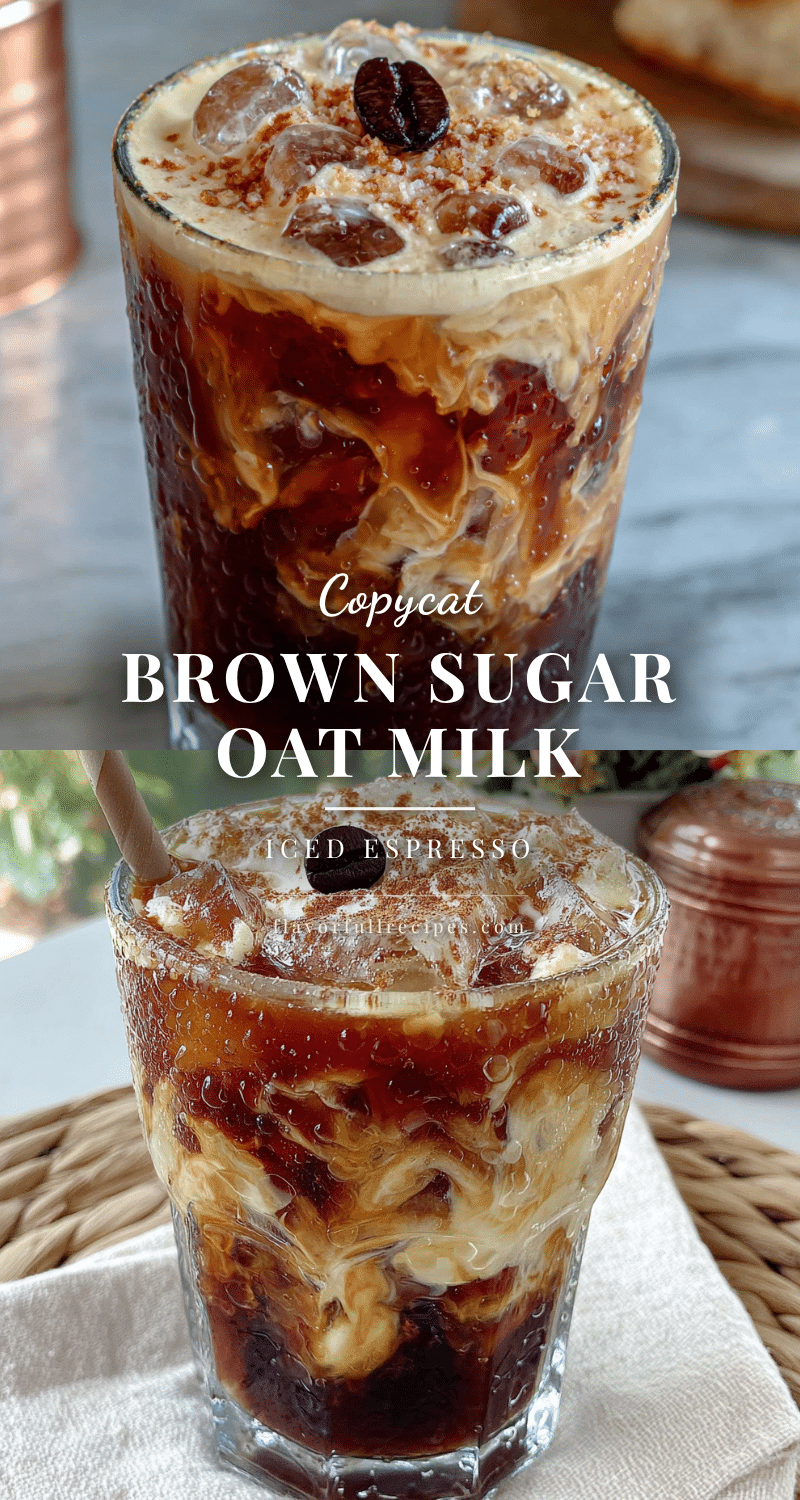

Best Brown Sugar Oat Milk Iced Espresso Copycat Recipe
- Total Time: 5 minutes
- Yield: 1 serving 1x
Description
A quick and easy copycat recipe for a brown sugar oat milk shaken iced espresso that tastes like it came from a fancy coffee shop but costs pennies to make at home. Perfect for impressing guests or turning a regular morning into something special.
Ingredients
- 2 shots of espresso (about 2 ounces)
- 2 tablespoons brown sugar, packed
- 1 tablespoon hot water
- Pinch of sea salt
- 1 cup oat milk (preferably barista blend)
- 1 cup ice cubes
- 1/4 teaspoon vanilla extract (optional)
- Cinnamon for garnish (optional)
- Whipped cream (optional)
Instructions
- In a mason jar or cocktail shaker, combine the packed brown sugar and hot water. Stir until the sugar is mostly dissolved. Add a pinch of sea salt and vanilla extract if using.
- Brew your espresso or strong coffee. It should be hot to help dissolve the sugar completely.
- Pour the hot espresso into the jar with the brown sugar mixture. Screw the lid on tight and shake vigorously for 15-20 seconds until the sugar is fully dissolved and the mixture is slightly frothy.
- Fill a tall glass with ice cubes.
- Pour the espresso mixture over the ice.
- Slowly pour the oat milk over the back of a spoon held just above the ice to create layers.
- Stir everything together with a long spoon or straw. Taste and adjust sweetness or strength as desired. Serve immediately.
Notes
For best results, use barista-blend oat milk to prevent separation. The espresso must be hot to dissolve the brown sugar properly. Make a batch of brown sugar syrup ahead of time by mixing equal parts brown sugar and hot water; store in the fridge for up to two weeks. Large ice cubes melt slower and keep the drink from getting watery.
- Prep Time: 5 minutes
- Cook Time: 0 minutes
- Category: Beverages
- Cuisine: American
Nutrition
- Serving Size: 1 glass (about 12 ou
- Calories: 190
- Sugar: 28
- Sodium: 150
- Fat: 4.5
- Saturated Fat: 0.5
- Carbohydrates: 38
- Fiber: 2
- Protein: 3.5
Keywords: brown sugar oat milk iced espresso, copycat recipe, iced coffee, shaken espresso, oat milk coffee, easy coffee recipe