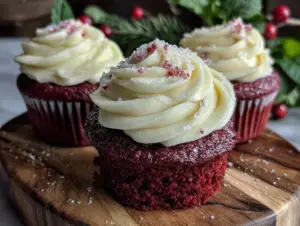
I used to think red velvet cake was all hype and no substance. Honestly, for years I avoided it completely. The whole “red” thing felt like a gimmick, and I’d had enough dry, flavorless versions at birthday parties to know I wasn’t missing much. Then my daughter’s class Valentines party rolled around, and she came home with a paper plate holding a single, lopsided heart-shaped cupcake. It was smeared with a thick, white frosting that had little silver sprinkles stuck to it, and she was practically glowing. “Mom, you HAVE to try this,” she said, holding it up to my face. I took a tiny, skeptical bite. And then another. The cake was so tender it practically dissolved on my tongue, and that tangy cream cheese frosting was the perfect partner. I asked who made them, expecting to hear about some fancy bakery order. “Mrs. Henderson,” she said. “She used a box mix but added something secret.” That was the moment I knew I had to crack the code. I spent the next week testing, tweaking, and baking until I landed on this version. It’s the one that made me—a total red velvet skeptic—a full-on convert. And now, every time I pull a batch of these out of the oven, I think of that lopsided cupcake and the little girl who changed my mind. Maybe you’ve got a picky eater or two at your table, and you’re looking for something that feels special without the stress. I promise, this is it.
Why You’ll Love This Recipe
These aren’t just pretty cupcakes. They’re the kind of treat that makes everyone at the table happy, and they won’t wreck your grocery budget. Trust me, I’ve tested this one until I got it just right.
- Kid-Approved Flavor: The subtle cocoa and tangy buttermilk create a flavor that’s sophisticated enough for adults but totally loved by little ones. It’s not too sweet, not too rich—just right.
- Simple Pantry Ingredients: You probably have most of these items in your kitchen right now. No weird extracts or hard-to-find flours. I use what I already have, and that keeps the cost down.
- Perfect for Valentines & Birthdays: The heart shape makes them ideal for February 14th, but honestly, my kids request them for school bake sales and summer picnics too. They’re a hit any time.
- Foolproof Method: I’ve made every mistake in the book—dry cakes, sunken centers, frosting that slid right off. After lots of trial and error, I landed on a method that works every single time. No fancy skills required.
- Freezes Like a Dream: Bake a double batch and stash some in the freezer. They thaw beautifully, which is a lifesaver for last-minute class parties or unexpected guests.
What makes these different from every other red velvet recipe? It’s the balance. The cake is moist without being greasy, and the frosting is tangy enough to cut through the sweetness. I’ve also added a little trick with the vinegar and baking soda reaction that gives the perfect tender crumb. This isn’t just another version—it’s the one I make for my own family, and they ask for it by name. The first time my son took a bite, he closed his eyes. That’s the kind of reaction you want.
What Ingredients You Will Need
This recipe uses simple, everyday ingredients to create something truly special. Most of these are pantry staples, which means you can whip up a batch without a special trip to the store. I’ve tested substitutions where they work, so you can adapt based on what you have on hand.
- All-purpose flour, 2 ½ cups (315g) – Gives the cake structure without making it tough. I use Gold Medal, but any brand works.
- Unsweetened cocoa powder, 2 tablespoons (15g) – Just enough for that classic red velvet flavor. Don’t use Dutch-process here; natural cocoa works best for the chemical reaction.
- Baking soda, 1 teaspoon – Helps the cake rise and creates that tender crumb.
- Salt, ½ teaspoon – Balances the sweetness and enhances the cocoa flavor.
- Granulated sugar, 1 ½ cups (300g) – Sweetens the cake and helps with moisture retention.
- Vegetable oil, 1 cup (240ml) – Keeps the cupcakes incredibly moist. Canola or any neutral oil works. Do NOT substitute melted butter here—the oil texture is key.
- Buttermilk, 1 cup (240ml), room temperature – Adds tanginess and reacts with the baking soda for lift. If you don’t have buttermilk, add 1 tablespoon of lemon juice or white vinegar to regular milk and let it sit for 5 minutes.
- Large eggs, 2, room temperature – Bind the batter and add richness.
- Red food coloring, 2 tablespoons (30ml) – The signature color. I prefer gel food coloring for a more vibrant red without thinning the batter. You can use liquid, but the color will be slightly less intense.
- White vinegar, 1 teaspoon – Activates the baking soda for extra lift. Don’t skip this—it’s a classic red velvet trick.
- Vanilla extract, 1 teaspoon – Rounds out the flavor profile.
- Cream cheese, 8 ounces (226g), softened – The base for the frosting. Use full-fat block cream cheese for the best texture. Do not use whipped or low-fat cream cheese, as it will make the frosting runny.
- Unsalted butter, ½ cup (113g), softened – Adds stability and richness to the frosting.
- Powdered sugar, 3 cups (360g), sifted – Sweetens and thickens the frosting. Sifting prevents lumps.
- Vanilla extract, 1 teaspoon – For the frosting. Pure vanilla extract makes a difference here.
- Heart-shaped sprinkles (optional) – For decoration. My kids love the little colorful ones from the baking aisle.
Equipment Needed
You don’t need a professional bakery setup for these. I’ve made them in tiny apartments and full kitchens, and the tools are pretty simple. Here’s what you’ll need:
- Heart-shaped cupcake pan – This is the star of the show. I bought mine at a craft store for under $10, and it’s worth every penny. If you don’t have one, you can use a standard muffin pan and cut the cupcakes into hearts with a cookie cutter after baking.
- Heart-shaped silicone baking cups – Optional, but they make removal so much easier and add a cute touch. I found a pack of 12 on Amazon for around $8.
- Electric hand mixer or stand mixer – A hand mixer works perfectly. I’ve used the same $20 one for years, and it gets the job done.
- Mixing bowls – You’ll need a large bowl for the dry ingredients and another for the wet ingredients.
- Measuring cups and spoons – Accurate measurements matter here, especially for the cocoa and baking soda.
- Cooling rack – Letting the cupcakes cool completely before frosting is non-negotiable. A wire rack helps them cool evenly.
- Piping bag or zip-top bag – For frosting. If you don’t have a piping bag, just snip the corner off a sturdy zip-top bag. It works like a charm.
- Offset spatula – Makes spreading frosting easier, but a butter knife works too.
Preparation Method
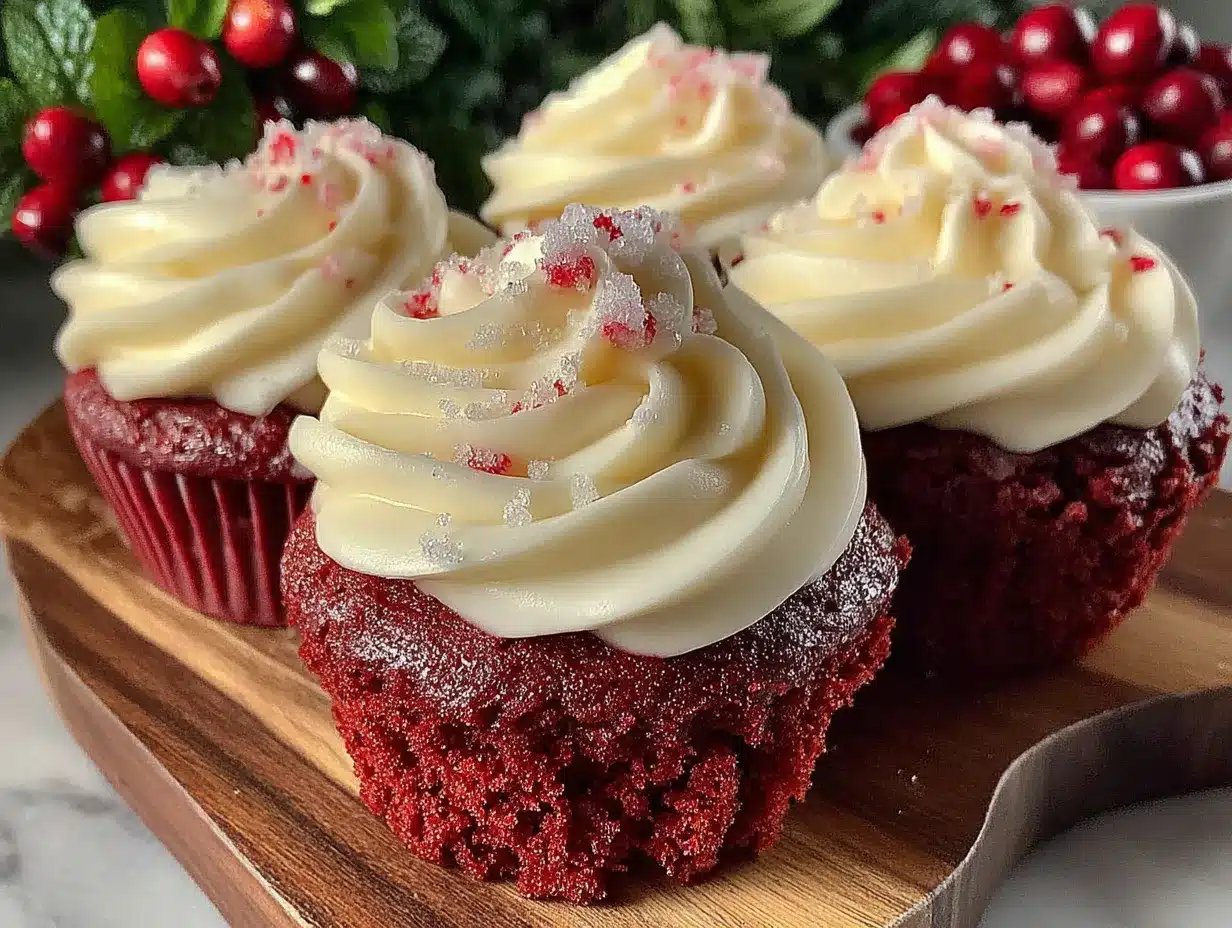
Take your time with these steps, and you’ll be rewarded with perfect, tender cupcakes every time. I’ve included sensory cues so you know exactly what to look for.
- Preheat and Prep: Preheat your oven to 350°F (175°C). Place the heart-shaped silicone baking cups in your heart-shaped cupcake pan, or grease the pan well if you’re not using liners. I always use the silicone cups—they make cleanup a breeze and the hearts pop right out.
- Mix Dry Ingredients: In a large mixing bowl, whisk together the flour, cocoa powder, baking soda, and salt. Whisk for about 30 seconds to aerate the flour and break up any lumps. Set aside. The mixture should look uniform and smell faintly of chocolate.
- Combine Wet Ingredients: In a separate bowl, whisk together the sugar, vegetable oil, buttermilk, eggs, red food coloring, vinegar, and vanilla extract. Whisk until everything is smooth and well combined. The batter will be a vibrant red and smell sweet and tangy. Don’t overmix—just until the streaks disappear.
- Combine Wet and Dry: Pour the wet ingredients into the dry ingredients. Gently fold together with a rubber spatula until just combined. A few small lumps are okay—overmixing will make the cupcakes tough. The batter should be thick, smooth, and a deep, gorgeous red. It will look almost like a thick pancake batter.
- Fill the Cups: Divide the batter evenly among the heart-shaped cups, filling each about two-thirds full. I use a cookie scoop for this—it’s neat and ensures even portions. The batter should come just below the rim of the cup.
- Bake: Place the pan in the preheated oven and bake for 18-22 minutes. The cupcakes are done when a toothpick inserted into the center comes out clean or with a few moist crumbs. The tops should spring back when lightly touched. My oven runs hot, so I check at 18 minutes. You’ll smell the cocoa and vanilla wafting through the kitchen when they’re close.
- Cool: Let the cupcakes cool in the pan for 5 minutes. Then transfer them to a wire cooling rack to cool completely. This is crucial—if you frost them while they’re warm, the frosting will melt into a gooey mess. I usually let them cool for at least an hour.
- Make the Frosting: While the cupcakes cool, make the cream cheese frosting. In a large bowl, beat the softened cream cheese and butter together with an electric mixer on medium speed until smooth and creamy, about 2 minutes. Scrape down the sides of the bowl. Add the vanilla extract and beat for another 30 seconds. Gradually add the sifted powdered sugar, one cup at a time, beating on low speed after each addition until incorporated. Once all the sugar is added, increase the speed to medium-high and beat for 2-3 minutes until the frosting is light, fluffy, and spreadable. The frosting should hold its shape but be soft enough to pipe. If it’s too thick, add a teaspoon of milk. If it’s too thin, add a little more powdered sugar.
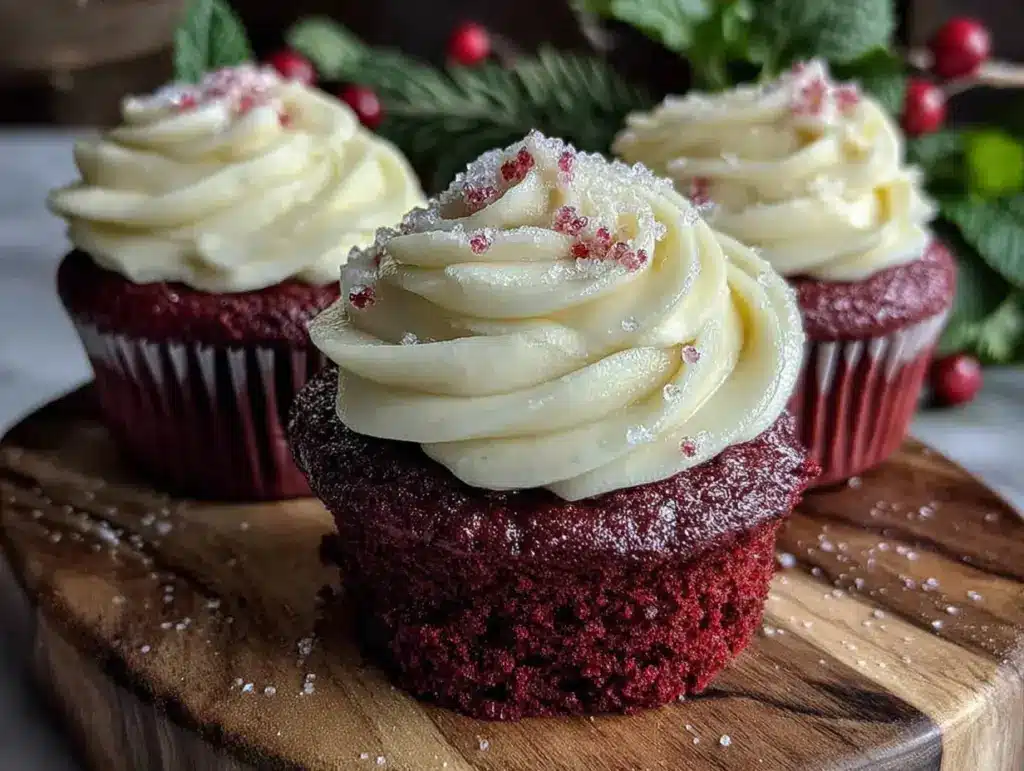
- Frost the Cupcakes: Once the cupcakes are completely cool, it’s time to frost. Spoon the frosting into a piping bag fitted with a star tip (or a zip-top bag with the corner snipped). Pipe a generous swirl onto each heart-shaped cupcake. Alternatively, use an offset spatula to spread the frosting in smooth, even swirls. I like to leave a little edge of red cake peeking out—it looks prettier that way.
- Decorate: Top each frosted cupcake with a few heart-shaped sprinkles. Press them in gently so they stick. You can also add a small candy heart or a dusting of cocoa powder for a more elegant look.
Cooking Tips & Techniques
I’ve made every mistake you can imagine with these cupcakes. Here’s what I’ve learned so you don’t have to repeat my errors.
Don’t Overmix the Batter: This is the number one mistake. Overmixing develops the gluten in the flour, which makes the cupcakes tough and dense. Mix just until the flour disappears into the wet ingredients. A few lumps are your friend. I once mixed for an extra minute because I wanted it “smooth,” and the cupcakes came out like little red hockey pucks.
Room Temperature Ingredients Matter: Cold eggs and cold buttermilk won’t emulsify properly with the oil and sugar, leading to a dense, uneven crumb. Take them out of the fridge 30 minutes before you start baking. I set them on the counter while I gather my other ingredients, and by the time I’m ready, they’re perfect.
The Vinegar Trick: That teaspoon of white vinegar might seem like an afterthought, but it’s a classic red velvet technique. It reacts with the baking soda to create extra carbon dioxide bubbles, which gives the cake a lighter, more tender texture. Don’t skip it—I tried once, and the cake was noticeably denser.
Check for Doneness Early: Ovens vary wildly. Start checking your cupcakes at 18 minutes, even if the recipe says 20-22. Insert a toothpick into the thickest part of the heart. If it comes out clean or with just a few moist crumbs, they’re done. If you see wet batter, give them another 2 minutes. Overbaked red velvet cupcakes become dry and crumbly, and the color darkens to a brownish-red.
Cool Completely Before Frosting: I know it’s tempting to rush this step, but warm cupcakes will turn your beautiful cream cheese frosting into a puddle. Let them cool for at least an hour on a wire rack. If you’re in a hurry, you can pop them in the fridge for 20 minutes after they’ve cooled for 10 minutes on the counter.
Variations & Adaptations
These heart-shaped cupcakes are a blank canvas for your creativity. Here are some variations I’ve tried and loved.
Dairy-Free Version: Substitute the buttermilk with 1 cup of unsweetened almond milk mixed with 1 tablespoon of lemon juice. For the frosting, use dairy-free cream cheese (like Kite Hill) and vegan butter. The texture will be slightly less tender, but it’s still delicious. My neighbor’s daughter has a dairy allergy, and this version made her birthday party extra special.
Gluten-Free Option: Swap the all-purpose flour with a 1:1 gluten-free baking flour blend that contains xanthan gum. I’ve used Bob’s Red Mill with great success. The cupcakes will be a bit more delicate, so handle them gently when removing from the pan. Let them cool completely in the pan before transferring to a rack.
Chocolate Lover’s Twist: Add ½ cup of mini chocolate chips to the batter before baking. Fold them in gently after combining the wet and dry ingredients. The little pockets of melted chocolate take these over the top. My husband calls these “heart-shaped brownie cupcakes.”
Mini Heart Bites: Use a mini heart-shaped pan and reduce the baking time to 10-12 minutes. These are perfect for little hands and class parties. You’ll get about 24 mini cupcakes from one batch of batter.
Frosting Flavor Variations: Add ½ teaspoon of almond extract to the cream cheese frosting for a subtle nutty flavor. Or fold in ¼ cup of crushed freeze-dried strawberries for a pink-speckled frosting that’s fruity and tangy. I made the strawberry version for a friend’s bridal shower, and they disappeared in minutes.
Serving & Storage Suggestions
These cupcakes are best served at room temperature. The cake is tender, and the frosting is perfectly soft and creamy. If you’ve refrigerated them, let them sit on the counter for 20-30 minutes before serving.
Presentation Ideas: Arrange the cupcakes on a white cake stand or a wooden board for a beautiful display. For Valentines Day, scatter a few conversation hearts around the base. For birthdays, add a colorful “Happy Birthday” banner behind them. I once served them on a vintage cake plate with a lace doily underneath, and they looked like something from a fancy bakery.
Perfect Pairings: Serve with a cold glass of milk for the kids, or a hot cup of coffee or tea for the adults. A scoop of vanilla ice cream on the side makes an incredible dessert. I’ve also served them alongside a warm chocolate sauce for dipping—pure decadence.
Storage Instructions: Store unfrosted cupcakes in an airtight container at room temperature for up to 3 days. Frosted cupcakes should be stored in the refrigerator in a single layer in an airtight container. They’ll keep for up to 5 days. The cream cheese frosting needs to stay chilled.
Freezing Tips: You can freeze the unfrosted cupcakes for up to 3 months. Wrap each one tightly in plastic wrap, then place them in a freezer-safe bag. When you’re ready to serve, thaw them on the counter for about an hour, then frost as usual. The frosting itself doesn’t freeze well, so always freeze the cake plain. I’ve done this for last-minute school events, and no one ever knows they were frozen.
Reheating: If you want that “fresh from the oven” warmth, pop an unfrosted cupcake in the microwave for 10-15 seconds. Then add the frosting. The slight warmth makes the cake even more tender.
Nutritional Information & Benefits
Let’s be real—these are a treat, not a health food. But knowing what’s in them helps you enjoy them mindfully. Here’s the estimated nutritional breakdown per cupcake (based on 12 servings):
| Nutrient | Amount per Cupcake |
|---|---|
| Calories | 385 |
| Total Fat | 22g |
| Saturated Fat | 9g |
| Carbohydrates | 45g |
| Sugar | 32g |
| Protein | 4g |
| Calcium | 45mg |
| Iron | 1mg |
Ingredient Benefits: The cocoa powder provides a small amount of antioxidants, and the buttermilk offers some calcium and probiotics. The cream cheese in the frosting adds a bit of protein. These are small benefits, but they’re nice to know.
Dietary Considerations: This recipe contains gluten, dairy, and eggs. For a gluten-free or dairy-free version, see the variations section above. The red food coloring is a common allergen for some people—you can use natural beet-based coloring if needed, though the color will be more of a deep pink than a bright red.
From my perspective, these are a “sometimes food.” They’re perfect for celebrations, holidays, and those days when you just need a little sweetness. I don’t stress about the numbers—I focus on the joy of sharing them with people I love.
Conclusion
These Kid-Approved Red Velvet Heart-Shaped Cupcakes are more than just a pretty dessert. They’re the recipe that turned me from a red velvet skeptic into a true believer. The tender, moist cake with its subtle cocoa flavor, paired with that tangy cream cheese frosting, is a combination that’s hard to beat. And the heart shape? It just makes everything feel a little more special.
I love how versatile they are—perfect for Valentines Day, birthdays, class parties, or just a random Tuesday when you want to make someone smile. They’re budget-friendly, use simple ingredients, and they always, always get rave reviews. The best part? Watching my kids’ faces light up when they see that red heart-shaped cake with the white swirl on top.
Now it’s your turn. I’d love to hear how these turn out for you. Did you try a fun variation? Did your kids help decorate them? Drop a comment below and share your experience. And if you loved this recipe, please share it with a friend who needs a little sweetness in their life. Happy baking, friends—you’ve got this!
Frequently Asked Questions
Can I make these cupcakes without a heart-shaped pan?
Absolutely! You can use a standard 12-cup muffin pan. After the cupcakes cool, use a heart-shaped cookie cutter to cut each one into a heart. You’ll have some scraps, but the kids won’t mind eating those. Alternatively, you can just frost them as round cupcakes—they’ll still taste amazing.
Why did my cream cheese frosting turn out runny?
This usually happens when the cream cheese is too soft or when you’ve used low-fat cream cheese. Always use full-fat block cream cheese, and make sure it’s softened but still cool to the touch. If your frosting is runny, try chilling it in the fridge for 15-20 minutes before piping. You can also beat in a little more powdered sugar to thicken it.
Can I use natural food coloring instead of artificial?
Yes, you can! Natural beet-based red food coloring works, but the color will be more of a deep pink or burgundy rather than the classic bright red. You’ll also need to use a bit more—about 3-4 tablespoons—since natural coloring is less concentrated. The taste won’t be affected, and it’s a great option if you’re avoiding artificial dyes.
How do I prevent the cupcakes from sticking to the pan?
Using silicone baking cups is the easiest solution. If you’re greasing the pan directly, use a generous amount of butter or non-stick spray, making sure to get into all the curves of the heart shape. Let the cupcakes cool in the pan for exactly 5 minutes, then gently run a thin knife around the edges before lifting them out. Patience is key here.
Can I double this recipe?
Yes, this recipe doubles beautifully. Just make sure you have two heart-shaped pans, or bake in batches. When doubling, mix the dry ingredients in one bowl and the wet ingredients in another, then combine as directed. The baking time stays the same. I often make a double batch for school bake sales—they disappear fast!
Pin This Recipe!
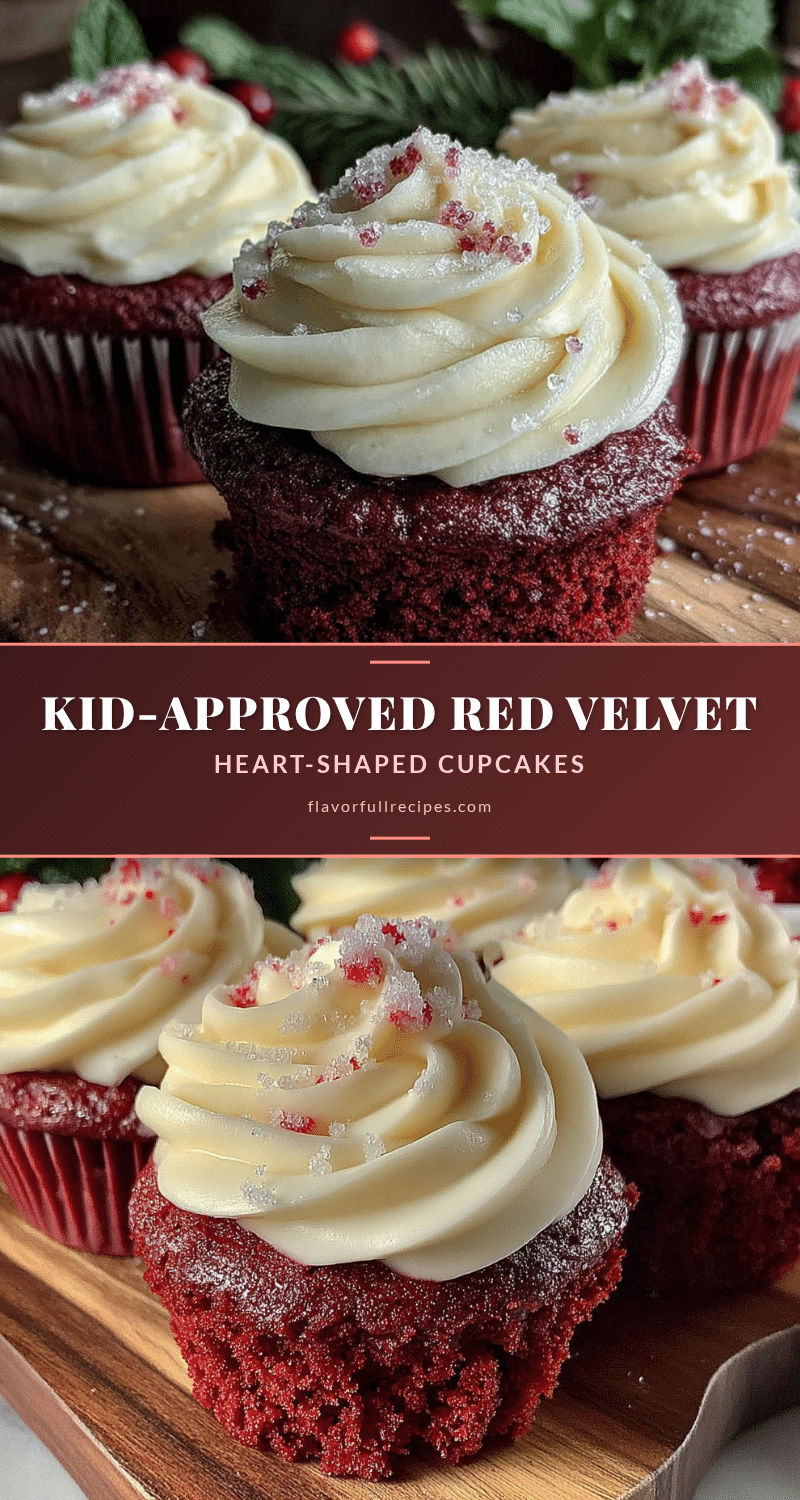
The Best Kid-Approved Red Velvet Heart-Shaped Cupcakes
- Total Time: 1 hour 40 minutes (includes cooling)
- Yield: 12 cupcakes 1x
Description
These tender, moist red velvet cupcakes with tangy cream cheese frosting are the perfect treat for Valentine’s Day, birthdays, or any celebration. Kid-approved and made with simple pantry ingredients, they’re a foolproof recipe that turns even skeptics into believers.
Ingredients
- 2 ½ cups (315g) all-purpose flour
- 2 tablespoons (15g) unsweetened cocoa powder
- 1 teaspoon baking soda
- ½ teaspoon salt
- 1 ½ cups (300g) granulated sugar
- 1 cup (240ml) vegetable oil
- 1 cup (240ml) buttermilk, room temperature
- 2 large eggs, room temperature
- 2 tablespoons (30ml) red food coloring
- 1 teaspoon white vinegar
- 1 teaspoon vanilla extract
- 8 ounces (226g) cream cheese, softened
- ½ cup (113g) unsalted butter, softened
- 3 cups (360g) powdered sugar, sifted
- 1 teaspoon vanilla extract (for frosting)
- Heart-shaped sprinkles (optional, for decoration)
Instructions
- Preheat oven to 350°F (175°C). Place heart-shaped silicone baking cups in a heart-shaped cupcake pan, or grease the pan well.
- In a large bowl, whisk together flour, cocoa powder, baking soda, and salt for about 30 seconds. Set aside.
- In a separate bowl, whisk together sugar, vegetable oil, buttermilk, eggs, red food coloring, vinegar, and vanilla extract until smooth and well combined.
- Pour wet ingredients into dry ingredients. Gently fold with a rubber spatula until just combined. A few small lumps are okay.
- Divide batter evenly among the heart-shaped cups, filling each about two-thirds full.
- Bake for 18-22 minutes, until a toothpick inserted into the center comes out clean or with a few moist crumbs. Cool in pan for 5 minutes, then transfer to a wire rack to cool completely (at least 1 hour).
- For frosting: In a large bowl, beat softened cream cheese and butter with an electric mixer on medium speed until smooth and creamy, about 2 minutes. Add vanilla extract and beat for 30 seconds.
- Gradually add sifted powdered sugar, one cup at a time, beating on low speed after each addition. Increase speed to medium-high and beat for 2-3 minutes until light, fluffy, and spreadable.
- Once cupcakes are completely cool, spoon frosting into a piping bag fitted with a star tip (or a zip-top bag with corner snipped). Pipe a generous swirl onto each cupcake.
- Top with heart-shaped sprinkles if desired. Press gently to adhere.
Notes
Don’t overmix the batter to avoid tough cupcakes. Use room temperature ingredients for best results. The vinegar reacts with baking soda for a tender crumb. Cool cupcakes completely before frosting to prevent melting. For dairy-free, use almond milk with lemon juice and dairy-free cream cheese. For gluten-free, use a 1:1 gluten-free flour blend. Store frosted cupcakes in the refrigerator for up to 5 days. Unfrosted cupcakes can be frozen for up to 3 months.
- Prep Time: 20 minutes
- Cook Time: 20 minutes
- Category: Dessert
- Cuisine: American
Nutrition
- Serving Size: 1 cupcake
- Calories: 385
- Sugar: 32
- Sodium: 280
- Fat: 22
- Saturated Fat: 9
- Carbohydrates: 45
- Fiber: 1
- Protein: 4
Keywords: red velvet cupcakes, heart-shaped cupcakes, Valentine's Day cupcakes, kid-friendly cupcakes, cream cheese frosting, red velvet dessert