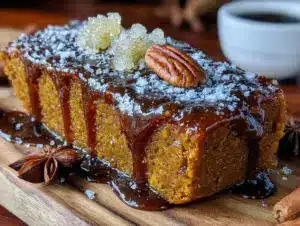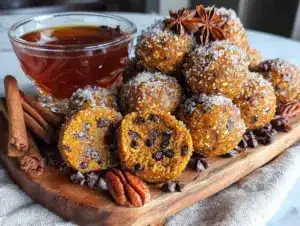
I was trying to make a pumpkin bread that didn’t taste like a science experiment. You know the kind—dense as a brick, overly spiced, and somehow both dry and gummy at the same time. My kids had rejected three different pumpkin recipes that week, and I was running out of ideas. The oven was already preheated, the canned pumpkin was open, and I was staring at a jar of molasses that I’d bought on a whim last fall and never used.
Honestly, I grabbed it out of desperation. I thought, “Well, this will either be a disaster or a miracle.” I dumped in a splash of molasses—more than I meant to, because the lid was sticky and it glugged out faster than I expected. Then I realized I was out of all-purpose flour and had to use half whole wheat. The pan I grabbed was a 9×13 instead of a loaf pan because the loaf pan was still dirty from breakfast. I was already mentally preparing for another failed pumpkin recipe.
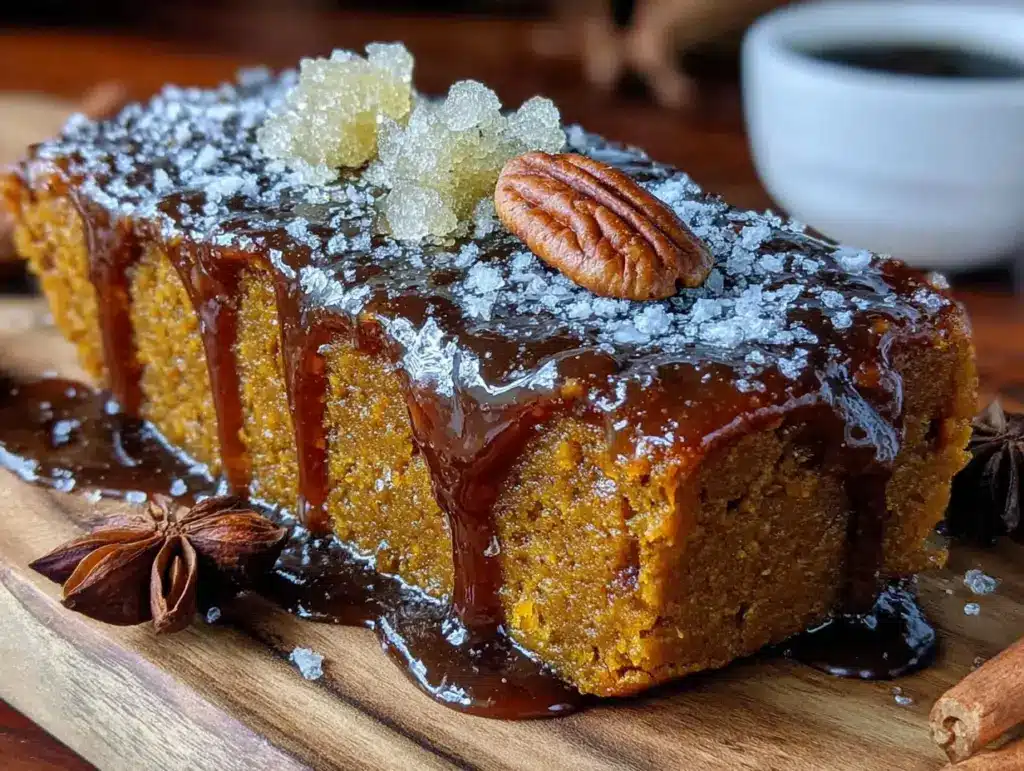
What came out of that oven was nothing like the plan. The bars were soft, almost cake-like, with this deep, caramelized sweetness that made my kitchen smell like a bakery in November. The edges were slightly chewy, the centers were tender, and the molasses gave it this warmth that regular pumpkin bread just doesn’t have. My youngest, who usually picks around anything that looks “brown and suspicious,” ate three pieces before I could even get a photo. My oldest asked if I could make them for the school bake sale. That’s when I knew I’d accidentally stumbled onto something worth keeping.
Maybe you’ve been there—staring at a half-used can of pumpkin, wondering if you can squeeze one more recipe out of fall before the season slips away. These Kid-Approved Pumpkin Molasses Spice Bars are that recipe. They’re the happy accident that turned into a family tradition, and I think they might become one in your kitchen too.
Why You’ll Love This Recipe
I’ve tested this recipe six times now. Six times, because I wanted to make sure it wasn’t just the “desperation made it taste good” effect. Turns out, it’s legit. Here’s why these bars work so well for real families with real schedules and real picky eaters:
- Quick & Easy : From start to finish, these bars take about 35 minutes. That’s mixing, baking, and cooling. No stand mixer required, no complicated techniques. Just a bowl, a whisk, and a spatula.
- Simple Ingredients : You probably have most of these in your pantry right now. Pumpkin puree, molasses, flour, sugar, eggs, oil, and basic spices. No trips to a specialty store for weird extracts or imported flours.
- Perfect for Fall Gatherings : These bars are sturdy enough to pack in lunchboxes, fancy enough for a Thanksgiving dessert table, and forgiving enough to survive a car ride to a potluck. They’re the MVP of autumn baking.
- Crowd-Pleaser : My kids approved them. My neighbor approved them. My dad, who “doesn’t like pumpkin stuff,” ate four. They have that magical quality of pleasing both adults who want depth of flavor and kids who just want something sweet and soft.
- Unbelievably Delicious : The molasses adds a complexity that regular pumpkin desserts lack. It’s not overpowering—just a subtle, almost toffee-like warmth that makes you take a second bite to figure out what that flavor is.
What sets this recipe apart from the dozens of pumpkin bar recipes online is the texture. Most pumpkin bars are either too cakey or too dense. These hit that perfect middle ground—firm enough to hold together as a bar, but tender enough to melt in your mouth. The molasses also helps with moisture retention, so these bars stay soft for days. Not that they’ll last that long, but you know, theoretically.
This isn’t just another pumpkin recipe to add to your collection. It’s the one you’ll actually make again. The one that gets requested. The one that makes you feel like a hero on a busy Tuesday night when you need something homemade but don’t have hours to spend in the kitchen.
What Ingredients You Will Need
This recipe uses simple, wholesome ingredients to deliver bold flavor and satisfying texture without the fuss. Most of these are pantry staples, especially if you do any fall baking at all. Here’s what you’ll need and why each one matters:
For the Bars
- 1 ¾ cups all-purpose flour (I use King Arthur, but any brand works. For a heartier texture, you can substitute up to half with whole wheat pastry flour.)
- 1 teaspoon baking powder (Make sure it’s fresh—test by dropping a bit in water; if it fizzes, it’s good.)
- ½ teaspoon baking soda (This helps the bars rise and balances the acidity of the molasses.)
- ½ teaspoon salt (Don’t skip it—salt enhances all the warm spices and keeps the bars from tasting flat.)
- 2 teaspoons pumpkin pie spice (Or make your own: 1 tsp cinnamon, ½ tsp ginger, ¼ tsp nutmeg, ¼ tsp cloves. I prefer the homemade version because it’s fresher.)
- 1 teaspoon ground cinnamon (Because you can never have too much cinnamon in a pumpkin recipe.)
- ½ cup unsalted butter, melted and slightly cooled (Salted butter works too—just reduce the added salt to ¼ teaspoon.)
- ¾ cup granulated sugar (Regular white sugar keeps the bars light and tender.)
- ½ cup packed light brown sugar (Adds moisture and a deeper caramel flavor that pairs beautifully with the molasses.)
- 2 large eggs, room temperature (Cold eggs can seize the melted butter. Let them sit on the counter for 15 minutes if you forgot to take them out ahead of time.)
- 1 cup pumpkin puree (Not pumpkin pie filling—make sure you grab the plain stuff. Libby’s is my go-to because it’s consistently thick and not watery.)
- ¼ cup molasses (Use unsulphured molasses, not blackstrap. Blackstrap is too bitter and will overpower the bars. Grandma’s Original or Brer Rabbit are perfect.)
- 1 teaspoon vanilla extract (Pure vanilla is best, but imitation works in a pinch. Adds warmth and rounds out the molasses flavor.)
For the Optional Glaze (Highly Recommended)
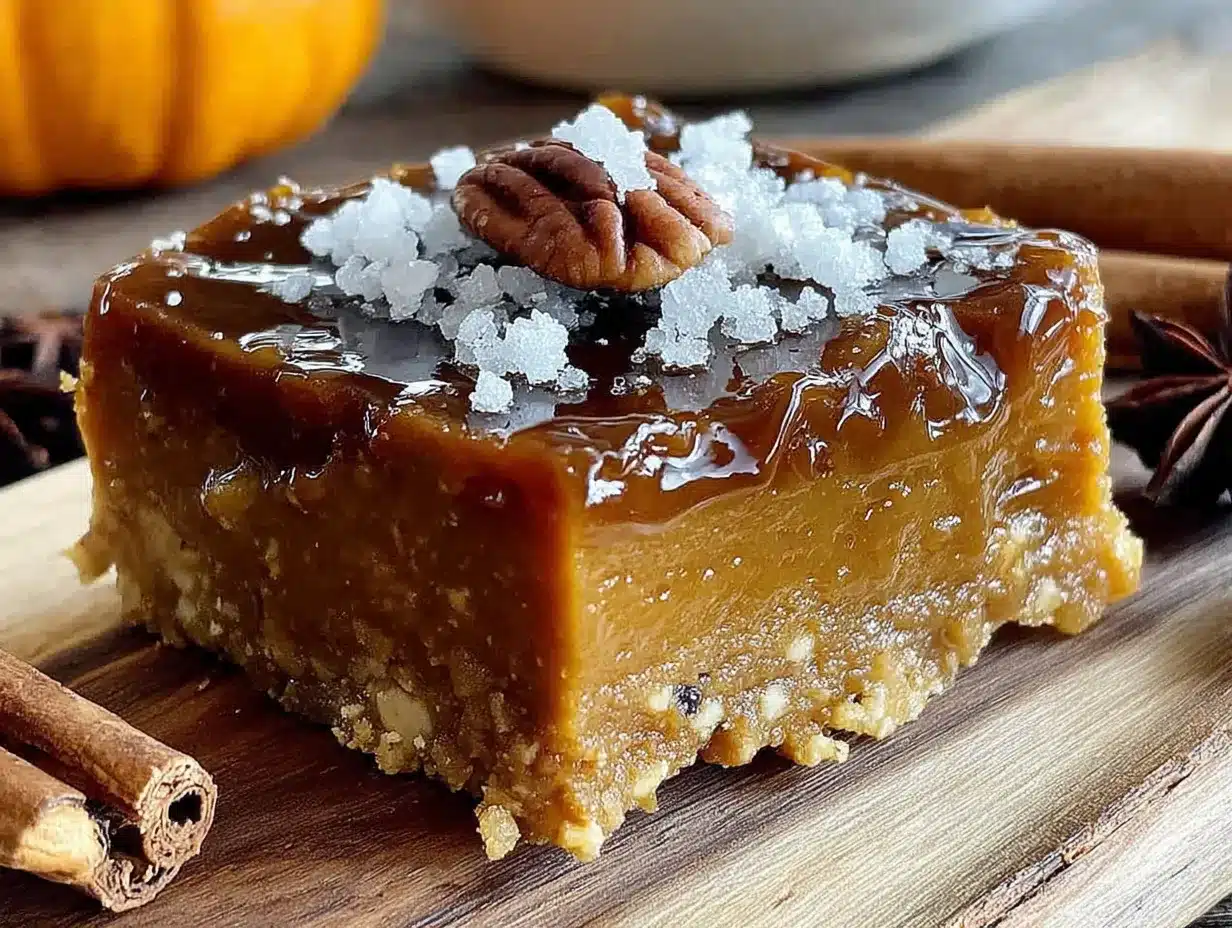
- 1 cup powdered sugar (Sift it if it’s lumpy—nobody wants a lumpy glaze.)
- 2 tablespoons milk (Any kind works. Start with 1 tablespoon and add more until you get a drizzling consistency.)
- ½ teaspoon vanilla extract (Or try maple extract for a fall twist.)
Ingredient Swap Notes: If you’re dairy-free, use melted coconut oil or vegan butter instead of regular butter. The texture will be slightly different—a bit more tender—but still delicious. For a gluten-free version, swap the all-purpose flour with a 1:1 gluten-free baking blend that contains xanthan gum. I’ve tested this with Bob’s Red Mill 1:1 and it worked perfectly.
Equipment Needed
You don’t need fancy equipment for these bars, which is part of why I love them. Here’s what you’ll need:
- 9×13-inch baking pan (Glass, metal, or ceramic all work. If using glass, reduce the oven temperature by 25°F to prevent over-browning.)
- Mixing bowls (One large, one medium. Nothing fancy—I use the same set I’ve had for ten years with a chip in the smallest bowl.)
- Whisk (For combining dry ingredients and smoothing out the wet mixture.)
- Rubber spatula (For scraping every last bit of batter into the pan. Waste not, want not.)
- Parchment paper (This is non-negotiable for easy removal. Cut it so it overhangs on two sides like handles.)
- Cooling rack (Wire rack lets air circulate so the bars cool evenly and don’t get soggy on the bottom.)
- Measuring cups and spoons (For accuracy—baking is a science, but this recipe is forgiving enough that you don’t need a kitchen scale.)
Budget-Friendly Tip: If you don’t have parchment paper, grease the pan thoroughly with butter or cooking spray and dust with flour. The bars might stick a little around the edges, but they’ll still come out. I’ve done this more times than I care to admit.
Preparation Method
Preheat your oven to 350°F (175°C). Line your 9×13-inch pan with parchment paper, leaving some overhang on the long sides. This will be your best friend when it’s time to lift the bars out.
- Mix the dry ingredients. In a medium bowl, whisk together the flour, baking powder, baking soda, salt, pumpkin pie spice, and cinnamon. Set this aside. Give it a good whisk—about 15 seconds—to make sure the baking powder and spices are evenly distributed. Nobody wants a pocket of baking soda in their bar.
- Combine the wet ingredients. In a large bowl, whisk together the melted butter, granulated sugar, and brown sugar until smooth. It should look like wet sand—grainy but combined. Add the eggs one at a time, whisking well after each. The mixture will get lighter and slightly fluffy. Then add the pumpkin puree, molasses, and vanilla extract. Whisk until everything is a uniform orange-brown color. Don’t overmix—just until it’s combined.
- Fold the dry into the wet. Pour the dry ingredients into the wet mixture. Use your rubber spatula to fold gently. Start from the bottom and bring the mixture up and over. Do this about 10-12 times, until no streaks of flour remain. A few small lumps are fine—overmixing will make the bars tough. The batter will be thick, almost like a muffin batter, and smell incredible.
- Spread the batter in the pan. Scrape the batter into your prepared pan. Use the spatula to spread it evenly into all corners. The batter is thick, so take your time. I like to give the pan a couple of gentle taps on the counter to release any air bubbles.
- Bake. Place the pan on the middle rack of your preheated oven. Bake for 20-25 minutes, or until a toothpick inserted in the center comes out clean or with just a few moist crumbs. The edges should be pulling away from the pan slightly, and the top should be a deep golden brown. Start checking at 20 minutes—ovens vary wildly, and you don’t want to overbake.
- Cool completely. Transfer the pan to a wire rack and let the bars cool for at least 20 minutes in the pan. Then use the parchment overhang to lift the entire block of bars out and onto the cooling rack. Let them cool completely before glazing or cutting. I know it’s hard to wait, but warm bars will crumble when you cut them and the glaze will just melt into a puddle.
- Make the glaze (if using). In a small bowl, whisk together the powdered sugar, milk, and vanilla extract until smooth. The glaze should be thick but pourable—like thick cream. If it’s too thick, add milk a teaspoon at a time. If it’s too thin, add more powdered sugar. Drizzle over the cooled bars using a spoon or a piping bag with the tip snipped off. Let the glaze set for about 10 minutes before cutting.
- Cut and serve. Use a sharp knife to cut the bars into squares. I usually get 16 nice-sized bars, but you can cut them smaller for a crowd or larger for dessert lovers. Wipe the knife clean between cuts for the neatest edges.
Sensory Cue: When the bars are done, your kitchen will smell like a pumpkin spice candle exploded—in the best way. The top will be set and spring back slightly when you touch it. If it feels jiggly in the center, give it another 2-3 minutes.
Cooking Tips & Techniques
I’ve made these bars enough times to know where things can go wrong. Let me save you the trouble:
Don’t overmix the batter. This is the number one mistake I see with pumpkin baked goods. Overmixing develops gluten, which makes bars tough and rubbery. You want tender, not tough. Mix just until the flour disappears. A few lumps are your friend.
Use room temperature ingredients. Cold eggs and cold pumpkin will seize the melted butter, creating a lumpy batter that doesn’t bake evenly. Leave your eggs on the counter for 15 minutes, and if your pumpkin is straight from the fridge, microwave it for 10 seconds to take the chill off.
Watch your molasses. Different molasses have different intensities. Unsulphured molasses (like Grandma’s Original) is mild and sweet. Blackstrap molasses is dark, bitter, and will completely change the flavor of these bars. Trust me on this—I made that mistake once and the bars tasted like burnt licorice. Stick with the mild stuff.
Check your oven temperature. I learned this the hard way after three batches of dry bars. Ovens lie. They say they’re at 350°F, but they’re actually running hot or cold. An oven thermometer costs five dollars and will save you from crumbly, dry disasters. Your bars should be golden brown at 22 minutes, not 18 or 28.
Let them cool. I know, I know. The smell is intoxicating and you want to cut into them immediately. But warm bars are fragile. They’ll fall apart, the glaze will slide off, and you’ll be left with a pile of delicious crumbs instead of beautiful squares. Patience pays off here.
Line the pan properly. Parchment paper overhang isn’t just for show. It lets you lift the entire batch out of the pan in one piece, which makes cutting even squares infinitely easier. Cut two pieces of parchment that are slightly wider than the pan, crisscross them, and let the ends hang over the edges.
Variations & Adaptations
One of the best things about this recipe is how flexible it is. Here are some ways to make it your own:
Gluten-Free Version: Substitute the all-purpose flour with a 1:1 gluten-free baking blend that contains xanthan gum. I’ve used Bob’s Red Mill 1:1 Baking Flour with great results. The texture is slightly more tender, but the flavor is identical. No one will know unless you tell them.
Dairy-Free Version: Swap the butter with melted coconut oil or a good vegan butter like Miyoko’s. Use oat milk or almond milk in the glaze. The coconut oil version has a subtle coconut flavor that actually pairs beautifully with the pumpkin and molasses.
Spice It Up: If you like a bolder spice profile, add ¼ teaspoon of ground cardamom or allspice to the dry ingredients. Cardamom gives it a slightly floral, almost chai-like warmth that’s absolutely stunning in the fall.
Add Mix-Ins: Fold in ½ cup of chocolate chips, chopped pecans, or dried cranberries right before spreading the batter in the pan. Chocolate chips make it more kid-friendly (if that’s even possible), while pecans add a lovely crunch and nutty flavor.
Make It a Cake: Pour the batter into two 8-inch round cake pans and bake for 22-25 minutes. Let cool, then frost with cream cheese frosting. It’s a completely different dessert—more elegant, perfect for a birthday or holiday gathering.
Pumpkin Muffins: Divide the batter among 12 muffin cups lined with paper liners. Bake at 350°F for 18-20 minutes. These freeze beautifully and make excellent lunchbox treats. My kids actually prefer them as muffins because they’re more portable.
Serving & Storage Suggestions
These bars are versatile enough to serve in multiple ways. Here’s how I like to do it:
Serving Temperature: Room temperature is ideal. The flavors are more pronounced, and the texture is at its best—soft but firm, with a slight chewiness at the edges. If you’ve glazed them, let the glaze set completely before serving so it doesn’t smudge.
Presentation: Arrange the bars on a wooden board or a simple white platter. A dusting of powdered sugar adds a nice touch if you skipped the glaze. For a fancier presentation, add a dollop of whipped cream and a sprinkle of cinnamon on each bar.
What to Serve With Them: A hot cup of coffee or chai latte is the obvious choice. For a kid-friendly pairing, a glass of cold milk is perfect. These bars also go beautifully with a scoop of vanilla ice cream for a full dessert experience.
Storage: Store the bars in an airtight container at room temperature for up to 4 days. If you’ve used the glaze, place a piece of wax paper between layers to prevent sticking. They actually get better on day two—the flavors meld and deepen, and the texture becomes even more tender.
Freezer Instructions: These bars freeze like champions. Wrap individual bars tightly in plastic wrap, then place them in a freezer-safe bag or container. They’ll keep for up to 3 months. To thaw, let them sit at room temperature for about 30 minutes, or pop one in the microwave for 15 seconds for a warm treat.
Reheating: If you prefer your bars warm, microwave an individual bar for 10-15 seconds. Don’t go longer, or the edges will get hard. For a larger batch, warm them in a 300°F oven for 5-7 minutes.
Nutritional Information & Benefits
While these bars are definitely a treat, they do offer some nutritional perks worth noting. Here’s the breakdown for one bar (based on 16 servings, without glaze):
- Calories: Approximately 185
- Total Fat: 7g
- Saturated Fat: 4g
- Cholesterol: 35mg
- Sodium: 180mg
- Total Carbohydrates: 29g
- Dietary Fiber: 1g
- Sugars: 18g
- Protein: 3g
- Vitamin A: 70% of the Daily Value
Health Highlights: Pumpkin is packed with vitamin A, which supports eye health and immune function. It’s also a good source of fiber, which helps with digestion and keeps you feeling full. Molasses contains iron, calcium, and magnesium—not in huge amounts, but every little bit counts. The whole wheat option adds even more fiber and nutrients.
Dietary Considerations: These bars are nut-free (unless you add nuts), making them school-safe. They can be made dairy-free and gluten-free with the substitutions mentioned above. They are not low-carb or keto-friendly due to the sugar content, but they are a more wholesome option than many store-bought desserts.
Allergen Note: Contains wheat, dairy, and eggs. For egg-free baking, substitute each egg with a flax egg (1 tablespoon ground flaxseed mixed with 3 tablespoons water, let sit for 5 minutes). The texture will be slightly denser but still delicious.
Conclusion
These Kid-Approved Pumpkin Molasses Spice Bars started as a kitchen mishap and ended up as a family staple. They’re proof that sometimes the best recipes come from moments of distraction and desperation—when you’re not trying to be perfect, you’re just trying to get dinner on the table or use up that last can of pumpkin before it expires.
What I love most about this recipe is how forgiving it is. It works with substitutions, it stays fresh for days, and it pleases everyone from picky preschoolers to dessert-snob adults. The molasses adds a depth that makes these bars feel special, while the pumpkin keeps them familiar and comforting. They’re the kind of dessert that makes you close your eyes on the first bite—not because it’s fancy, but because it tastes like home.
I’d love to hear how these turn out for you. Did you add chocolate chips? Try the gluten-free version? Serve them warm with ice cream? Drop a comment below and let me know your twist on this recipe. And if you make them for a bake sale or a family gathering, send me a photo—I always love seeing these bars in action in other kitchens.
Happy baking, friends. Here’s to happy accidents that taste like fall.
Frequently Asked Questions
Can I use pumpkin pie filling instead of pumpkin puree?
No, I wouldn’t recommend it. Pumpkin pie filling already has sugar and spices added, which will throw off the balance of this recipe. You’ll end up with bars that are too sweet and overly spiced. Stick with plain pumpkin puree—it gives you control over the flavor.
Why did my bars turn out dry?
Dry bars usually mean one of two things: you overbaked them or you overmeasured the flour. Make sure you’re spooning the flour into your measuring cup and leveling it off, not scooping directly from the bag (which packs the flour down). And start checking for doneness at 20 minutes—every oven is different.
Can I reduce the sugar in this recipe?
You can reduce the granulated sugar to ½ cup, but I wouldn’t reduce the brown sugar because it adds moisture. The molasses is also crucial for both flavor and texture. If you cut the sugar too much, the bars will be less tender and won’t have that signature caramelized edge.
How do I make these bars ahead of time for a party?
These are perfect for make-ahead baking. Bake the bars up to two days in advance, cool them completely, and store them in an airtight container at room temperature. Add the glaze on the day you’re serving them for the prettiest presentation. They actually taste better on day two!
Can I freeze the unbaked batter?
I don’t recommend freezing the batter because the texture changes as it thaws. Instead, bake the bars first, then freeze the baked and cooled bars (unglazed). They’ll keep for up to three months. When you’re ready to serve, thaw, glaze, and enjoy.
Pin This Recipe!
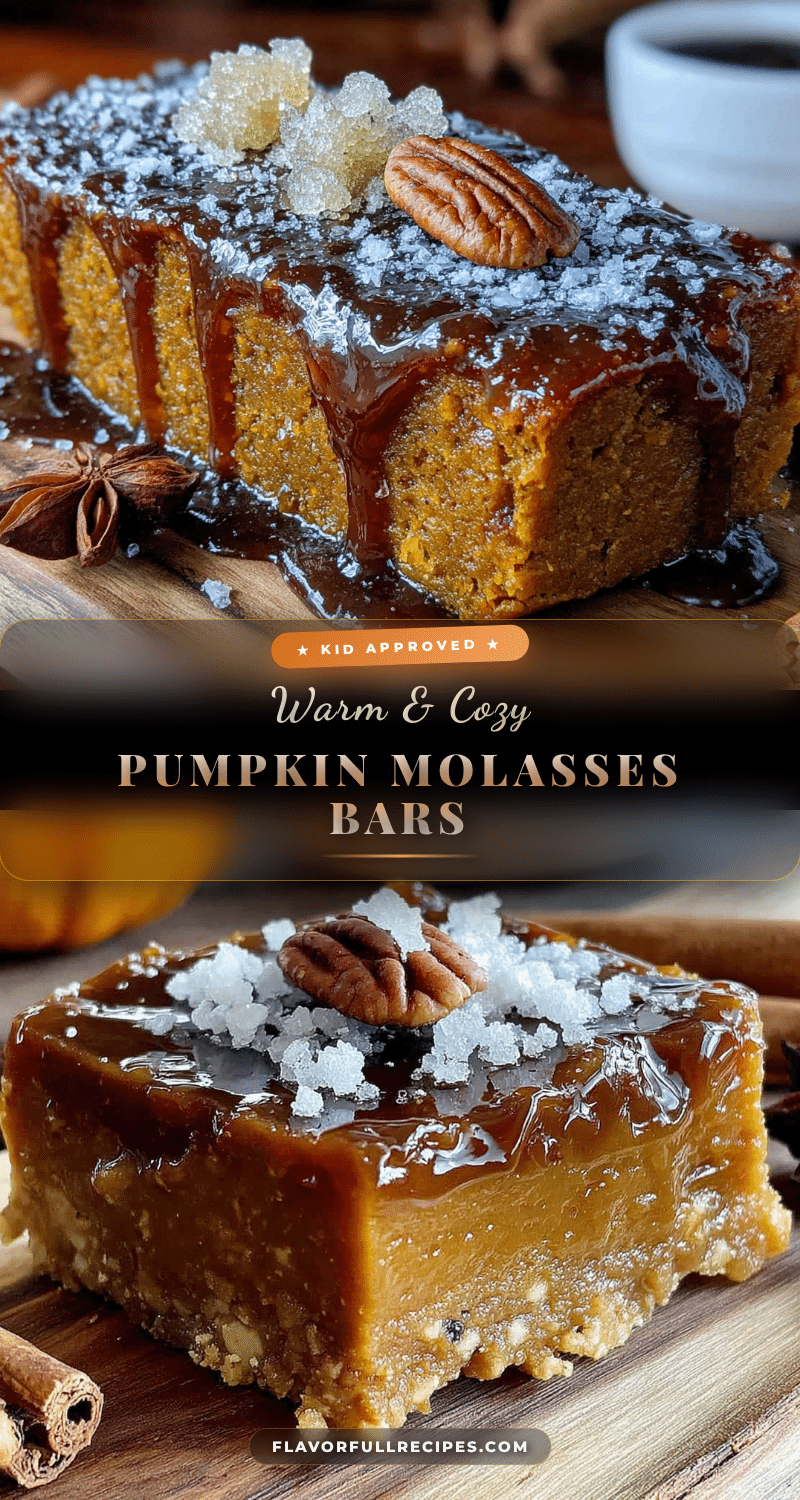
Kid-Approved Pumpkin Molasses Spice Bars Easy Fall Dessert Recipe
- Total Time: 40 minutes
- Yield: 16 servings 1x
Description
These soft, cake-like pumpkin molasses spice bars are a happy accident turned family tradition. Made with simple pantry ingredients, they’re quick to prepare, crowd-pleasing, and perfect for fall gatherings, lunchboxes, or holiday dessert tables.
Ingredients
- 1 ¾ cups all-purpose flour
- 1 teaspoon baking powder
- ½ teaspoon baking soda
- ½ teaspoon salt
- 2 teaspoons pumpkin pie spice
- 1 teaspoon ground cinnamon
- ½ cup unsalted butter, melted and slightly cooled
- ¾ cup granulated sugar
- ½ cup packed light brown sugar
- 2 large eggs, room temperature
- 1 cup pumpkin puree (not pumpkin pie filling)
- ¼ cup unsulphured molasses (not blackstrap)
- 1 teaspoon vanilla extract
- 1 cup powdered sugar (for glaze)
- 2 tablespoons milk (for glaze)
- ½ teaspoon vanilla extract (for glaze)
Instructions
- Preheat oven to 350°F (175°C). Line a 9×13-inch baking pan with parchment paper, leaving overhang on the long sides.
- In a medium bowl, whisk together flour, baking powder, baking soda, salt, pumpkin pie spice, and cinnamon. Set aside.
- In a large bowl, whisk together melted butter, granulated sugar, and brown sugar until smooth. Add eggs one at a time, whisking well after each. Add pumpkin puree, molasses, and vanilla extract; whisk until combined.
- Pour dry ingredients into wet mixture. Fold gently with a rubber spatula until no streaks of flour remain (about 10-12 folds). Do not overmix.
- Spread batter evenly into prepared pan. Tap pan gently on counter to release air bubbles.
- Bake on middle rack for 20-25 minutes, until a toothpick inserted in center comes out clean or with a few moist crumbs. Edges should pull away from pan slightly.
- Cool in pan on wire rack for 20 minutes. Use parchment overhang to lift bars out onto rack. Cool completely before glazing or cutting.
- For glaze: In a small bowl, whisk together powdered sugar, milk, and vanilla extract until smooth and pourable. Drizzle over cooled bars. Let set 10 minutes before cutting.
- Cut into 16 squares with a sharp knife, wiping blade clean between cuts.
Notes
Don’t overmix the batter to avoid tough bars. Use room temperature ingredients. Unsulphured molasses is key—blackstrap is too bitter. Check oven temperature with an oven thermometer. Let bars cool completely before glazing or cutting. Bars stay fresh in an airtight container at room temperature for up to 4 days. Freeze unglazed bars for up to 3 months.
- Prep Time: 15 minutes
- Cook Time: 25 minutes
- Category: Dessert
- Cuisine: American
Nutrition
- Serving Size: 1 bar
- Calories: 185
- Sugar: 18
- Sodium: 180
- Fat: 7
- Saturated Fat: 4
- Carbohydrates: 29
- Fiber: 1
- Protein: 3
Keywords: pumpkin bars, molasses bars, fall dessert, easy pumpkin recipe, kid-friendly dessert, spice bars, pumpkin dessert, autumn baking