My husband took a bite, paused, and then just looked at the bowl. “Wait,” he said, fork already going back in for another piece. “You made this in one bowl? With a fork?” I nodded, still half-watching the baby monitor. He didn’t say much else, but he ate three slices that afternoon. That’s how I knew this easy one-bowl banana bread was something special—not because I told him it was, but because he kept coming back to the counter, cutting another piece, not even bothering to warm it up.
Honestly, I wasn’t trying to create anything groundbreaking. I had three spotty bananas on the counter (you know the ones—where the peel has gone past yellow into that mottled brown stage) and a baby who’d finally fallen asleep for a nap. I needed something I could throw together quietly, without dragging out the stand mixer or hunting down a whisk. So I grabbed a fork, a big mixing bowl, and decided to see what happened.
This recipe is the result of that lazy afternoon experiment. And somehow, it became the version I reach for every single time now. No mixer required. No complicated steps. Just a fork, a bowl, and bananas that are practically begging to be baked. It’s the kind of easy one-bowl banana bread that makes you wonder why you ever bothered with the fancy equipment in the first place.
Why You’ll Love This Recipe
Let me be real with you—I’ve tested a lot of banana bread recipes over the years. Some were too dry. Some needed three different bowls and a hand mixer. Some looked beautiful but tasted… fine. This one? It’s different. And here’s why you’re going to want it in your regular rotation.
- One Bowl, One Fork, No Drama : This is genuinely the easiest banana bread you’ll ever make. You mash the bananas with a fork, stir in the wet ingredients, fold in the dry, and you’re done. The bowl goes straight into the dishwasher. No mixer attachments to wash, no second bowl to scrape out. It’s almost suspiciously simple.
- Perfectly Moist Every Time : The trick is using really ripe bananas—the ones that look almost too far gone. They break down into a natural puree that keeps the bread incredibly moist without being gummy. I’ve made this for three different playdates and gotten the same reaction: “How is it this moist?”
- Pantry-Friendly Ingredients : You probably already have everything in your kitchen right now. Flour, sugar, butter or oil, eggs, baking soda, salt, and bananas. That’s it. No buttermilk, no sour cream, no weird specialty ingredients you’ll use once and forget about.
- Flexible and Forgiving : This is not a finicky recipe. You can swap the butter for coconut oil, use whole wheat flour for half the all-purpose, or toss in chocolate chips or nuts without changing the structure. It’s the kind of bread that works with what you have.
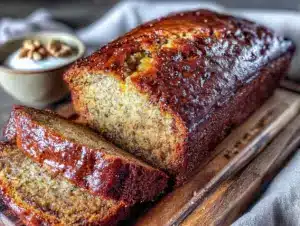
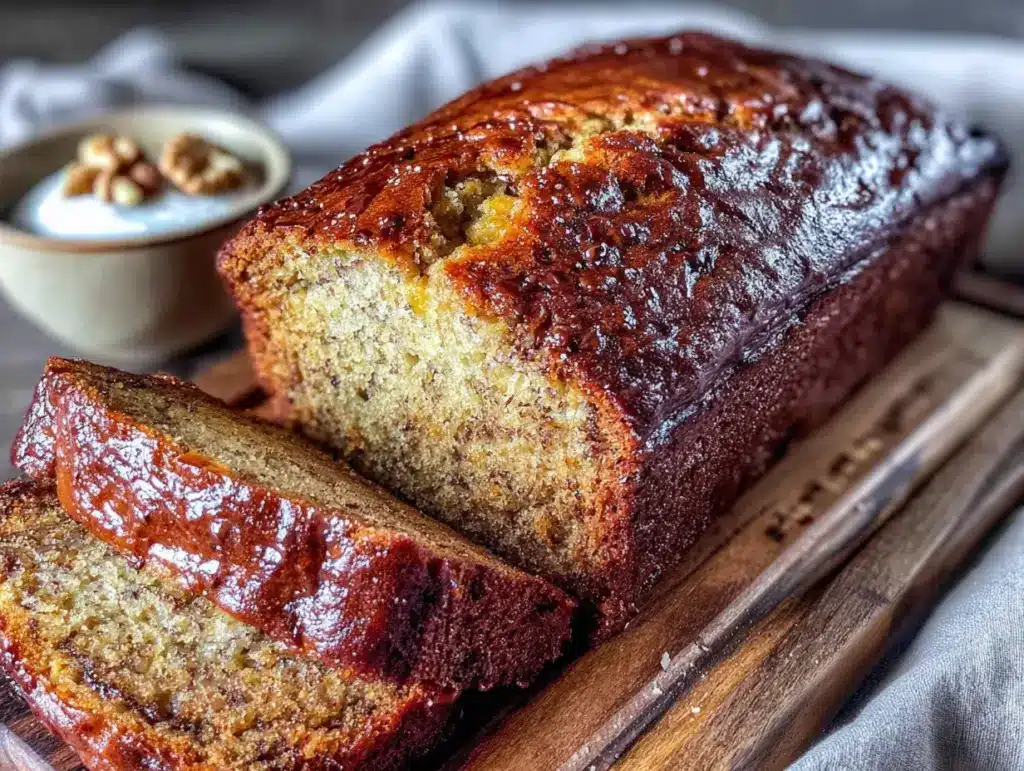
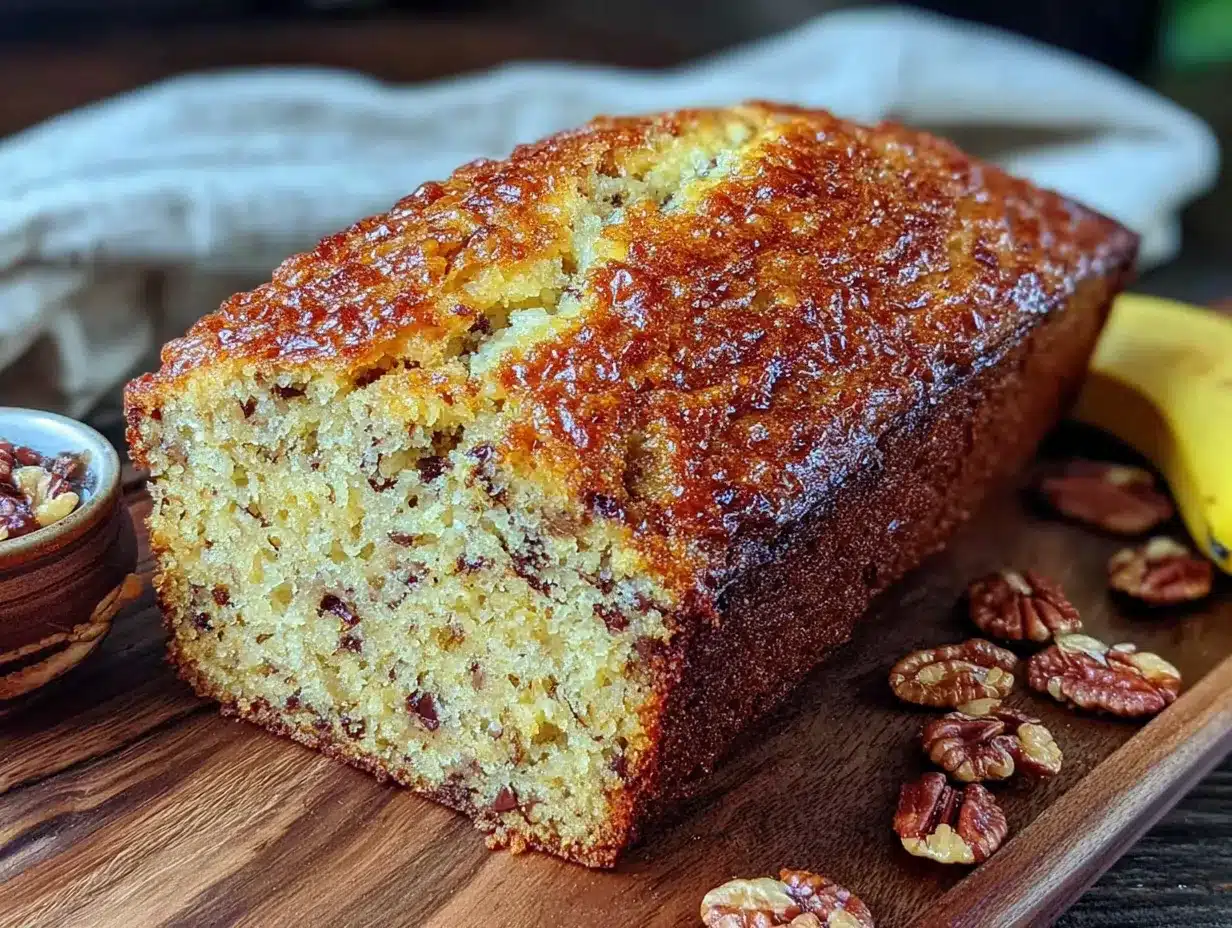
- That Classic Bakery Taste at Home : The edges get slightly darker and caramelized, the center stays tender, and the top develops a beautiful crackled crust. It tastes like something from a fancy coffee shop, but you made it in your pajamas while the coffee was brewing.
What Ingredients You Will Need
This recipe uses simple, everyday ingredients to create something that feels anything but basic. Here’s what you’ll need and why each one matters.
- 3 large ripe bananas (about 1 ½ cups mashed) : The riper, the better. You want bananas with brown spots all over the peel—the ones that smell sweet and almost fermenty. They mash into a natural syrup that provides both sweetness and moisture. If your bananas aren’t ripe enough, the bread will be less sweet and more dense.
- ⅓ cup melted unsalted butter (75g) : Butter gives that rich, classic flavor. I use unsalted so I can control the salt level. If you only have salted butter, just reduce the added salt to ¼ teaspoon. You can also substitute with melted coconut oil for a dairy-free version—it adds a subtle coconut note that pairs beautifully with banana.
- ¾ cup granulated sugar (150g) : Regular white sugar keeps the bread light and tender. You can reduce it to ½ cup if your bananas are extremely ripe and sweet. Brown sugar works too—it’ll give a deeper, molasses-like flavor and a slightly denser crumb.
- 1 large egg, room temperature : The egg binds everything together and adds structure. If you forget to take it out of the fridge ahead of time, place it in a bowl of warm water for 5 minutes. Room temperature egg incorporates more evenly and creates a better texture.
- 1 teaspoon vanilla extract : Pure vanilla adds warmth and depth. I always use pure vanilla extract—the artificial stuff has a chemical aftertaste that you can detect in simple recipes like this one.
- 1 ½ cups all-purpose flour (190g) : All-purpose flour gives the perfect tender crumb. For a whole wheat version, substitute ¾ cup whole wheat flour and keep ¾ cup all-purpose—going full whole wheat can make the bread too dense. I like King Arthur Flour for consistent results.
- 1 teaspoon baking soda : This is the only leavening agent you need. Make sure it’s fresh—if your baking soda is older than 6 months, it might not give enough lift. To test, drop a little into vinegar; it should fizz vigorously.
- ½ teaspoon salt : Salt balances the sweetness and enhances the banana flavor. Don’t skip it—even if you think it’s weird to add salt to a sweet bread, it makes a noticeable difference.
- Optional mix-ins: ½ cup chocolate chips, chopped walnuts, or pecans : These are completely optional but highly recommended. Semi-sweet chocolate chips are my personal favorite—they add little pockets of melted chocolate that make each bite exciting. Toasted walnuts add a nice crunch and nutty flavor.
Equipment Needed
The beauty of this recipe is that you don’t need much. Here’s what you’ll need to have on hand.
- One large mixing bowl : Any medium-to-large bowl will do. I use a standard ceramic mixing bowl, but glass or stainless steel works just as well. The key is that it’s big enough to mash bananas and stir everything without splashing.
- A fork or potato masher : A fork is actually my preferred tool for mashing bananas—it gives you more control and leaves some small chunks for texture. A potato masher works faster if you want a smoother puree.
- A 9×5-inch loaf pan : This is the standard size for banana bread. If you only have an 8×4-inch pan, your bread will be taller and可能需要增加10-15分钟的烘烤时间。一个8×8英寸的方形烤盘也可以,但烘烤时间会缩短到35-40分钟。
- Parchment paper or non-stick spray : I always line my loaf pan with parchment paper, leaving overhang on two sides. This makes lifting the bread out so much easier—no struggling to flip it onto a cooling rack.
- Measuring cups and spoons : For accuracy, especially with the flour. Spoon flour into your measuring cup and level it off with a knife—don’t scoop directly from the bag, which packs the flour and leads to dry bread.
- Cooling rack : Essential for letting the bread cool evenly. If you leave it in the pan too long, the bottom can get soggy from trapped steam.
Preparation Method
Alright, let’s make this easy one-bowl banana bread. I’ll walk you through each step with the little details that make a difference.
- Preheat your oven to 350°F (175°C) . Position the rack in the center of the oven. While it’s heating, grease your 9×5-inch loaf pan with butter or non-stick spray, or line it with parchment paper. I prefer parchment—it makes cleanup even easier and guarantees the bread won’t stick.
- Mash the bananas in your mixing bowl . Peel the three bananas and drop them into the bowl. Use your fork to mash them until they’re mostly smooth with a few small lumps remaining. You want some texture—completely smooth puree can make the bread a bit dense. The mashing should take about 30 seconds. You should have about 1 ½ cups of mashed banana.
- Add the melted butter and sugar . Pour in the melted butter (make sure it’s not hot—just warm) and the granulated sugar. Stir with your fork until combined. The mixture will look a bit grainy at this point, and that’s totally normal. The sugar needs a moment to start dissolving into the banana mixture.
- Add the egg and vanilla . Crack the egg directly into the bowl. Add the vanilla extract. Stir everything together until the egg is fully incorporated and the mixture looks smooth and glossy. This should take about 20 seconds of vigorous stirring. Don’t overmix—just until it’s uniform.
- Add the dry ingredients . Sprinkle the flour, baking soda, and salt over the wet mixture. Use your fork or a rubber spatula to fold everything together gently. Stir just until no streaks of flour remain—about 10 to 15 strokes. A few small lumps are fine. Overmixing at this stage will develop the gluten too much and make your bread tough.
- Fold in any mix-ins . If you’re using chocolate chips, nuts, or both, gently fold them in now. Reserve about a tablespoon to sprinkle on top before baking—it makes the loaf look prettier and gives a little extra goodness on the crust.
- Pour the batter into the prepared pan . Use your spatula to scrape every bit into the loaf pan. Spread it evenly, especially into the corners. Give the pan a gentle tap on the counter to release any air bubbles.
- Bake for 50 to 60 minutes . Place the pan in the preheated oven. Bake until the top is deep golden brown and a toothpick inserted into the center comes out clean or with just a few moist crumbs. Start checking at 50 minutes—every oven runs a little differently. If the top is browning too quickly (around the 40-minute mark), loosely tent a piece of foil over the pan.
- Cool in the pan for 10 minutes . Remove the pan from the oven and set it on a cooling rack. Let it rest for exactly 10 minutes. This allows the bread to set and firm up slightly, making it easier to remove without breaking.
- Transfer to a cooling rack to cool completely . After 10 minutes, use the parchment paper overhang to lift the bread out of the pan. Place it directly on the cooling rack. Let it cool completely before slicing—about 1 hour. I know it’s tempting to cut into it warm, but slicing too early can make the bread crumble and become gummy. Trust me, the wait is worth it.
Cooking Tips & Techniques
Over the years, I’ve learned a few things the hard way so you don’t have to. Here are my best tips for perfect banana bread every time.
- Ripen bananas faster if needed : If your bananas aren’t spotty enough, place them on a baking sheet and bake at 300°F for 15-20 minutes until the skins turn black. Let them cool, then use as usual. They won’t be quite as sweet as naturally ripened bananas, but they’ll work in a pinch.
- Don’t overmix the batter : This is the most common mistake I see. Once you add the flour, stir only until combined. Overmixing activates the gluten and creates a tough, rubbery bread instead of a tender, fluffy one. A few flour streaks are better than a tough loaf.
- Use a kitchen scale for accuracy : If you have one, weighing your flour (190g) is more accurate than measuring by volume. Flour can settle differently in the bag, and scooping can add up to 25% more flour than intended. Too much flour = dry banana bread.
- Check for doneness with a thermometer : If you have an instant-read thermometer, the internal temperature of perfectly baked banana bread should be around 200-205°F. This is more reliable than the toothpick test, especially if you’ve added mix-ins that might give a false reading.
- Let it cool completely for best texture : I learned this lesson after cutting into too many warm loaves that fell apart. The bread continues to set as it cools, and the moisture redistributes throughout the loaf. Slicing too early releases steam and can make the bread dry out faster.
- Toast slices for a treat : Day-old banana bread is actually amazing when lightly toasted. Spread a little butter on a slice and toast it in a skillet or toaster oven. The edges get crispy while the inside stays soft—it’s a whole different experience.
Variations & Adaptations
This easy one-bowl banana bread is incredibly versatile. Here are some of my favorite ways to change it up.
- Chocolate Chip Banana Bread : This is my go-to variation. Fold in ½ cup of semi-sweet chocolate chips. For an extra indulgent touch, drizzle melted chocolate over the cooled loaf. It’s basically dessert masquerading as breakfast.
- Nutty Banana Bread : Add ½ cup of chopped walnuts or pecans, lightly toasted first for deeper flavor. Toast them in a dry skillet over medium heat for 3-4 minutes, stirring frequently, until fragrant. The toasting makes a noticeable difference in flavor.
- Vegan Banana Bread : Replace the butter with melted coconut oil or a neutral vegetable oil. Use a flax egg (1 tablespoon ground flaxseed mixed with 3 tablespoons water, let sit for 5 minutes) instead of the regular egg. The texture will be slightly denser but still delicious.
- Gluten-Free Banana Bread : Substitute the all-purpose flour with a 1:1 gluten-free baking flour blend that contains xanthan gum. I’ve had good results with Bob’s Red Mill 1-to-1 Baking Flour. The bread might be slightly more crumbly, so let it cool completely before slicing.
- Spiced Banana Bread : Add 1 teaspoon of cinnamon, ½ teaspoon of nutmeg, and ¼ teaspoon of ground ginger along with the dry ingredients. This gives the bread a warm, cozy flavor that’s perfect for fall. It pairs beautifully with the cinnamon apple crisp I make during apple season.
- Blueberry Banana Bread : Gently fold in 1 cup of fresh or frozen blueberries (don’t thaw them first) at the end. Toss them in a tablespoon of flour before adding to prevent them from sinking to the bottom. The burst of tart berries against the sweet banana is wonderful.
Serving & Storage Suggestions
This bread is good in so many ways. Here’s how to serve and store it for the best experience.
Serving : Banana bread is best at room temperature or slightly warm. For a special treat, spread a slice with salted butter, cream cheese, or a dollop of Greek yogurt and honey. It’s also fantastic toasted—the edges get crispy and the inside stays soft. I love serving it alongside a cup of hot coffee or a tall glass of cold milk.
For a brunch spread, slice the bread and arrange it on a platter with fresh fruit and a little dish of honey butter. It also makes a great homemade gift—wrap a loaf in parchment paper, tie it with twine, and add a handwritten tag.
Storage : Store leftover banana bread wrapped tightly in plastic wrap or aluminum foil at room temperature for up to 4 days. I prefer wrapping it in plastic wrap first, then placing it in a resealable bag to keep it from drying out. Do not refrigerate—the cold temperature actually speeds up staling and makes the bread dry.
Freezing : This bread freezes beautifully. Let it cool completely, then wrap it tightly in plastic wrap, followed by a layer of aluminum foil. Freeze for up to 3 months. To thaw, leave it on the counter overnight still wrapped, or unwrap and microwave individual slices for 20-30 seconds. You can also freeze individual slices for quick breakfasts or snacks.
Flavor Development : Interestingly, this banana bread actually tastes better on the second day. The flavors have time to meld and mellow, and the moisture distributes more evenly throughout the loaf. If you can resist eating it all on day one, you’re in for a treat on day two.
Nutritional Information & Benefits
While I wouldn’t call banana bread a health food, it does have some redeeming qualities. Here’s a rough breakdown per slice (based on 10 slices, without mix-ins).
- Calories : Approximately 220-250 calories per slice
- Carbohydrates : 38g
- Protein : 4g
- Fat : 8g
- Fiber : 2g
- Sugar : 18g
Health Benefits : Bananas are a good source of potassium, which supports heart health and muscle function. They also contain vitamin B6 and vitamin C. Using whole wheat flour for half the all-purpose flour adds extra fiber, and swapping butter for coconut oil reduces saturated fat. The optional walnuts add omega-3 fatty acids and healthy fats.
Dietary Considerations : This recipe can be made dairy-free (use coconut oil), egg-free (use a flax egg), and gluten-free (use a 1:1 gluten-free flour blend). It’s naturally nut-free if you skip the walnuts or pecans. As always, check your specific ingredient labels if you have allergies.
This bread is more of a wholesome treat than a health food—something that satisfies a craving while using real, recognizable ingredients. For a more protein-packed breakfast option, try my cottage cheese protein baked oats for a different kind of morning fuel.
Conclusion
This easy one-bowl banana bread has become my most-requested recipe, and I think I finally understand why. It’s not fancy or complicated. It doesn’t require special equipment or rare ingredients. It’s just good, honest baking that works every single time. The kind of recipe you can make on a Tuesday afternoon with a toddler tugging at your leg and still end up with something that feels special.
I love that this bread meets you where you are—whether you’re a seasoned baker or someone who’s never made bread from scratch before. It’s forgiving, adaptable, and always delicious. The first time I made it, I was just trying to use up bananas. Now I buy extra bananas just so they can get spotty and become this bread.
Give it a try, and don’t be afraid to make it your own. Toss in chocolate chips, swap the nuts, add a sprinkle of cinnamon on top. Make it the way you like it, and then come back and tell me how it turned out. I’d love to hear about your version—especially if someone in your house eats three slices in one afternoon without saying a word.
Happy baking, friends!
Frequently Asked Questions
Can I use frozen bananas for this recipe?
Absolutely! Frozen bananas actually work great. Thaw them completely at room temperature or in the microwave, then drain off any excess liquid before mashing. The texture will be slightly softer, but the flavor is just as good—sometimes even better because freezing concentrates the sweetness.
Why did my banana bread sink in the middle?
This usually happens for one of three reasons: the batter was overmixed (which creates too much air that collapses), the bread was underbaked, or the oven temperature was too low. Make sure your oven is fully preheated to 350°F and check for doneness with a toothpick. Also, don’t open the oven door too often during baking—the temperature fluctuation can cause sinking.
Can I reduce the sugar in this recipe?
Yes, you can reduce the sugar to ½ cup (100g) without major issues, especially if your bananas are very ripe and sweet. The bread will be slightly less tender and may brown a little less, but it will still be delicious. I wouldn’t recommend going below ½ cup, as sugar contributes to both texture and moisture.
How do I know when the banana bread is done baking?
The most reliable method is the toothpick test—insert a toothpick into the center of the loaf. If it comes out clean or with just a few moist crumbs (not wet batter), it’s done. You can also use an instant-read thermometer; the internal temperature should be 200-205°F. The top should be deep golden brown and feel firm to the touch.
Can I make this into muffins instead of a loaf?
Yes! This batter works beautifully as muffins. Grease a 12-cup muffin tin or line with paper liners. Fill each cup about ¾ full. Bake at 350°F for 18-22 minutes, or until a toothpick inserted in the center comes out clean. You’ll get about 12 standard muffins. This is a great option if you want individual servings for breakfast or snacks.
Pin This Recipe!
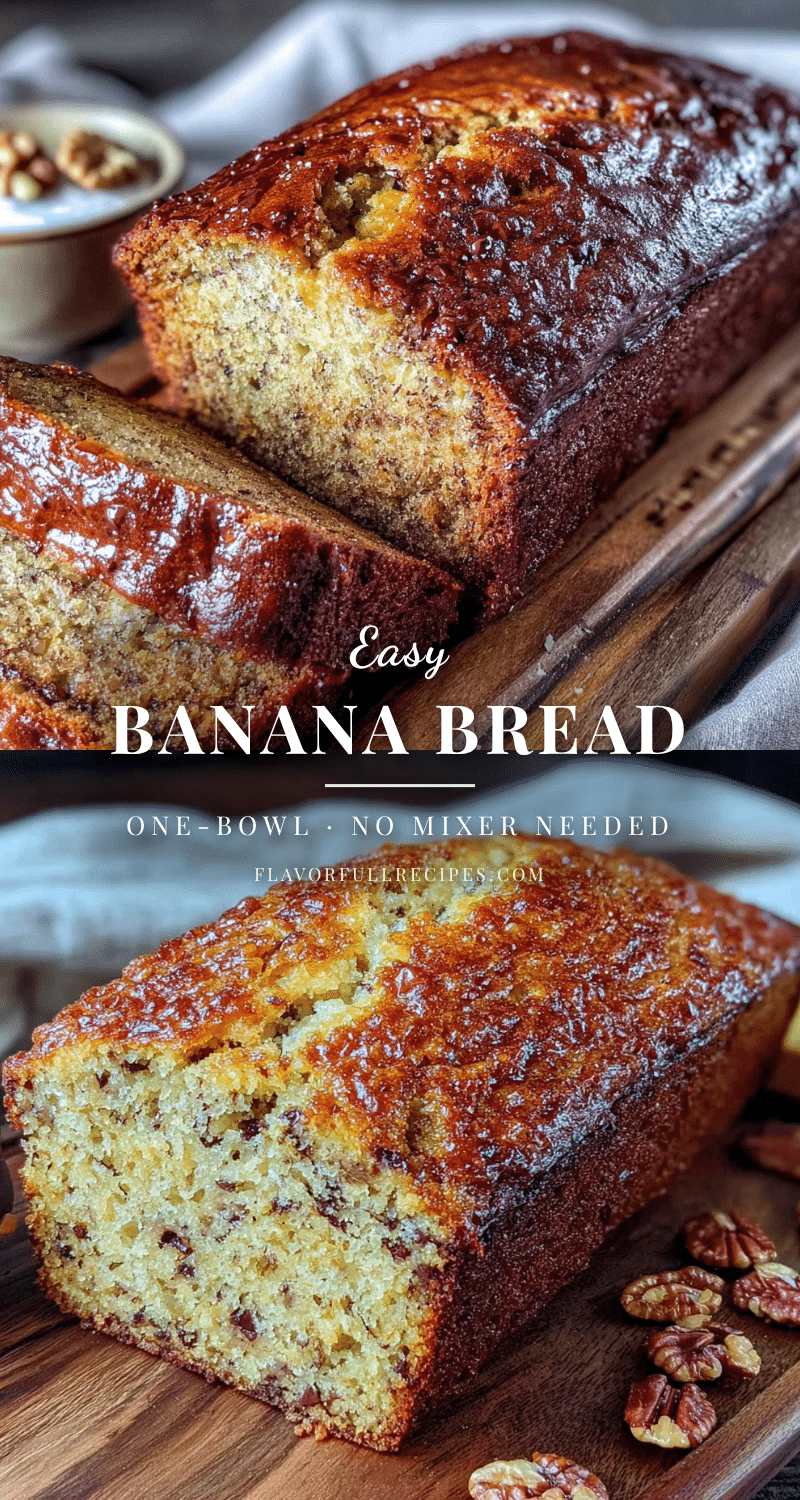
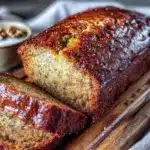
Easy One-Bowl Banana Bread Recipe (Best No-Mixer)
- Total Time: 1 hour 10 minutes
- Yield: 10 servings 1x
Description
This incredibly moist and flavorful banana bread comes together in just one bowl with a fork—no mixer required. Made with ripe bananas and simple pantry ingredients, it’s the easiest, most forgiving banana bread you’ll ever make.
Ingredients
- 3 large ripe bananas (about 1 ½ cups mashed)
- ⅓ cup melted unsalted butter (75g)
- ¾ cup granulated sugar (150g)
- 1 large egg, room temperature
- 1 teaspoon vanilla extract
- 1 ½ cups all-purpose flour (190g)
- 1 teaspoon baking soda
- ½ teaspoon salt
- Optional: ½ cup chocolate chips, chopped walnuts, or pecans
Instructions
- Preheat your oven to 350°F (175°C). Grease a 9×5-inch loaf pan with butter or non-stick spray, or line it with parchment paper.
- Mash the bananas in a large mixing bowl with a fork until mostly smooth with a few small lumps remaining (about 1 ½ cups).
- Add the melted butter and granulated sugar to the mashed bananas. Stir with a fork until combined.
- Add the egg and vanilla extract. Stir until the mixture is smooth and glossy, about 20 seconds.
- Sprinkle the flour, baking soda, and salt over the wet mixture. Fold gently with a fork or rubber spatula until just combined—about 10 to 15 strokes. Do not overmix.
- If using, gently fold in chocolate chips, nuts, or other mix-ins. Reserve about a tablespoon to sprinkle on top.
- Pour the batter into the prepared loaf pan and spread evenly. Tap the pan gently on the counter to release air bubbles.
- Bake for 50 to 60 minutes, until the top is deep golden brown and a toothpick inserted into the center comes out clean or with a few moist crumbs. If browning too quickly, tent with foil at the 40-minute mark.
- Cool in the pan for 10 minutes, then transfer to a cooling rack using the parchment paper overhang. Cool completely before slicing, about 1 hour.
Notes
Use very ripe bananas with brown spots for best sweetness and moisture. Do not overmix the batter once flour is added to avoid tough bread. For best texture, let the bread cool completely before slicing. Day-old banana bread is excellent toasted with butter.
- Prep Time: 15 minutes
- Cook Time: 55 minutes
- Category: Dessert
- Cuisine: American
Nutrition
- Serving Size: 1 slice
- Calories: 235
- Sugar: 18
- Sodium: 220
- Fat: 8
- Saturated Fat: 5
- Carbohydrates: 38
- Fiber: 2
- Protein: 4
Keywords: banana bread, easy banana bread, one bowl banana bread, no mixer banana bread, moist banana bread, quick bread