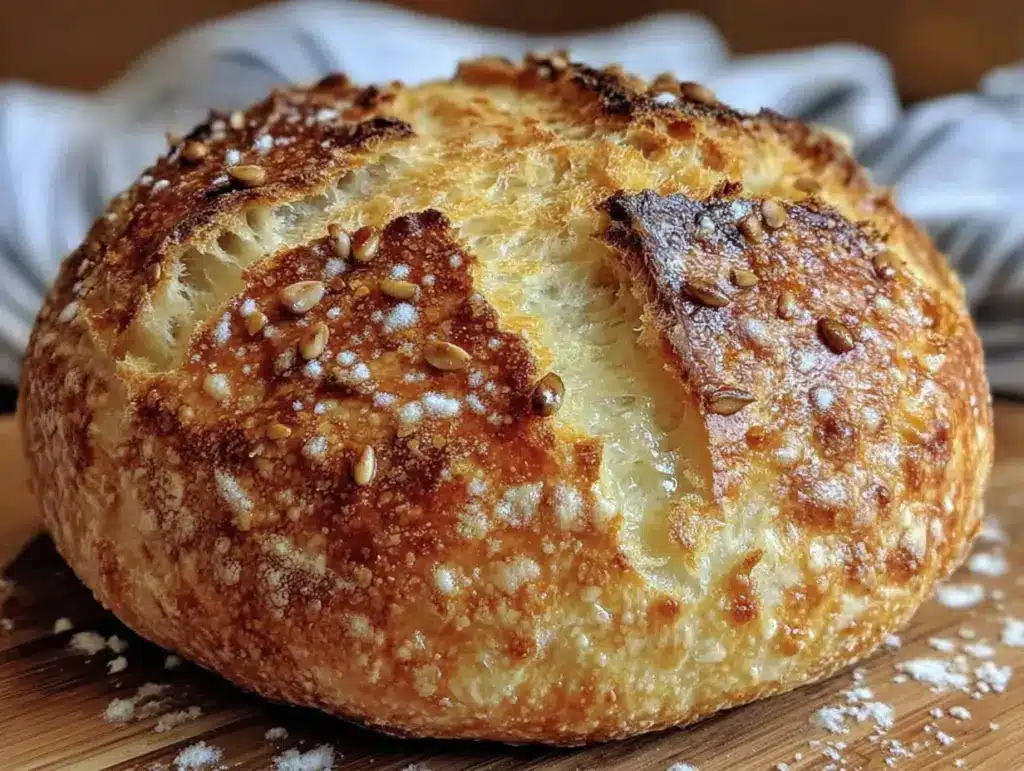
“Wait—you made sourdough in an hour?” My neighbor leaned over the fence, holding a slice of this honey pumpkin sourdough bread like it was evidence in a crime. I just shrugged and handed her the rest of the loaf. That question—and the disbelief in her voice—is exactly why I had to write this recipe down.
I used to think sourdough was a weekend project, the kind of thing you start on Friday if you want toast by Monday. And honestly, that’s still true for the classic stuff. But this honey pumpkin sourdough? It bypasses all that waiting without skipping the tangy, chewy texture that makes sourdough worth eating in the first place.
The trick is using a quick-ferment method with a touch of commercial yeast alongside the starter, plus pumpkin puree that feeds the fermentation and keeps the crumb ridiculously soft. It’s not cheating—it’s working smarter. The honey and pumpkin play off each other in a way that feels like fall in every bite, and the whole thing goes from mixing bowl to cooling rack in about sixty minutes.
I’ve made this loaf more times than I can count this season, and every time I pull it from the oven, that neighbor text appears: “Save me a slice.” That’s the kind of recipe this is.
Why You’ll Love This Recipe
Let’s be real—most sourdough recipes ask for patience I don’t always have. This one doesn’t. It delivers that signature sourdough tang and chewy crust using a clever shortcut that actually works. Here is why it earns a permanent spot in your fall baking rotation:
- Ready in 1 Hour : From mixing to slicing in under sixty minutes. No overnight proofing, no complicated schedules.
- Simple Pantry Ingredients : You likely have flour, pumpkin puree, honey, and sourdough starter (or discard) right now.
- Perfect for Fall Gatherings : Bring this to Thanksgiving, Friendsgiving, or a cozy weekend brunch and watch it disappear.
- Crowd-Pleaser : Even people who swear they don’t like sourdough ask for seconds. The pumpkin keeps it tender, the honey keeps it subtly sweet.
- Next-Level Texture : The crumb is soft but structured, the crust is golden and slightly crisp, and every slice has that signature sourdough chew.
This isn’t just another pumpkin bread recipe. The quick-ferment technique I developed after dozens of test loaves gives you real sourdough character without the wait. It’s the kind of bread that makes you close your eyes after the first bite—comfort food reimagined for busy lives.
What Ingredients You Will Need
This recipe uses simple, wholesome ingredients to deliver that perfect balance of tangy sourdough and sweet fall flavor. Most of these are pantry staples, especially if you keep a sourdough starter around.
For the Bread Dough
- All-purpose flour – 3 cups (360g). I prefer King Arthur for consistent protein content, but any brand works.
- Pumpkin puree – ½ cup (120g). Use canned pure pumpkin, not pumpkin pie filling. Libby’s is my go-to for consistent moisture levels.
- Honey – ¼ cup (85g). Local honey adds lovely floral notes, but any liquid honey works. Avoid crystallized honey unless you warm it first.
- Sourdough starter (active or discard) – ½ cup (120g). This is where the magic happens. Active starter gives more rise; discard still provides tang and flavor.
- Warm water – ½ cup (120ml). About 100°F—think warm bathwater, not hot.
- Instant yeast – 1 teaspoon. This is our shortcut. It gives reliable rise without the long fermentation.
- Salt – 1½ teaspoons. Fine sea salt dissolves better than coarse kosher here.
- Butter or olive oil – 2 tablespoons, melted, for richness and a softer crumb.
For the Topping (Optional but Recommended)
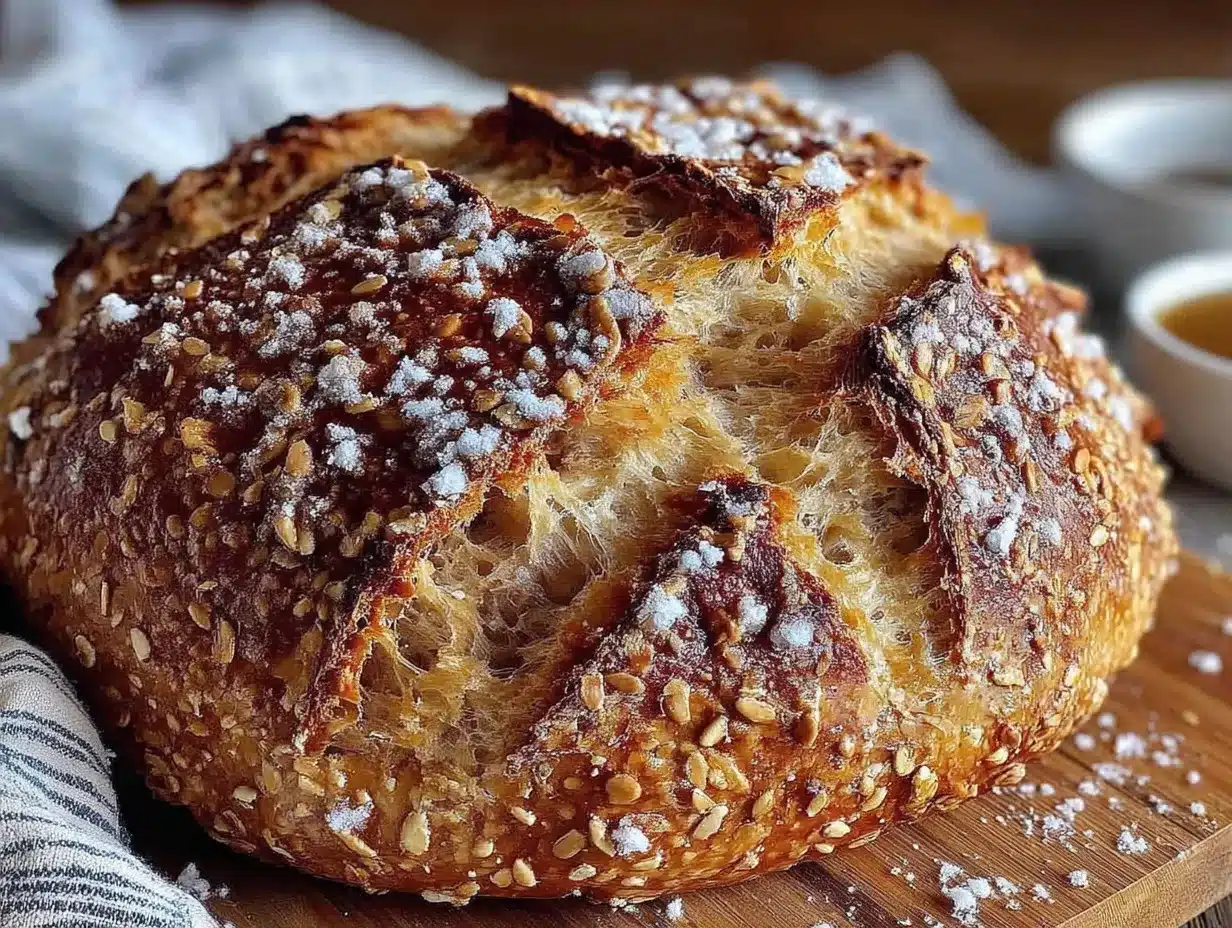
- Pumpkin seeds (pepitas) – 2 tablespoons, for crunch on top.
- Flaky sea salt – A pinch, to balance the sweetness.
- Extra honey – For brushing the warm loaf after baking.
Substitution note : Swap honey with maple syrup for a deeper flavor. Use gluten-free all-purpose flour blend if needed, though texture will be slightly denser. If using active starter, you can reduce instant yeast to ½ teaspoon.
Equipment Needed
You don’t need a bakery setup for this one. Here is what you will actually use:
- Large mixing bowl – Any size works; I use a standard ceramic bowl.
- Wooden spoon or dough whisk – For initial mixing. A spatula works too.
- Measuring cups and spoons – Or a kitchen scale for precision (I prefer weighing flour).
- 9×5-inch loaf pan – Standard size. Glass, metal, or ceramic all work. I’ve had best results with light metal pans.
- Parchment paper – Lining the pan makes removal effortless.
- Plastic wrap or a clean kitchen towel – For covering the dough while it rises.
- Cooling rack – Essential for even cooling and preventing a soggy bottom.
No stand mixer required. No proofing basket. No Dutch oven. If you’ve got hands and a bowl, you’re set.
Preparation Method
This comes together fast, so read through once before starting. The whole process takes about 60 minutes from start to finish.
- Preheat your oven to 375°F (190°C). Line your loaf pan with parchment paper, leaving some overhang on the long sides for easy lifting. Set aside.
- Mix the dry ingredients. In a large bowl, whisk together 3 cups all-purpose flour, 1½ teaspoons salt, and 1 teaspoon instant yeast. Make sure the yeast is evenly distributed—clumps of yeast lead to uneven rise.
- Combine the wet ingredients. In a separate bowl or liquid measuring cup, whisk together ½ cup warm water, ½ cup pumpkin puree, ¼ cup honey, ½ cup sourdough starter, and 2 tablespoons melted butter. The mixture should look smooth and slightly orange. If your starter is thick, stir it into the water first to loosen it.
- Bring it together. Pour the wet mixture into the dry ingredients. Stir with a wooden spoon until a shaggy dough forms. It will look rough and lumpy—that’s normal. Switch to your hands and knead gently inside the bowl for about 2 minutes until the dough comes together into a cohesive ball. It will be slightly sticky but should clear the sides of the bowl.
- First rest (10 minutes). Cover the bowl with plastic wrap or a damp towel and let it rest for 10 minutes. This allows the flour to fully hydrate and the gluten to relax. Don’t skip this—it makes shaping easier.
- Shape the dough. Turn the dough out onto a lightly floured surface. Gently shape it into a loaf shape by folding the edges toward the center, then flipping it seam-side down. Cup your hands around the dough and rotate it to create surface tension. Place it seam-side down into your prepared loaf pan. It should fill the pan about halfway.
- Second rest (20-25 minutes). Cover the pan loosely with plastic wrap or a towel. Let it rise in a warm spot for 20-25 minutes. The dough should rise just above the rim of the pan. It won’t double in size—that’s okay. Over-proofing at this stage leads to dense bread.
- Score and top. Uncover the dough. Using a sharp knife or lame, score a shallow line down the center lengthwise—about ½ inch deep. This gives the bread room to expand. Brush the top lightly with water or melted butter, then sprinkle with pumpkin seeds and a pinch of flaky sea salt if using.
- Bake for 30-35 minutes. Place the pan on the middle rack. Bake until the top is deep golden brown and a toothpick inserted in the center comes out clean. The internal temperature should read 190-200°F (88-93°C) if you have an instant-read thermometer. If the top browns too quickly, tent loosely with foil after 20 minutes.
- Cool completely. Remove the pan from the oven and let it cool for 10 minutes. Use the parchment overhang to lift the loaf onto a wire rack. Brush the top with extra honey while still warm if you want a glossy, slightly sticky crust. Let it cool completely—at least 30 minutes—before slicing. I know it’s hard to wait, but slicing warm bread gives you a gummy texture.
Sensory cue : At step 6, the dough should feel soft and slightly tacky, like a freshly washed face. If it’s sticking to your hands aggressively, dust with a tiny bit more flour. At step 9, your kitchen will smell like toasted pumpkin seeds and honey—that’s how you know it’s working.
Cooking Tips & Techniques
I learned most of these the hard way, so you don’t have to.
Don’t overmix the dough. Sourdough benefits from a gentle hand. Overworking the dough develops too much gluten and makes the bread tough. Mix until just combined, then let the rest do the work.
Watch your water temperature. If your water is too hot (above 120°F), it will kill the yeast and your bread won’t rise. Too cold, and the yeast stays sluggish. Aim for 100°F—it should feel warm but not hot on your wrist.
Pumpkin puree varies in moisture. Some brands are more watery than others. If your dough feels excessively sticky after mixing, add an extra tablespoon of flour. If it feels dry and crumbly, add a teaspoon of water. Trust your hands more than the recipe.
My biggest failure? I once forgot the salt entirely. The bread rose beautifully but tasted flat and lifeless. Salt isn’t just for flavor—it strengthens the gluten structure and controls yeast activity. Don’t skip it.
For a darker, crisper crust , place a shallow pan of water on the bottom oven rack during baking. The steam helps develop that bakery-style crust. I do this whenever I’m feeling fancy.
Variations & Adaptations
This recipe is forgiving. Here are some ways to make it your own:
- Maple Pumpkin Sourdough : Replace honey with maple syrup for a deeper, earthier sweetness. Reduce water by 1 tablespoon since maple syrup is thinner than honey.
- Spiced Pumpkin Sourdough : Add 1 teaspoon pumpkin pie spice or a mix of cinnamon, nutmeg, ginger, and cloves to the dry ingredients. The spices complement the pumpkin beautifully.
- Vegan Version : Use melted coconut oil instead of butter, and replace honey with agave or maple syrup. The texture stays similar—slightly less rich but still tender.
- Seeded Crust Variation : Before baking, press a mix of pumpkin seeds, sunflower seeds, and sesame seeds onto the top. It adds crunch and looks gorgeous.
- Gluten-Free Adaptation : Use a 1:1 gluten-free all-purpose flour blend. Add 1 teaspoon xanthan gum if your blend doesn’t include it. The bread will be denser and slightly more crumbly, but the flavor is still there.
I tried a chocolate chip version last week—folded in ½ cup dark chocolate chips at the shaping stage. It was dangerously good. Just saying.
Serving & Storage Suggestions
This bread is at its best the day it’s made, but it stores beautifully.
Serving : Serve warm or at room temperature. Toast slices and slather with salted butter for the ultimate experience. It also pairs wonderfully with creamy roasted butternut squash soup for a cozy fall meal. For breakfast, try it with a drizzle of honey and a side of healthy high-fiber overnight oats.
Storage : Wrap the cooled loaf tightly in plastic wrap or beeswax wrap and store at room temperature for up to 3 days. Do not refrigerate—it accelerates staling.
Freezing : Slice the bread, wrap individual slices in plastic wrap, then place them in a freezer bag. Freeze for up to 3 months. Toast directly from frozen—no need to thaw.
Reheating : For that just-baked texture, reheat slices in a 350°F oven for 5-7 minutes, or pop them in the toaster. The crust crisps right back up.
Flavor development : The sourdough tang actually deepens after a day or two. Day-old slices make incredible French toast or bread pudding.
Nutritional Information & Benefits
Per slice (based on 10 slices per loaf):
- Calories: 195
- Carbohydrates: 38g
- Protein: 5g
- Fat: 3g
- Fiber: 2g
- Sugar: 9g
Health highlights : Pumpkin puree is packed with vitamin A and fiber, which supports eye health and digestion. Honey provides antioxidants and natural energy. Sourdough fermentation breaks down phytic acid, making the minerals in the flour more bioavailable. This bread is lower in sugar than most pumpkin breads, making it a smarter choice for a satisfying treat.
Dietary considerations : This recipe is vegetarian. For vegan, use the adaptations above. It contains gluten and dairy (butter), though dairy can be swapped. Not suitable for celiac unless using certified gluten-free flour.
Conclusion
This honey pumpkin sourdough bread is proof that you don’t need a three-day fermentation to enjoy real sourdough flavor. It’s fast enough for a weekday baking session, beautiful enough for a holiday table, and delicious enough to win over anyone who thinks sourdough is too much work.
I love this recipe because it meets me where I am—busy, craving something homemade, and unwilling to compromise on taste. The first time I made it, I ate half the loaf standing at the counter. No regrets.
Now I want to hear from you. Did you try a variation? Did your neighbor text you for the recipe? Drop a comment below and let me know how your loaf turned out. And if you loved it, share this recipe with a friend who needs a little more pumpkin in their life.
Happy baking, friend. Your kitchen is about to smell amazing.
Frequently Asked Questions
Can I use sourdough discard instead of active starter?
Yes, absolutely. Discard works perfectly here because we’re also using instant yeast for lift. You’ll still get that sourdough tang and flavor, just with a slightly denser crumb. If using discard straight from the fridge, let it come to room temperature first for better mixing.
Why didn’t my bread rise much?
Several possible reasons: your water was too hot (killed the yeast), your yeast was expired, or your pumpkin puree was too watery (making the dough too wet to hold structure). Check your yeast freshness and water temperature next time. Also, make sure your dough rested in a warm spot—not drafty and not too hot.
Can I make this without instant yeast?
You can, but you’ll need to adjust the timing significantly. Skip the instant yeast and let the dough rise for 4-6 hours at room temperature, or overnight in the fridge. The texture will be more traditional sourdough—chewier and tangier—but the 1-hour promise goes out the window.
How do I know when the bread is fully baked?
Use three cues: the top is deep golden brown, a toothpick inserted in the center comes out clean or with a few dry crumbs, and the internal temperature reads 190-200°F. If you don’t have a thermometer, tap the bottom of the loaf—it should sound hollow. Underbaked sourdough can be gummy in the center.
Can I double this recipe?
Yes, but bake it in two separate loaf pans rather than one large pan. Doubling the dough in a single pan leads to uneven baking—the outside burns before the center cooks through. Two loaves also make great gifts. I often double the batch and freeze one for later.
Pin This Recipe!
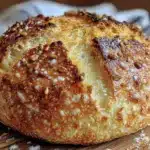
Easy 1-Hour Honey Pumpkin Sourdough Bread Recipe
- Total Time: 1 hour
- Yield: 10 servings 1x
Description
This honey pumpkin sourdough bread delivers real sourdough tang and chewy texture in just one hour using a quick-ferment method with instant yeast and pumpkin puree. It’s perfect for fall gatherings and busy bakers who want homemade bread without the long wait.
Ingredients
- 3 cups (360g) all-purpose flour
- ½ cup (120g) pumpkin puree
- ¼ cup (85g) honey
- ½ cup (120g) sourdough starter (active or discard)
- ½ cup (120ml) warm water (about 100°F)
- 1 teaspoon instant yeast
- 1½ teaspoons fine sea salt
- 2 tablespoons melted butter or olive oil
- 2 tablespoons pumpkin seeds (pepitas) for topping (optional)
- Pinch of flaky sea salt for topping (optional)
- Extra honey for brushing (optional)
Instructions
- Preheat your oven to 375°F (190°C). Line a 9×5-inch loaf pan with parchment paper, leaving overhang on the long sides.
- In a large bowl, whisk together 3 cups all-purpose flour, 1½ teaspoons salt, and 1 teaspoon instant yeast.
- In a separate bowl or liquid measuring cup, whisk together ½ cup warm water, ½ cup pumpkin puree, ¼ cup honey, ½ cup sourdough starter, and 2 tablespoons melted butter until smooth.
- Pour the wet mixture into the dry ingredients. Stir with a wooden spoon until a shaggy dough forms. Knead gently inside the bowl for about 2 minutes until the dough comes together into a cohesive ball. It will be slightly sticky.
- Cover the bowl with plastic wrap or a damp towel and let it rest for 10 minutes.
- Turn the dough out onto a lightly floured surface. Shape it into a loaf by folding edges toward the center, then flipping seam-side down. Cup your hands around the dough and rotate to create surface tension. Place seam-side down into the prepared loaf pan.
- Cover the pan loosely with plastic wrap or a towel. Let it rise in a warm spot for 20-25 minutes until just above the rim of the pan.
- Uncover the dough. Score a shallow line down the center lengthwise (about ½ inch deep). Brush the top lightly with water or melted butter, then sprinkle with pumpkin seeds and a pinch of flaky sea salt if using.
- Bake on the middle rack for 30-35 minutes until deep golden brown and a toothpick inserted in the center comes out clean (internal temperature 190-200°F). If browning too quickly, tent with foil after 20 minutes.
- Remove from oven and cool in the pan for 10 minutes. Use parchment overhang to lift the loaf onto a wire rack. Brush with extra honey while warm if desired. Cool completely (at least 30 minutes) before slicing.
Notes
For a vegan version, use melted coconut oil instead of butter and replace honey with agave or maple syrup. For gluten-free, use a 1:1 gluten-free all-purpose flour blend and add 1 teaspoon xanthan gum if not included. The sourdough tang deepens after a day or two. Store wrapped at room temperature for up to 3 days; do not refrigerate. Freeze sliced for up to 3 months.
- Prep Time: 15 minutes
- Cook Time: 30-35 minutes
- Category: Bread
- Cuisine: American
Nutrition
- Serving Size: 1 slice
- Calories: 195
- Sugar: 9
- Sodium: 350
- Fat: 3
- Saturated Fat: 1
- Carbohydrates: 38
- Fiber: 2
- Protein: 5
Keywords: honey pumpkin sourdough, quick sourdough, pumpkin bread, sourdough bread, fall baking, 1-hour bread