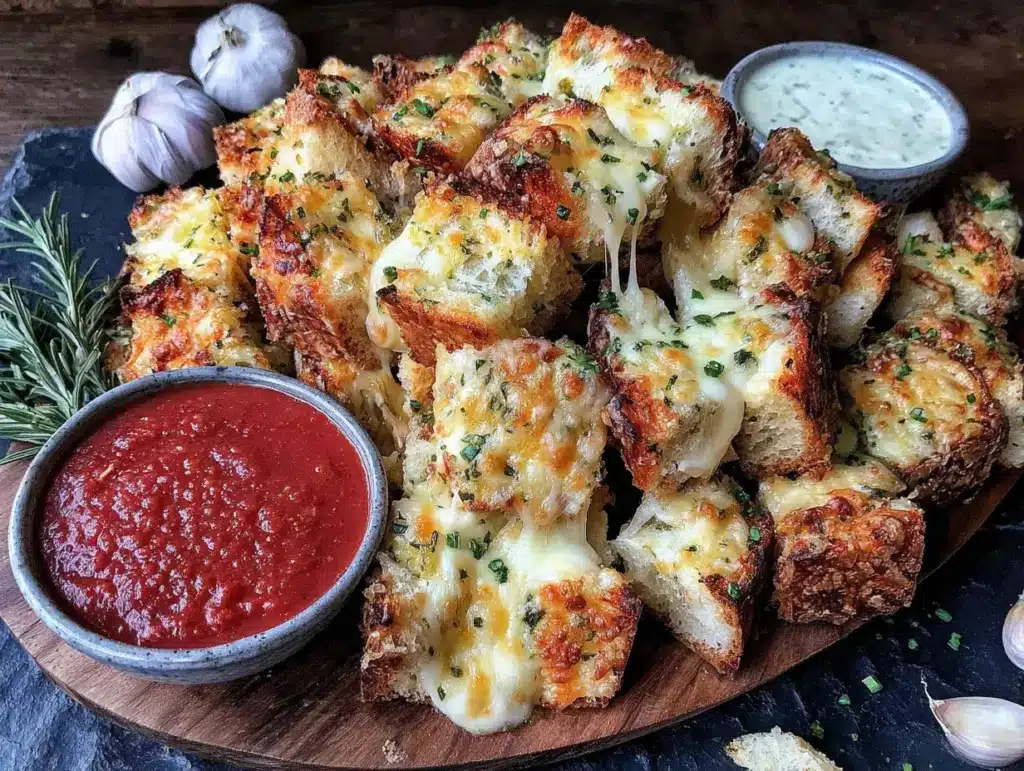
The first commercial break of the second quarter, and my hands were already greasy. The wings were gone, the dip had been scraped clean, and a quiet panic was settling over the coffee table. That lull between the first touchdown and halftime—it is a dangerous stretch. Empty plates make people antsy. I remember staring at the crumbs, thinking about how the second half always feels longer when there is nothing left to munch on. So I went to the fridge, pulled out a leftover hoagie roll, some butter, and the sad end of a block of mozzarella. That first, slightly lopsided batch of cheesy garlic bread bites was born out of desperation, honestly. And they disappeared before I could even grab one for myself.
That is the thing about game day snacks. They need to be portable, dippable, and impossible to stop eating. These easy cheesy garlic bread bites check every box. They come together fast, use stuff you probably already have, and somehow stay warm and gooey long enough for a full quarter of play. No fancy equipment, no complicated steps—just crispy edges, melty cheese, and that punch of garlic that makes you reach for one more. I have made them for Super Bowl parties, Sunday afternoon games, and even random Tuesday night basketball. Every single time, the bowl is empty before halftime.
There is something about food that gets devoured by a crowd that feels different. It is not about presentation or perfection. It is about that moment when someone reaches across the table without looking, grabs a bite, and just nods. That nod says everything. These garlic bread bites have gotten me more nods than any dip I have ever made. And honestly, that is the best compliment a game day snack can get.
Why You’ll Love This Recipe
I have tested this recipe more times than I care to admit. The first few batches were either too soggy or burnt on the bottom. But after a dozen trials, I landed on a method that works every single time. Here is why these are the best game day bites you will make:
- Quick & Easy: From start to finish, you are looking at about 20 minutes. That is short enough to whip up during a timeout or while the opposing team is challenging a call.
- Simple Ingredients: No trips to a specialty store. Bread, butter, garlic, cheese, and a few pantry staples. That is it.
- Perfect for Game Day: These are handheld, dippable, and built for sharing. They sit beautifully on a platter next to wings or a loaded nacho bar.
- Crowd-Pleaser: Kids devour them. Adults hover around the bowl. I have watched people who swear they are “not big bread people” eat six in a row.
- Unbelievably Delicious: The contrast between the crispy, buttery outside and the stretchy, molten cheese inside is pure comfort. It is the kind of snack that makes you close your eyes for a second after the first bite.
What sets this recipe apart is the technique. Instead of just buttering bread and adding cheese, I toast the bread cubes first. That extra step ensures the bites stay crunchy even after the cheese melts. No sad, soggy bottoms here. Plus, I use a mix of mozzarella and parmesan for that perfect pull and salty bite. It is a small tweak that makes a big difference.
This is not just another garlic bread recipe. It is the one you will keep coming back to, the one your friends will ask for by name. It is comfort food at its most shareable, and it fits right in next to a buffalo chicken dip stuffed bread bowl for the ultimate spread.
What Ingredients You Will Need
This recipe uses simple, everyday ingredients that come together to create something greater than the sum of their parts. No fancy stuff here—just honest, flavorful components that deliver every time.
- 1 loaf French bread or Italian bread (about 16 ounces) — Look for a loaf that is slightly crusty on the outside but soft inside. Day-old bread actually works great here because it holds up better to the butter and cheese.
- 1/2 cup unsalted butter, melted — Salted butter works too, just reduce the added salt later. I prefer unsalted so I can control the seasoning.
- 4 cloves garlic, minced — Fresh garlic is non-negotiable here. The jarred stuff has a different flavor that just does not hit the same. Trust me on this.
- 1 teaspoon garlic powder — This adds an extra layer of garlic flavor that lingers. It is subtle but important.
- 1/2 teaspoon salt — Fine sea salt or kosher salt both work.
- 1/4 teaspoon black pepper — Freshly cracked is best.
- 2 cups shredded mozzarella cheese — Low-moisture mozzarella melts best. Fresh mozzarella is too watery and can make the bites soggy.
- 1/2 cup grated Parmesan cheese — The good stuff in the green can is fine, but freshly grated adds a nuttier flavor.
- 2 tablespoons fresh parsley, chopped — Optional but recommended. It adds color and a fresh pop that cuts through the richness.
- 1/2 teaspoon red pepper flakes (optional) — For a little heat. I add these when I am serving them with something spicy like bacon wrapped jalapeno popper bites.
For the dipping sauce, I usually go with marinara or ranch. But honestly, these are good enough to eat plain. The butter and cheese do all the heavy lifting.
Equipment Needed
You do not need much to make these. That is part of the beauty. Here is what you will need:
- Large baking sheet — A rimmed sheet pan works best to catch any butter that drips off. I use a half-sheet pan.
- Parchment paper or silicone baking mat — Not strictly necessary, but it makes cleanup so much easier. I have forgotten it before and regretted every minute of scrubbing.
- Medium mixing bowl — For combining the butter and garlic.
- Chef’s knife and cutting board — For cubing the bread and mincing the garlic.
- Small skillet — Only if you want to toast the garlic in the butter first. I usually do this for extra flavor, but you can skip it.
- Measuring spoons — For accuracy, especially with the garlic powder and salt.
If you do not have a baking sheet, a cast iron skillet works surprisingly well. Just arrange the bread cubes in a single layer and bake as directed. The cast iron gives the bottoms an extra crispy edge that is honestly fantastic.
Preparation Method
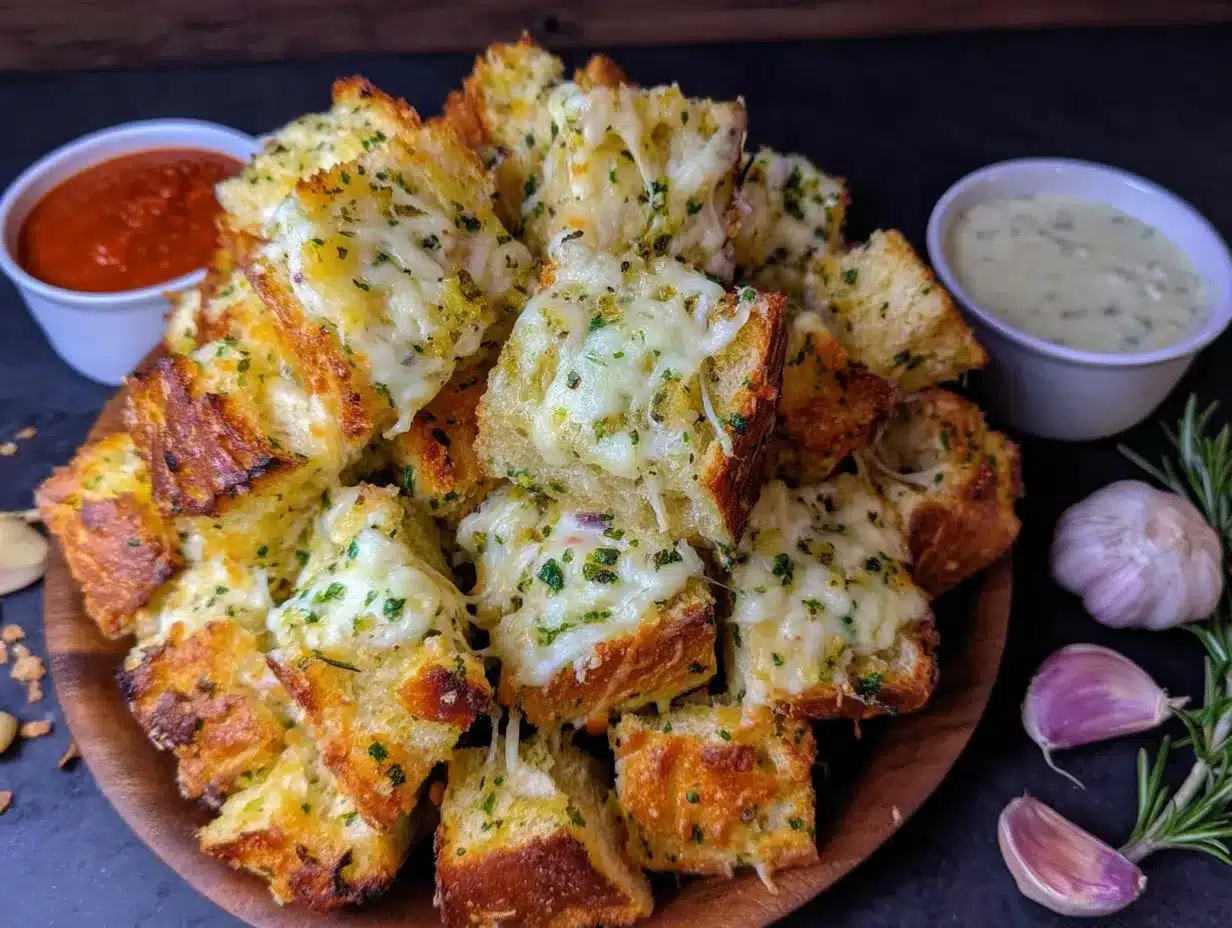
This method is straightforward, but the little details matter. Pay attention to the toasting step—it is the secret to texture that stays crunchy even after the cheese melts.
- Preheat your oven to 400°F (200°C). Line a large baking sheet with parchment paper or a silicone mat. This prevents sticking and makes cleanup a breeze.
- Cut the bread into 1-inch cubes. You want them bite-sized but not tiny. Too small and they dry out. Too big and they do not get crispy enough. Aim for pieces that are about the size of a ping pong ball. You should end up with roughly 5 to 6 cups of bread cubes.
- Spread the bread cubes on the baking sheet in a single layer. Do not overcrowd them. If they are piled on top of each other, they will steam instead of toast. Bake for 5 minutes, just until they start to turn golden around the edges. This step is crucial—do not skip it.
- While the bread toasts, make the garlic butter. In a small skillet over low heat, melt the butter. Add the minced garlic and cook for about 1 minute, stirring constantly. You want the garlic to become fragrant, not brown. Burnt garlic tastes bitter, so keep an eye on it. Remove from heat and stir in the garlic powder, salt, and black pepper.
- Remove the bread cubes from the oven. Pour the garlic butter over the warm cubes and toss gently with a spatula until every piece is coated. The warm bread soaks up the butter beautifully.
- Sprinkle the mozzarella and Parmesan over the bread cubes. Toss again to distribute the cheese evenly. You want some cheese to fall between the cubes and onto the pan—that will crisp up into little cheese crisps that are basically the best part.
- Return the baking sheet to the oven and bake for 8 to 10 minutes. The cheese should be fully melted and starting to brown in spots. The edges of the bread will be deep golden and crispy. Keep an eye on it after 8 minutes—ovens vary, and you do not want burnt bottoms.
- Remove from the oven and let cool for 2 minutes. This is important. The cheese is lava-hot right out of the oven. Letting it rest for a couple of minutes allows it to set slightly without losing that stretchy pull.
- Sprinkle with fresh parsley and red pepper flakes if using. Transfer to a serving platter and serve warm with your favorite dipping sauce.
One thing I learned the hard way—do not try to rush the toasting step. I once skipped it because I was in a hurry, and the bites came out soft and sad. The pre-toast gives the bread a head start that keeps it from turning into a soggy mess when the cheese melts. It adds five minutes but makes all the difference.
Cooking Tips & Techniques
After making these more times than I can count, I have picked up a few tricks that make the process smoother and the results better. Here are the ones that matter most:
- Use day-old bread. Fresh bread is too soft and can turn mushy. Bread that is a day or two old has a firmer texture that holds up better to the butter and cheese. If you only have fresh bread, leave the cubes out on the counter for an hour before baking.
- Don’t skimp on the butter. I know it looks like a lot, but the bread soaks it up fast. If you use less, the bites will be dry. Trust the process.
- Toast the garlic first. Raw garlic in melted butter is fine, but gently cooking the garlic in the butter mellows the sharpness and infuses the whole dish with a deeper, richer flavor. It takes one extra minute and is absolutely worth it.
- Watch the oven. These go from perfectly golden to burnt in about 60 seconds. Set a timer for 8 minutes and check. If they need more time, add it in 1-minute increments.
- Make extra. I always double the batch for parties. These disappear fast, and having a second batch ready to go means you are not stuck in the kitchen during the game. You can even prep the bread cubes and garlic butter ahead of time and assemble right before baking.
I once forgot to add the salt. The bites were edible, but they tasted flat. Salt is not just for seasoning—it amplifies the other flavors. Do not skip it. And if you are using salted butter, taste the garlic butter before adding extra salt. You can always add more, but you cannot take it out.
Variations & Adaptations
This recipe is endlessly adaptable. Here are some variations I have tried and loved:
- Spicy Buffalo Version: Stir 2 tablespoons of buffalo sauce into the melted butter before tossing with the bread. Use pepper jack cheese instead of mozzarella for an extra kick. Serve with blue cheese dressing for dipping.
- Herb and Garlic Version: Add 1 teaspoon of dried oregano and 1 teaspoon of dried basil to the garlic butter. Top with fresh basil instead of parsley. This version pairs beautifully with marinara sauce.
- Four-Cheese Version: Use a mix of mozzarella, provolone, fontina, and Parmesan. The combination of melty cheeses creates an incredible stretch and a more complex flavor profile.
- Gluten-Free Version: Substitute the French bread with a good quality gluten-free baguette. Gluten-free bread tends to be drier, so you may need to add an extra tablespoon of butter. Bake times may vary slightly.
- Air Fryer Version: Cook the bread cubes in the air fryer at 375°F (190°C) for 5 minutes to toast. Toss with garlic butter and cheese, then air fry for another 3 to 4 minutes until the cheese is melted and bubbly. This method is faster and gives an incredibly crispy result.
I have a personal favorite variation where I swap the mozzarella for smoked gouda and add crispy bacon bits on top. It is ridiculous and indulgent, but it is the first thing to disappear every time I make it. If you are feeling adventurous, try it. You will not regret it.
Serving & Storage Suggestions
These bites are best served warm, straight from the oven. The cheese is stretchy, the bread is crispy, and everything is at peak deliciousness. I like to pile them on a large platter with a bowl of warm marinara sauce in the center. A side of ranch dressing is always a good idea too.
For a full game day spread, pair these with football rice krispie treats for a sweet and savory combo that covers all bases. They also go great with wings, sliders, or a big bowl of chili.
Storage: Leftover bites can be stored in an airtight container in the refrigerator for up to 3 days. To reheat, spread them on a baking sheet and warm in a 350°F (175°C) oven for 5 to 7 minutes. The microwave works in a pinch, but the bread will lose its crispiness. I do not recommend freezing these—the texture suffers too much.
One thing I have noticed is that these bites taste even better after sitting for about 10 minutes. The flavors meld together, and the cheese sets slightly without losing its pull. So if you are making them ahead for a party, bake them 15 minutes before guests arrive and let them rest on the counter. They will still be warm and absolutely perfect.
Nutritional Information & Benefits
Let’s be honest—these are not health food. They are a game day indulgence, and that is okay. But here is the breakdown if you are curious:
| Nutrient | Per Serving (approx. 6 bites) |
|---|---|
| Calories | 320 |
| Total Fat | 18g |
| Saturated Fat | 10g |
| Cholesterol | 45mg |
| Sodium | 520mg |
| Total Carbohydrates | 28g |
| Dietary Fiber | 1g |
| Sugars | 2g |
| Protein | 12g |
The mozzarella provides a decent amount of calcium and protein, and the garlic has antioxidant properties. The parsley adds a small dose of vitamin K. But really, this is a snack for enjoyment, not nutrition. And that is perfectly fine. Balance is about having a plate of vegetables at one meal and a plate of cheesy bread bites at another.
If you are watching your sodium, use unsalted butter and reduce the added salt. You can also use low-sodium cheese, though it does not melt as well. For a lighter version, try whole wheat bread and reduced-fat cheese. It is not quite as indulgent, but it still hits the spot.
Conclusion
These easy cheesy garlic bread bites are the kind of recipe that earns a permanent spot in your game day rotation. They are simple, fast, and impossible to resist. The crispy edges, the gooey cheese, the punch of garlic—every bite delivers exactly what you want from a snack. And because they come together in under 30 minutes, you can make them during a timeout and still be back on the couch before the next play starts.
I love this recipe because it reminds me that the best food does not have to be complicated. It just has to be good. And these bites are really, really good. Whether you are hosting a Super Bowl party, having friends over for Sunday football, or just want a fun snack for movie night, these will not let you down.
Try them with your favorite dipping sauce, customize them with extra toppings, and watch them disappear. And if you come up with a variation you love, I would love to hear about it. Drop a comment below or tag me in your photos. Until next time, happy snacking!
Frequently Asked Questions
Can I make these cheesy garlic bread bites ahead of time?
Yes, you can prep the bread cubes and garlic butter up to a day in advance. Store the bread cubes in a sealed bag at room temperature and keep the garlic butter in the fridge. When you are ready to serve, toss everything together and bake as directed. The toasting step is best done fresh, but the prep work saves you time.
What is the best bread to use for garlic bread bites?
A crusty French or Italian loaf works best. The crust gives structure, and the soft interior soaks up the butter without falling apart. Avoid soft sandwich bread—it will turn into a mushy mess. Day-old bread is actually ideal because it is firmer and holds up better to the baking process.
Can I freeze these after baking?
I do not recommend freezing these. The bread loses its crispiness during thawing and reheating, and the cheese can become rubbery. If you have leftovers, store them in the fridge and reheat in the oven for best results. They are really best enjoyed fresh.
How do I keep the bread from getting soggy?
The pre-toasting step is key. Baking the bread cubes for 5 minutes before adding the butter and cheese creates a dry, crispy surface that resists sogginess. Also, make sure your mozzarella is low-moisture. Fresh mozzarella has too much water and will make the bites wet.
What dipping sauces go well with these bites?
Marinara sauce is the classic choice, and it is hard to beat. Ranch dressing, blue cheese dressing, and garlic aioli are also excellent. For something different, try a spicy sriracha mayo or a creamy chipotle sauce. These bites are versatile enough to pair with just about any dip you love.
Pin This Recipe!
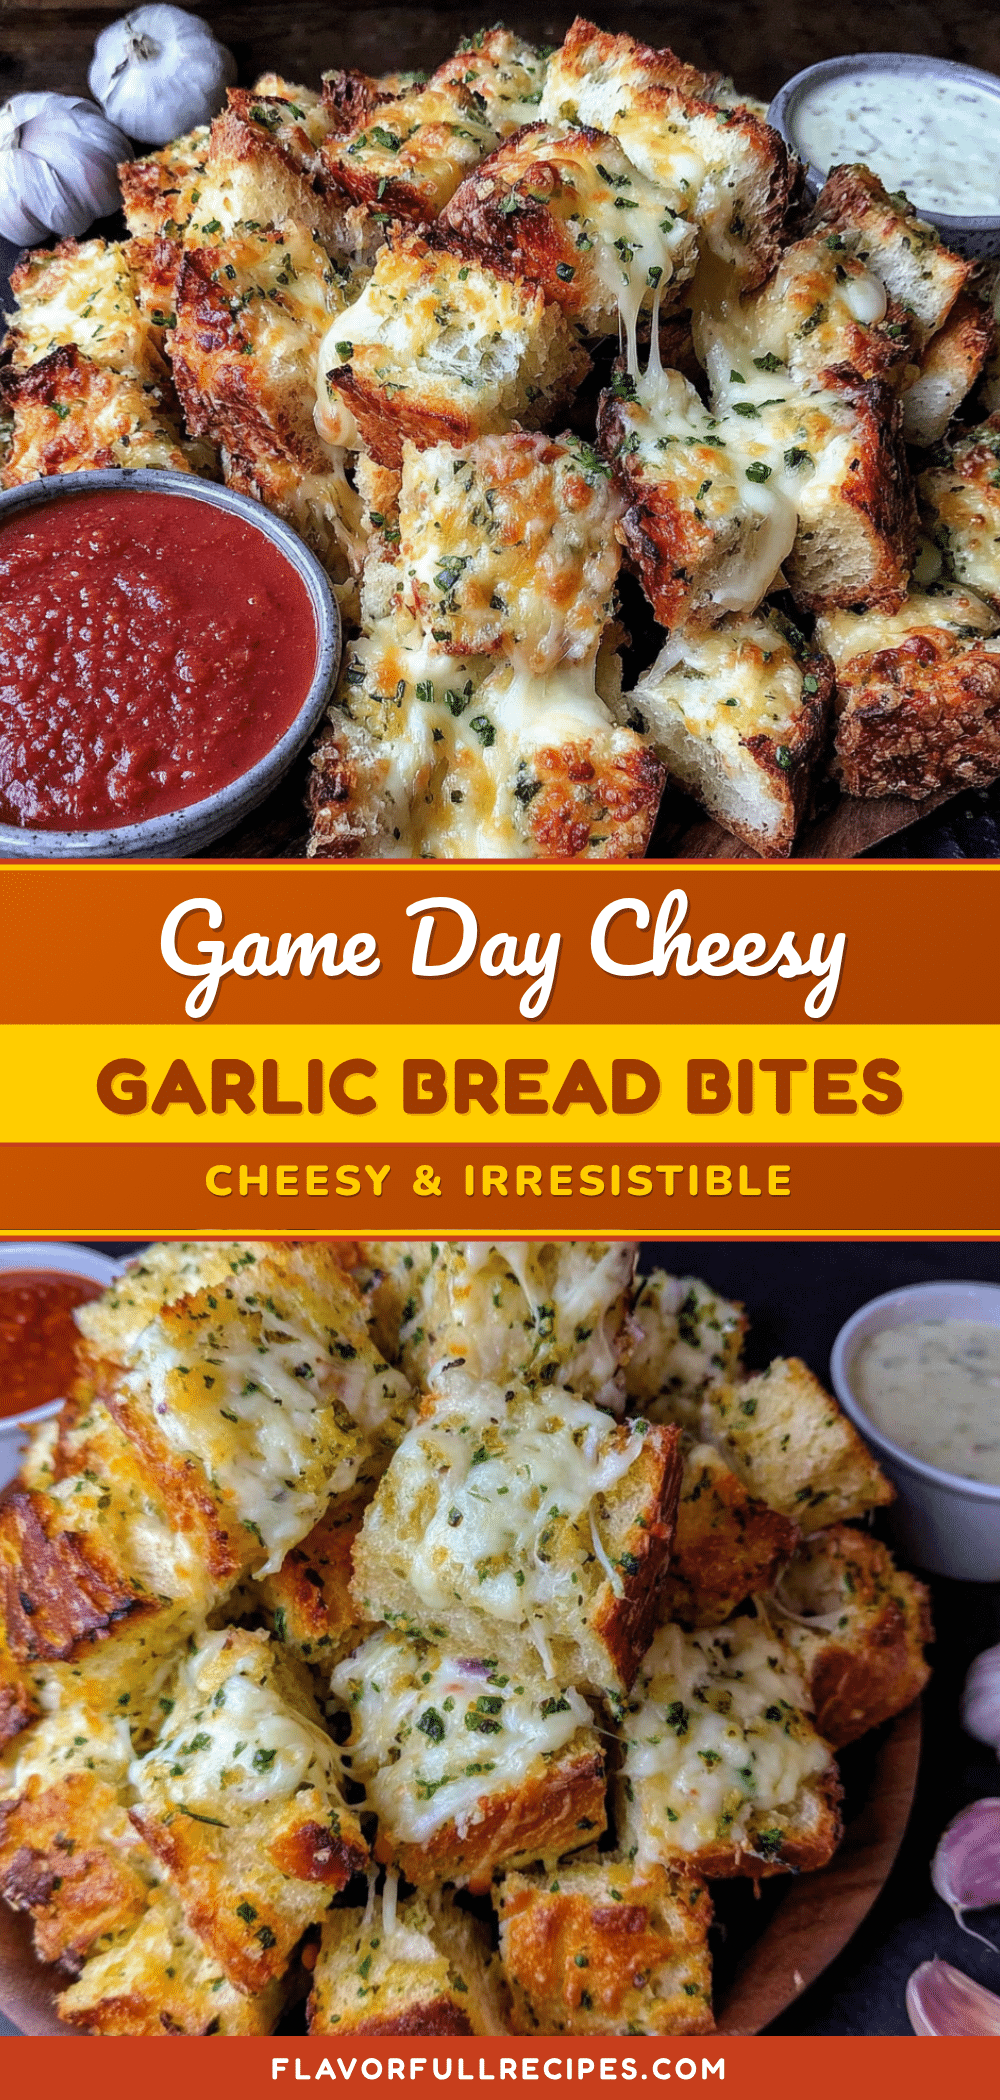

Easy Cheesy Garlic Bread Bites: The Best Game Day Snack
- Total Time: 23 minutes
- Yield: 4 servings 1x
Description
These easy cheesy garlic bread bites are the perfect game day snack—crispy, buttery, and loaded with melty mozzarella and Parmesan. Ready in about 20 minutes, they are handheld, dippable, and impossible to stop eating.
Ingredients
- 1 loaf French bread or Italian bread (about 16 ounces)
- 1/2 cup unsalted butter, melted
- 4 cloves garlic, minced
- 1 teaspoon garlic powder
- 1/2 teaspoon salt
- 1/4 teaspoon black pepper
- 2 cups shredded mozzarella cheese
- 1/2 cup grated Parmesan cheese
- 2 tablespoons fresh parsley, chopped (optional)
- 1/2 teaspoon red pepper flakes (optional)
Instructions
- Preheat your oven to 400°F (200°C). Line a large baking sheet with parchment paper or a silicone mat.
- Cut the bread into 1-inch cubes. You should have about 5 to 6 cups of bread cubes.
- Spread the bread cubes on the baking sheet in a single layer. Bake for 5 minutes, just until they start to turn golden around the edges.
- While the bread toasts, make the garlic butter. In a small skillet over low heat, melt the butter. Add the minced garlic and cook for about 1 minute, stirring constantly, until fragrant. Remove from heat and stir in the garlic powder, salt, and black pepper.
- Remove the bread cubes from the oven. Pour the garlic butter over the warm cubes and toss gently with a spatula until every piece is coated.
- Sprinkle the mozzarella and Parmesan over the bread cubes. Toss again to distribute the cheese evenly.
- Return the baking sheet to the oven and bake for 8 to 10 minutes, until the cheese is fully melted and starting to brown in spots, and the edges of the bread are deep golden and crispy.
- Remove from the oven and let cool for 2 minutes.
- Sprinkle with fresh parsley and red pepper flakes if using. Transfer to a serving platter and serve warm with your favorite dipping sauce.
Notes
Pre-toasting the bread cubes is crucial for a crispy texture. Use day-old bread for best results. Do not skip the salt—it amplifies the other flavors. For a spicy version, stir 2 tablespoons of buffalo sauce into the melted butter and use pepper jack cheese. Leftovers can be stored in an airtight container in the refrigerator for up to 3 days; reheat in a 350°F oven for 5-7 minutes.
- Prep Time: 10 minutes
- Cook Time: 13 minutes
- Category: Appetizer
- Cuisine: American
Nutrition
- Serving Size: 6 bites
- Calories: 320
- Sugar: 2
- Sodium: 520
- Fat: 18
- Saturated Fat: 10
- Carbohydrates: 28
- Fiber: 1
- Protein: 12
Keywords: garlic bread bites, cheesy garlic bread, game day snack, easy appetizer, party snack


