
I burned this soup the first three times I made it. Not a little scorch on the bottom—I mean full-on, walk-away-from-the-pot, smoke-alarm-going-off disaster. The fourth time I finally figured out that butternut squash is basically a sugar cube wrapped in orange skin and it needs gentler heat than I was giving it. That fourth batch, the one I treated like a delicate project instead of a race, turned into the soup I now make every single week from October through February. This cozy creamy butternut squash and apple soup came out of those failures, and honestly, I’m grateful for every burned spoonful because it taught me how to get it right. It taught me to slow down and let the squash and apple do their thing without rushing them.
There’s something about the way the sweet squash and tart apple smell when they’re roasting together in the oven. It fills your whole kitchen, seeps into the living room, and makes everyone wander in asking what’s for dinner. The first time I nailed this recipe, I stood over the pot with a spoon, tasting it about six times before I believed it was actually that good. My husband walked in, grabbed a spoon, tasted it, and said, “This is the one. Put this in the rotation.” So I did. And now it’s the soup I bring to friends who are sick, the soup I make on rainy Sundays, and the soup that somehow makes a gray November afternoon feel like a warm blanket.
This isn’t complicated food—it’s honest food. It’s the kind of meal that doesn’t try to impress anyone but ends up doing exactly that anyway. If you’ve never roasted squash before or you’re nervous about pureeing hot soup, stick with me. I’ve made every mistake so you don’t have to.
Why You’ll Love This Recipe
Let me tell you why this soup has become my most-requested fall recipe. It’s not fancy, but it hits every single note you want from a cozy bowl of comfort.
- Quick & Easy: From start to finish, this comes together in about 45 minutes, and most of that is hands-off roasting time. Perfect for a weeknight when you need something warm without spending hours in the kitchen.
- Simple Ingredients: You probably already have most of these in your pantry. No weird specialty items, no trips to three different stores. Just real food that works together.
- Perfect for Fall Gatherings: This soup is my go-to for Thanksgiving appetizers, Friendsgiving dinners, and cozy Sunday lunches. It travels well, reheats beautifully, and everyone always asks for the recipe.
- Crowd-Pleaser: I’ve served this to picky kids, vegetarian friends, and serious foodies. Every single person has gone back for seconds. It’s creamy without being heavy, sweet without being dessert-like.
- Unbelievably Delicious: The combination of roasted butternut squash and apple creates this deep, caramelized flavor that you just can’t get from boiling. The apple adds a brightness that cuts through the richness of the squash, and a tiny pinch of cayenne at the end wakes everything up without making it spicy.
What makes this different from other squash soups is the roasting. Most recipes just dump everything into a pot and boil it, which gives you a flat, one-note flavor. By roasting the squash and apple first, you get this incredible depth—the natural sugars caramelize, the edges get a little brown and nutty, and the whole thing tastes like it simmered for hours when it really didn’t. Plus, I’ve tested this with about six different types of apples and finally landed on the perfect one that balances sweetness and tartness just right. This isn’t just another squash soup recipe—it’s the one you’ll make over and over.
What Ingredients You Will Need
This recipe uses simple, wholesome ingredients that come together to create something truly special. Most of these are pantry staples or easy to find at any grocery store, especially during fall and winter. Here’s what you’ll need and why each ingredient matters.
For the Roasted Vegetables
- 1 medium butternut squash (about 2-2.5 pounds), peeled, seeded, and cut into 1-inch cubes — This is the star of the show. Look for a squash that feels heavy for its size with no soft spots. I prefer to buy pre-cut cubes when I’m in a hurry, but whole squash is usually fresher and cheaper.
- 2 medium Honeycrisp or Fuji apples, peeled, cored, and cut into 1-inch chunks — Honeycrisp is my absolute favorite here because it holds its shape during roasting and has the perfect balance of sweet and tart. Granny Smith works too if you want a more tangy soup, but you might need an extra teaspoon of maple syrup at the end.
- 1 medium yellow onion, roughly chopped — Adds savory depth that balances the sweetness of the squash and apple. Don’t skip this—it makes a big difference.
- 3 cloves garlic, whole — Roasting whole garlic cloves mellows their sharpness and adds a sweet, nutty flavor that blends right into the soup.
- 2 tablespoons olive oil — For roasting. Use a good quality extra virgin olive oil here since the flavor carries through.
- 1 teaspoon salt — I use kosher salt. It seasons the vegetables evenly and brings out their natural sweetness.
- 1/2 teaspoon black pepper — Freshly ground is best. Pre-ground pepper just doesn’t have the same punch.
For the Soup Base
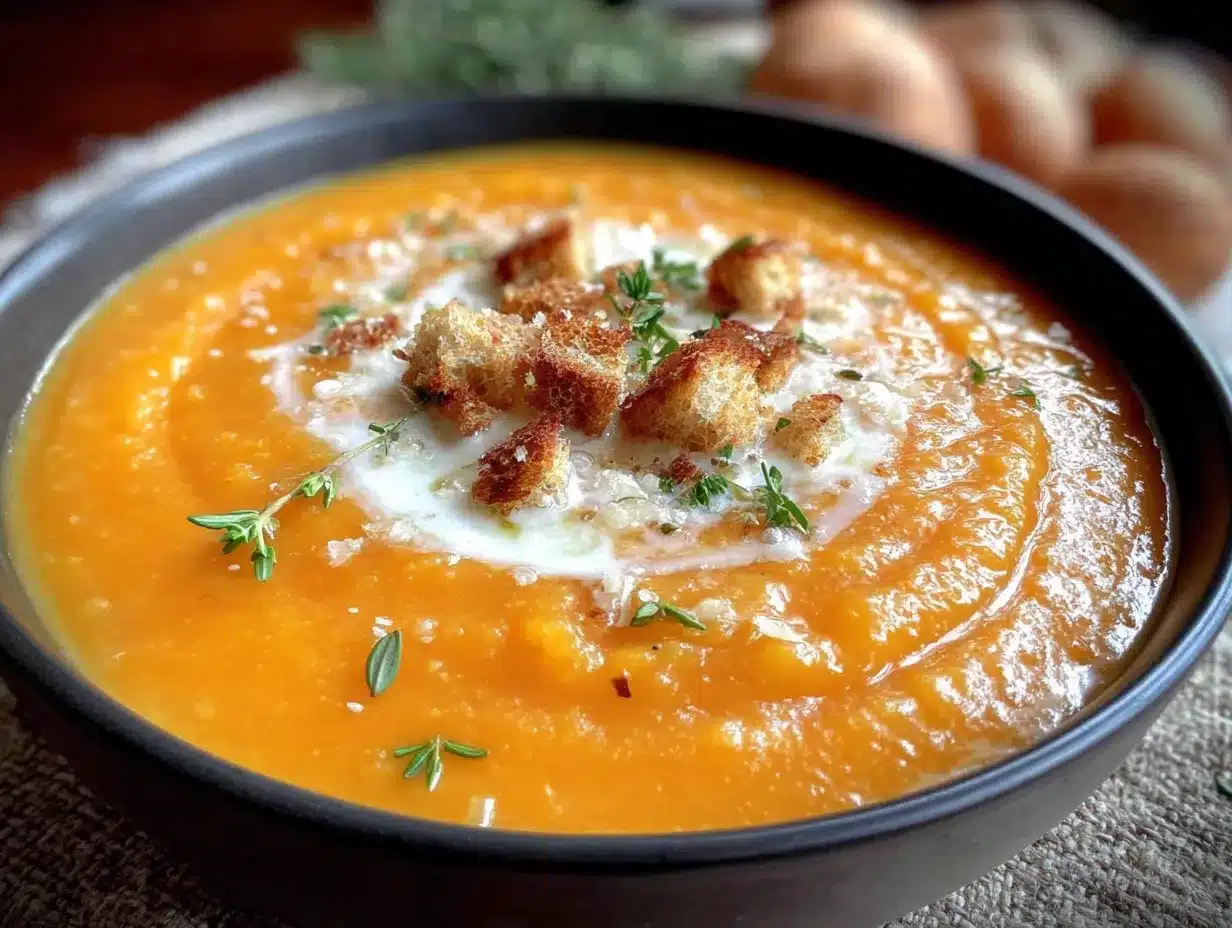
- 4 cups vegetable broth or chicken broth — Vegetable broth keeps this soup vegetarian, but chicken broth adds a lovely savory depth. I recommend Better Than Bouillon for the best flavor—it’s what I use in my cozy one-pot chicken and wild rice soup and it never disappoints.
- 1/2 cup canned coconut milk (full-fat) or heavy cream — Coconut milk adds a subtle tropical note that pairs beautifully with the squash. Heavy cream makes it richer and more traditional. Both work great—use what you have.
- 1 tablespoon maple syrup — Just a touch to enhance the natural sweetness. Adjust based on how sweet your apples are.
- 1/2 teaspoon ground cinnamon — Warm, cozy, essential. This is the spice that makes it feel like fall in a bowl.
- 1/4 teaspoon ground nutmeg — Freshly grated if you can. It makes a noticeable difference.
- 1/8 teaspoon cayenne pepper (optional) — This is my secret ingredient. It doesn’t make the soup spicy—it just wakes up all the other flavors and keeps the sweetness from being cloying.
For Garnish (Optional but Recommended)
- Roasted pumpkin seeds or pepitas — Adds crunch and a pop of green color.
- A drizzle of coconut milk or cream — Makes it look fancy with almost zero effort.
- Fresh sage leaves, fried in butter — If you want to impress someone, this is the move. The crispy sage adds an earthy, herbaceous note that’s incredible with the sweet soup.
- A sprinkle of cinnamon or nutmeg — For that picture-perfect finish.
Equipment Needed
You don’t need a professional kitchen to make this soup, but having the right tools makes the process smoother and safer. Here’s what you’ll need:
- Large baking sheet or sheet pan — A rimmed baking sheet is ideal for roasting the vegetables. I use a half-sheet pan (18×13 inches) and it fits everything in a single layer without crowding. If you don’t have one, you can use two smaller pans.
- Parchment paper or silicone baking mat — Not strictly necessary, but it makes cleanup so much easier and prevents the caramelized bits from sticking to the pan. Those caramelized bits are flavor gold, so you want them to come off easily.
- Large soup pot or Dutch oven — A 5-6 quart pot is perfect. I use my enameled cast iron Dutch oven and it distributes heat beautifully. A heavy-bottomed pot prevents scorching when you’re simmering the soup.
- Immersion blender or regular blender — An immersion blender is my preference because you can blend the soup right in the pot without transferring hot liquid. If you’re using a regular blender, work in batches and never fill it more than halfway with hot soup—trust me on this one. I learned that lesson the hard way.
- Vegetable peeler — A good sharp peeler makes quick work of butternut squash skin. I love my Y-shaped peeler for this job.
- Chef’s knife and cutting board — A sharp knife is non-negotiable for safely cutting through squash. Dull knives are more dangerous than sharp ones because they slip.
- Measuring cups and spoons — For accuracy, especially with the spices and maple syrup.
Budget-friendly tip: If you don’t have an immersion blender, a standard countertop blender works perfectly fine. Just let the soup cool for about 10 minutes before blending and hold the lid down with a kitchen towel to prevent splashes.
Preparation Method
Alright, let’s make some soup. I’ve broken this down into clear steps with all the little details that make the difference between good soup and unforgettable soup.
- Preheat your oven to 400°F (200°C). Line a large baking sheet with parchment paper or a silicone mat. Getting the oven hot before you start prepping saves time and ensures everything roasts evenly.
- Prep the butternut squash. This is the most labor-intensive part, so take your time. Cut off both ends of the squash, then use a vegetable peeler to remove all the skin. Cut the squash in half lengthwise and scoop out the seeds with a spoon. Cut the flesh into 1-inch cubes—try to keep them similar in size so they roast evenly. If you’re short on time, most grocery stores sell pre-cut butternut squash cubes. No judgment here—I use them all the time on busy weeknights.
- Prep the apples and onion. Peel the apples, cut them in half, remove the cores, and chop into 1-inch chunks. Rough chop the onion into similar-sized pieces. Leave the garlic cloves whole with the skins on—they’ll roast inside their papery skins and come out soft and sweet.
- Toss everything with oil and seasonings. Place the squash cubes, apple chunks, chopped onion, and whole garlic cloves on the prepared baking sheet. Drizzle with 2 tablespoons of olive oil, then sprinkle with 1 teaspoon of salt and 1/2 teaspoon of black pepper. Use your hands to toss everything together until every piece is lightly coated. Spread everything in a single layer—crowding the pan will steam the vegetables instead of roasting them.
- Roast for 30-35 minutes. Place the baking sheet in the preheated oven and roast until the squash is fork-tender and the edges are starting to caramelize and turn golden brown. About halfway through, give the pan a shake or use a spatula to flip the pieces for even browning. The apples should be soft and slightly wrinkled. The garlic should feel soft when you gently squeeze the cloves.
- Remove the garlic skins. When the vegetables are done roasting, let them cool for just a couple of minutes. Squeeze the roasted garlic cloves out of their skins—they should pop right out. Discard the skins and add the soft garlic to the pot with the rest of the roasted vegetables.
- Combine roasted vegetables with broth. Transfer all the roasted squash, apples, onion, and garlic to your large soup pot or Dutch oven. Pour in 4 cups of vegetable or chicken broth. Bring everything to a gentle simmer over medium heat, then reduce the heat to low and let it cook for about 5 minutes. This allows all the flavors to meld together before blending.
- Blend until smooth. Remove the pot from the heat. Using an immersion blender, carefully puree the soup until it’s completely smooth and velvety. If you’re using a regular blender, work in batches—fill the blender no more than halfway, hold the lid down with a folded kitchen towel, and blend until smooth. Transfer each batch to a clean pot or large bowl. This step is where the magic happens. The soup transforms from chunky vegetables into something that looks and feels luxurious.
- Add the finishing touches. Return the blended soup to the pot (if you used a regular blender) and place it over low heat. Stir in 1/2 cup of coconut milk or heavy cream, 1 tablespoon of maple syrup, 1/2 teaspoon of cinnamon, 1/4 teaspoon of nutmeg, and 1/8 teaspoon of cayenne pepper (if using). Taste and adjust the seasonings—you might want a little more salt, a touch more maple syrup, or an extra pinch of cinnamon. Every batch is slightly different depending on the sweetness of your squash and apples.
- Simmer and serve. Let the soup simmer on low heat for another 5 minutes, stirring occasionally, until everything is hot and well combined. Ladle into bowls and top with your favorite garnishes. A drizzle of coconut milk, a sprinkle of pumpkin seeds, and maybe a few fried sage leaves if you’re feeling fancy.
Cooking Tips & Techniques
I’ve made this soup more times than I can count, and I’ve definitely learned a few things along the way. Here are my best tips to help you avoid my mistakes and get perfect results every time.
Don’t rush the roasting. This is the most important tip I can give you. Roasting at a high temperature (400°F) caramelizes the natural sugars in the squash and apples, creating deep, complex flavors that you simply cannot get from boiling. If your vegetables aren’t getting golden brown edges after 30 minutes, your oven might run cool. Give them another 5-10 minutes. The browning is where the flavor lives.
Cut your vegetables evenly. I know it’s tedious, but taking the extra few minutes to cut your squash and apples into uniform 1-inch cubes ensures they all cook at the same rate. Nothing ruins a batch of roasted vegetables like finding some pieces that are mushy and others that are still crunchy.
Use an immersion blender for safety. Hot soup in a regular blender is one of the most dangerous things you can do in a kitchen. The steam builds up pressure and can blow the lid off, sending hot liquid everywhere. If you’re using a regular blender, let the soup cool for at least 10 minutes, only fill it halfway, and hold the lid down with a towel. I speak from experience when I say this is not a lesson you want to learn the hard way.
Taste as you go. The sweetness of butternut squash and apples varies dramatically depending on the season and where they were grown. Some batches need more maple syrup, some need less. Some need an extra pinch of salt to balance the sweetness. Trust your taste buds more than the recipe.
Make it ahead for better flavor. Like most soups, this one actually tastes better the next day. The flavors have time to meld and deepen overnight in the fridge. If you’re serving it for a dinner party, make it a day ahead and reheat it gently. Your future self will thank you.
Variations & Adaptations
One of the things I love most about this soup is how adaptable it is. Here are some of my favorite variations:
Vegan and Dairy-Free: This recipe is naturally vegan if you use vegetable broth and coconut milk. The coconut milk adds a lovely richness that perfectly complements the squash. I actually prefer it with coconut milk over heavy cream—it’s lighter and adds a subtle tropical note that’s really pleasant.
Spicy Version: If you like a little heat, increase the cayenne pepper to 1/4 teaspoon or add a small diced jalapeño to the roasting pan with the vegetables. The heat pairs beautifully with the sweetness of the squash and apple. I’ve also added a pinch of smoked paprika for a different kind of warmth.
Roasted Carrot and Apple Soup: Swap half the butternut squash for carrots. Roast them the same way, and you’ll get a slightly different but equally delicious soup. The carrots add earthiness and a beautiful orange color. This is a great option when butternut squash isn’t in season.
Add Protein: For a heartier meal, top the soup with crispy chickpeas (tossed in olive oil and smoked paprika, then roasted until crunchy) or add a swirl of Greek yogurt for extra protein. I’ve also served this with crispy parmesan air fryer chicken cutlets on the side for a complete meal that feels restaurant-quality.
Apple Variation: Try different apple varieties to change the flavor profile. Granny Smith apples make a tarter soup that pairs beautifully with extra maple syrup. Gala apples make a sweeter, milder soup. My personal favorite is Honeycrisp—it strikes the perfect balance.
Serving & Storage Suggestions
This soup is incredibly versatile when it comes to serving and storing. Here’s everything you need to know.
Serving Temperature: Serve this soup hot, but not boiling. I like to let it rest for about 5 minutes after it’s done simmering so it’s piping hot but not scalding. The flavors actually come through better when it’s not volcano-hot.
Presentation: For a simple but beautiful presentation, ladle the soup into bowls and drizzle a swirl of coconut milk or cream on top. Use a toothpick or the tip of a knife to drag the swirl into a pattern. Sprinkle with roasted pumpkin seeds and a tiny dusting of cinnamon. It looks like something from a fancy restaurant but takes about 30 seconds.
What to Serve With It: This soup pairs beautifully with crusty bread, a simple green salad with vinaigrette, or a grilled cheese sandwich. I love serving it alongside my easy sheet pan sausage and apples for a complete fall dinner that’s both impressive and easy. For a lighter meal, it’s perfect with a side of Mediterranean quinoa bowls.
Storage: Store leftover soup in an airtight container in the refrigerator for up to 5 days. The flavors will actually deepen and improve after a day or two. I often make a double batch on Sunday and enjoy it for lunches throughout the week.
Freezing: This soup freezes beautifully. Let it cool completely, then transfer to freezer-safe containers or zip-top bags. Leave about an inch of headspace for expansion. It will keep in the freezer for up to 3 months. Thaw overnight in the refrigerator before reheating.
Reheating: Reheat the soup gently on the stovetop over medium-low heat, stirring occasionally. If it’s too thick after thawing, add a splash of broth or water to thin it out. You can also reheat individual portions in the microwave—just use a microwave-safe bowl and heat in 30-second intervals, stirring between each.
Nutritional Information & Benefits
This soup isn’t just delicious—it’s packed with nutrients that make you feel good about eating it. Here’s a rough estimate per serving (based on 6 servings):
| Nutrient | Amount Per Serving |
|---|---|
| Calories | 210 |
| Total Fat | 9g |
| Saturated Fat | 4g |
| Carbohydrates | 32g |
| Fiber | 6g |
| Sugar | 14g |
| Protein | 4g |
| Vitamin A | 280% DV |
| Vitamin C | 35% DV |
| Potassium | 650mg |
Butternut squash is loaded with vitamin A, which is fantastic for eye health and immune function. It’s also a great source of fiber, which keeps you full and satisfied. Apples add vitamin C and antioxidants, while the cinnamon and nutmeg provide anti-inflammatory benefits. This soup is naturally gluten-free, dairy-free (if you use coconut milk), and vegan-friendly. The only potential allergen is the coconut milk, which you can easily swap for another non-dairy milk or heavy cream.
From a wellness perspective, this is the kind of meal that nourishes you from the inside out. It’s warm, comforting, and packed with real food that your body recognizes and knows how to use. I love that I can serve it to my family knowing they’re getting a solid dose of vegetables without anyone complaining.
Conclusion
This cozy creamy butternut squash and apple soup has become a staple in my kitchen for good reason. It’s simple enough for a quiet weeknight dinner but impressive enough to serve at a holiday gathering. The flavors are deep and complex, thanks to the roasting step, but the process is straightforward and forgiving. Even if you burn it the first time like I did, you’ll learn something that makes the next batch better.
I love this recipe because it reminds me that good food doesn’t have to be complicated. It just needs good ingredients, a little patience, and someone who cares enough to get it right. Whether you’re making it for a crowd or just for yourself on a chilly evening, I hope this soup brings you the same warmth and comfort it’s brought me.
If you make this recipe, I’d love to hear about it. Leave a comment below and let me know how it turned out—did you add extra cayenne? Did you try it with Granny Smith apples? Did your family go back for seconds? Your feedback helps me create better recipes, and I genuinely love hearing about your kitchen adventures. Happy cooking, friends!
Frequently Asked Questions
Can I use frozen butternut squash instead of fresh?
Yes, you can use frozen butternut squash in a pinch. However, frozen squash releases more water during roasting, so it won’t caramelize as well as fresh. If using frozen, skip the roasting step and simmer the squash directly in the broth until tender, then blend. The flavor won’t be quite as deep, but it’ll still be delicious.
How do I make this soup thicker or thinner?
For a thicker soup, use less broth (start with 3 cups instead of 4) or let the finished soup simmer uncovered for an extra 10-15 minutes to reduce. For a thinner soup, add more broth or a splash of water until it reaches your desired consistency. You can also add an extra apple for more body.
Can I make this in a slow cooker or Instant Pot?
Absolutely. For a slow cooker, combine all the roasted vegetables and broth and cook on low for 4-6 hours or high for 2-3 hours, then blend. For an Instant Pot, sauté the onion in the pot first, then add the squash, apples, garlic, and broth. Pressure cook on high for 8 minutes, do a quick release, then blend. Add the cream and seasonings after blending.
What’s the best way to peel and cut butternut squash?
Cut off both ends of the squash first so it sits flat on your cutting board. Use a sharp vegetable peeler to remove the skin in long strips. Cut the squash in half lengthwise and scoop out the seeds with a spoon. Then cut the flesh into cubes. If the squash is very large and hard, microwave it for 2-3 minutes first to soften it slightly—this makes peeling and cutting much easier.
Can I leave out the apple?
You can, but the apple adds a brightness and acidity that balances the richness of the squash. Without it, the soup will be sweeter and heavier. If you’re out of apples, try adding a peeled pear or an extra tablespoon of lemon juice at the end to achieve a similar effect.
Pin This Recipe!
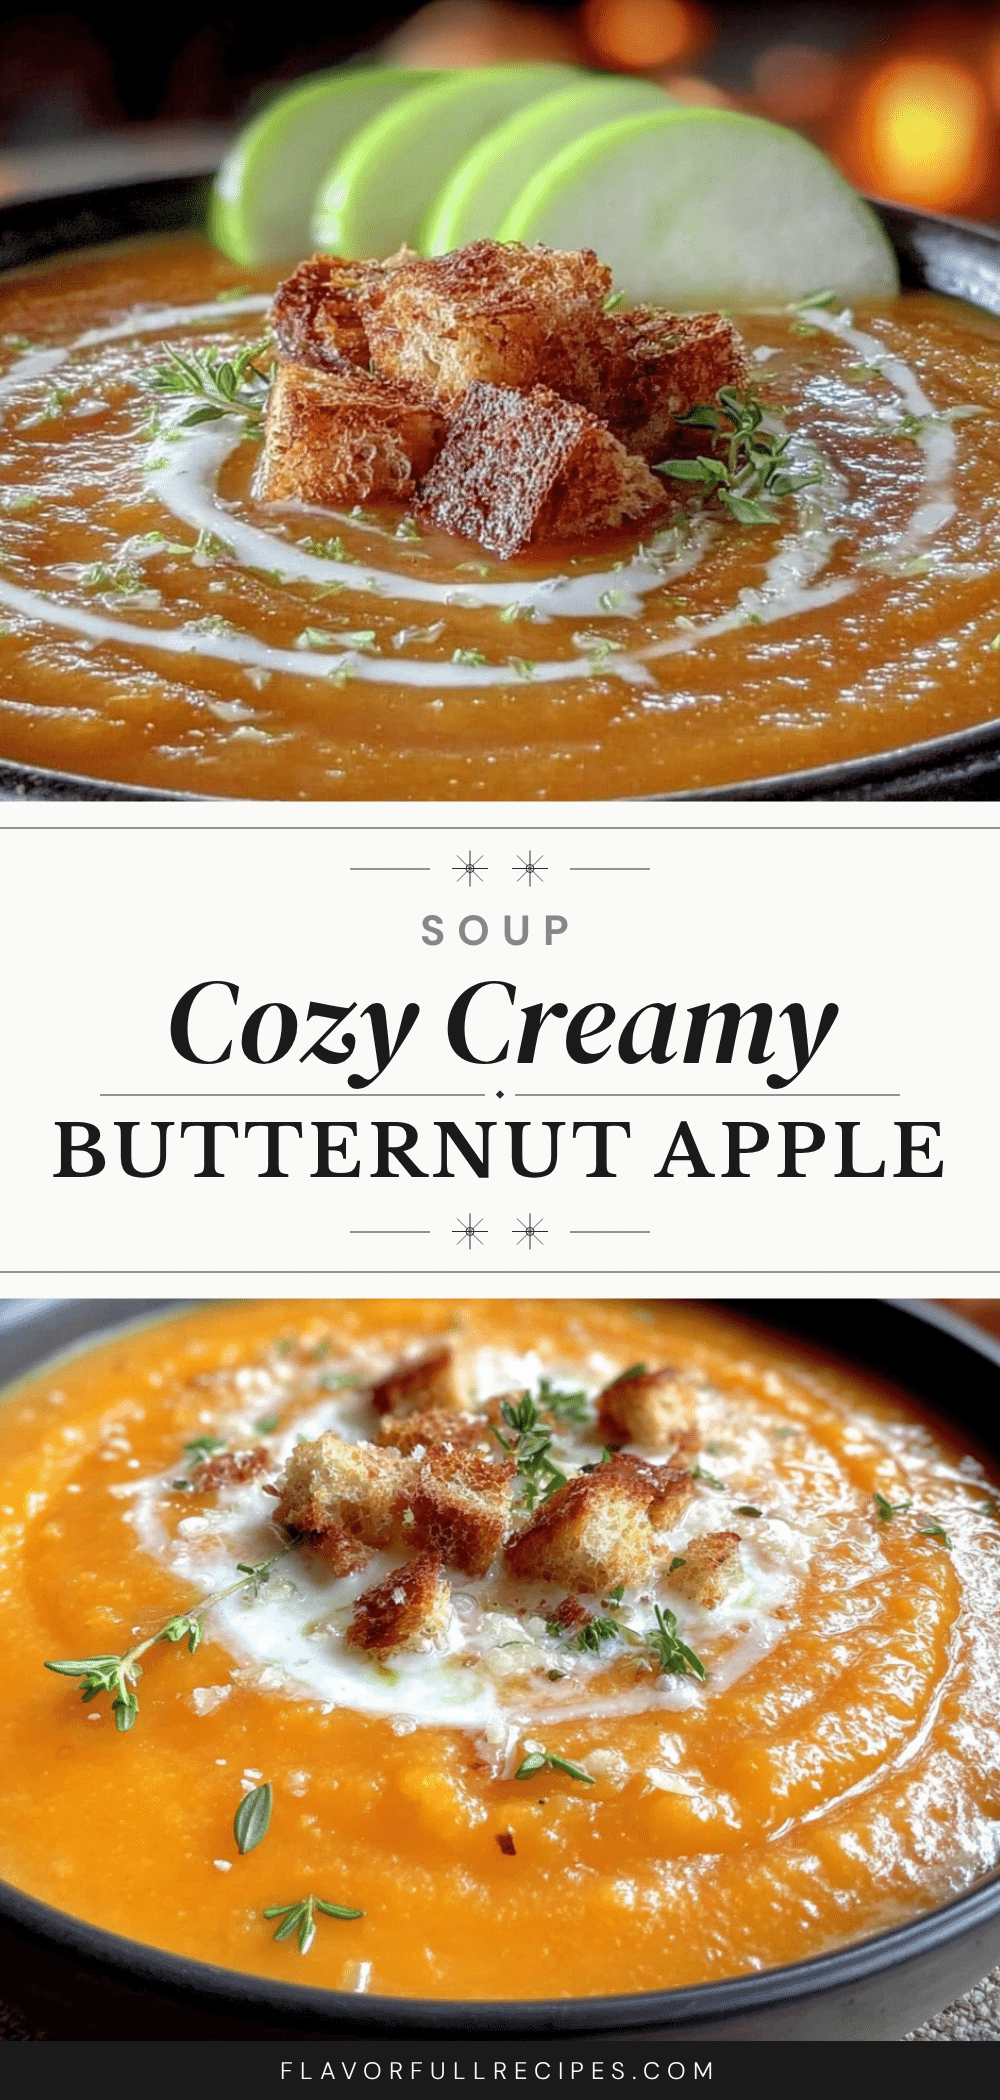

Cozy Creamy Butternut Squash and Apple Soup
- Total Time: 50 minutes
- Yield: 6 servings 1x
Description
This cozy creamy butternut squash and apple soup is a comforting fall staple, made by roasting squash and apples for deep, caramelized flavor. It’s simple enough for a weeknight but impressive enough for holiday gatherings.
Ingredients
- 1 medium butternut squash (about 2–2.5 pounds), peeled, seeded, and cut into 1-inch cubes
- 2 medium Honeycrisp or Fuji apples, peeled, cored, and cut into 1-inch chunks
- 1 medium yellow onion, roughly chopped
- 3 cloves garlic, whole
- 2 tablespoons olive oil
- 1 teaspoon salt
- 1/2 teaspoon black pepper
- 4 cups vegetable broth or chicken broth
- 1/2 cup canned coconut milk (full-fat) or heavy cream
- 1 tablespoon maple syrup
- 1/2 teaspoon ground cinnamon
- 1/4 teaspoon ground nutmeg
- 1/8 teaspoon cayenne pepper (optional)
- Roasted pumpkin seeds or pepitas (for garnish, optional)
- A drizzle of coconut milk or cream (for garnish, optional)
- Fresh sage leaves, fried in butter (for garnish, optional)
- A sprinkle of cinnamon or nutmeg (for garnish, optional)
Instructions
- Preheat your oven to 400°F (200°C). Line a large baking sheet with parchment paper or a silicone mat.
- Prep the butternut squash: Cut off both ends, peel, cut in half lengthwise, scoop out seeds, and cut into 1-inch cubes.
- Prep the apples and onion: Peel apples, core, and chop into 1-inch chunks. Rough chop the onion. Leave garlic cloves whole with skins on.
- Toss everything with oil and seasonings: Place squash, apples, onion, and garlic on the baking sheet. Drizzle with olive oil, sprinkle with salt and pepper, and toss to coat. Spread in a single layer.
- Roast for 30-35 minutes until squash is fork-tender and edges are caramelized. Shake the pan halfway through.
- Remove garlic skins: Let cool slightly, squeeze garlic out of skins, and add to the pot with roasted vegetables.
- Combine roasted vegetables with broth: Transfer to a large soup pot, add 4 cups broth, bring to a gentle simmer over medium heat, then reduce to low and cook for 5 minutes.
- Blend until smooth: Remove from heat. Use an immersion blender to puree until smooth. If using a regular blender, work in batches, filling no more than halfway, and hold lid down with a towel.
- Add finishing touches: Return blended soup to pot over low heat. Stir in coconut milk or cream, maple syrup, cinnamon, nutmeg, and cayenne. Taste and adjust seasonings.
- Simmer and serve: Let simmer on low for 5 minutes. Ladle into bowls and garnish as desired.
Notes
Don’t rush the roasting; caramelization is key for flavor. Cut vegetables evenly for uniform cooking. Use an immersion blender for safety when blending hot soup. Taste as you go and adjust seasonings. Soup tastes even better the next day. For a thicker soup, use less broth or simmer uncovered to reduce. For a thinner soup, add more broth.
- Prep Time: 15 minutes
- Cook Time: 35 minutes
- Category: Soup
- Cuisine: American
Nutrition
- Serving Size: 1 serving (about 1.5
- Calories: 210
- Sugar: 14
- Sodium: 650
- Fat: 9
- Saturated Fat: 4
- Carbohydrates: 32
- Fiber: 6
- Protein: 4
Keywords: butternut squash soup, apple soup, creamy soup, fall soup, roasted butternut squash, easy soup recipe, vegetarian soup, gluten-free soup


