
Three-time in a single weekend and the layers still hadn’t lost their charm. I found myself elbow-deep in mixing bowls and scooping out dollops of sour cream and seasoned beef for this Flavorful Loaded Tailgate Walking Taco Dip Bar, questioning why exactly I couldn’t quit making it. Maybe it was the way the sharp cheddar and creamy guacamole played off each other or how the crunch of the tortilla chips held up under the weight of all those toppings without turning into a soggy mess. Honestly, every time I revisited this recipe, I tweaked a little here and there—less onion one day, a spicier salsa the next—but it always circled back to the same satisfaction. It’s like the perfect game day companion that demands a second (or third) helping.
The smell of seasoned taco meat mingling with melting cheese and fresh cilantro is the kind of thing that pulls you from your seat, no matter the scoreboard. What’s wild is how it turned from a last-minute experiment to a weekly ritual, showing up every Friday night for a month straight with friends crowding around the table, plates piled high, chatting over the mess of chips and dips. It’s not just a dish; it’s a celebration of comfort and chaos in the best way. This isn’t your average dip, by the way. It’s a full-on walking taco experience, but in dip form—perfect for those who want all the flavor without juggling individual bags of chips.
That little realization—that this dip could bring everyone together without the fuss—made it stick. So here’s the story, the layers, and the messy, glorious details of the Flavorful Loaded Tailgate Walking Taco Dip Bar you might just get hooked on, too.
Why You’ll Love This Recipe
This Flavorful Loaded Tailgate Walking Taco Dip Bar isn’t just a snack; it’s a whole vibe. Having tested this recipe multiple times (and I mean multiple), I can say it nails that balance of ease and excitement every time. Whether you’re hosting a big game day party or a casual hangout, this dip bar steps up with layers of bold flavors and textures that keep everyone coming back for more.
- Quick & Easy: Ready in under 30 minutes, making it a go-to for those last-minute gatherings or busy weeknights when you want something hearty without the hassle.
- Simple Ingredients: Nothing fancy here—just pantry staples and fresh toppings that you likely already have on hand. No need for a special trip to the store.
- Perfect for Game Day: It’s designed for sharing and snacking, fitting right into the tailgate spirit whether you’re inside or out in the parking lot.
- Crowd-Pleaser: Kids and adults alike rave about this one. The familiar taco flavors but in a laid-back dip format make it a universal favorite.
- Unbelievably Delicious: The combination of seasoned beef, melted cheese, creamy guacamole, and crunchy chips is like a comfort food hug in every bite.
What sets this recipe apart is the layering technique I learned after a few trial runs—making sure every spoonful captures the full walking taco experience without needing to scoop around for the best bits. Plus, I added a touch of smoky chipotle seasoning that gives it a subtle kick without overpowering the other flavors. Honestly, it’s like taking the fun of a loaded tailgate nacho bar and streamlining it into a dip that everyone can crowd around.
It’s a recipe that sticks around not just because it tastes good but because it makes those casual gatherings feel instantly festive and connected.
What Ingredients You Will Need
This recipe uses simple, wholesome ingredients to deliver bold flavor and satisfying texture without the fuss. Most of these are pantry staples, but feel free to swap or customize based on what you have.
- For the base:
- 1 lb (450 g) ground beef (or ground turkey for a lighter option)
- 1 packet taco seasoning (or 2 tbsp homemade blend with chili powder, cumin, garlic powder, and paprika)
- 1 cup (240 ml) chunky salsa (choose your preferred heat level)
- For the creamy layers:
- 1 cup (240 g) sour cream (full fat gives the best richness)
- 1 cup (240 g) guacamole (store-bought or homemade with ripe avocados, lime, and cilantro)
- 1 cup (240 g) refried beans (optional but adds a nice hearty layer)
- For the toppings:
- 2 cups (200 g) shredded sharp cheddar cheese
- 1 cup (150 g) diced tomatoes (seeds removed to avoid excess moisture)
- ½ cup (50 g) diced red onion (or green onions for a milder bite)
- ½ cup (15 g) chopped fresh cilantro
- 1 jalapeño, thinly sliced (optional, for heat)
- 1 lime, cut into wedges (for squeezing over the top)
- For serving:
- 1 large bag (about 10 oz/280 g) sturdy tortilla chips (I recommend Mission brand for the best crunch)
If you want to switch things up, try swapping the ground beef with smoked sausage like in the crispy smoked sausage tailgate skewers recipe for a smoky twist. For a gluten-free version, just double-check your taco seasoning and chips.
Equipment Needed
Not much needed here, which is part of why this recipe works so well for casual game day setups.
- Large skillet or frying pan (for browning the ground beef)
- Mixing bowls (for combining sour cream, guacamole, and salsa layers)
- Serving dish or a shallow casserole dish (I personally like a glass 9×13-inch pan so you can see all the colorful layers)
- Spatula and mixing spoon
- Knife and cutting board (for prepping toppings)
If you don’t have a skillet handy, a nonstick frying pan works just as well and helps with easy cleanup. For serving, any wide, shallow dish will do—just make sure it’s big enough to hold all the layers without crowding. I’ve found that using a glass dish also helps when you want to bring the dip straight to the party without transferring.
Preparation Method
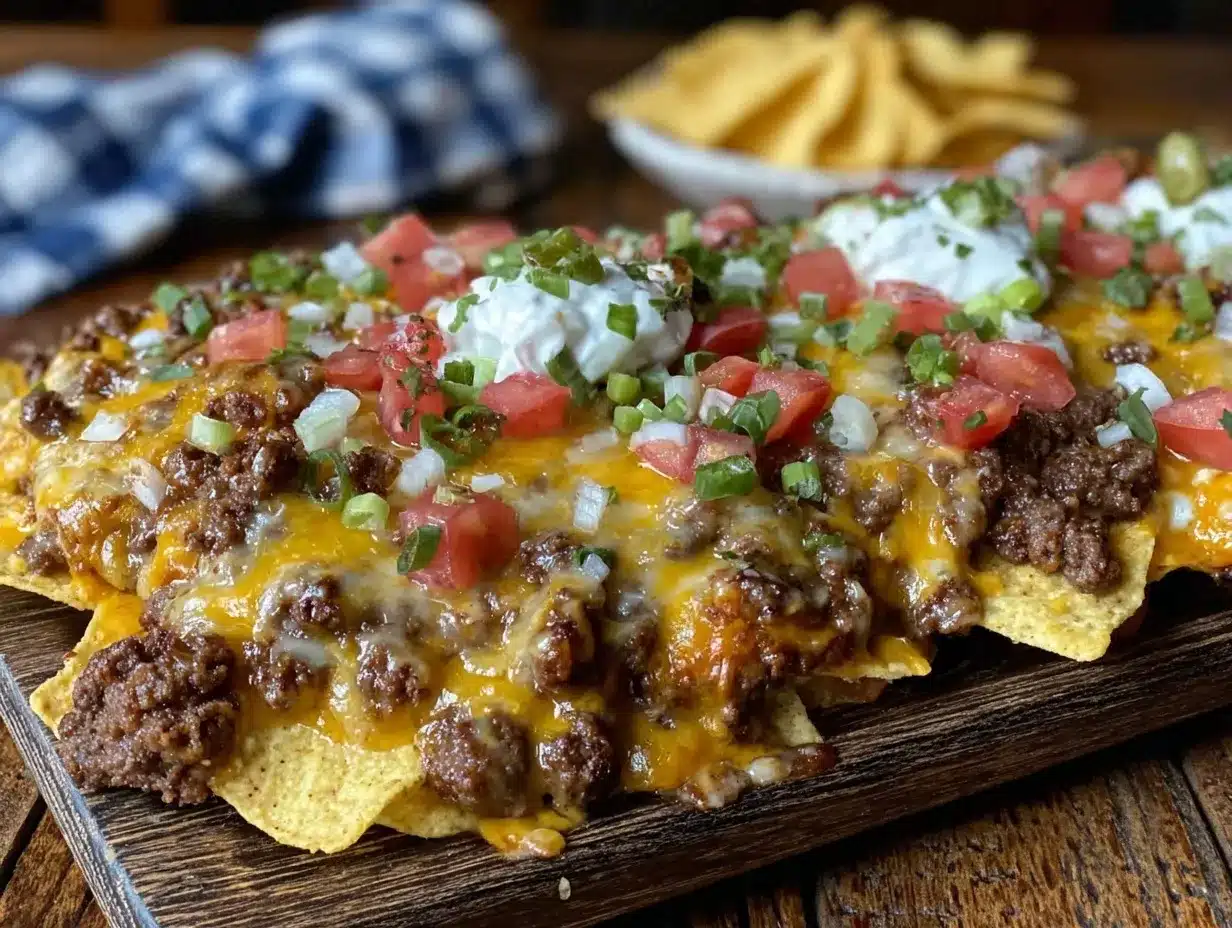
- Brown the meat: Heat a large skillet over medium-high heat. Add 1 lb (450 g) ground beef and cook, breaking it up with a spatula, until browned and cooked through, about 7-8 minutes. Drain excess fat if needed.
- Add seasoning and salsa: Stir in the taco seasoning packet (or 2 tbsp homemade taco seasoning) and 1 cup (240 ml) chunky salsa. Mix well and cook for another 3-4 minutes until everything is heated through and the flavors meld. Remove from heat and let cool slightly.
- Prepare the creamy layers: In a mixing bowl, combine 1 cup (240 g) sour cream and 1 cup (240 g) guacamole. If you’re including refried beans, spread 1 cup (240 g) evenly in the bottom of your serving dish first. This adds a nice base and keeps the chips from getting soggy.
- Assemble the dip bar: Spread the cooled taco meat evenly over the beans (or directly in the dish if skipping beans). Next, dollop the sour cream-guacamole mixture on top and gently spread it out.
- Add cheese and toppings: Sprinkle 2 cups (200 g) sharp cheddar cheese over the creamy layer. Follow with diced tomatoes, red onion, chopped cilantro, and jalapeño slices if using. The layers should be distinct but inviting.
- Final touches: Squeeze fresh lime juice over the top right before serving to brighten all the flavors. Serve immediately with a large bowl of sturdy tortilla chips for scooping.
Prep note: If you want to save time, you can cook the meat and prep toppings ahead, then assemble right before the party. Also, watch out for watery tomatoes—removing the seeds helps keep the dip from getting runny. The layering trick is key to avoiding a soggy mess and getting that true walking taco experience in dip form.
Cooking Tips & Techniques
One trick I learned the hard way was to cool the seasoned meat before layering it. Hot meat melts the creamy layers too quickly, turning your dip into a soupy disaster. Let it rest for about 10 minutes after cooking.
Using a shallow dish helps keep the layers more accessible and visually appealing. I like to assemble the dip in a glass or ceramic 9×13-inch pan because it holds just the right amount and looks great on the table.
When browning the meat, avoid overcrowding the pan. Cook in batches if needed so the beef gets a nice sear instead of steaming. That little caramelization adds depth of flavor you can’t beat.
For consistency, stir the taco seasoning into the cooked meat with a splash of water or salsa to help it coat evenly and keep the mixture moist.
Multitasking tip: While your meat cooks, prep your toppings and mix the creamy layers to save time. That way, assembly is quick and stress-free.
Variations & Adaptations
This dip bar is a playground for creativity:
- Vegetarian: Swap the beef for seasoned black beans or lentils. Add extra spices and a dash of smoked paprika for that smoky flavor.
- Spicy: Mix diced pickled jalapeños into the meat layer or sprinkle cayenne pepper into the sour cream for extra heat.
- Cheesy twist: Try layering with pepper jack cheese or a blend of cheddar and mozzarella for melty goodness.
- Cooking method: If you prefer a slow cooker, brown the meat separately then layer everything in the crockpot on low for a warm dip option perfect for keeping the party fueled.
- Personal favorite: I once added a layer of corn salsa for sweetness and texture that balanced the smoky chipotle seasoning perfectly.
Serving & Storage Suggestions
Serve this dip bar slightly chilled or at room temperature to let the flavors shine. It pairs beautifully with cold beer, margaritas, or a sparkling agua fresca if you want a non-alcoholic option.
For a fuller meal, set alongside sheet pan tailgate sliders or a batch of easy crockpot buffalo chicken dip to keep your spread exciting.
Store leftovers tightly covered in the refrigerator for up to 3 days. The flavors deepen overnight, but chips should be stored separately to keep their crunch. Reheat gently in the oven or microwave before serving, adding fresh toppings if needed.
Nutritional Information & Benefits
Per serving (based on 8 servings): approximately 350 calories, 22g fat, 18g protein, 15g carbohydrates. This dip provides a solid protein punch thanks to the seasoned beef and beans, while the avocado in the guacamole offers heart-healthy fats and fiber.
Using fresh tomatoes and cilantro adds vitamins and antioxidants, making this a more balanced choice than your average chip dip. You can easily adapt it to be gluten-free by ensuring your taco seasoning and chips meet gluten-free standards.
From a wellness perspective, this recipe hits that satisfying comfort food spot without relying on artificial ingredients or excess preservatives, which is always a win in my book.
Conclusion
This Flavorful Loaded Tailgate Walking Taco Dip Bar is more than just a recipe; it’s a reliable crowd-pleaser that’s become a staple in my game day rotation. The layers of seasoned meat, creamy guac, zesty salsa, and crunchy chips come together like a little fiesta in every bite.
Feel free to tweak the spice level or toppings to match your crew’s taste buds—remember, the best recipes are the ones you make your own. Whether you’re hosting a big bash or just craving a no-fuss snack, this dip bar has your back.
Give it a try, and if you find yourself making it multiple times too, well—that’s just the magic of a great tailgate recipe. I’d love to hear how you customize yours or what fun twists you add, so don’t hesitate to drop a comment below!
Here’s to easy, flavorful game day snacks that bring everyone together.
FAQs
Can I make the Flavorful Loaded Tailgate Walking Taco Dip Bar ahead of time?
Yes! Prepare the meat and toppings in advance, then assemble the dip right before serving to keep the chips crunchy and flavors fresh.
What can I use instead of ground beef?
Ground turkey, chicken, or even plant-based crumbles work well. You can also swap in smoked sausage for a smoky twist.
How do I keep the tortilla chips from getting soggy?
Serve the chips separately and let guests scoop their own. Also, layering the dip with refried beans or spreading creamy layers carefully helps prevent sogginess.
Is this recipe gluten-free?
It can be! Use gluten-free taco seasoning and tortilla chips to make it safe for gluten-sensitive diets.
Can I add more vegetables to the dip?
Absolutely. Diced bell peppers, corn salsa, or black olives are great additions that add color and crunch.
Pin This Recipe!
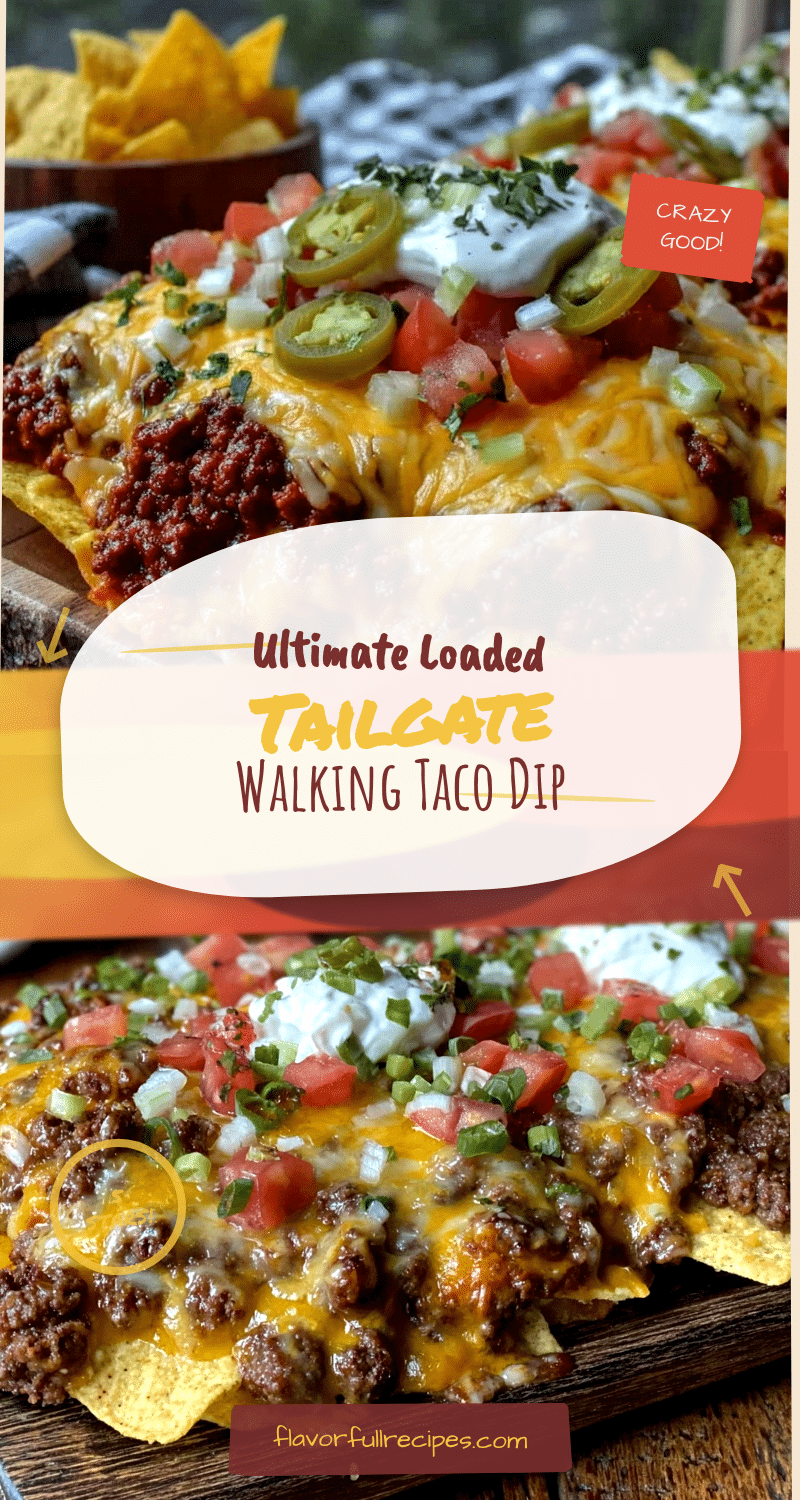

Flavorful Loaded Tailgate Walking Taco Dip Bar
- Total Time: 27 minutes
- Yield: 8 servings 1x
Description
A layered walking taco dip bar featuring seasoned beef, creamy guacamole, melted cheese, and crunchy tortilla chips, perfect for game day snacks and easy gatherings.
Ingredients
- 1 lb ground beef (or ground turkey for a lighter option)
- 1 packet taco seasoning (or 2 tbsp homemade blend with chili powder, cumin, garlic powder, and paprika)
- 1 cup chunky salsa
- 1 cup sour cream (full fat recommended)
- 1 cup guacamole (store-bought or homemade)
- 1 cup refried beans (optional)
- 2 cups shredded sharp cheddar cheese
- 1 cup diced tomatoes (seeds removed)
- ½ cup diced red onion (or green onions)
- ½ cup chopped fresh cilantro
- 1 jalapeño, thinly sliced (optional)
- 1 lime, cut into wedges
- 1 large bag (about 10 oz) sturdy tortilla chips
Instructions
- Heat a large skillet over medium-high heat. Add ground beef and cook, breaking it up with a spatula, until browned and cooked through, about 7-8 minutes. Drain excess fat if needed.
- Stir in taco seasoning and chunky salsa. Mix well and cook for another 3-4 minutes until heated through. Remove from heat and let cool slightly.
- In a mixing bowl, combine sour cream and guacamole. If using refried beans, spread them evenly in the bottom of your serving dish.
- Spread the cooled taco meat evenly over the beans or directly in the dish if skipping beans. Dollop the sour cream-guacamole mixture on top and gently spread out.
- Sprinkle shredded cheddar cheese over the creamy layer. Add diced tomatoes, red onion, chopped cilantro, and jalapeño slices if using.
- Squeeze fresh lime juice over the top before serving. Serve immediately with sturdy tortilla chips.
Notes
Cool the seasoned meat before layering to prevent melting the creamy layers. Remove tomato seeds to avoid excess moisture and sogginess. Serve chips separately to keep them crunchy. Can be prepared ahead by cooking meat and prepping toppings, then assembling just before serving.
- Prep Time: 15 minutes
- Cook Time: 12 minutes
- Category: Snack
- Cuisine: American
Nutrition
- Serving Size: 1/8 of the dip bar w
- Calories: 350
- Fat: 22
- Carbohydrates: 15
- Protein: 18
Keywords: walking taco dip, game day snacks, tailgate dip, layered dip, taco dip, easy party food


